
Rediviva is about to look really different. We’ve been ripping lumber for days for her bulwark planking and finished last week.


We had our new safety goggles and Swab had his new squeaky squirrel. We did another run to Home Depot to see if we could find any more long pieces knowing they’d be easier to bend around the stanchions and take the shape of the boat. We certainly scored and ended up with more material than we needed. “Needed,” Garrett corrects me that we do NEED them…for other things


Before we could start planking we had to install four more stanchions. Two in the bow and two in the stern. The bow additions will be on either side of the bowsprit and are a little closer in distance to the other stanchions and at a slightly different angle. The stern stanchions are further apart and the transom planks will also tie into these posts. We’re still deciding exactly how we want to plank the transom so there will be eventually two more posts in the stern later. Their placement depends on how we want the tiller to come through; under, over, or through.


It’s always weird cutting holes in the boat but we’ve gotten pretty used to it by now. Garrett loves it because it means more parts are being added that make her a real sailboat.


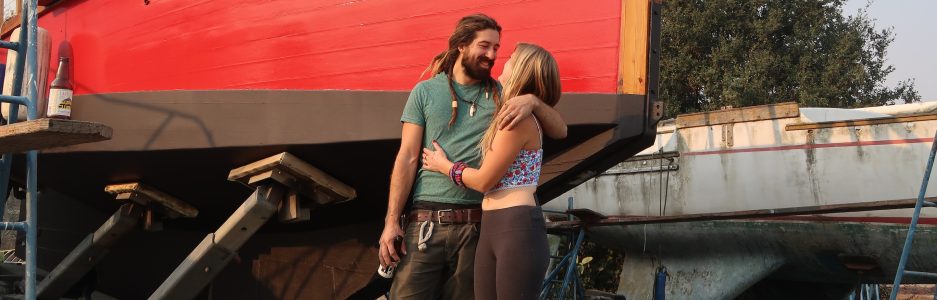
The day was absolutely gorgeous! Even Swab, who usually likes to stay up by the house, was happy on deck. He typically needs encouragement to come down to the boat, I don’t think he likes the crown in the deck which soon won’t give you vertigo anymore with the bulwarks planked, but he galloped down the gangway still sporting his bandana from milling our planking stock (he had to match us 😉


Same routine as when we did the other stanchions; Garrett down below fastening and me on deck aligning.


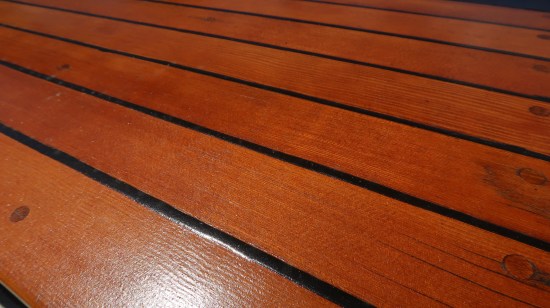
I realized I never gave you a good photo of the stanchions after sanding and re-souping so here they are! I spruced up our companion way hatch too:
We just can’t wait until the whole deck looks like this! It feels amazing to be working on deck. So nice to get out of the boat. We just have to be careful that we don’t get carried away and forget to finish hooking up the engine. What’s all this beautiful wood just sitting at the dock for ??? got to get the boat mobile!


To finish installing the additional stanchions Garrett dug out his irons and mallet once again. With a more extreme angle on these guys he had to use a few different irons to hammer in the cotton properly. Like a painter and his brushes.


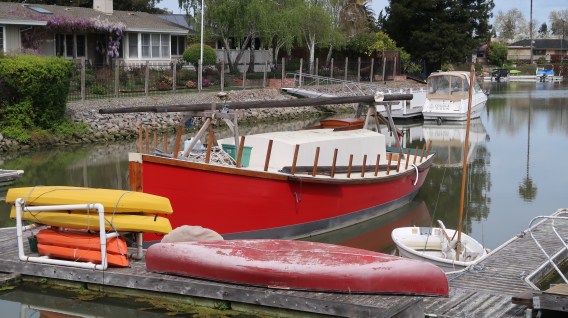
Our little ship is about to get some serious bulwarks. The plan is to also have lifelines atop the cap rail of the bulwarks to really make you feel secure on deck. Working her gaff sails and making fast her lines to the pin rail while bracing your feet against the sturdy bulwarks is a dream.


I taped and Garrett applied the sikaflex compound making Rediviva watertight once again. After a day waiting for it to dry we were ready to begin planking.
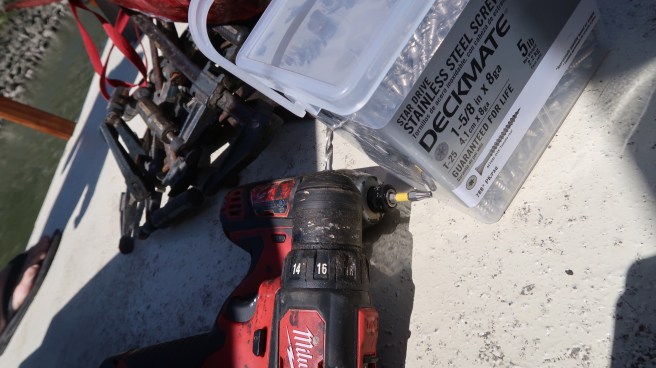
With our arsenal of stainless steel screws and a bunch of clamps we picked our first pieces for run number one.
The first run is the most important as it sets the line for every other plank thereafter. The planks bent easy and in two days we had the starboard side completely planked but more on that next post 😉


You guys look….BETTER THAN IVE EVER SEEN YA. Keep it coming, or I’ll get sad. I promise. (;
LikeLiked by 1 person