

It rained for four days; with another 4 days following after the 2 day break in the weather we dropped whatever other project we were working on and decided to embark on Rediviva’s first voyage.
 No matter how big or small the trip might be you always plan ahead. My task, my beloved task as first mate, is to pull out the charts. I’ve so missed doing this! Together, Garrett and I check the weather and tides. Monday was going to be our perfect window. Light and variable winds, tide moving with us at high noon giving us until 3 o’clock before it switches around and works against us, partial clouds, and available crew.
 So where are we going?
I have to give my mother credit. She is a match maker weaving all kinds of relationships. Even growing up she’d find me friends, I know that sounds like I was a lame kid and had trouble making friends but my mom loves meeting people, with no concern for age, and finding out their story and interests then hooking them up with other people interested in similar things generating conversation, knowledge, and mutual benefits. It’s a bit of a gift. Back to this story, my mom is in a book club and knows this lovely woman who has a private dock on the Napa River. She made the introduction.


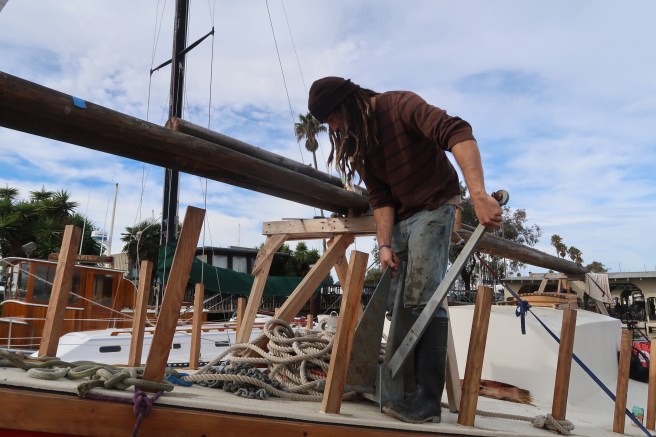
Sunday, the day before, Garrett and I took the kayaks from the dock out to the river entrance to get our bearings. We pointed out landmarks, yellow tree and gazebo mark the half way point and the Italian gondola marks our turn in. After feeling confident about the surroundings it was time to figure distance and if we had enough time between tides to pilot Rediviva with only a dinghy lashed to her side and a 4 horsepower outboard. Making passage plans and researching all options is one of my favorite things. To me it’s like math, there’s always an answer. I found the journey to be about 5 nautical miles and even traveling at 2 knots we’d have plenty of time before the tide switched. Garrett, as captain, has the task of safety and making fast everything on deck. As I stowed and bungeed all below deck, Garrett set up our emergency anchors and fueled up the outboard. He rigged up a bridle for the bow and one for the stern and attached the anchor rode. This was just in case we lost power or steerage and needed to halt the boat.
The captain, seeing all was good, pushed us out of the slip. Tyler and Tiffany, our old neighbors in the boatyard, were our crew. Tiffany helped me film and Tyler was in charge of propulsion.


The four of us worked so well together there was definitely talk of becoming a solid crew in the future, operating a 100ft tall ship charter company. Harebrained Sailors! That’s a dream for another time perhaps 🙂


This movement marks a new chapter. We are out of the Napa Marina. When we launched the boat and got the slip it was understood that we couldn’t live aboard and couldn’t do any major work. This was okay as we needed a spot to keep the boat but eventually would present a problem as there is still so much work to be done. We could work on the engine and a few interior things but there’d be a point we’d need to look for another space because the table saw and sanders counted as major work.


Thanks to my mom’s extrovert personality and the hospitality of a stranger, we had a private dock to now call home. It was a wonderful day. The sun came out more than we were expecting and with plenty of beer and awesome crew there’s no place I’d rather be. At one point we turned the outboard down to a “high idle” so the trip wouldn’t end. There were shouts from the shore line, fishermen and homeowners, “what a pretty boat,” “sweet boat,” and our favorite “honey, look at that!”


All too quickly we passed our landmarks.

Garrett leaned into me and said, “You’re going to take her in.”
I about yelled but it came out a squeak. I steered the entire way but had no idea Garrett was going to let me dock the boat! There was a time Garrett ran around and did everything on the boat. I don’t know if it was because he wanted to save me the trouble or didn’t want to scare me away. It might’ve also been because I didn’t speak up and say I wanted to learn but that’s changing. I want to be apart of this project and this boat not just the bank or galley wench. I found a love for hand steering and navigating. I drool over charts and am exhilarated by the tender movement of the ship as I push or pull the tiller. I’ve docked only two boats in my history and about a total of 4 times so it was a big honor to guide Rediviva into her slip.


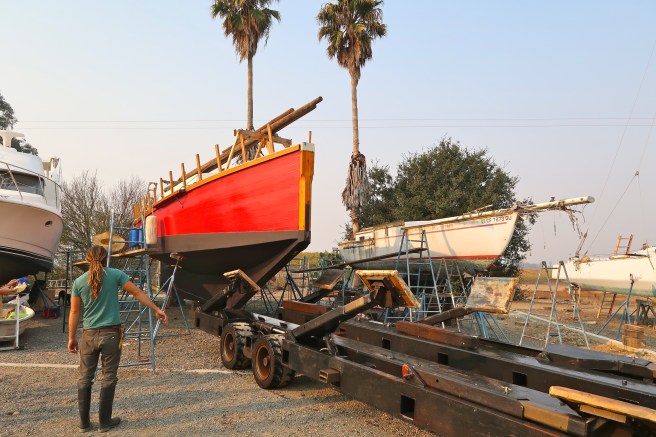
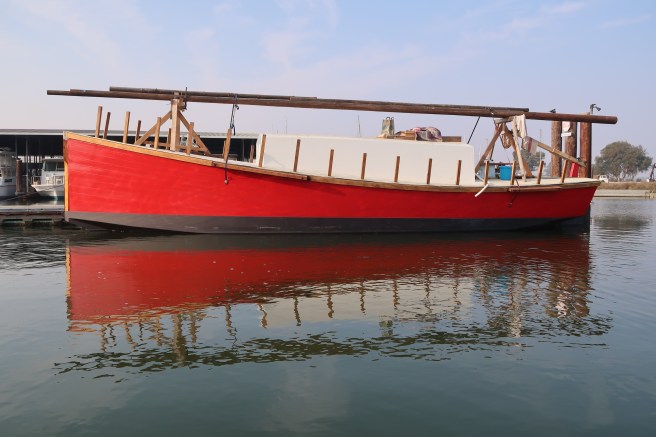
The day had perfect conditions and with no wind to speak of we docked in slow motion, just about as easy as I could have it.

The one concern with this dock was that it’s only 25 feet long. Rediviva overhangs by 10 feet. It didn’t appear as ridiculous as we thought it might. Since her stern has that recurve to the transom she looks “as cute as a button.”

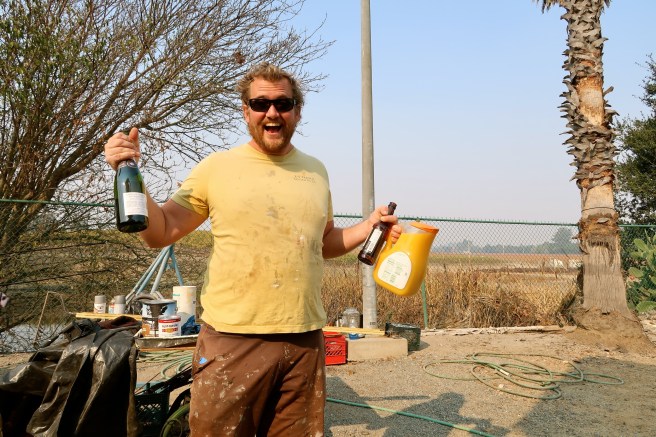
Now it was time to feed and drench the crew in libations!


Successful passage to Port Davenport