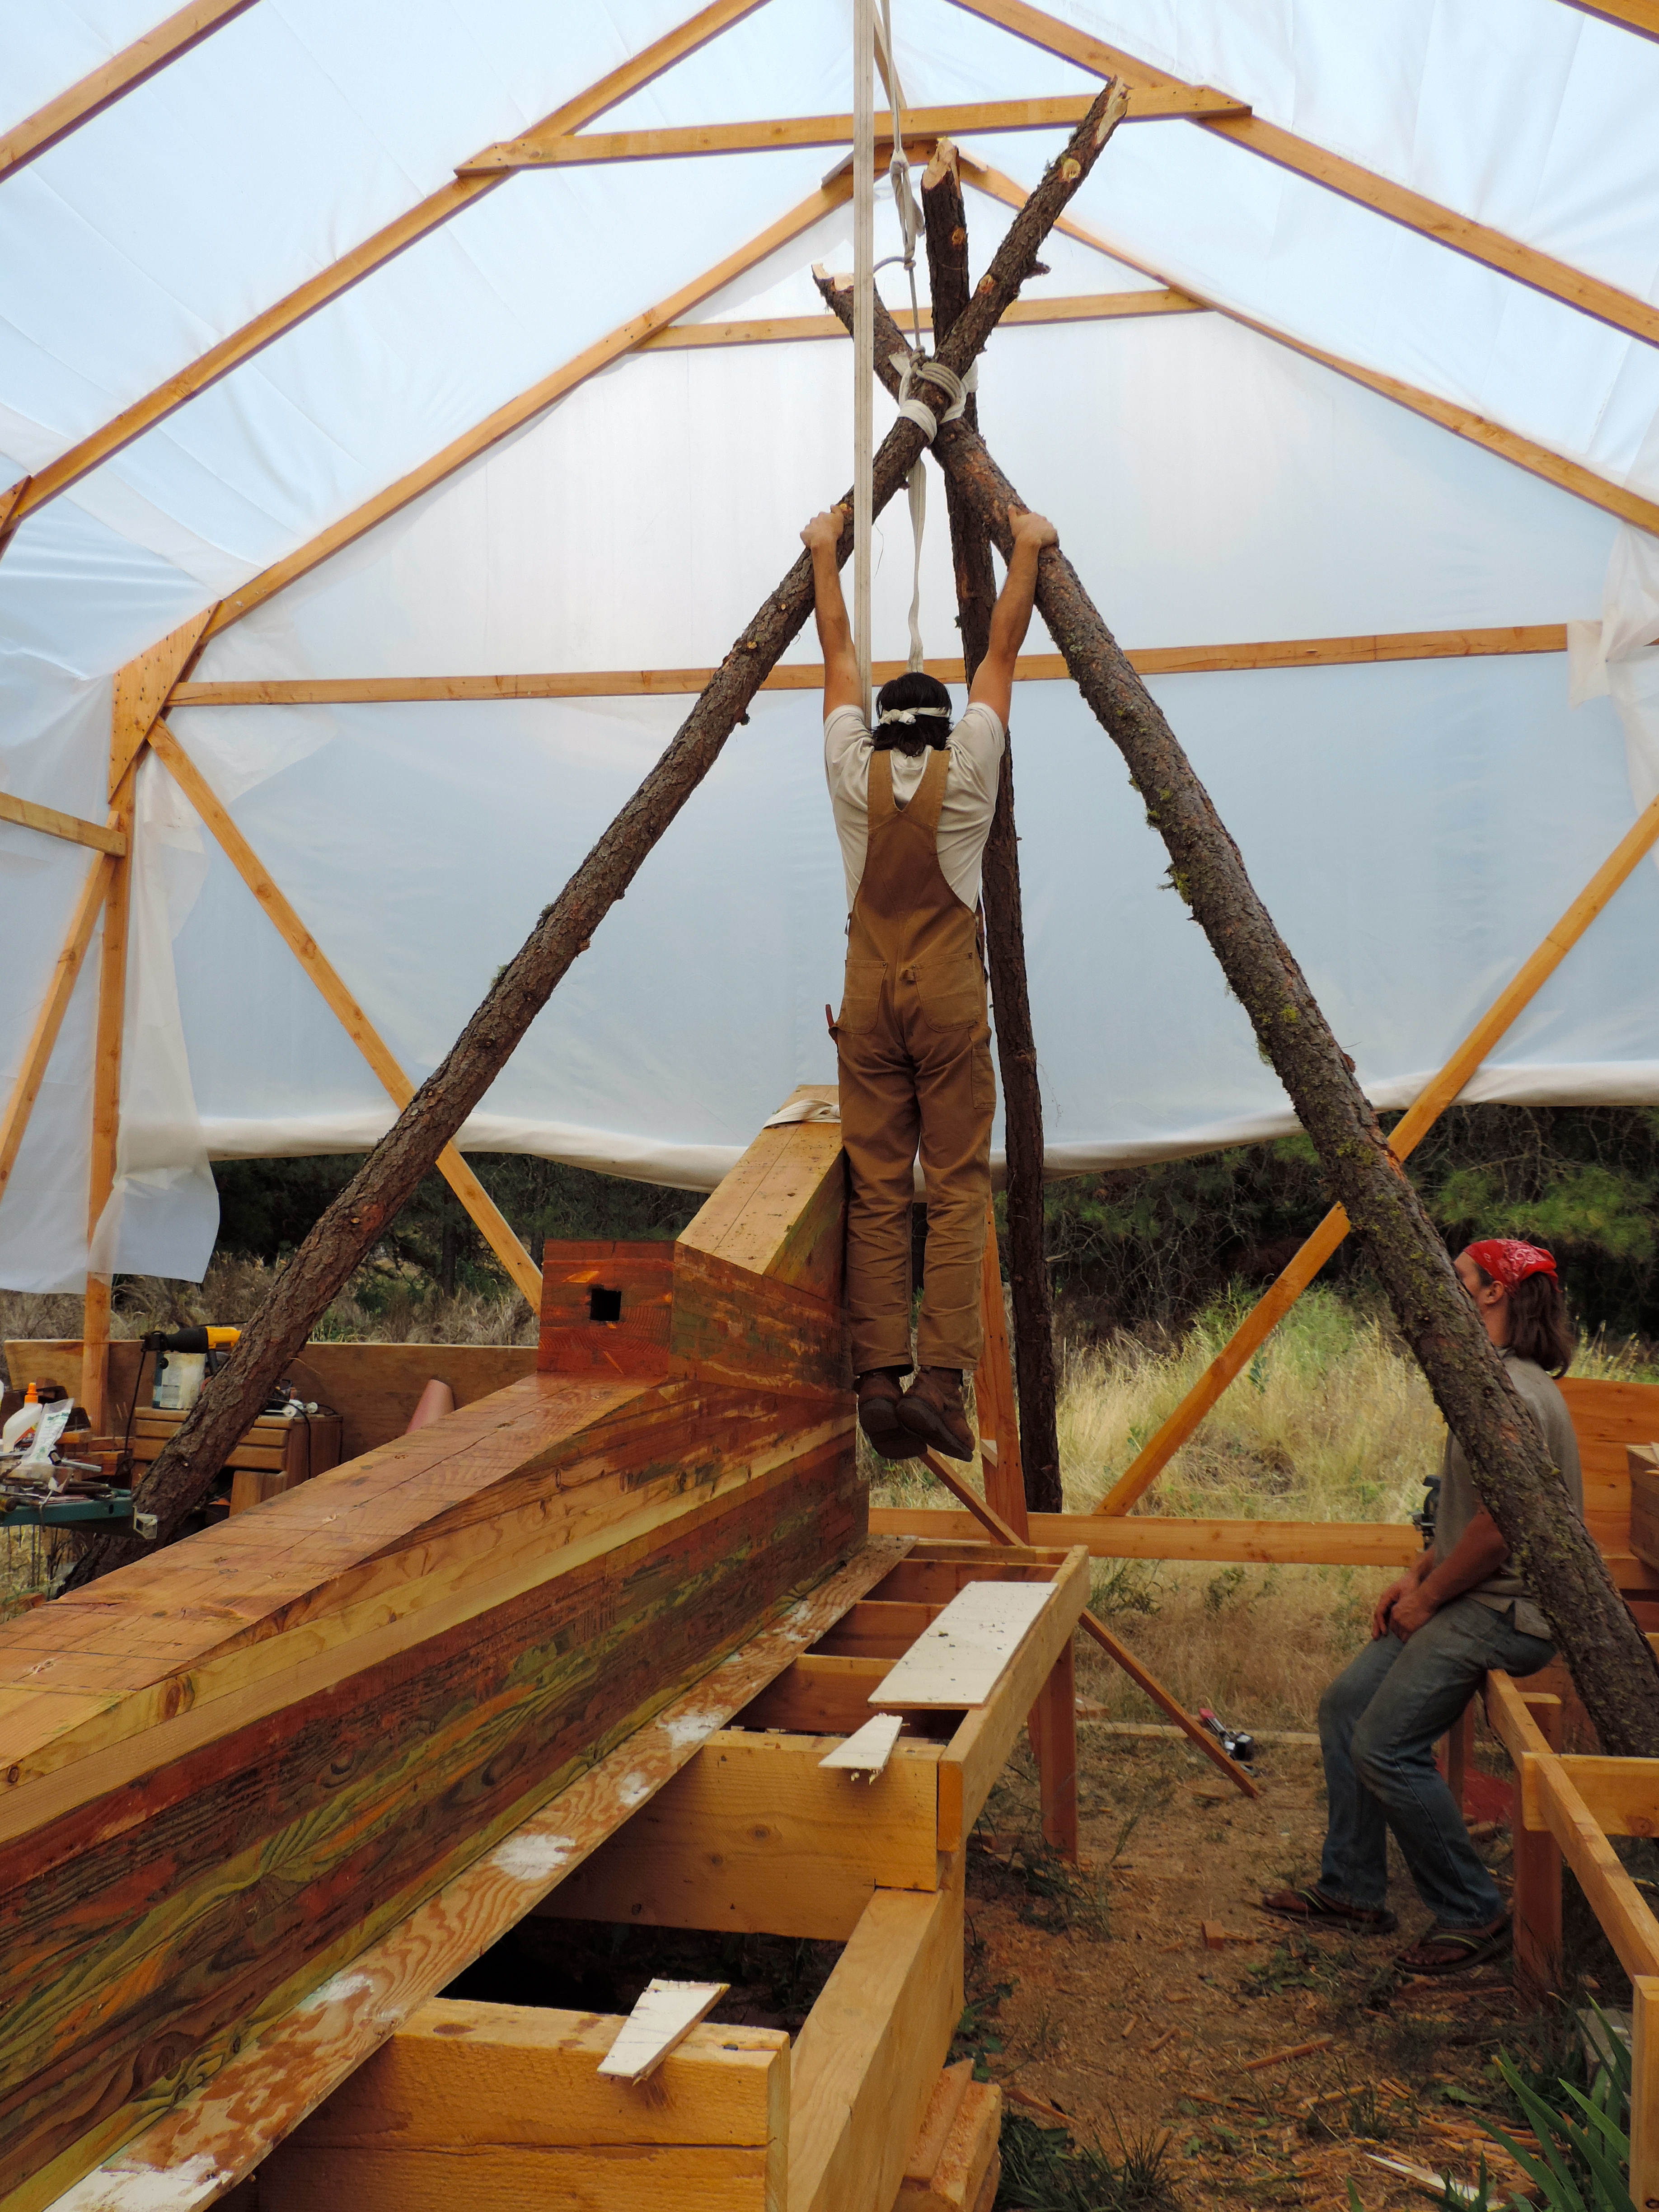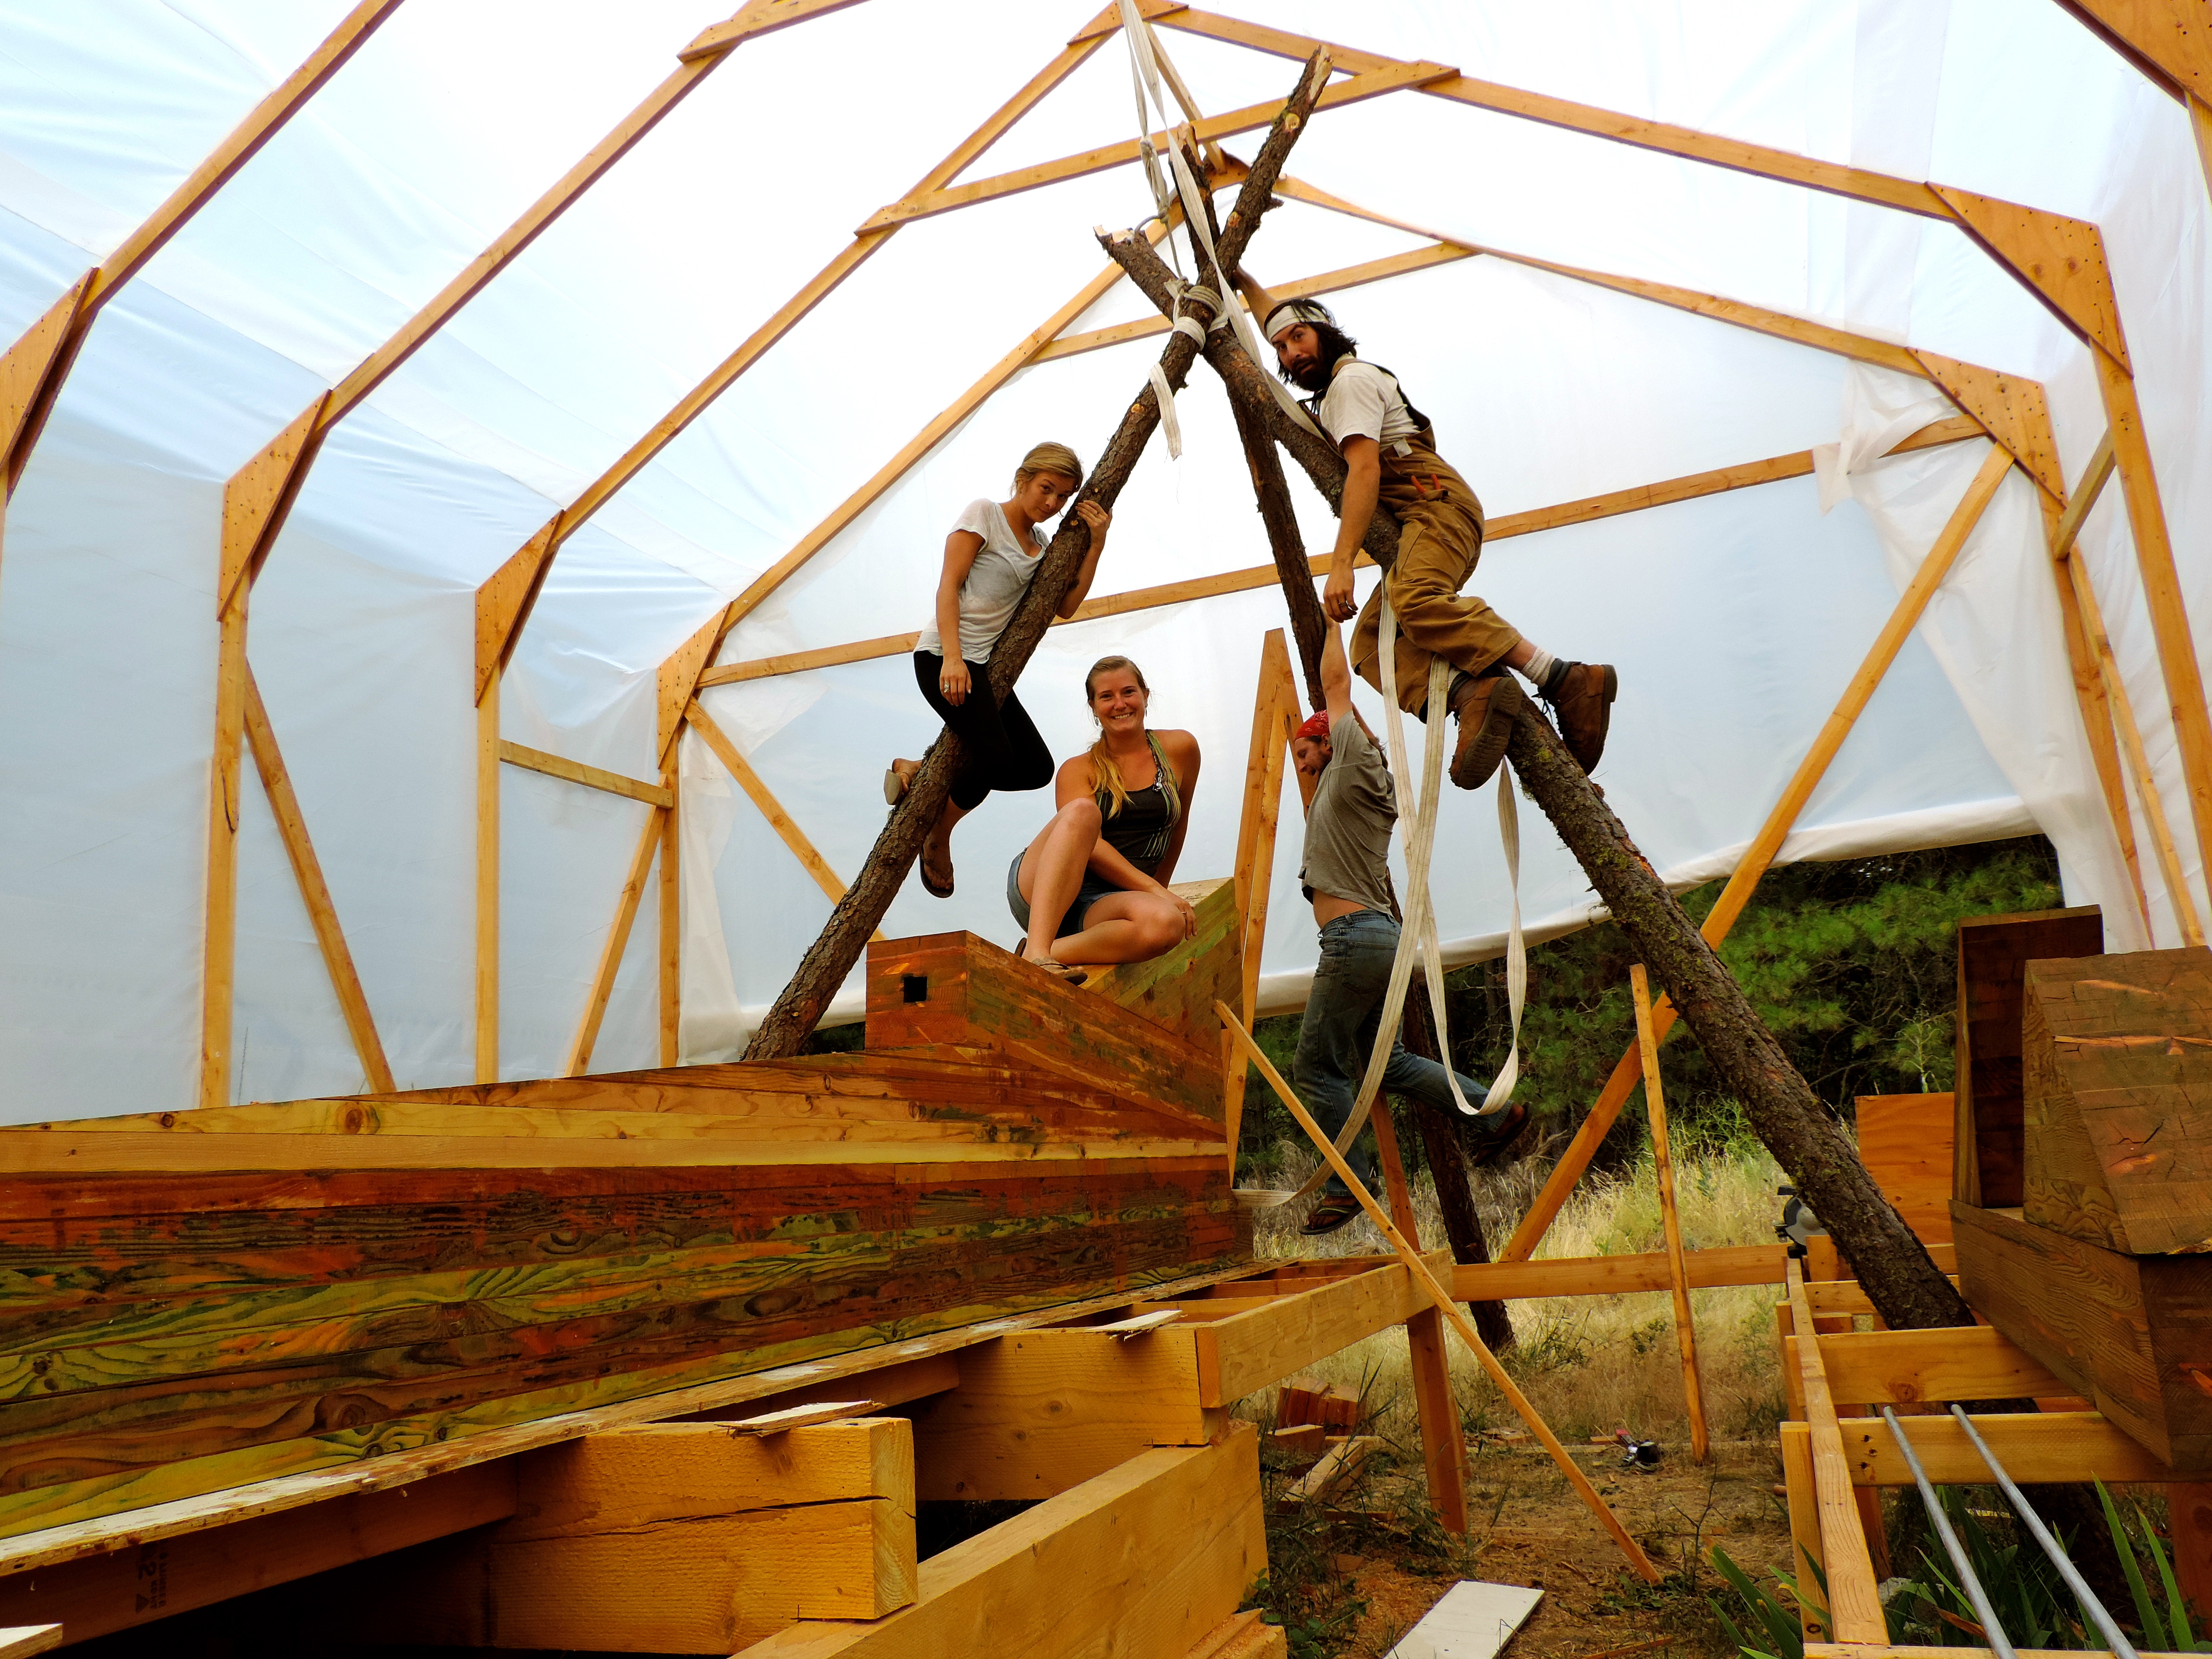
We finally did it! And we didn’t even break anything! The tripod worked swimmingly. We had total control of the keel, and were able to inch it down nice and slow. The whole setup is way overkill for the keel right now, but we are planing to use it to flip the keel back up after adding 6 or 7 thousand pounds to it. Hopefully that go as well as this did!
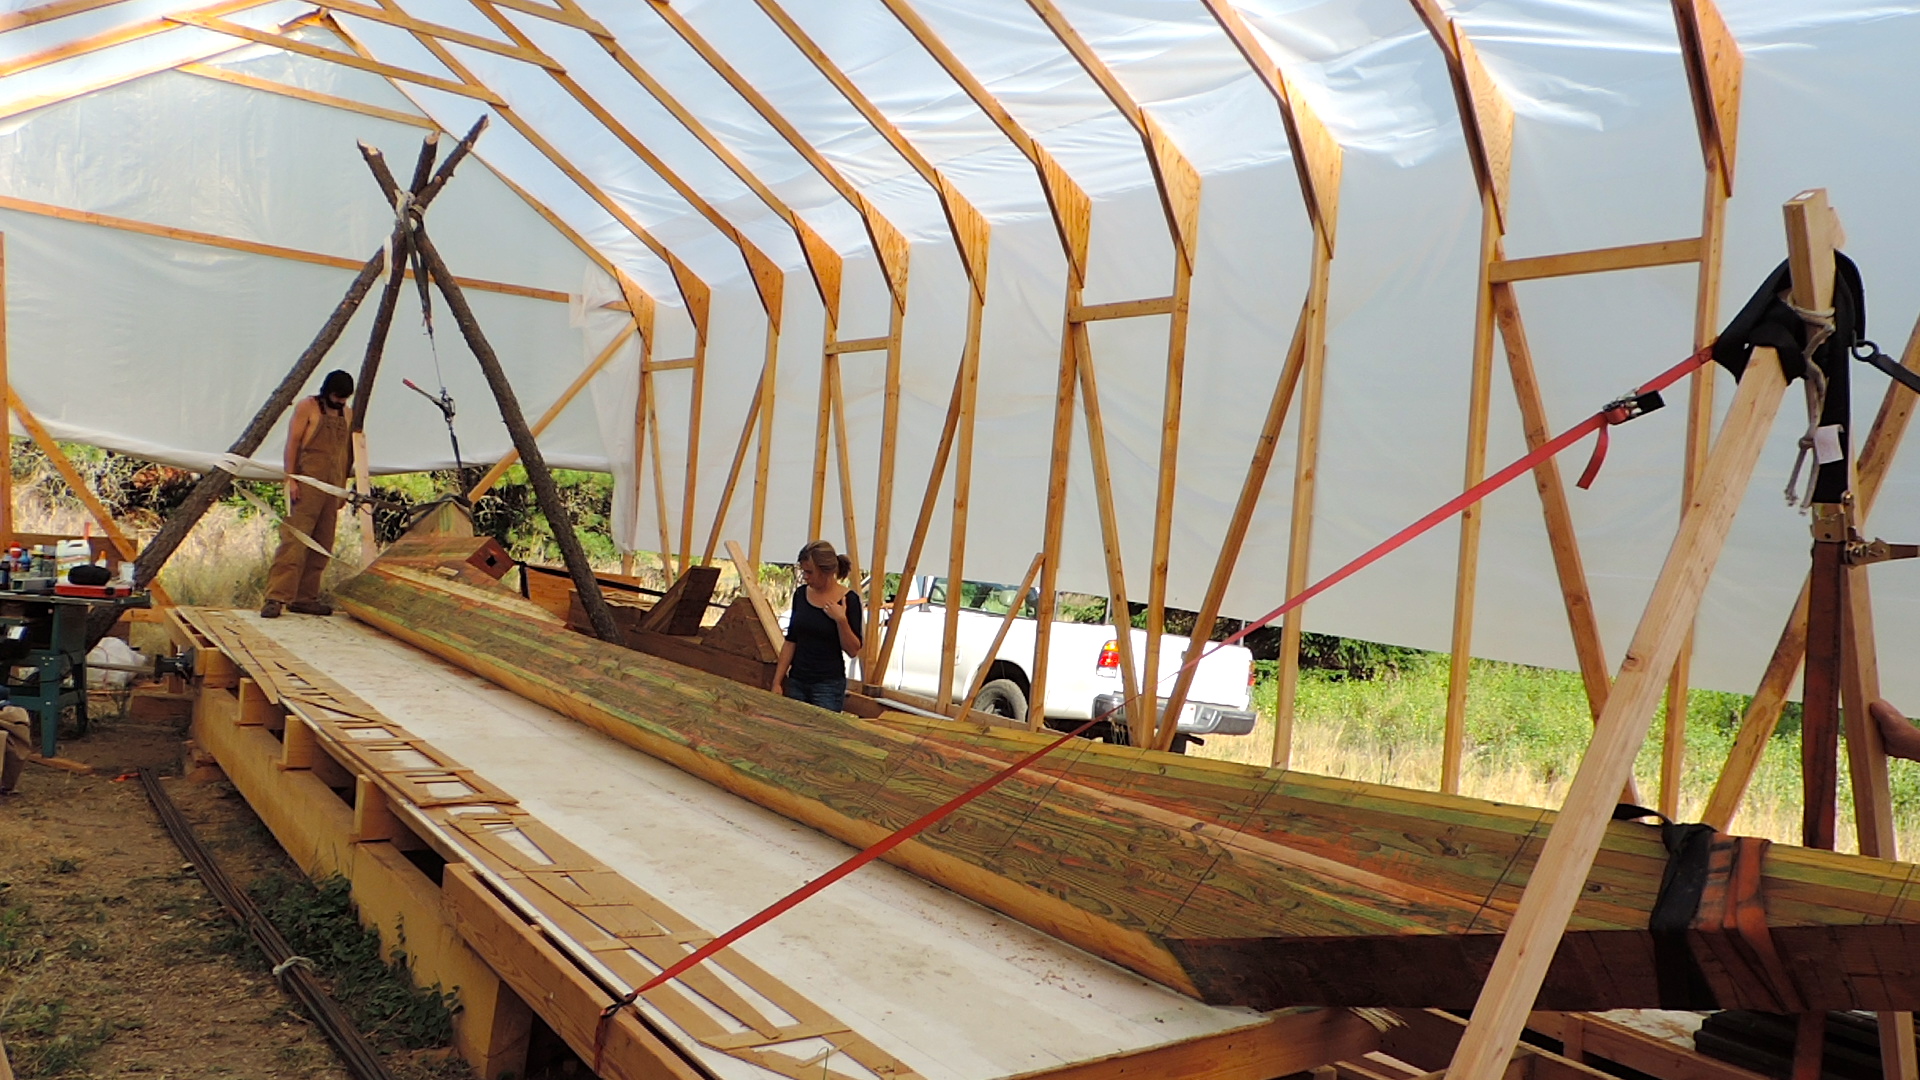
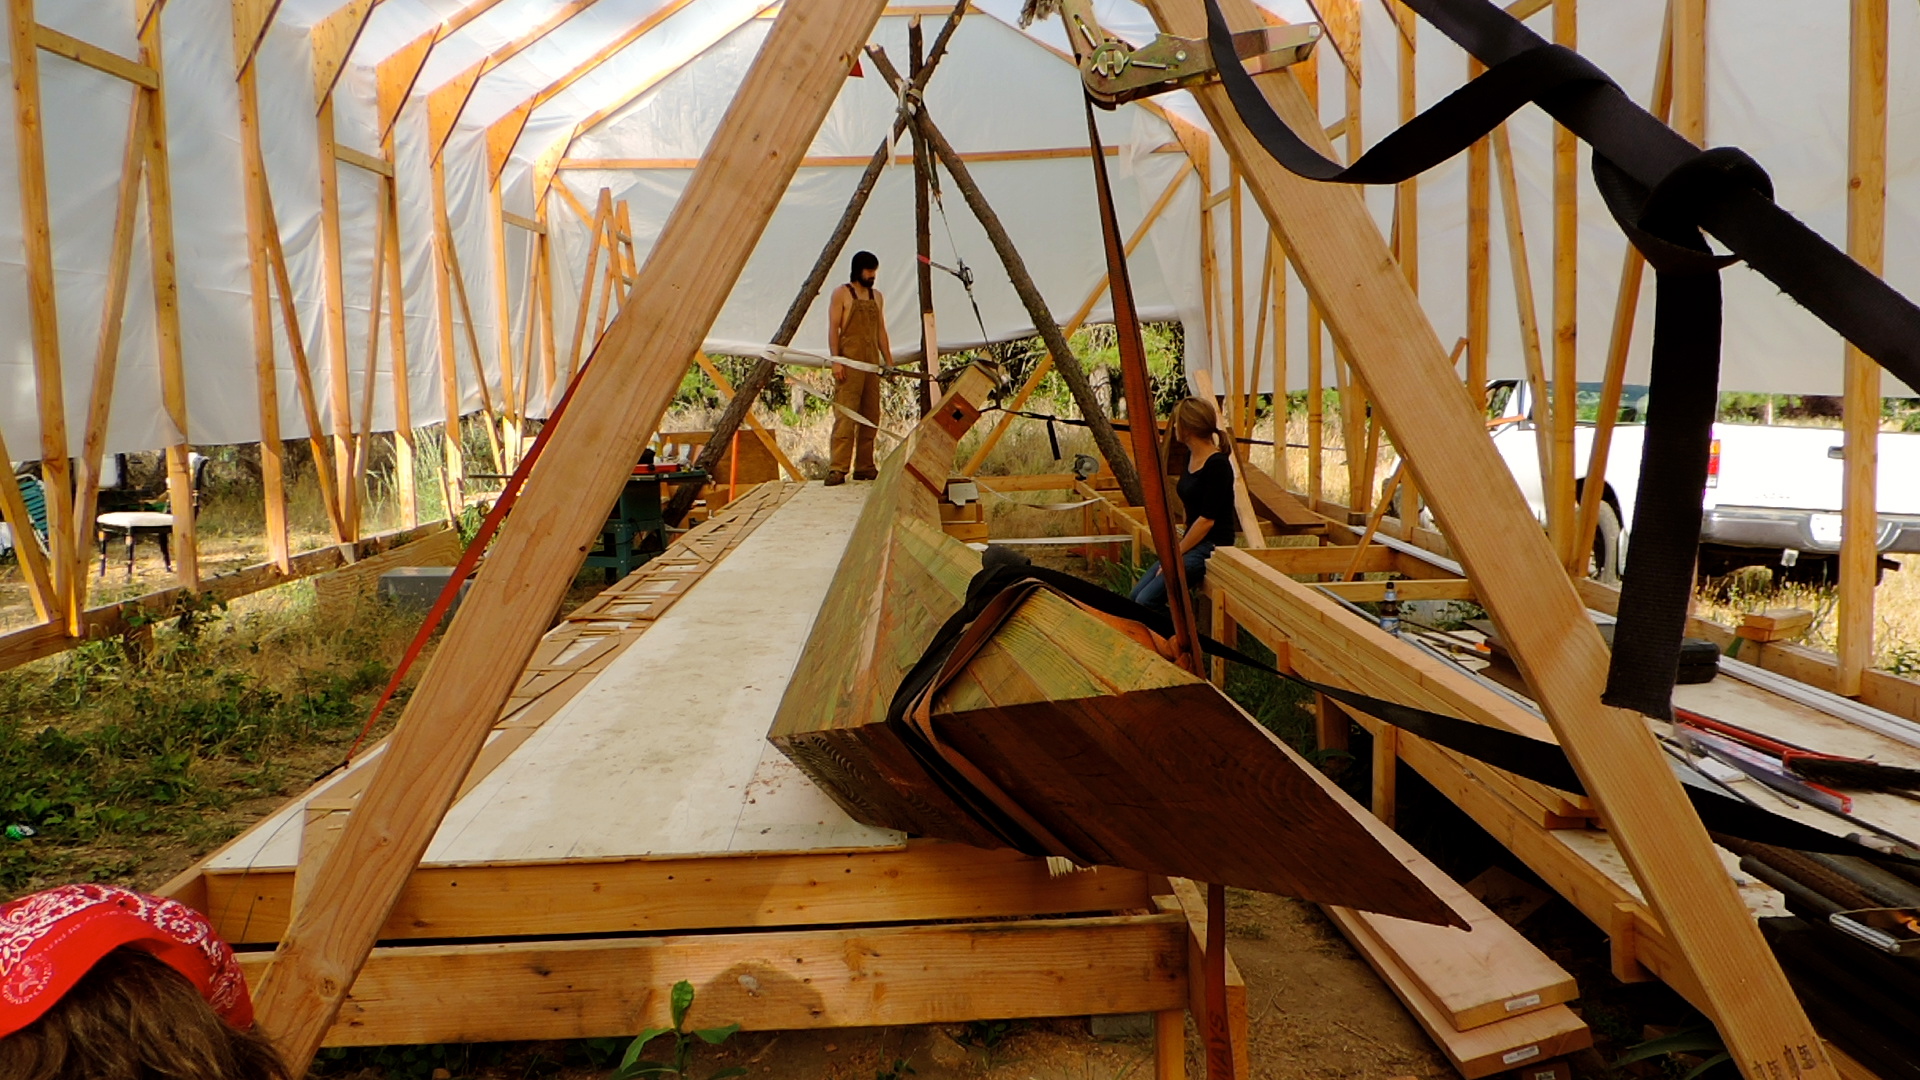
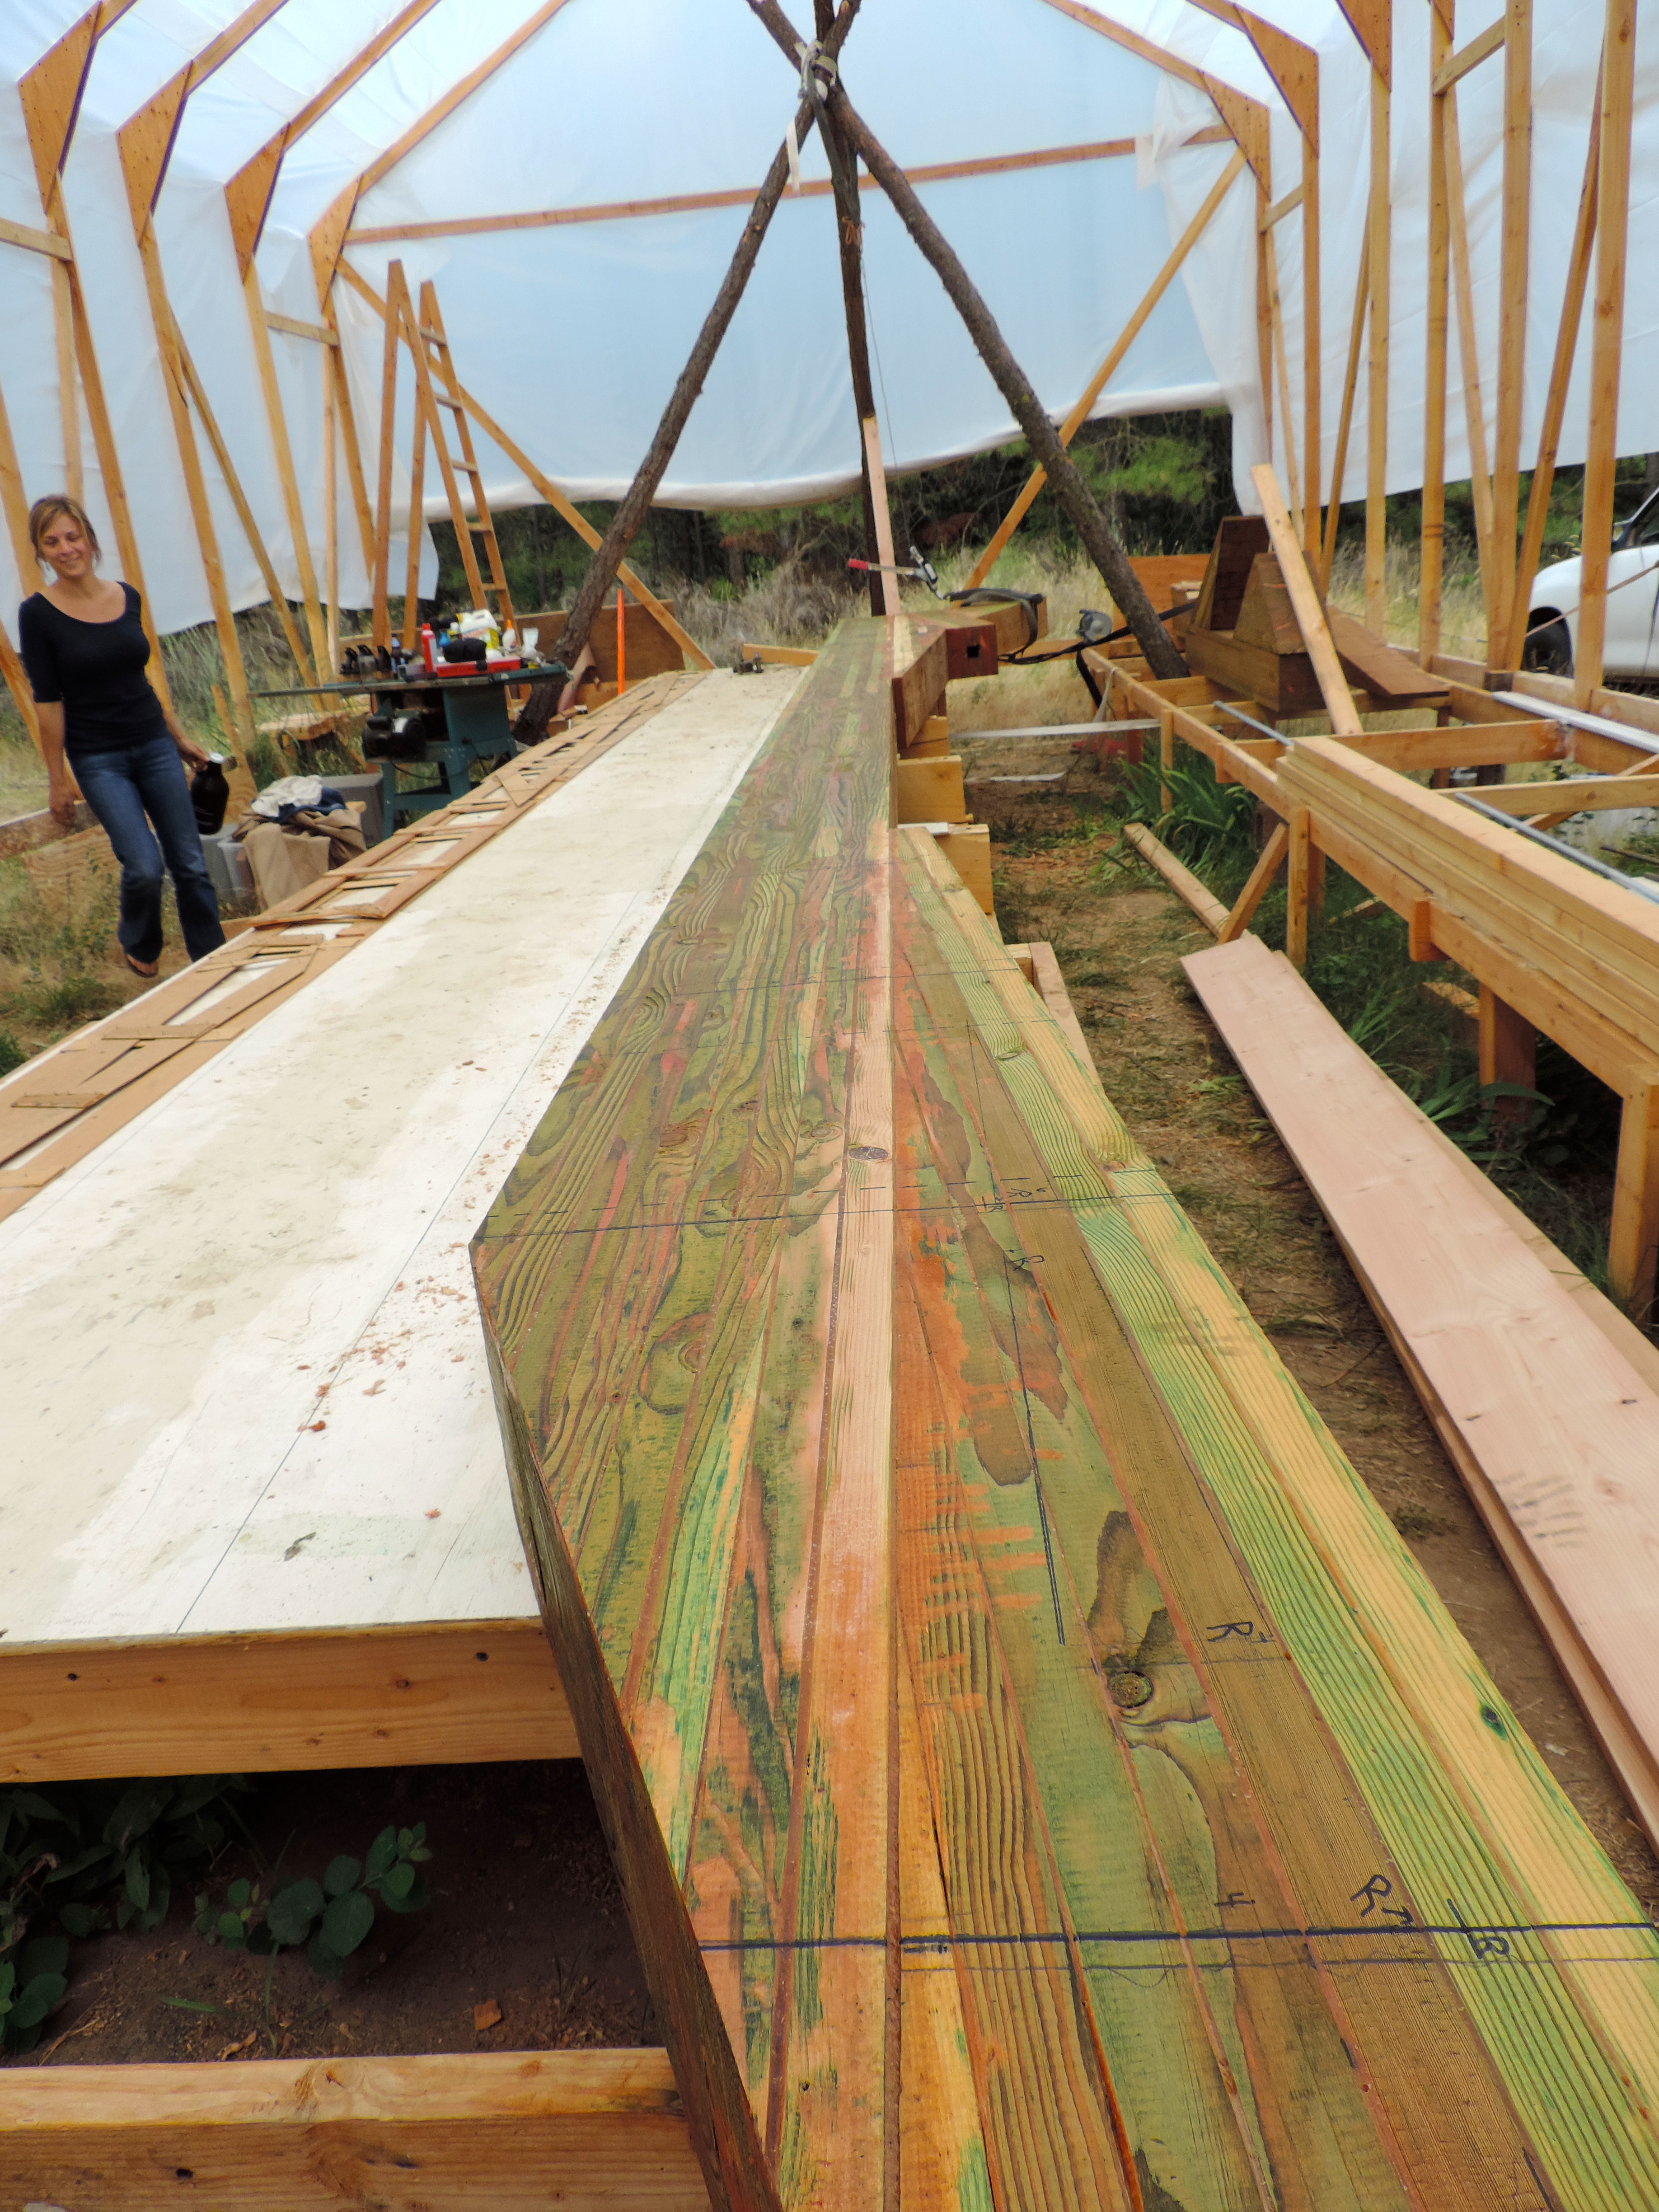
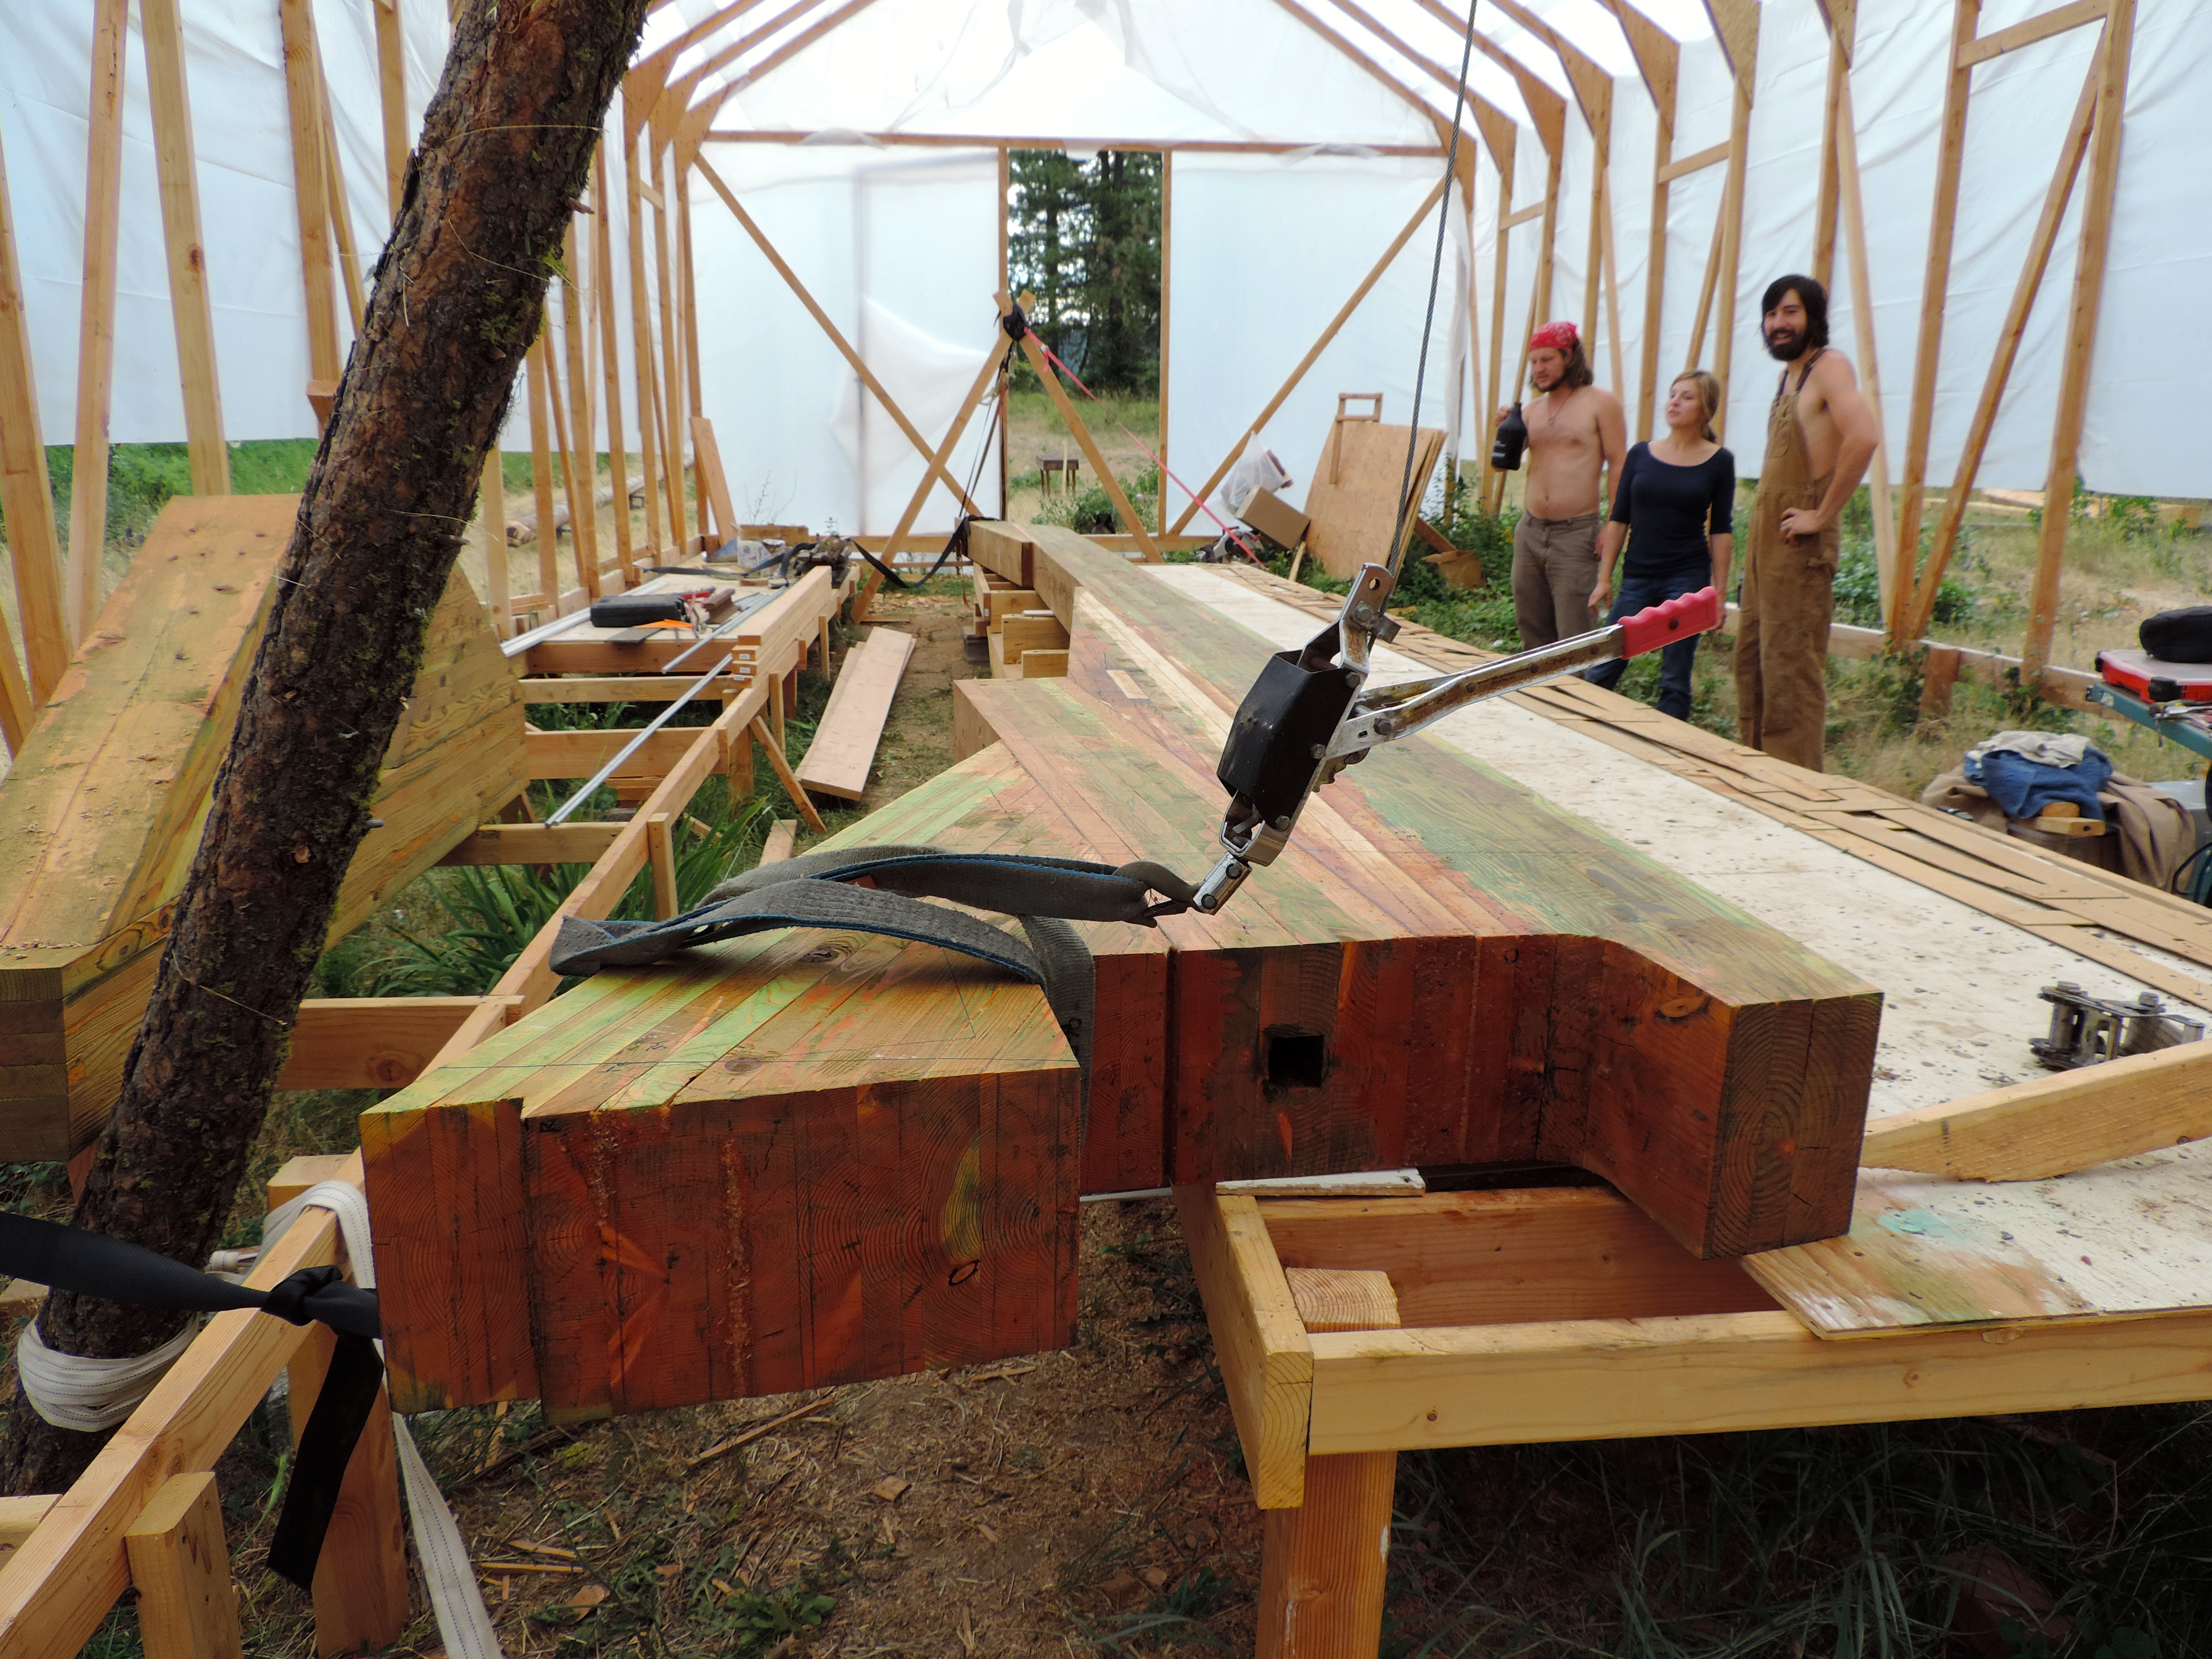
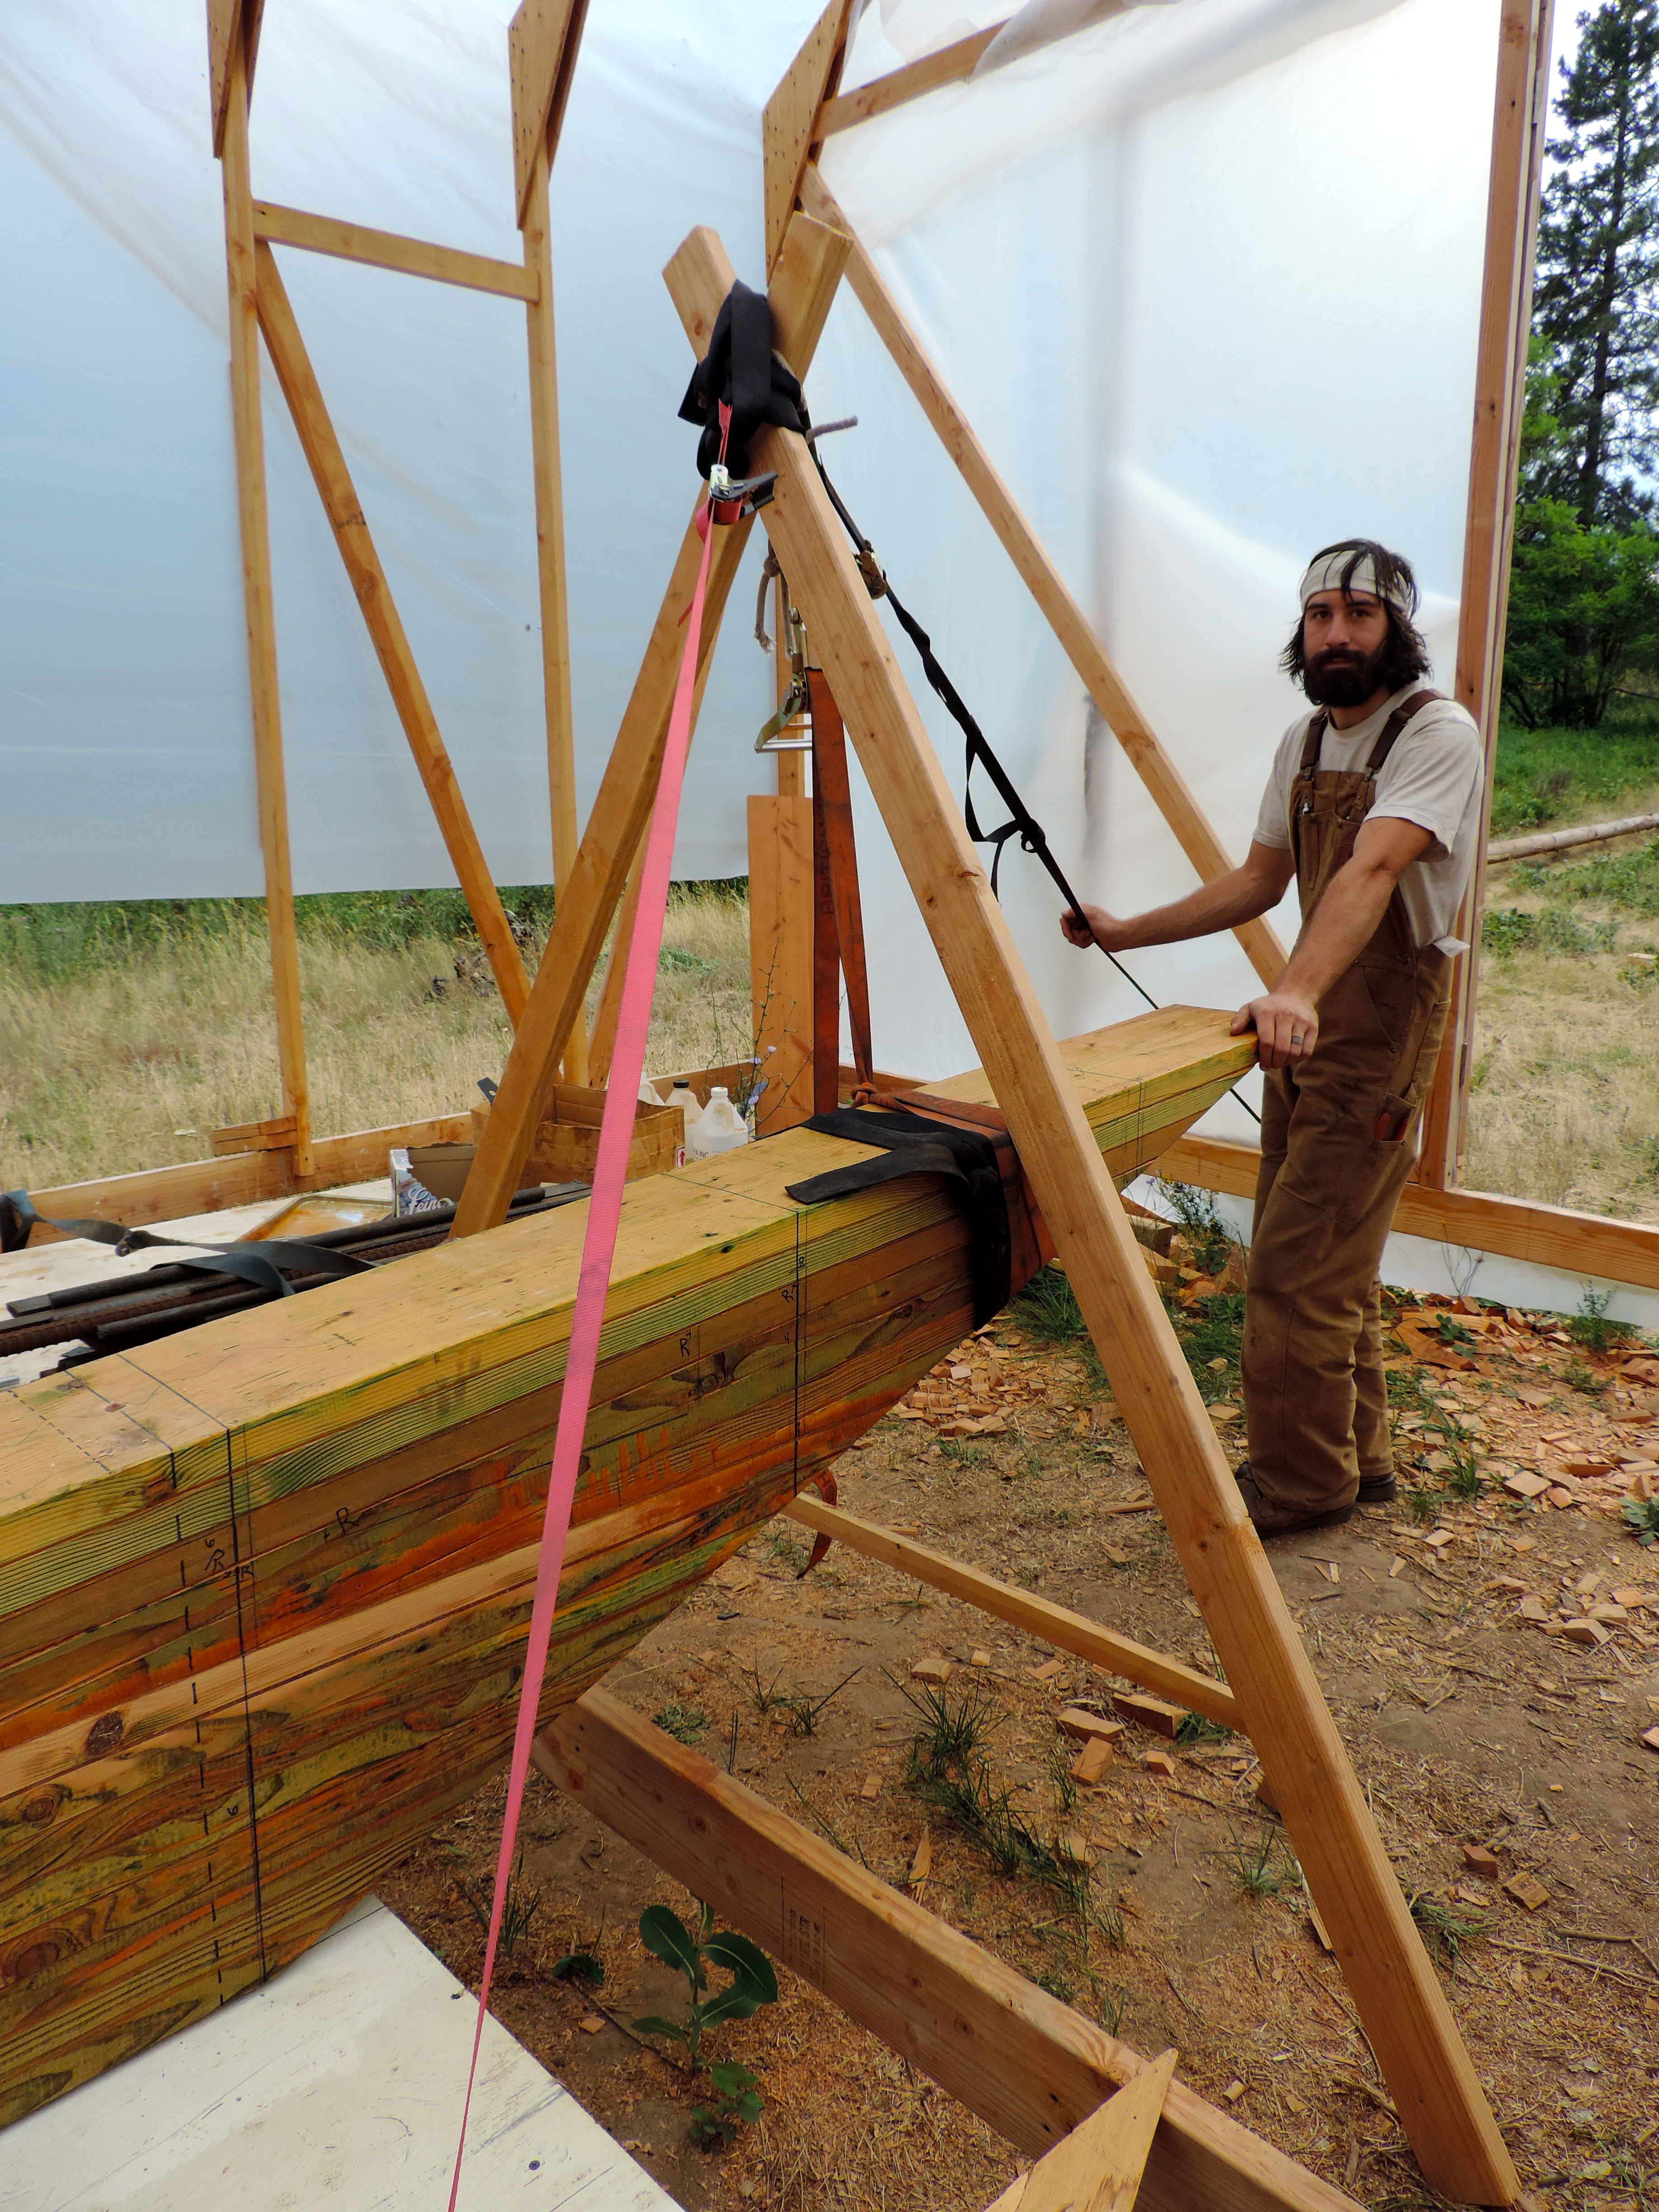
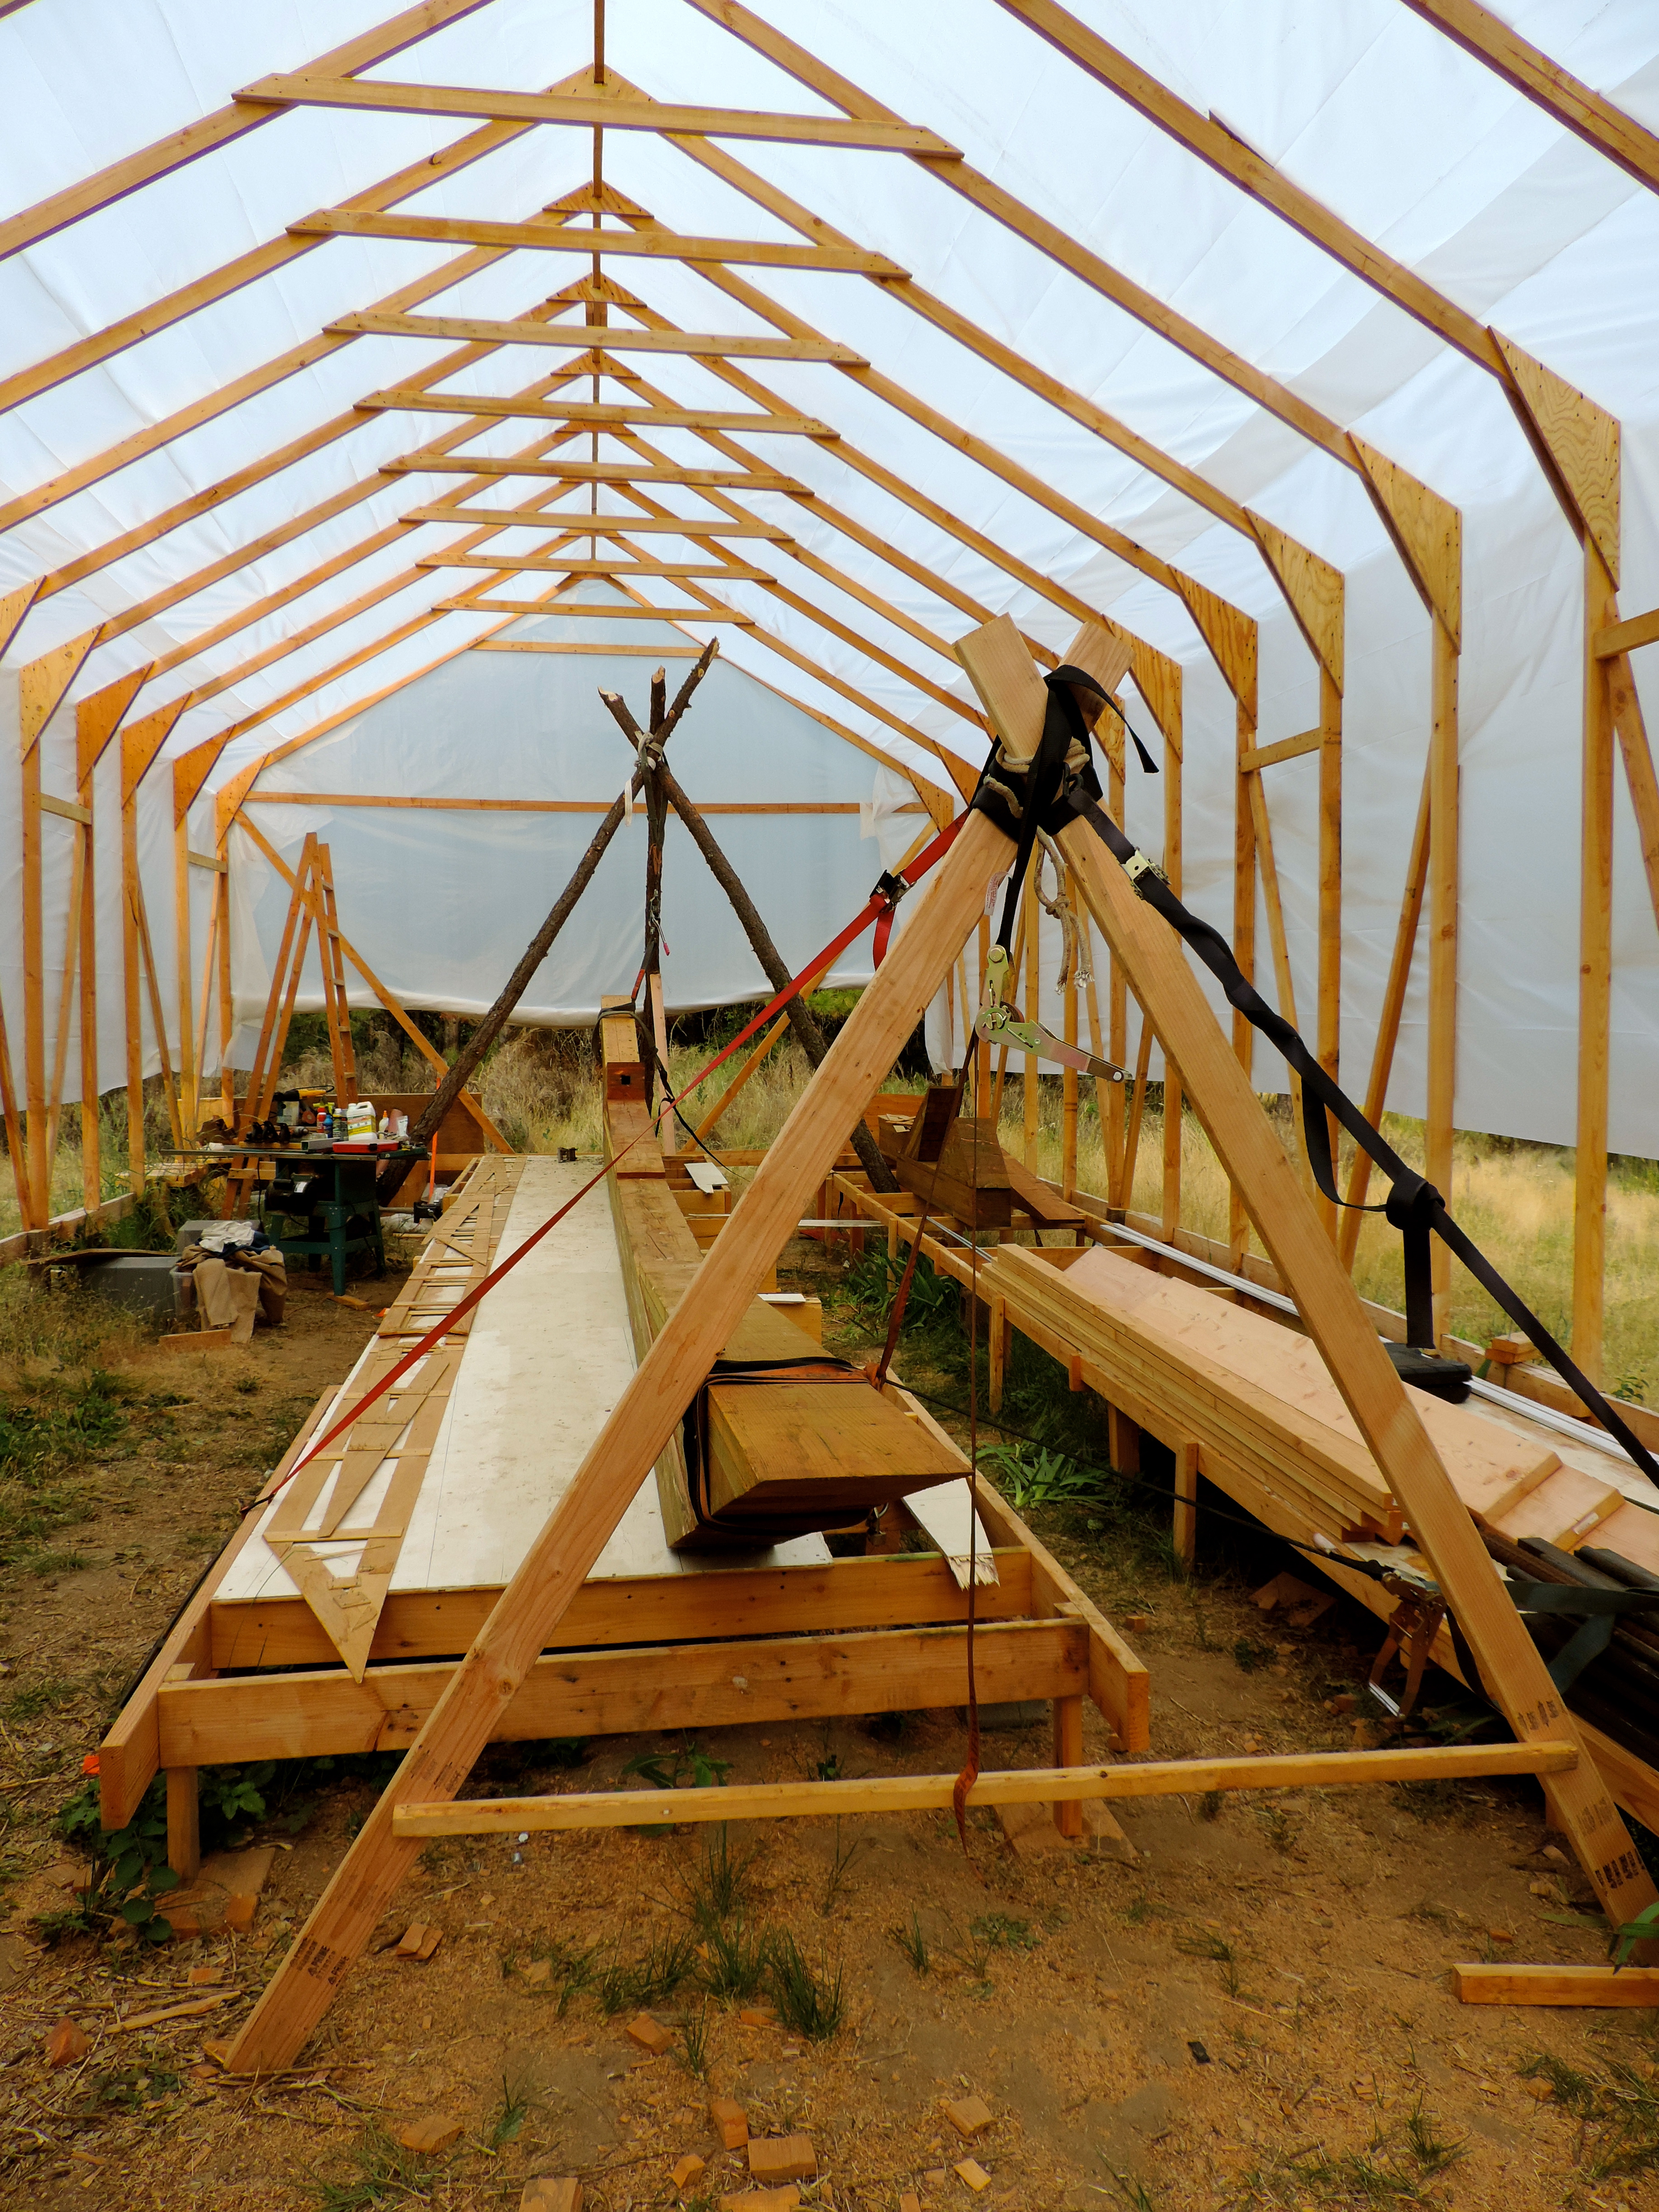
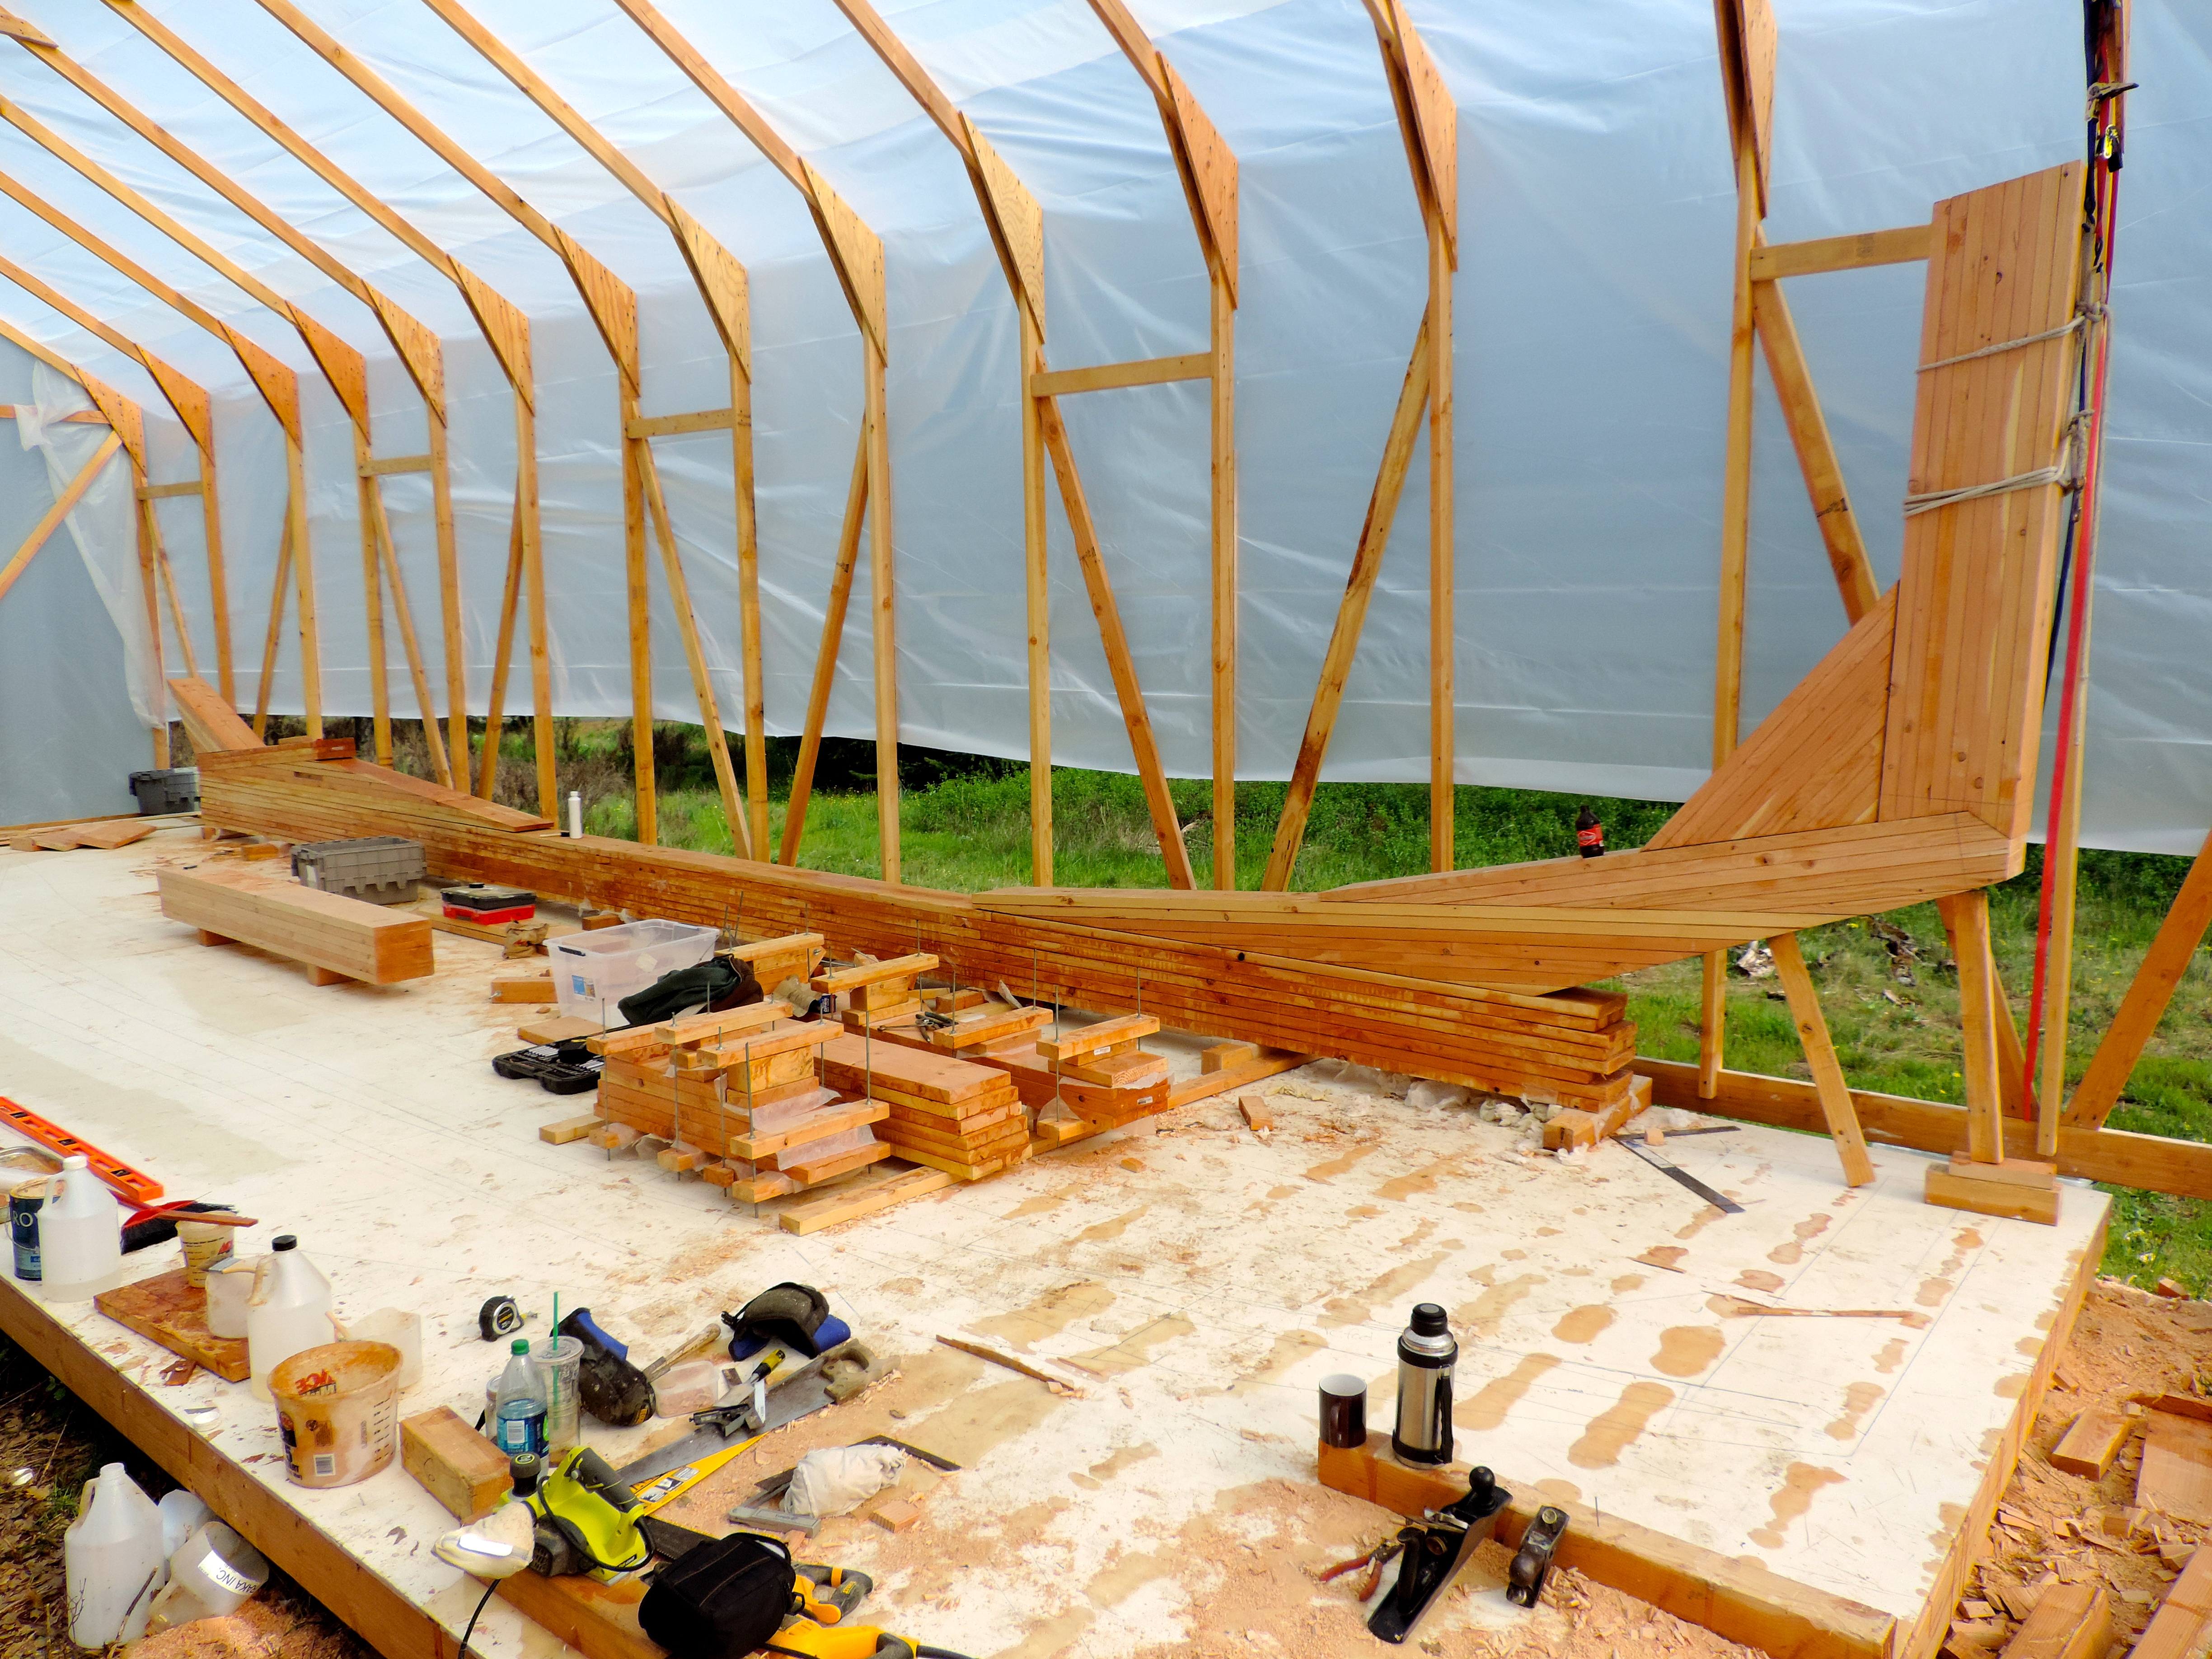
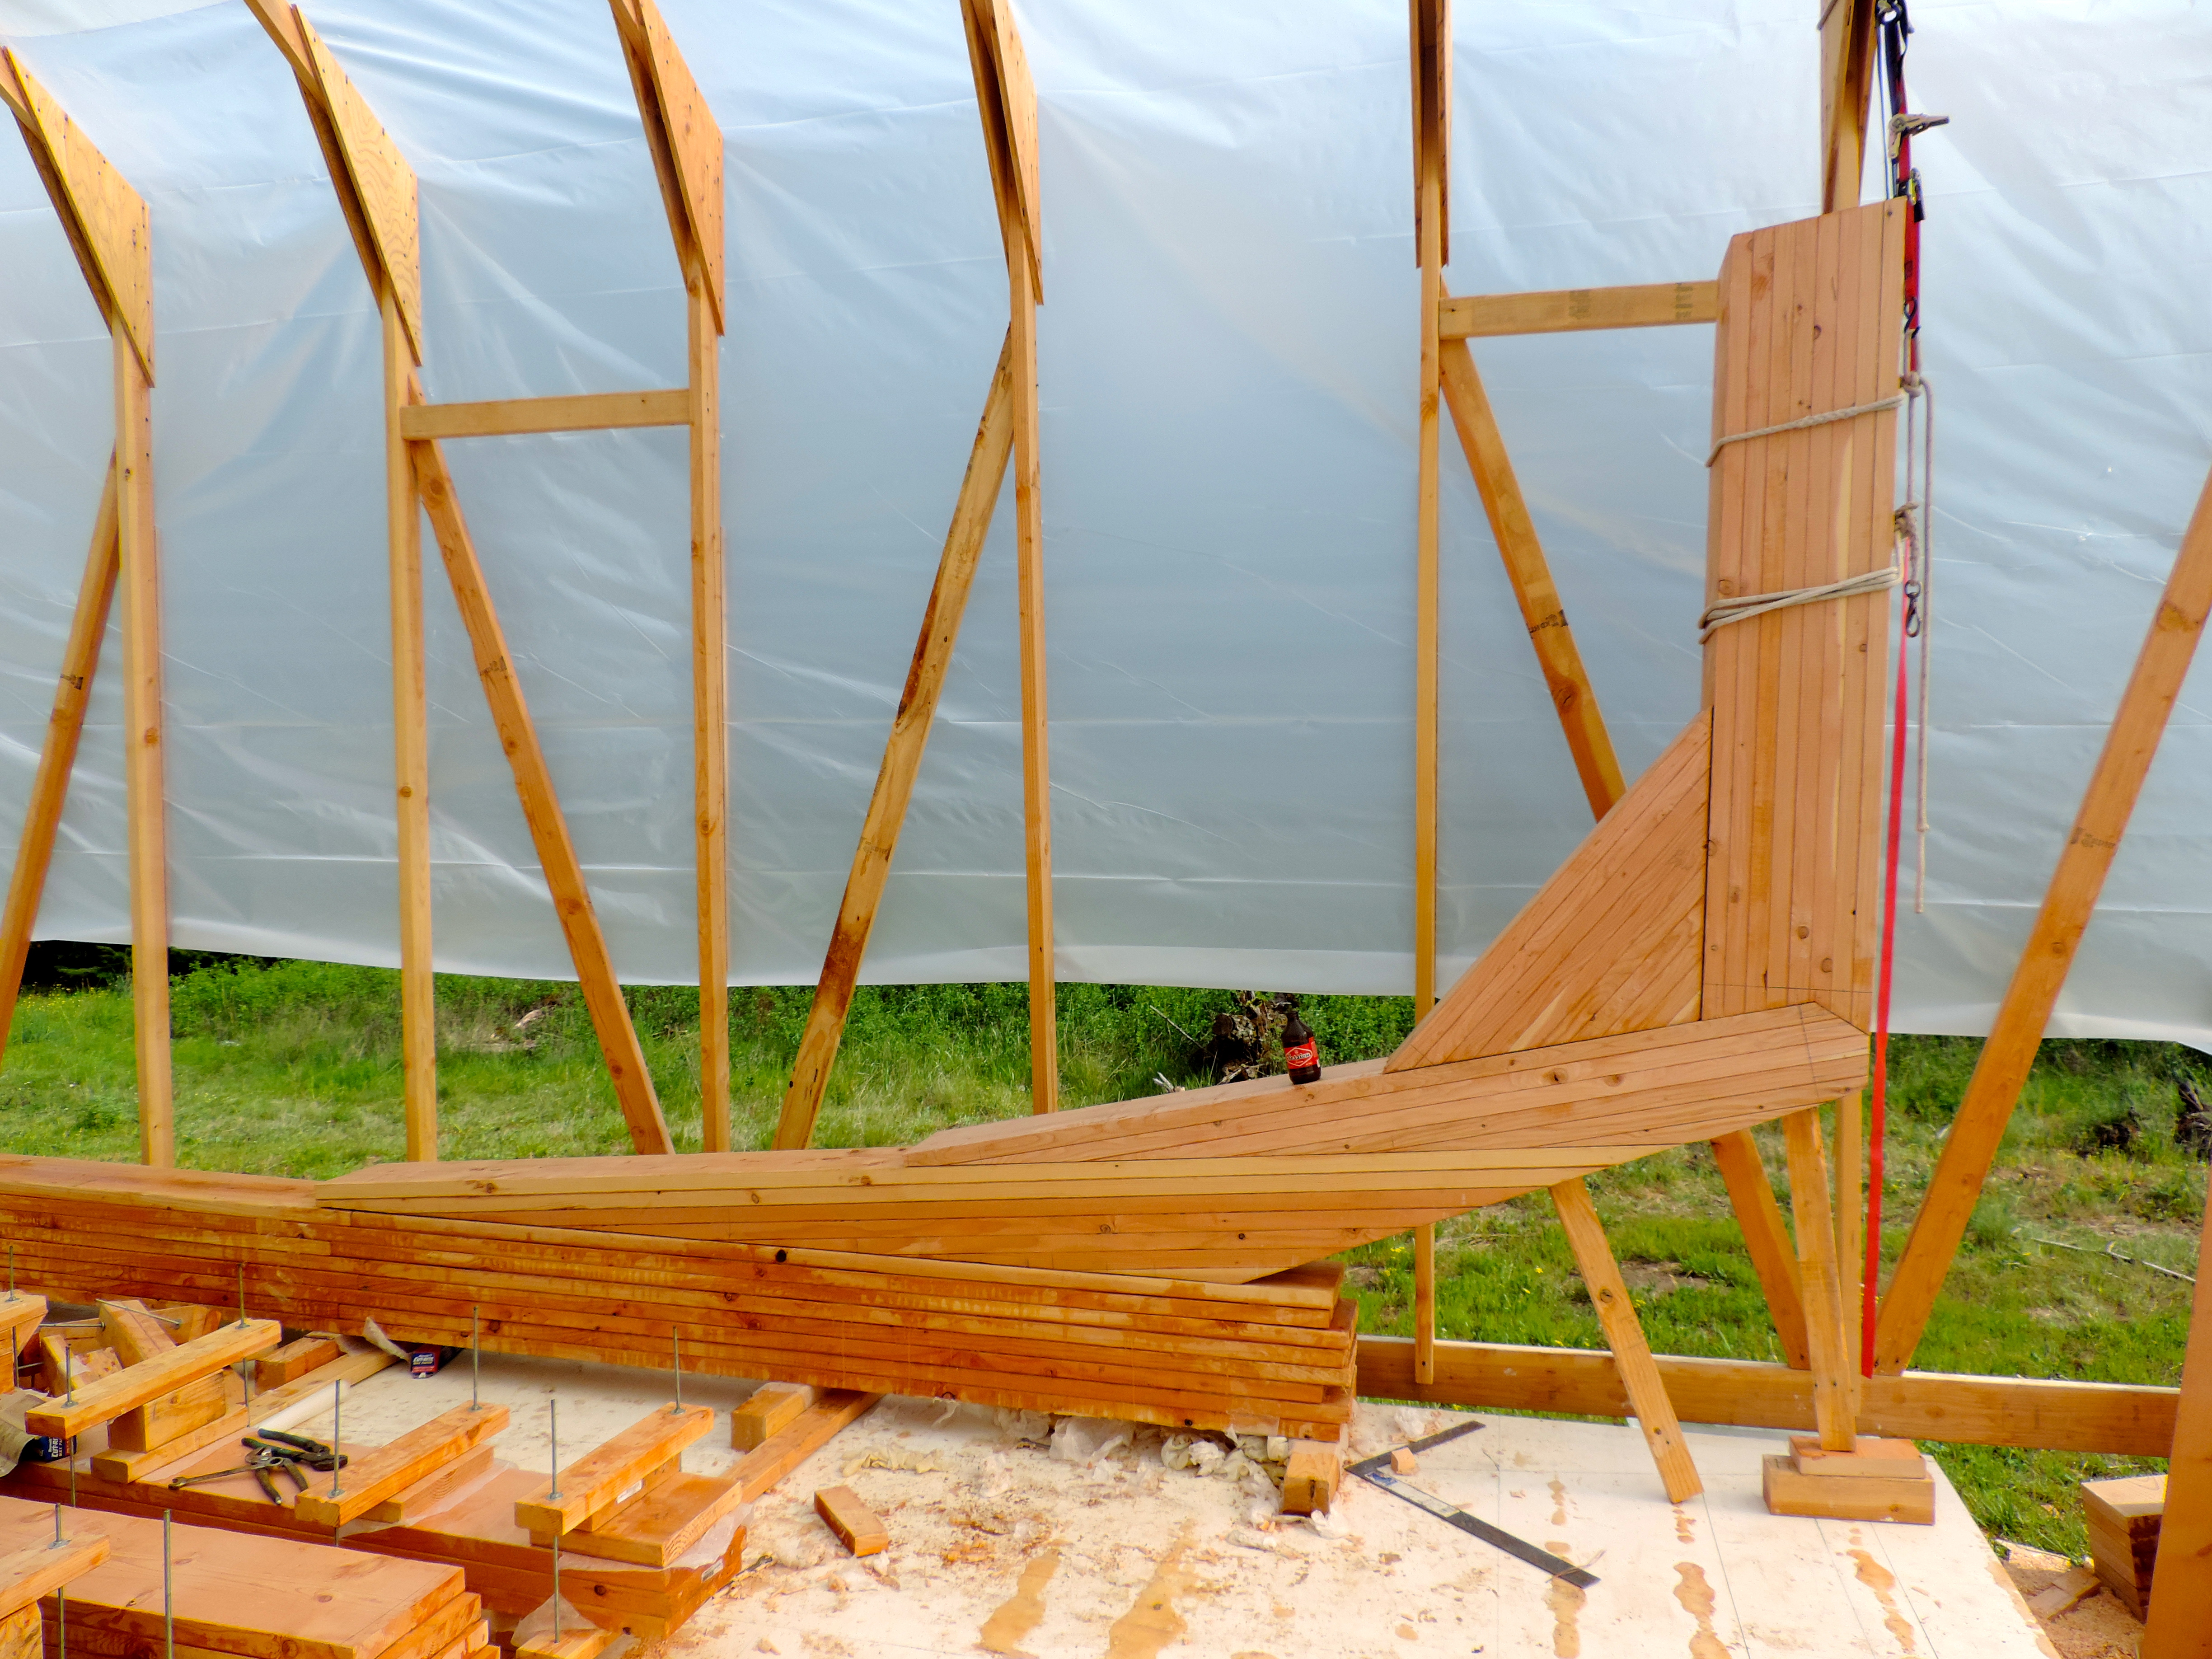
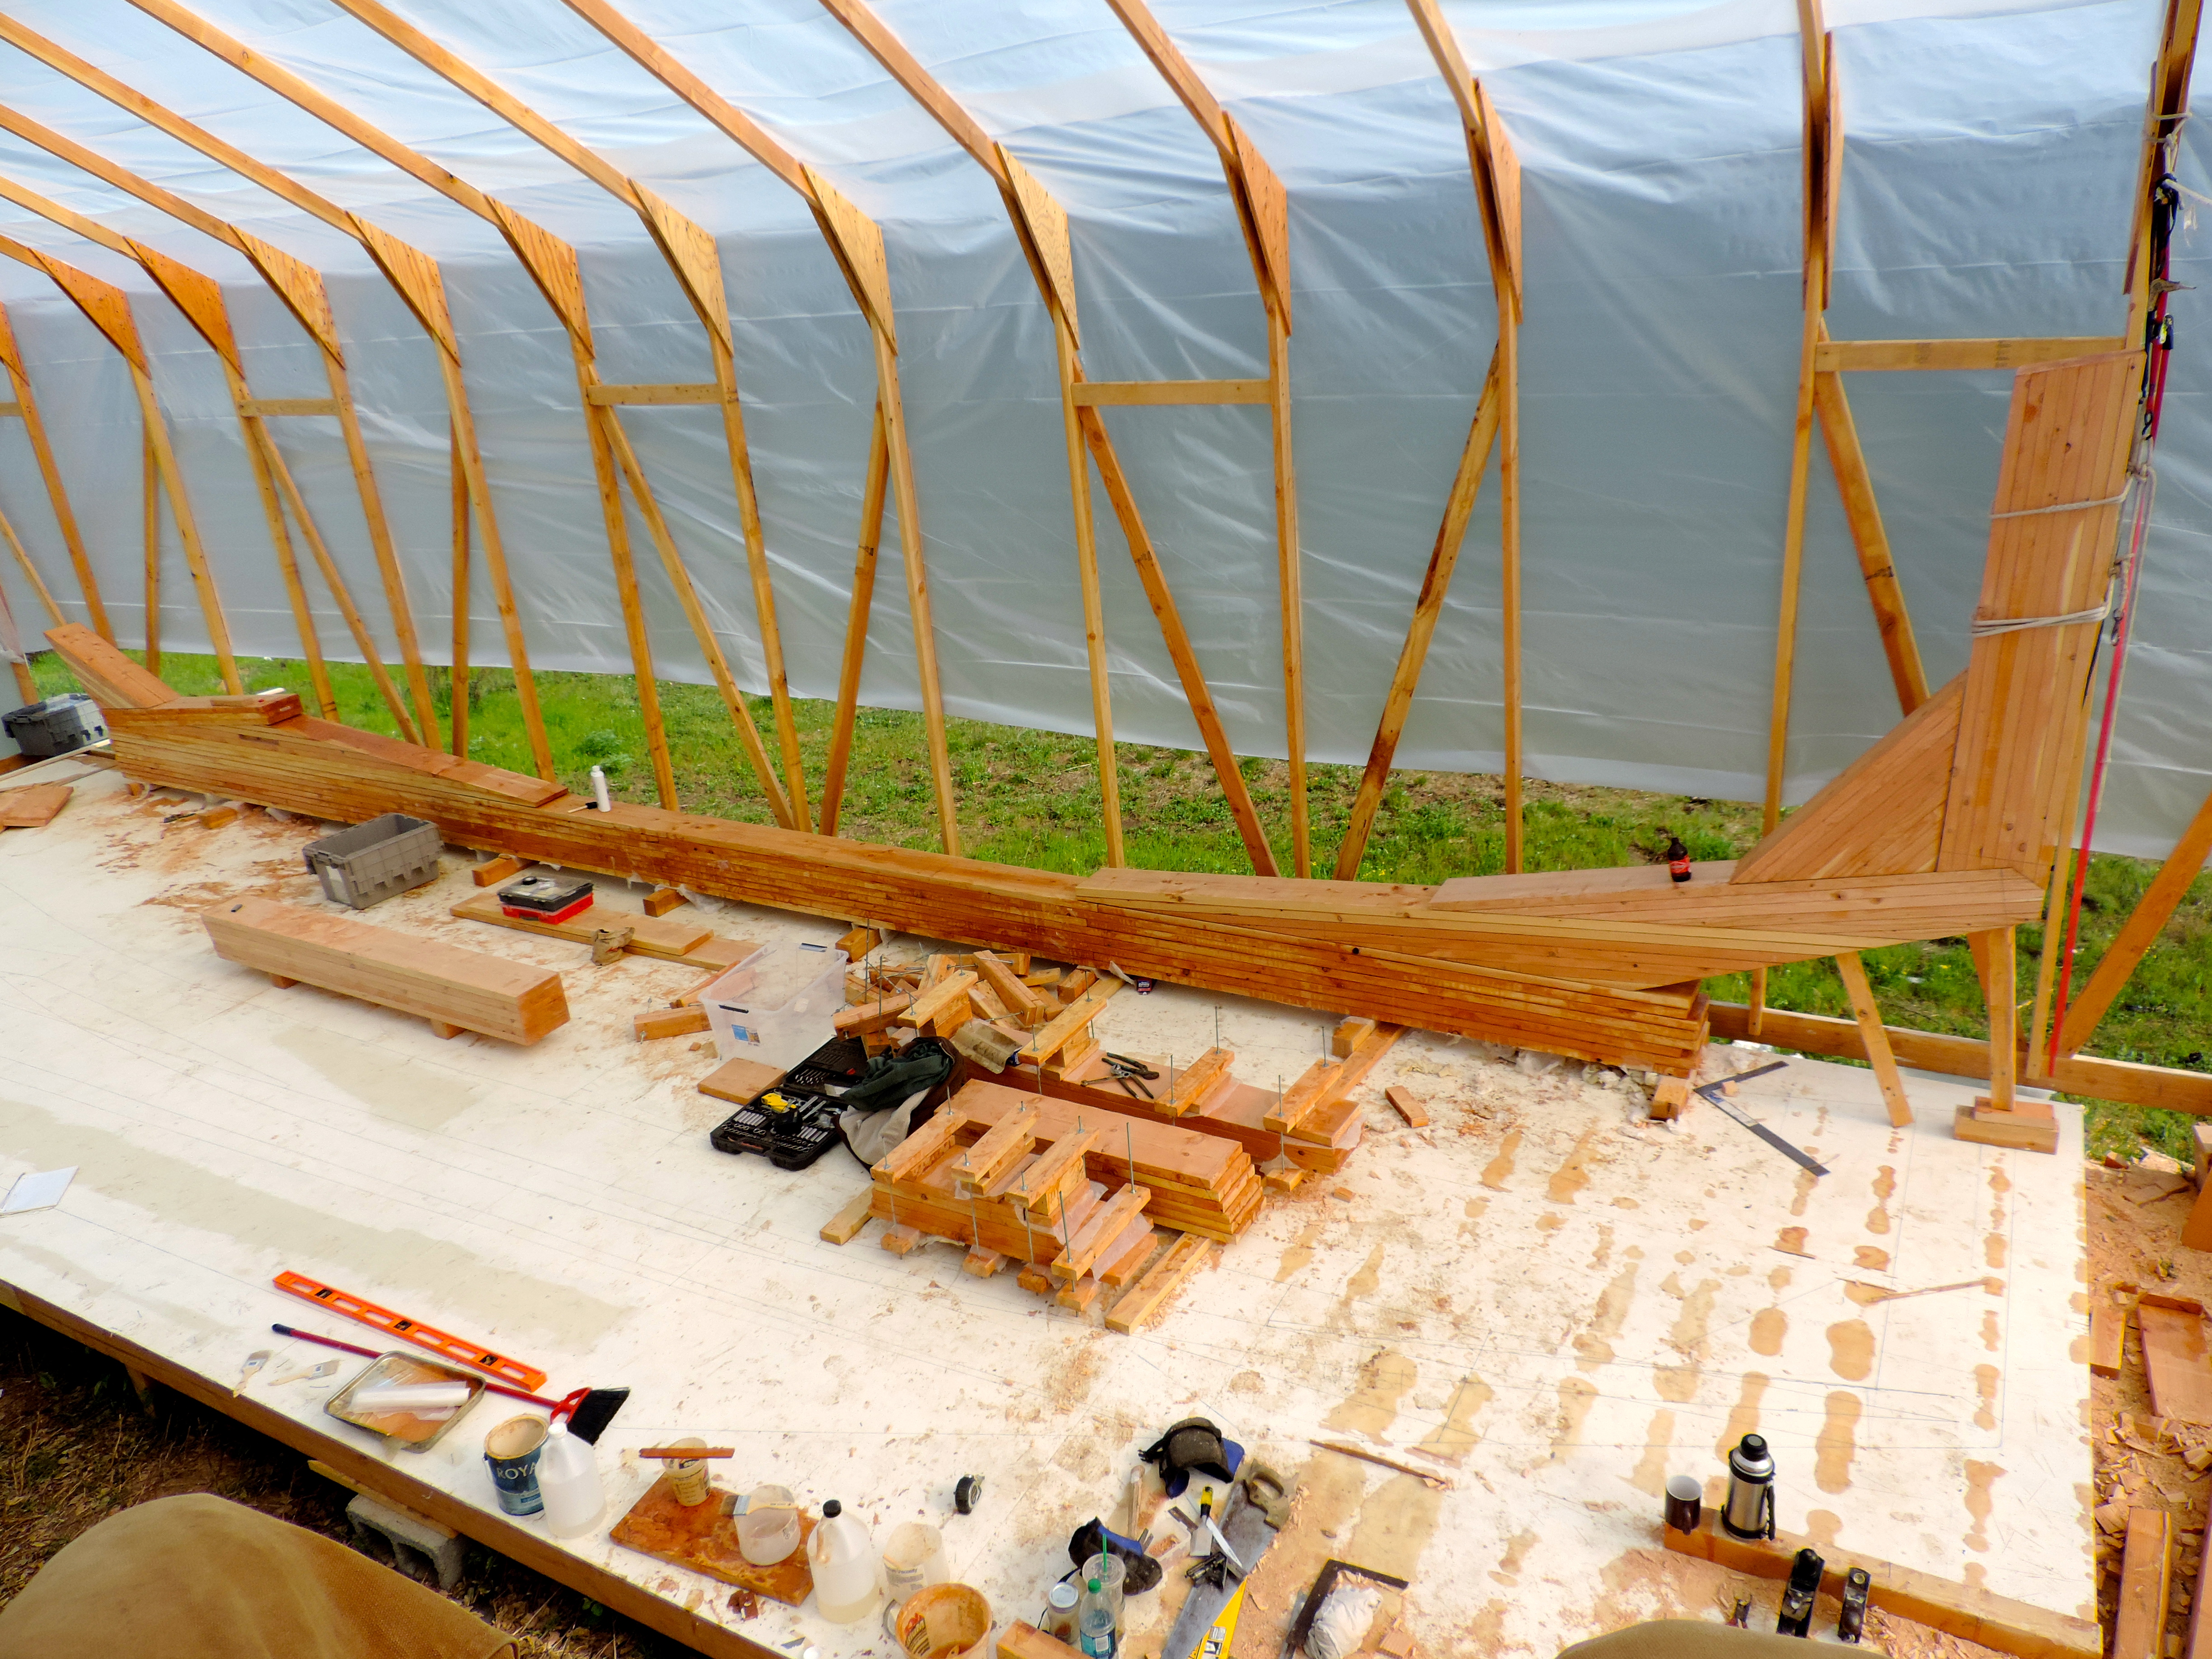
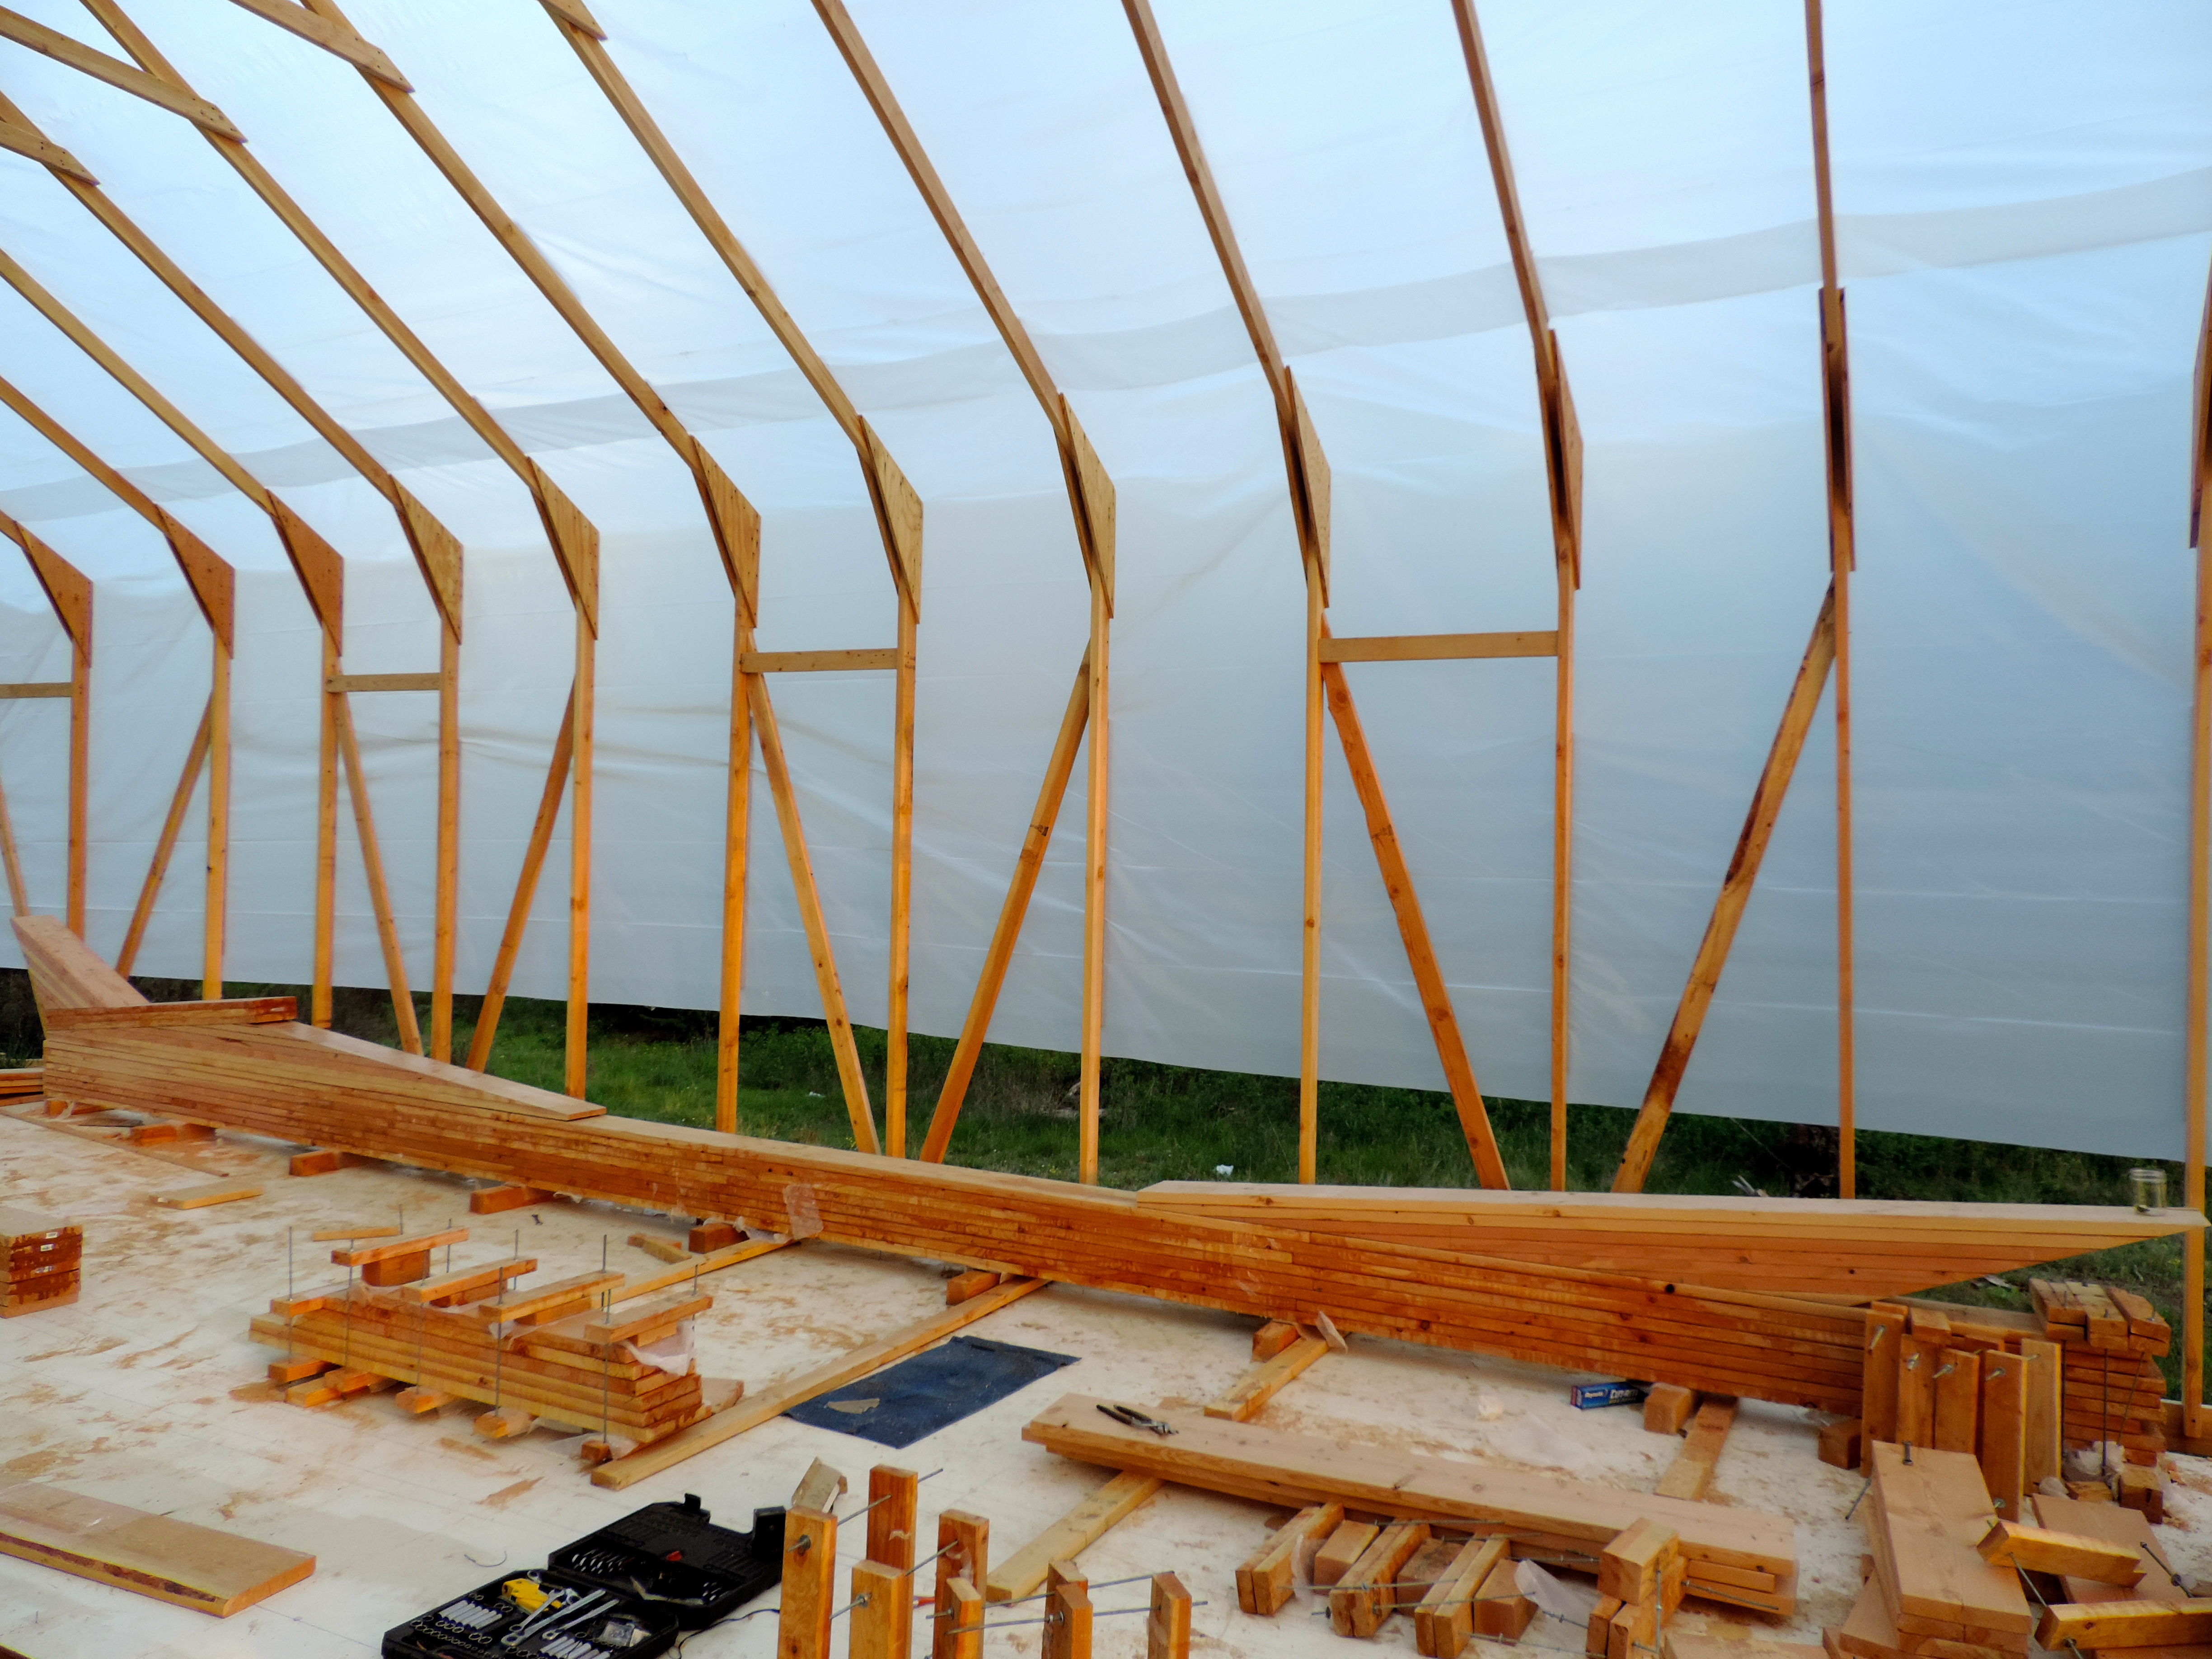
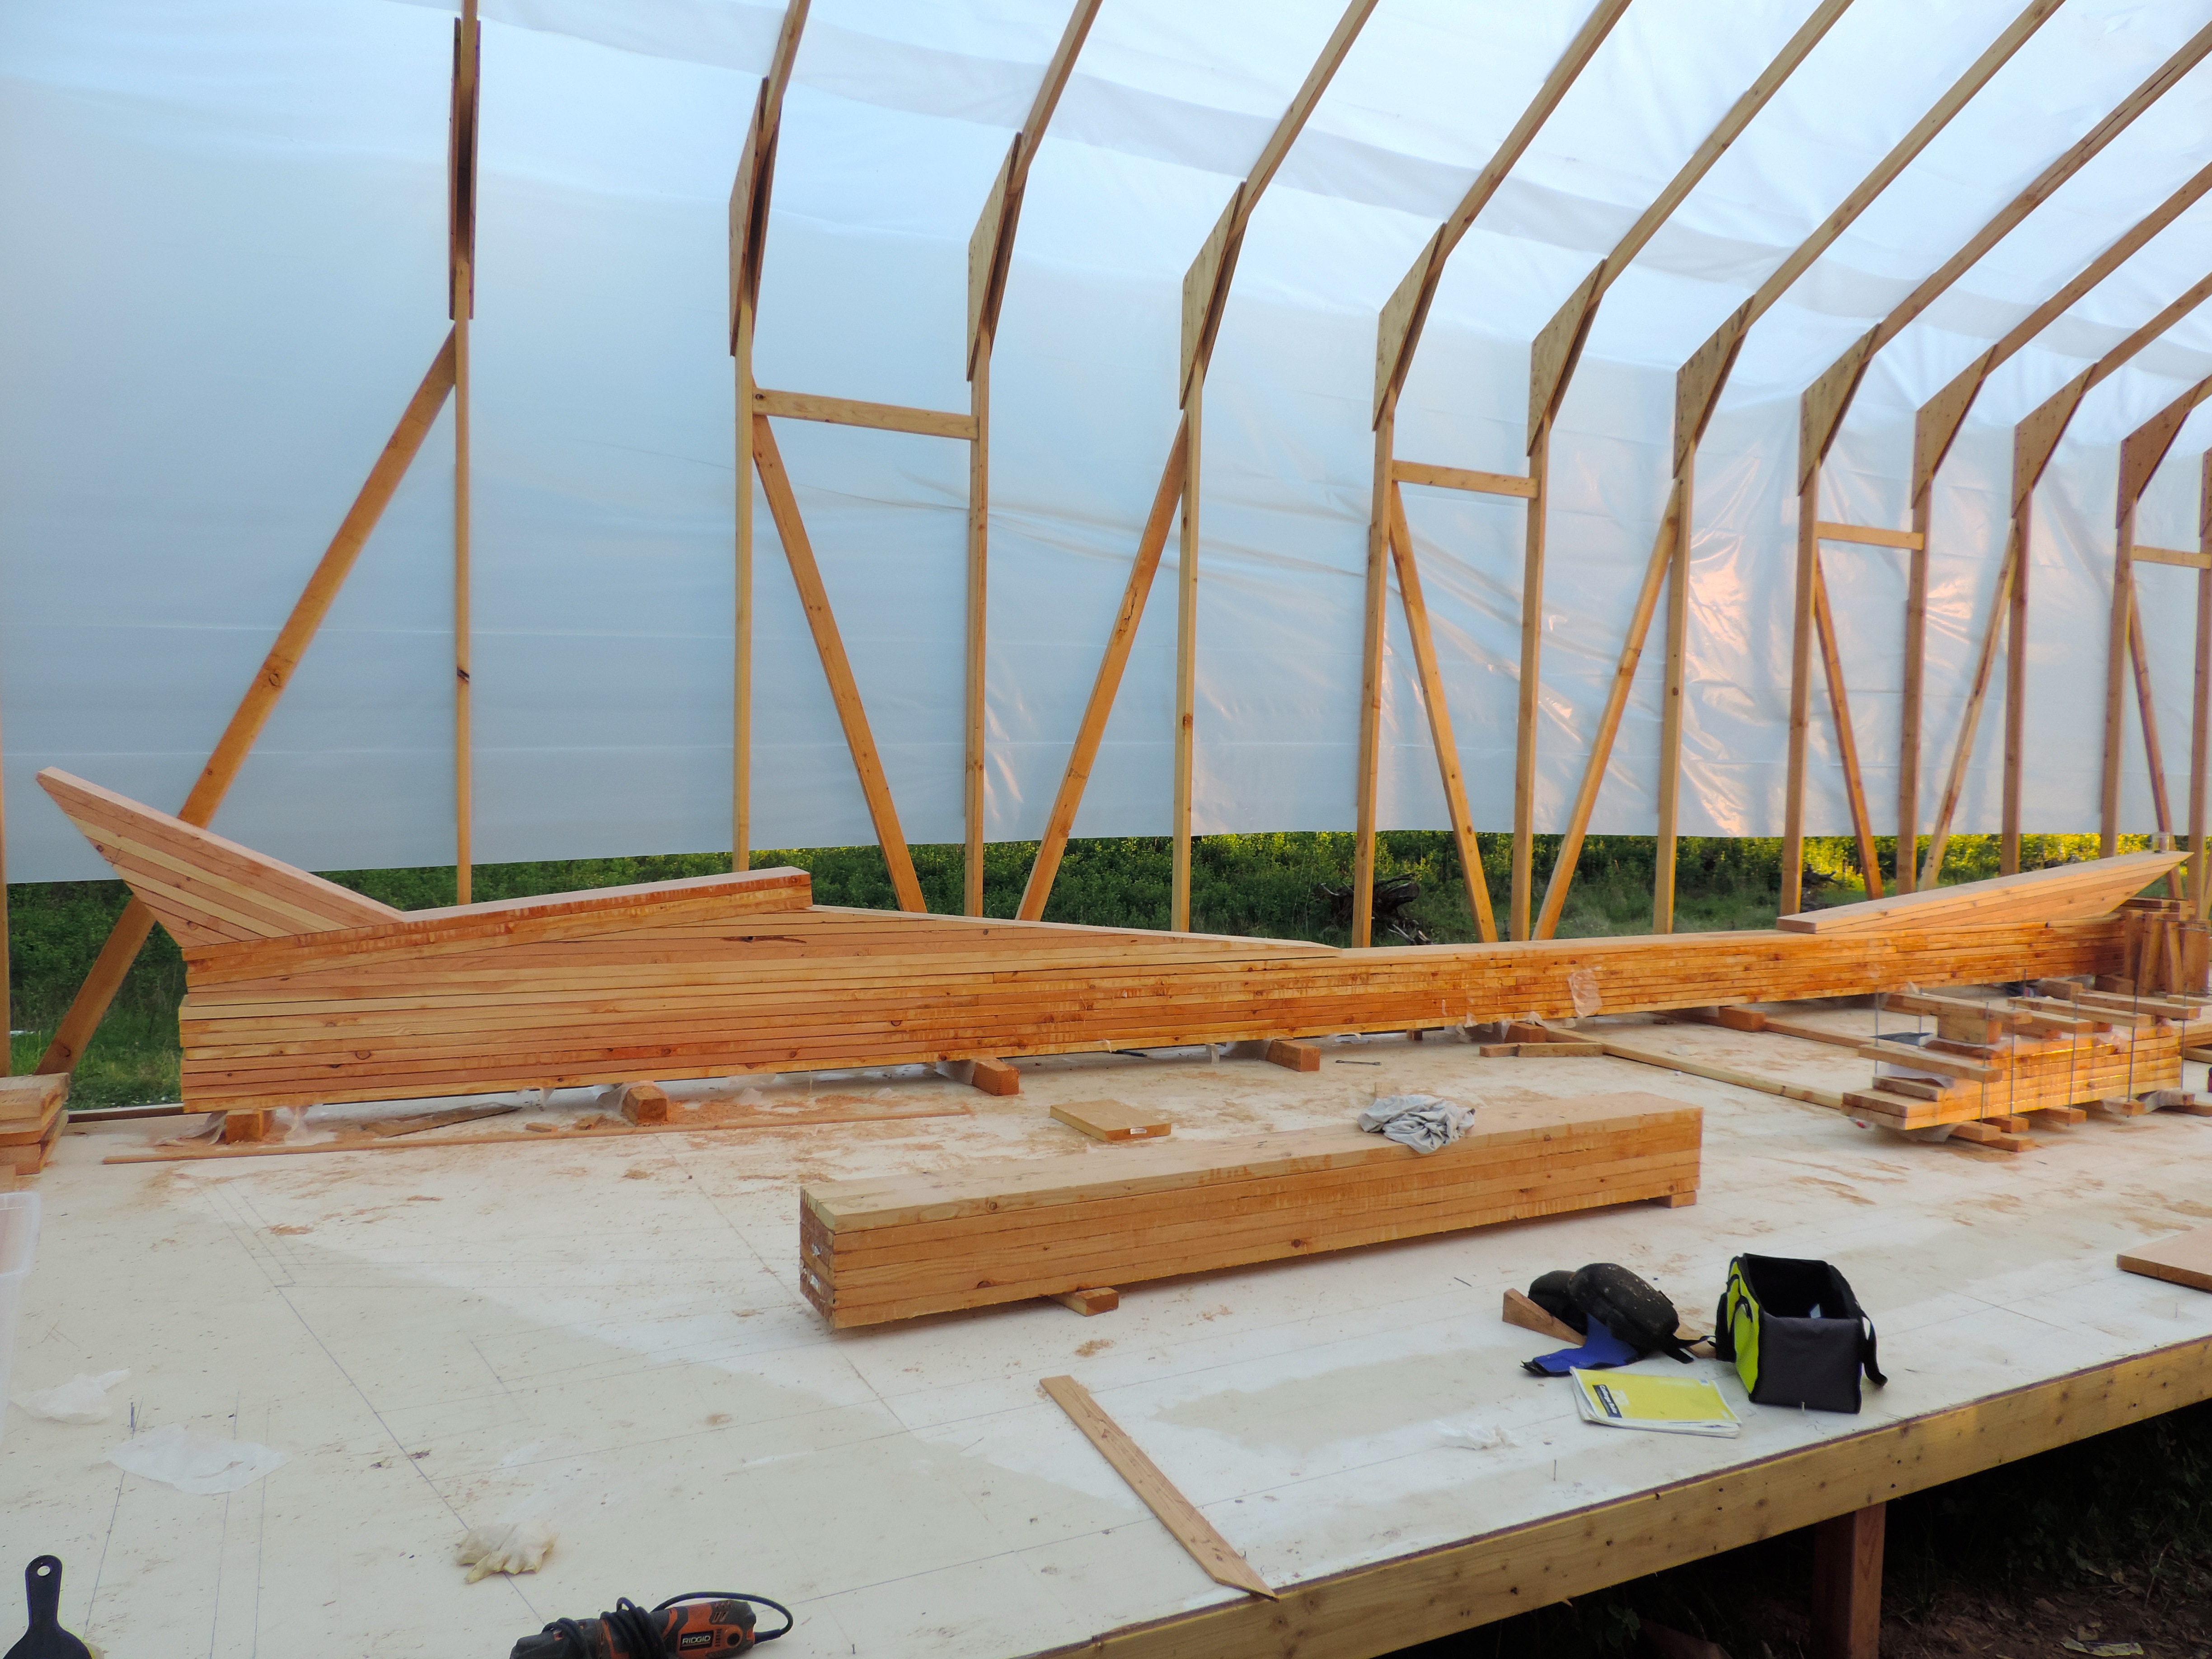
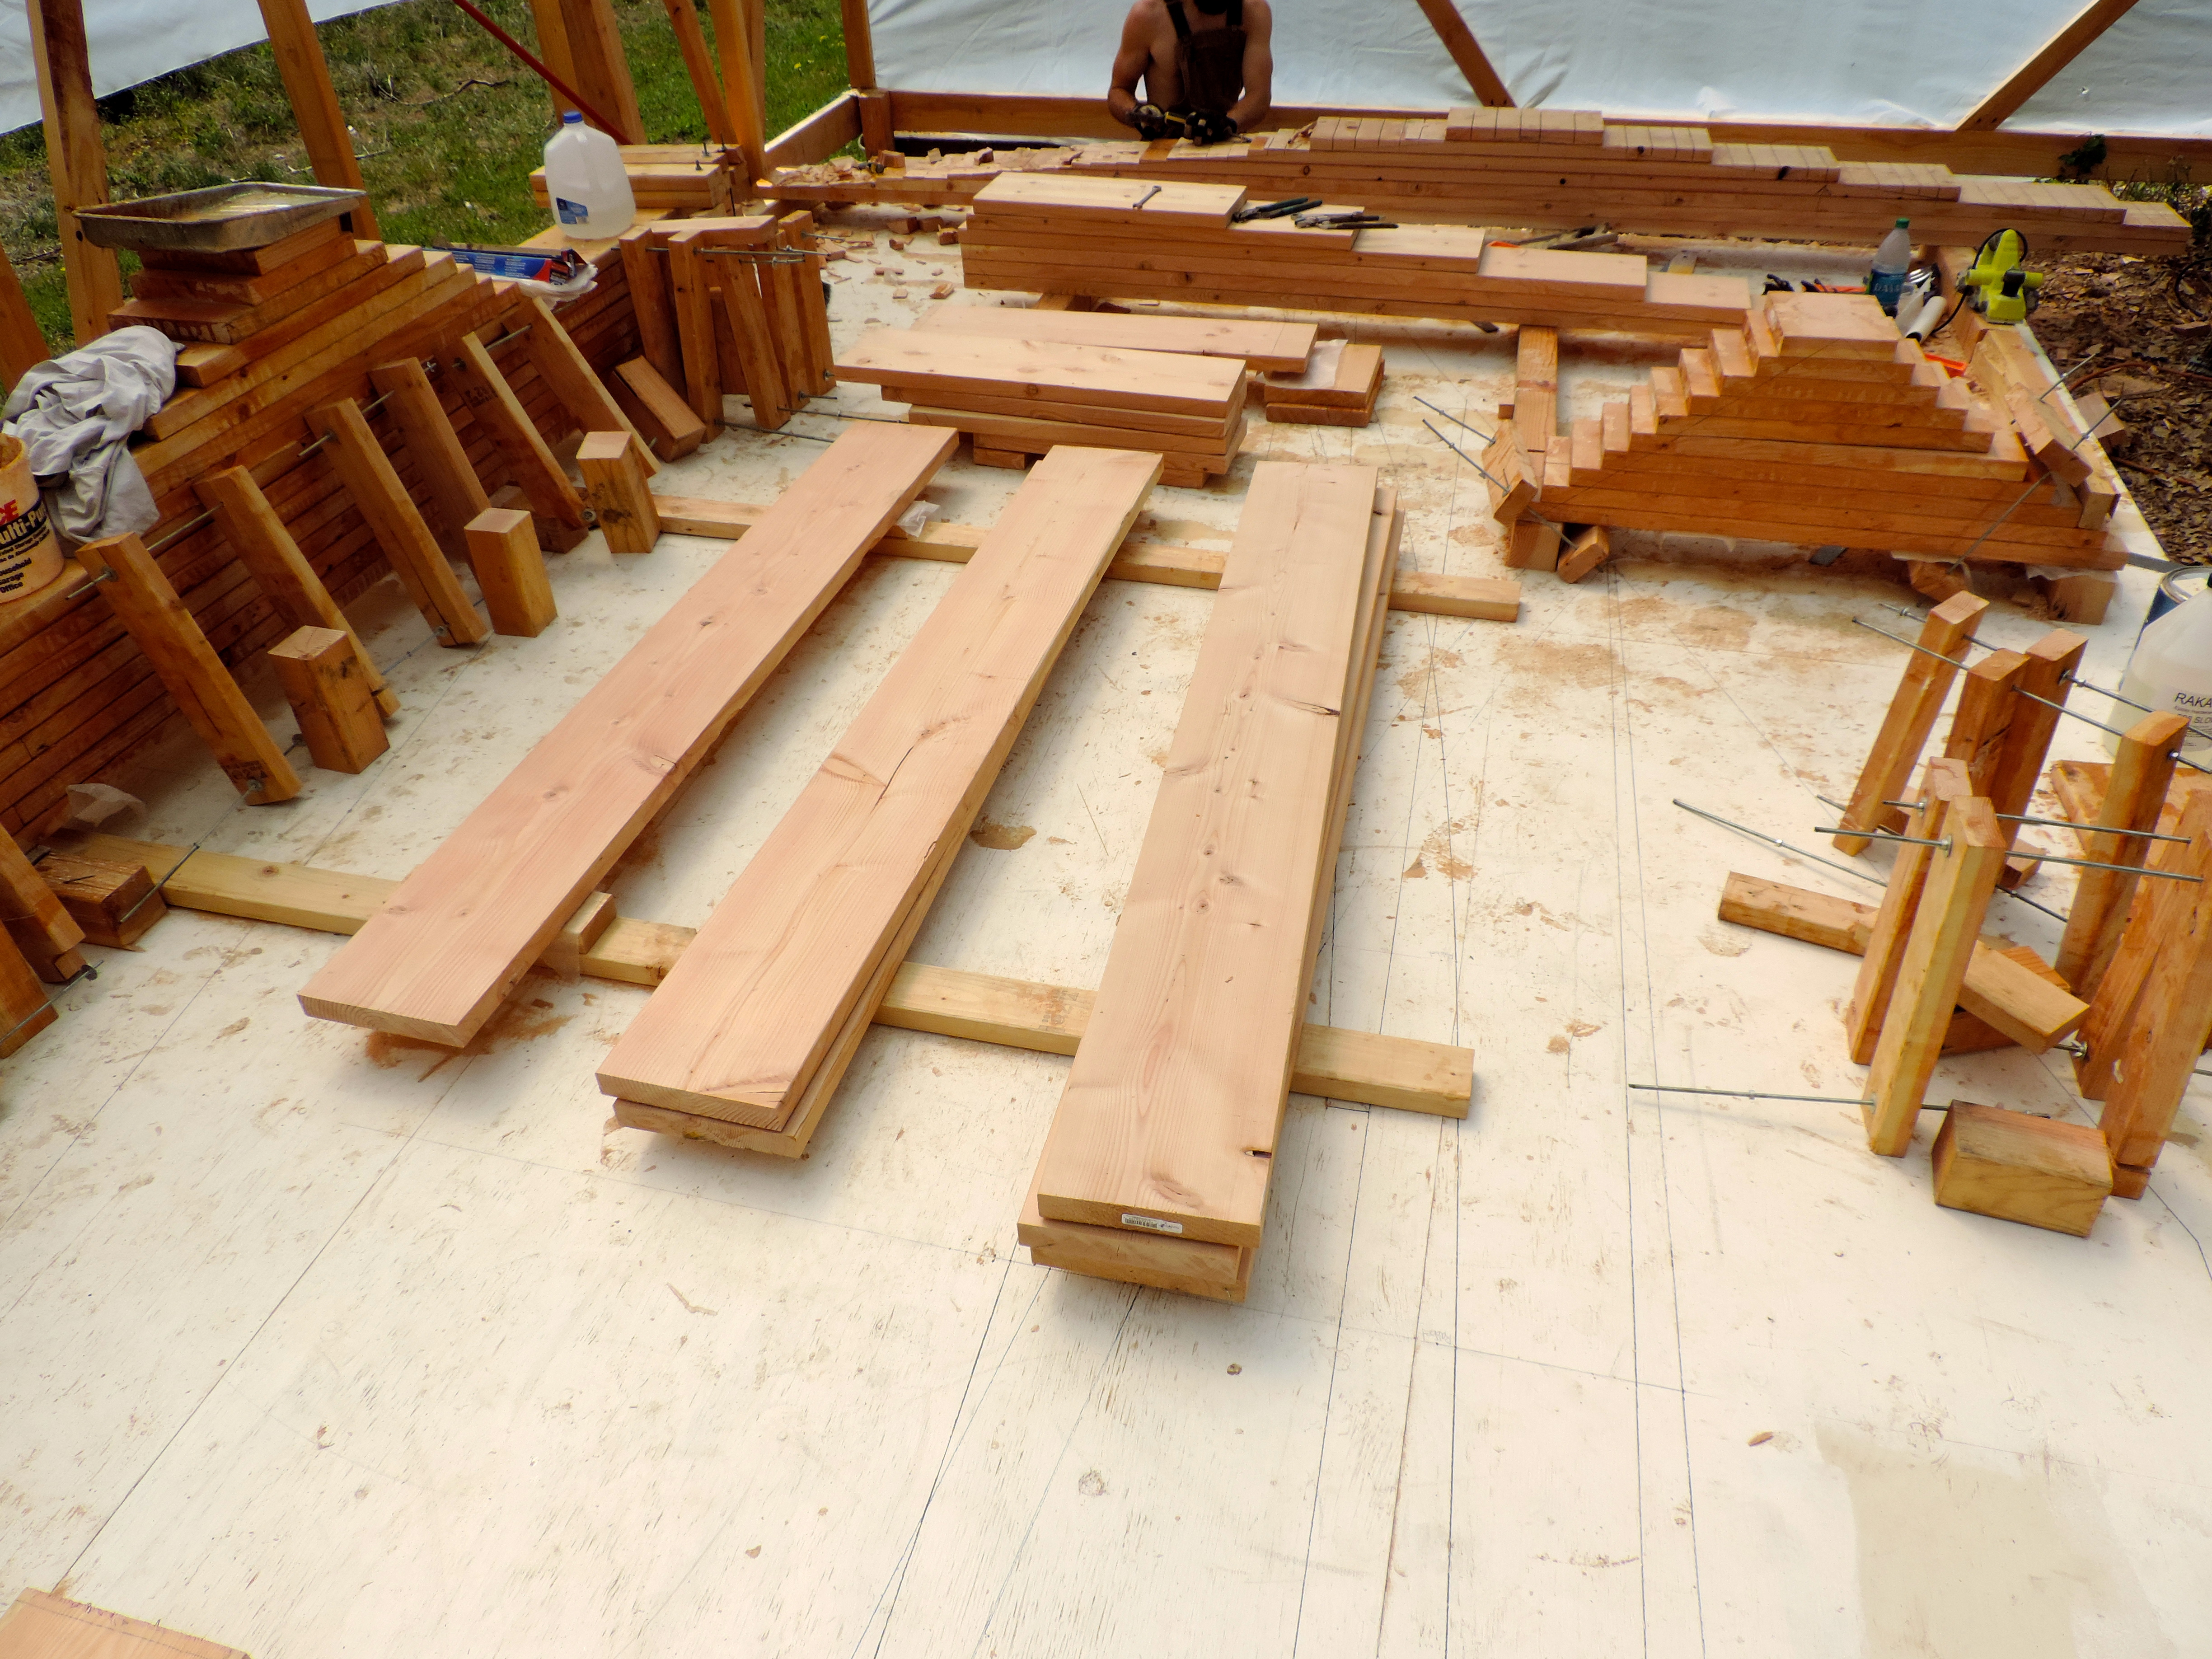
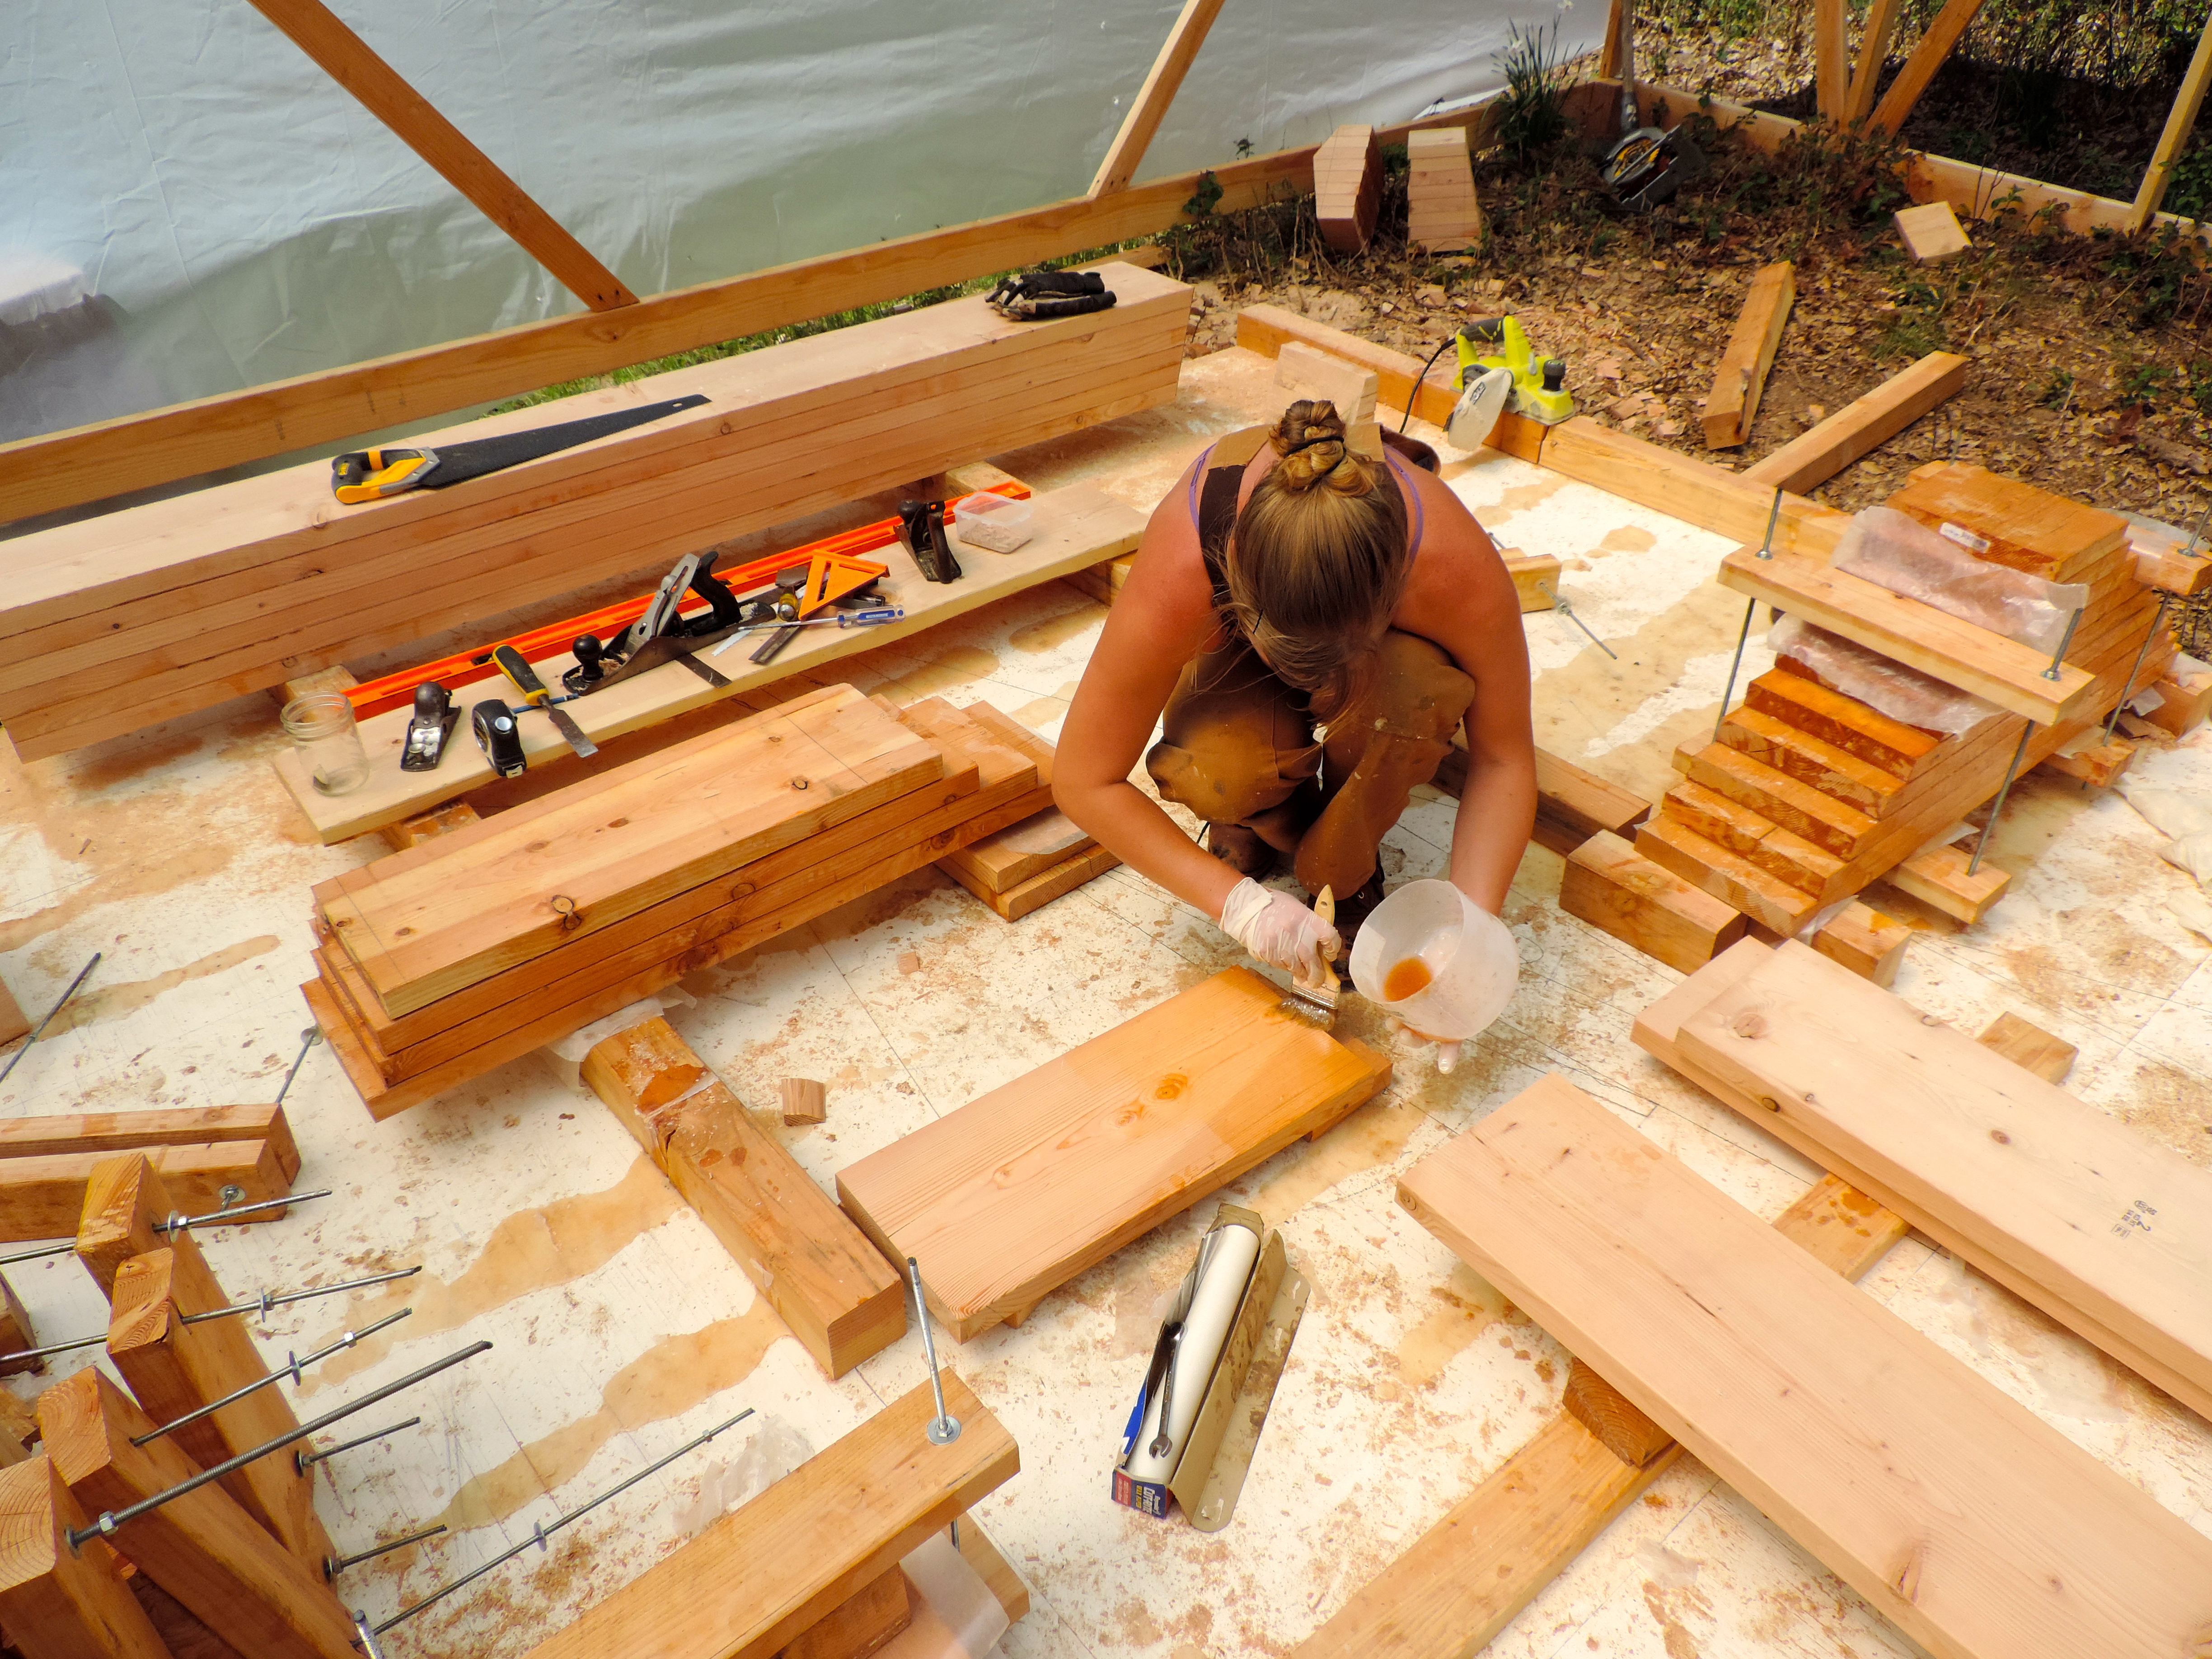
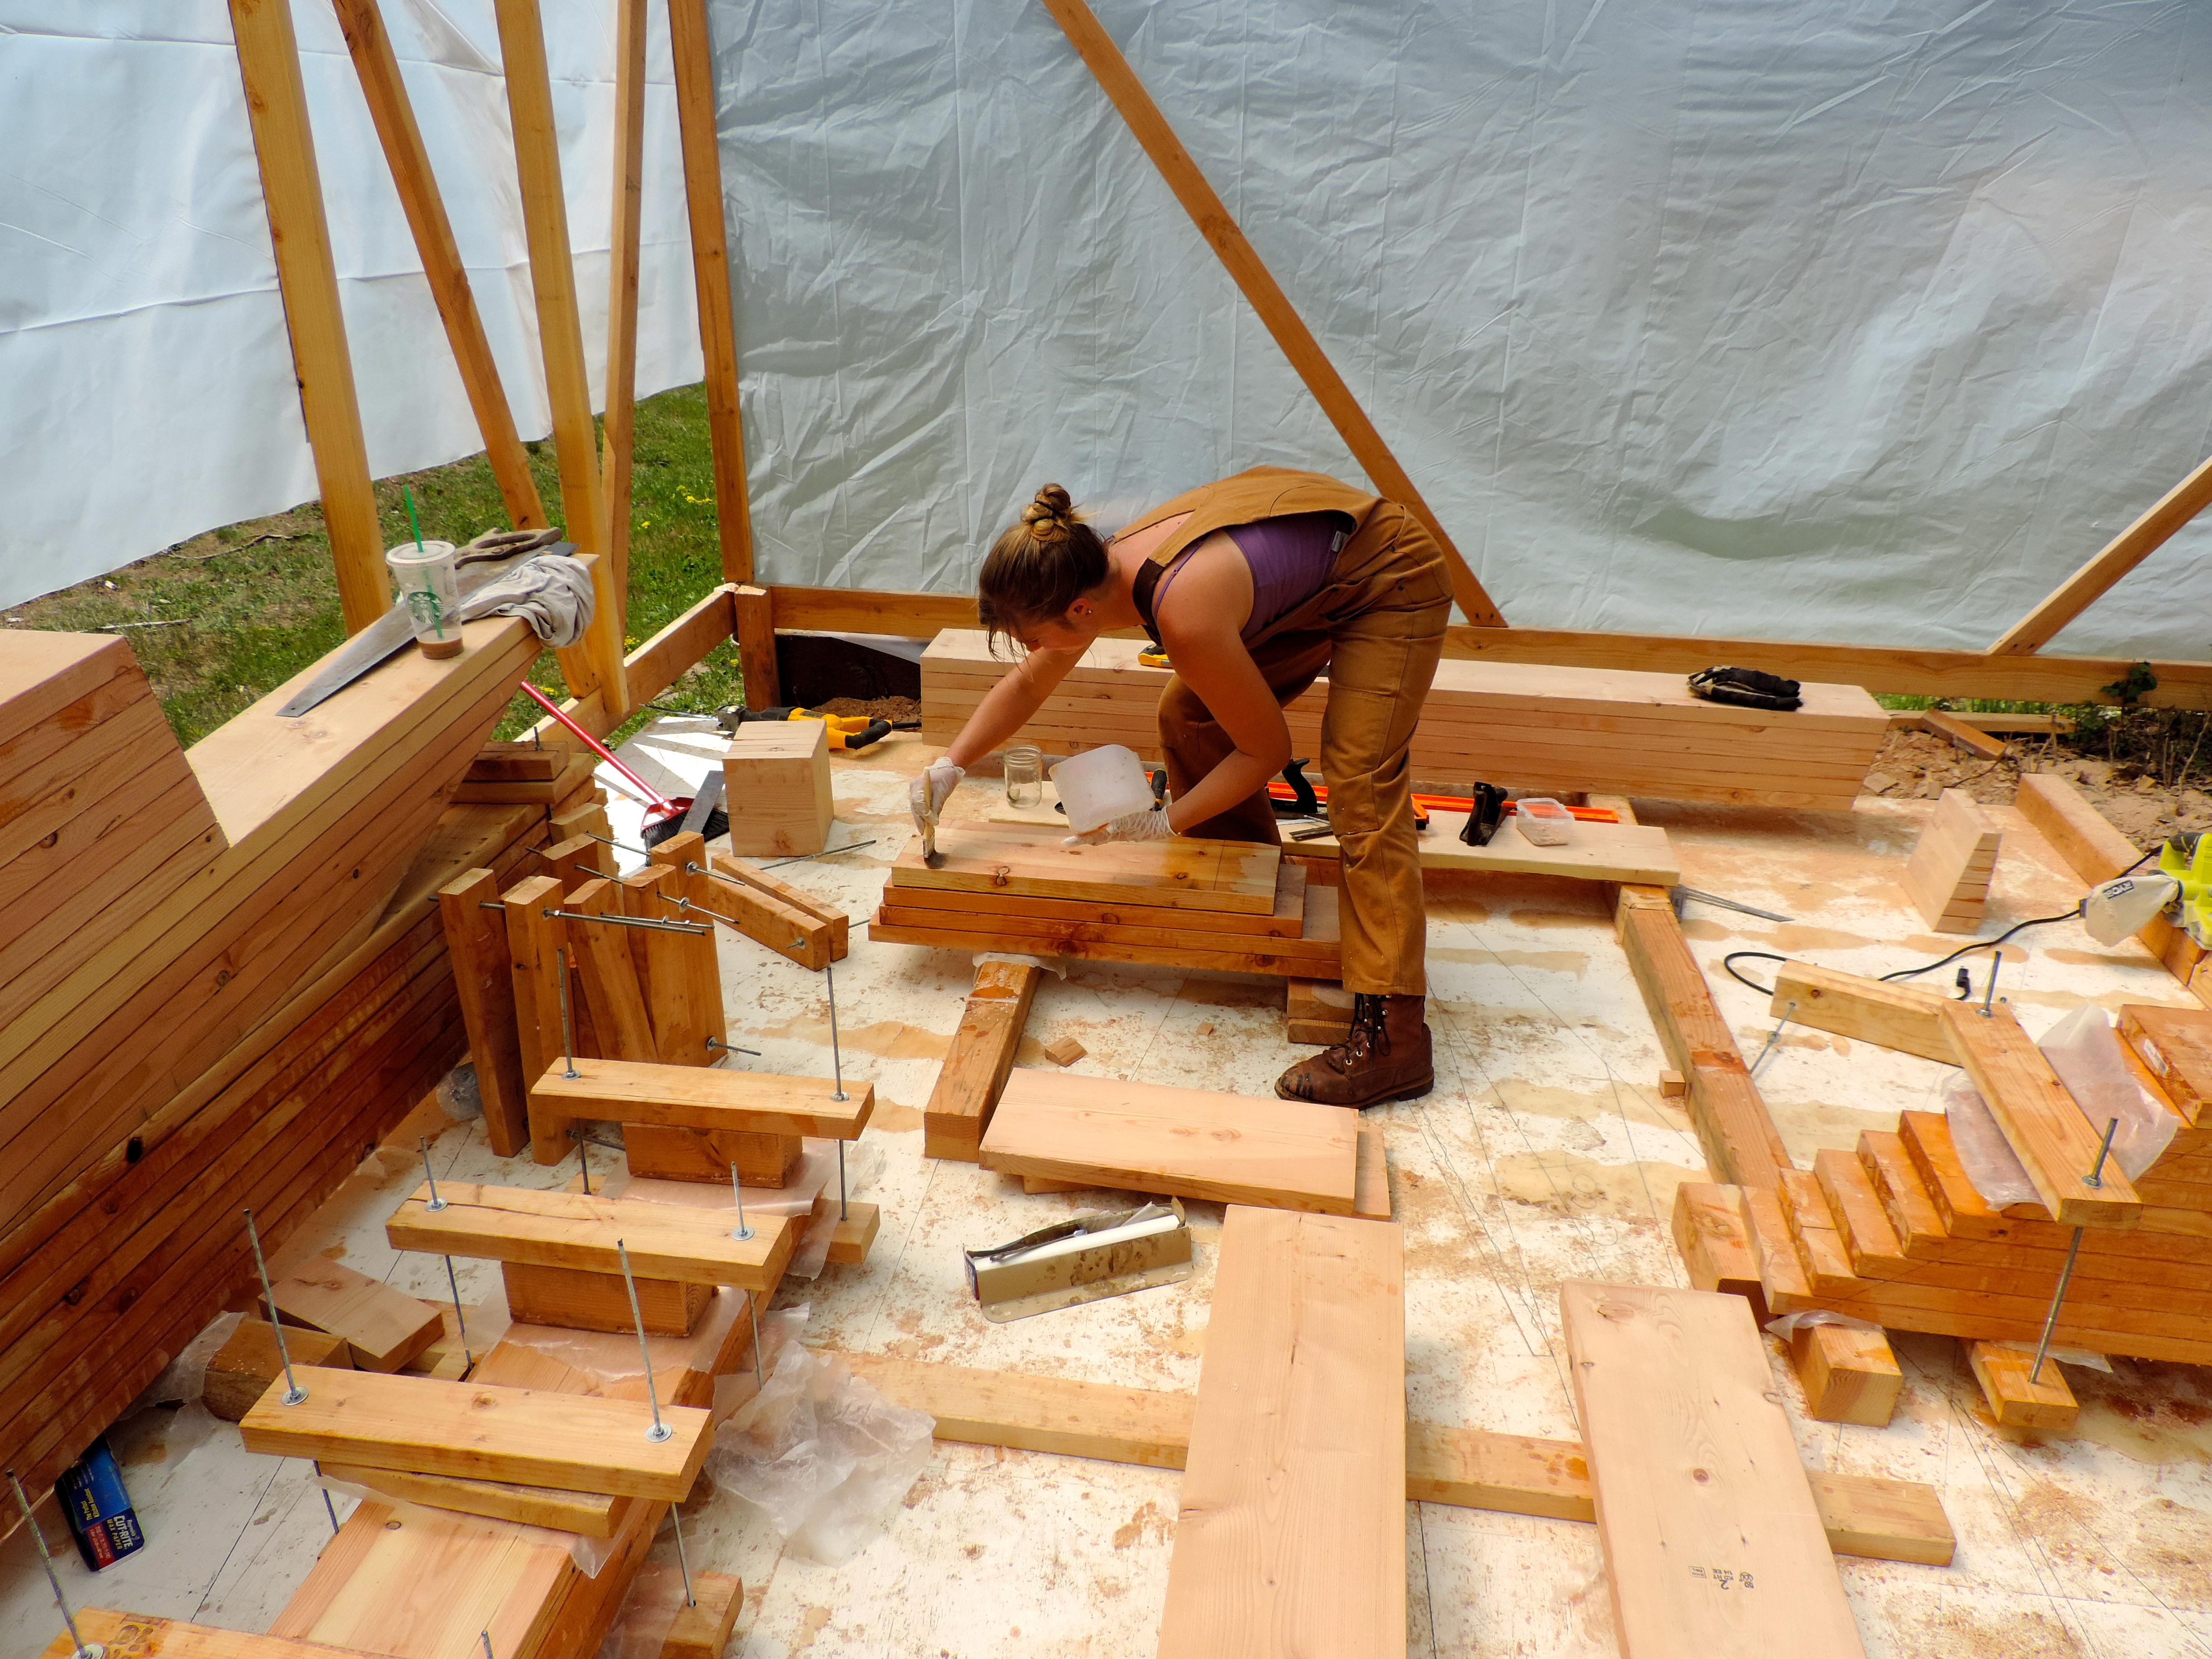
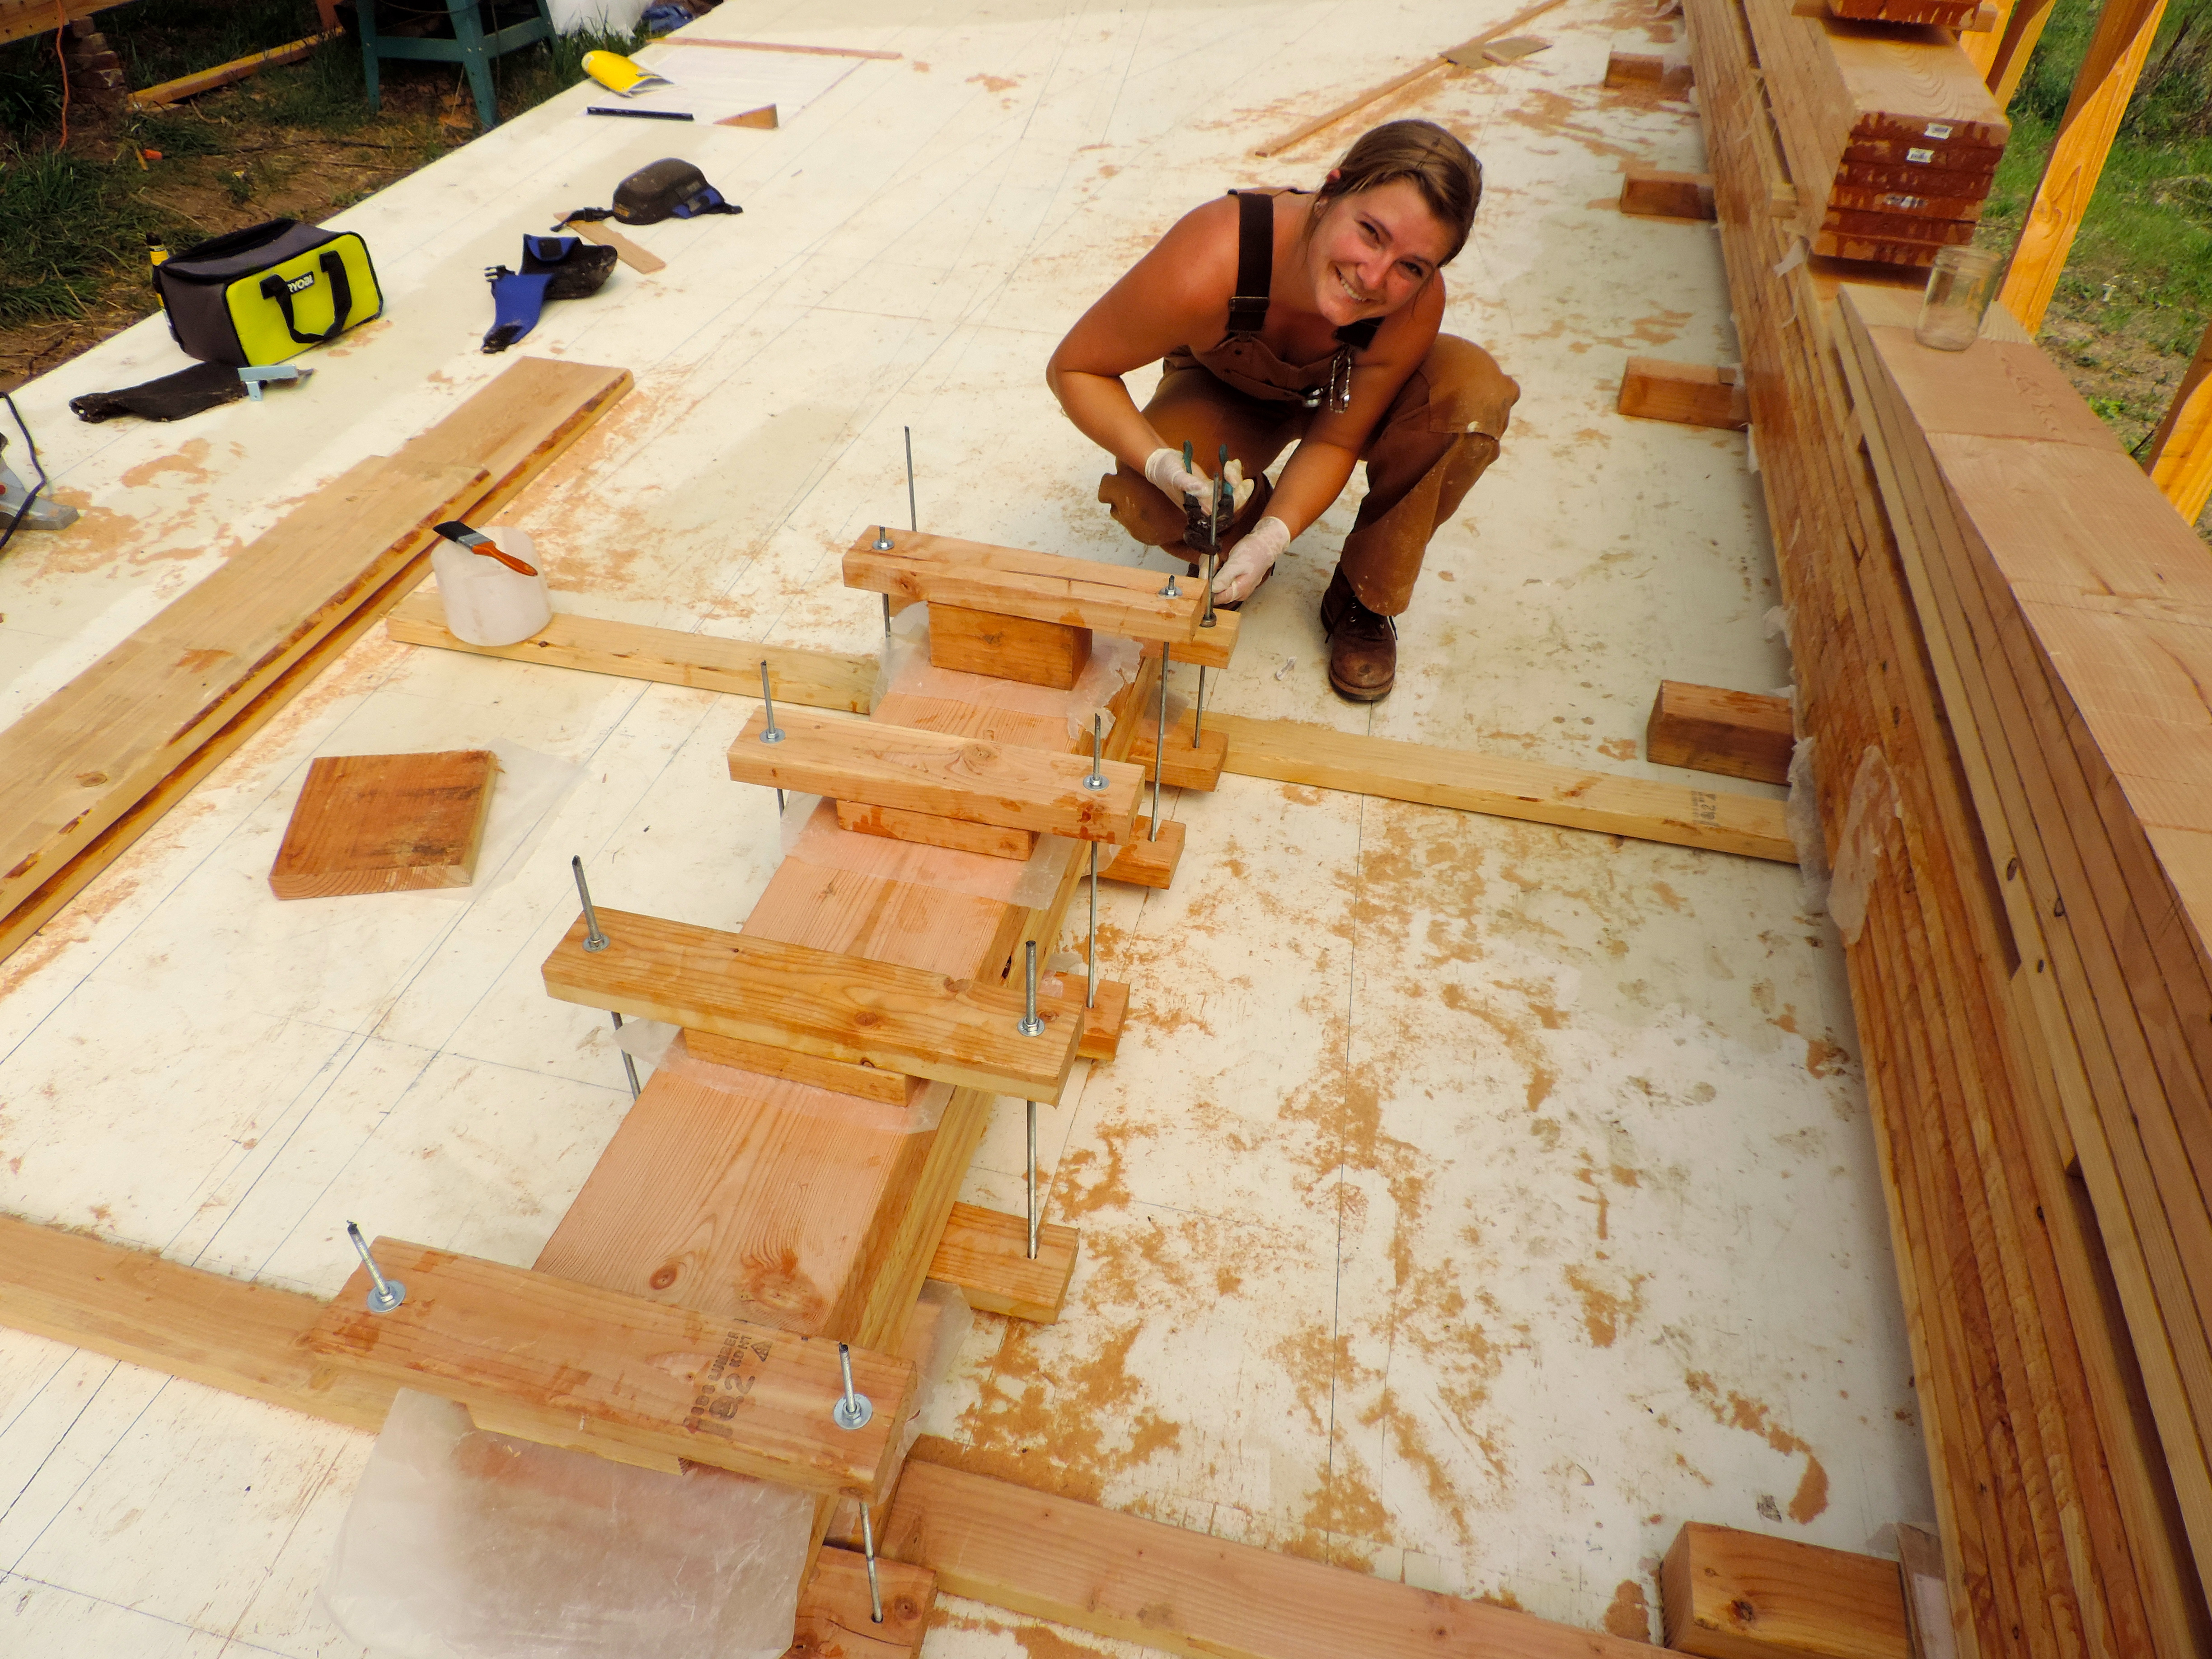
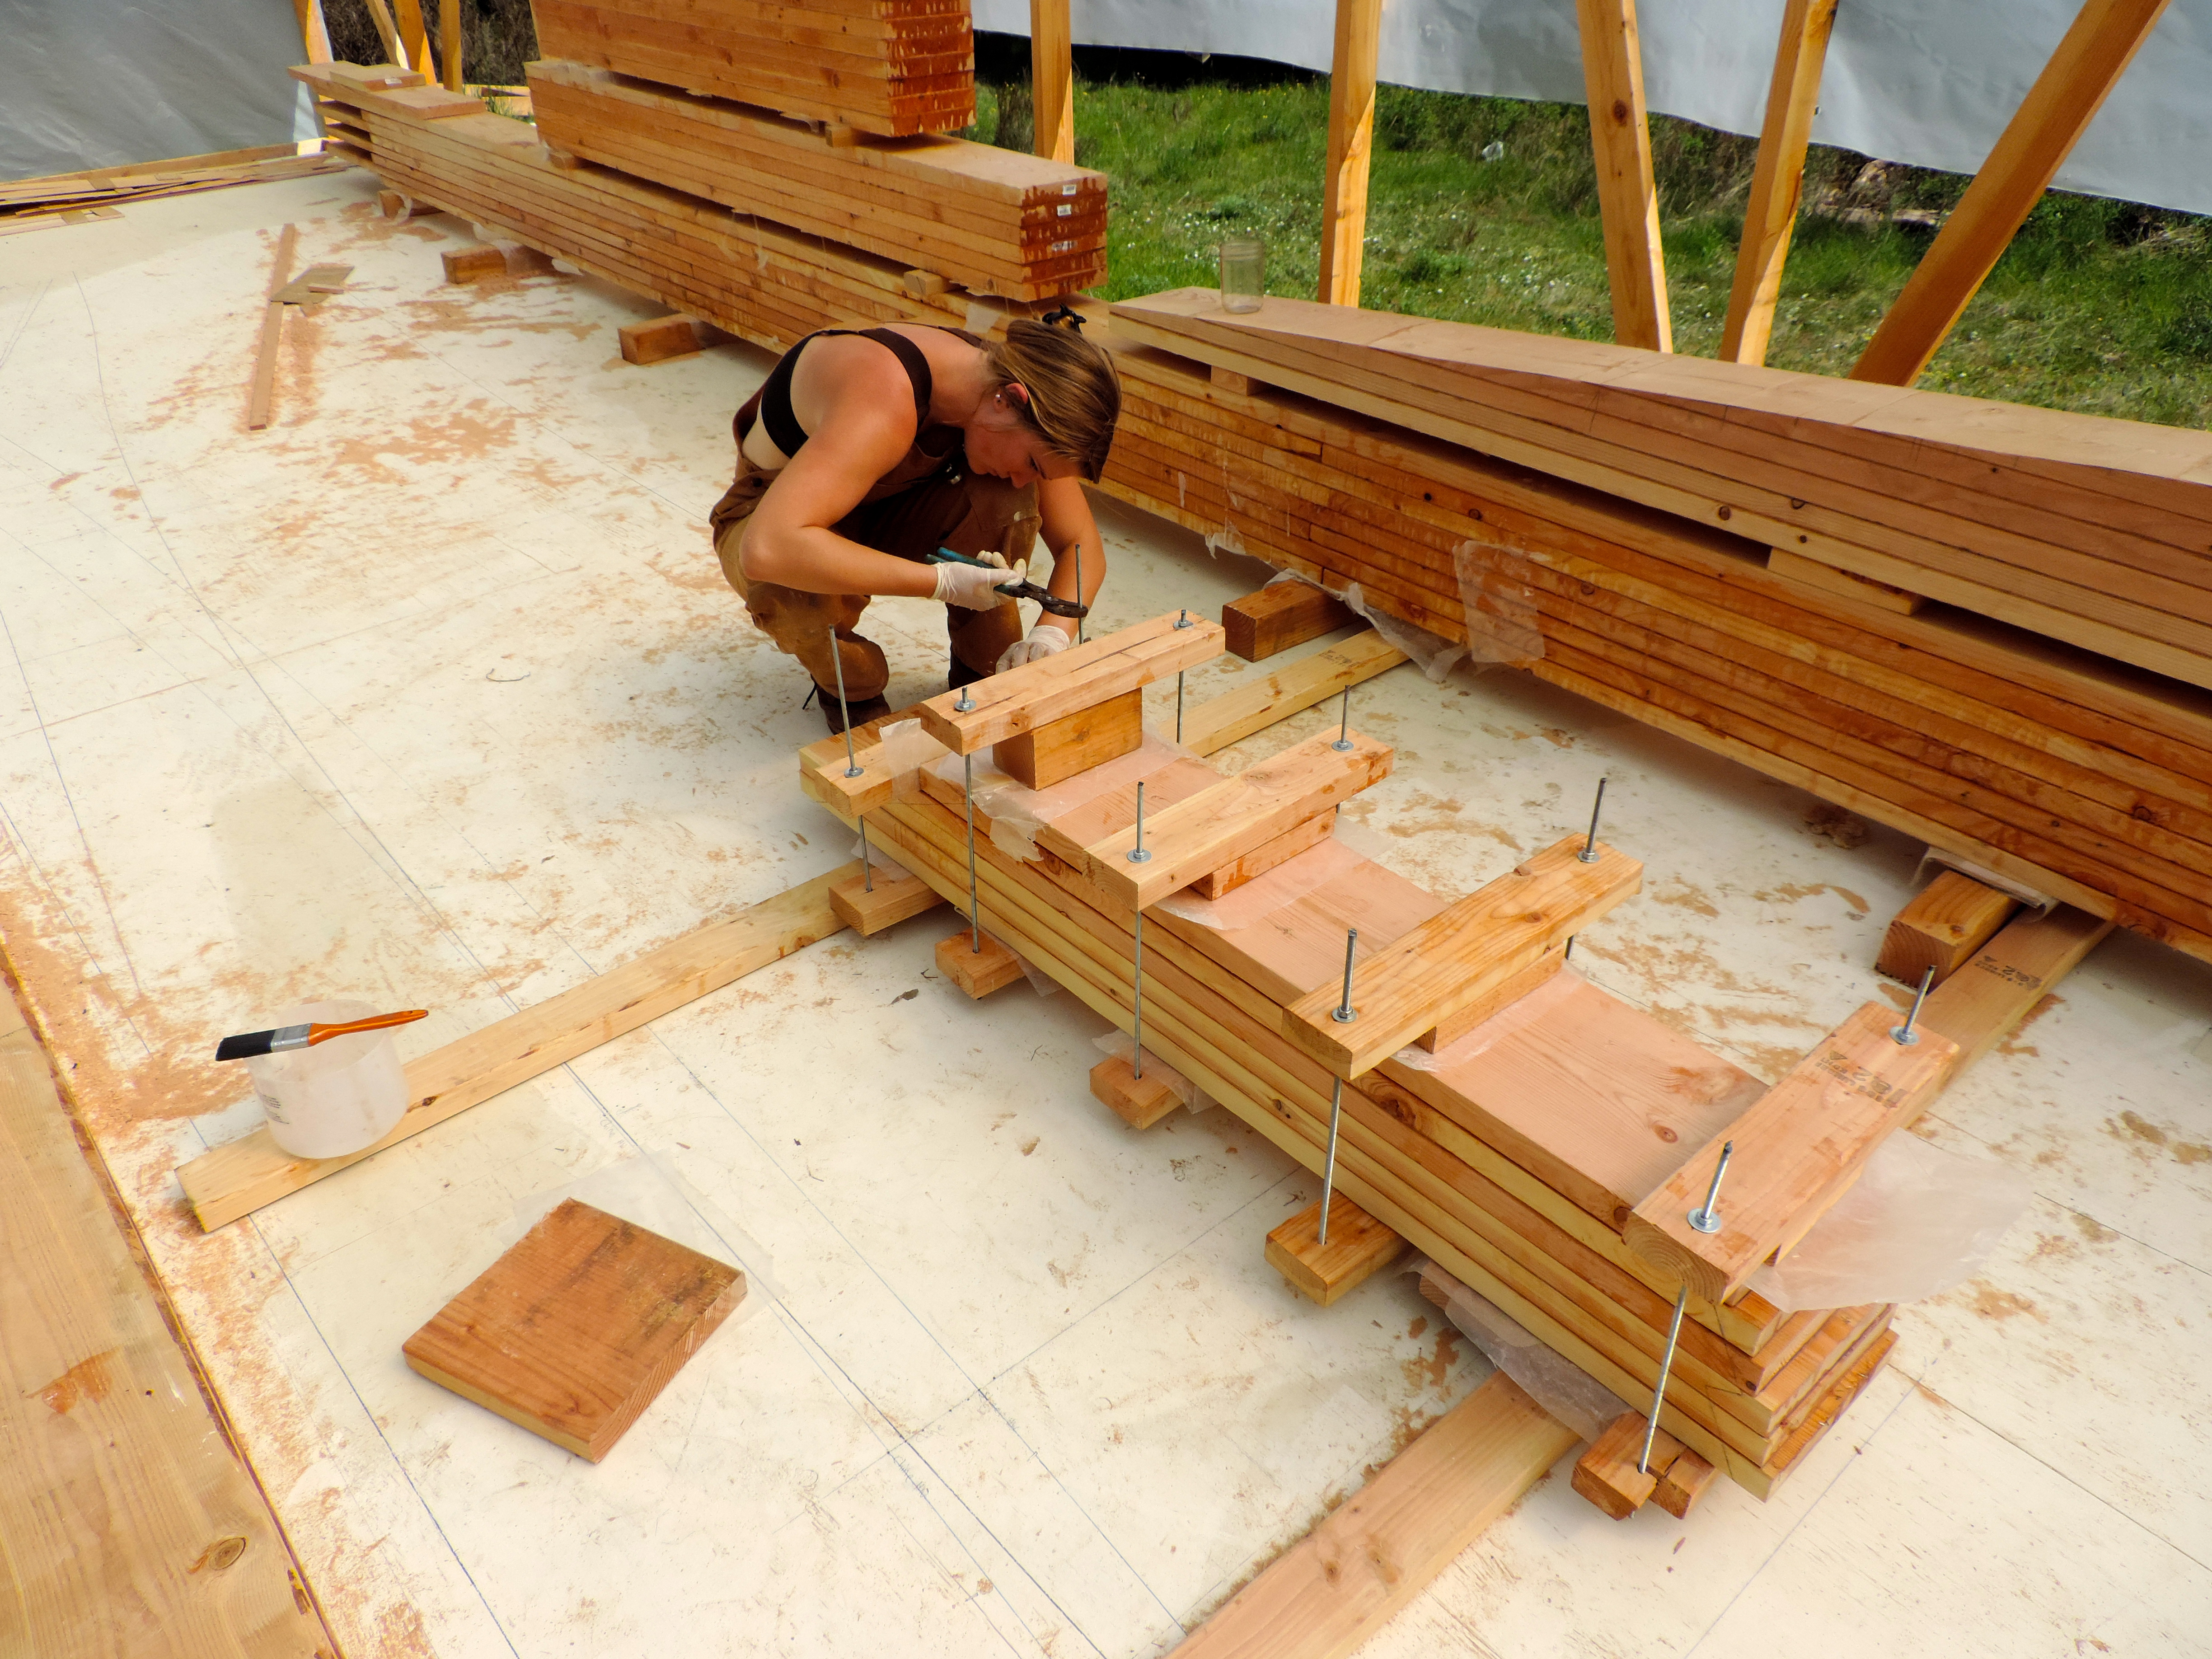
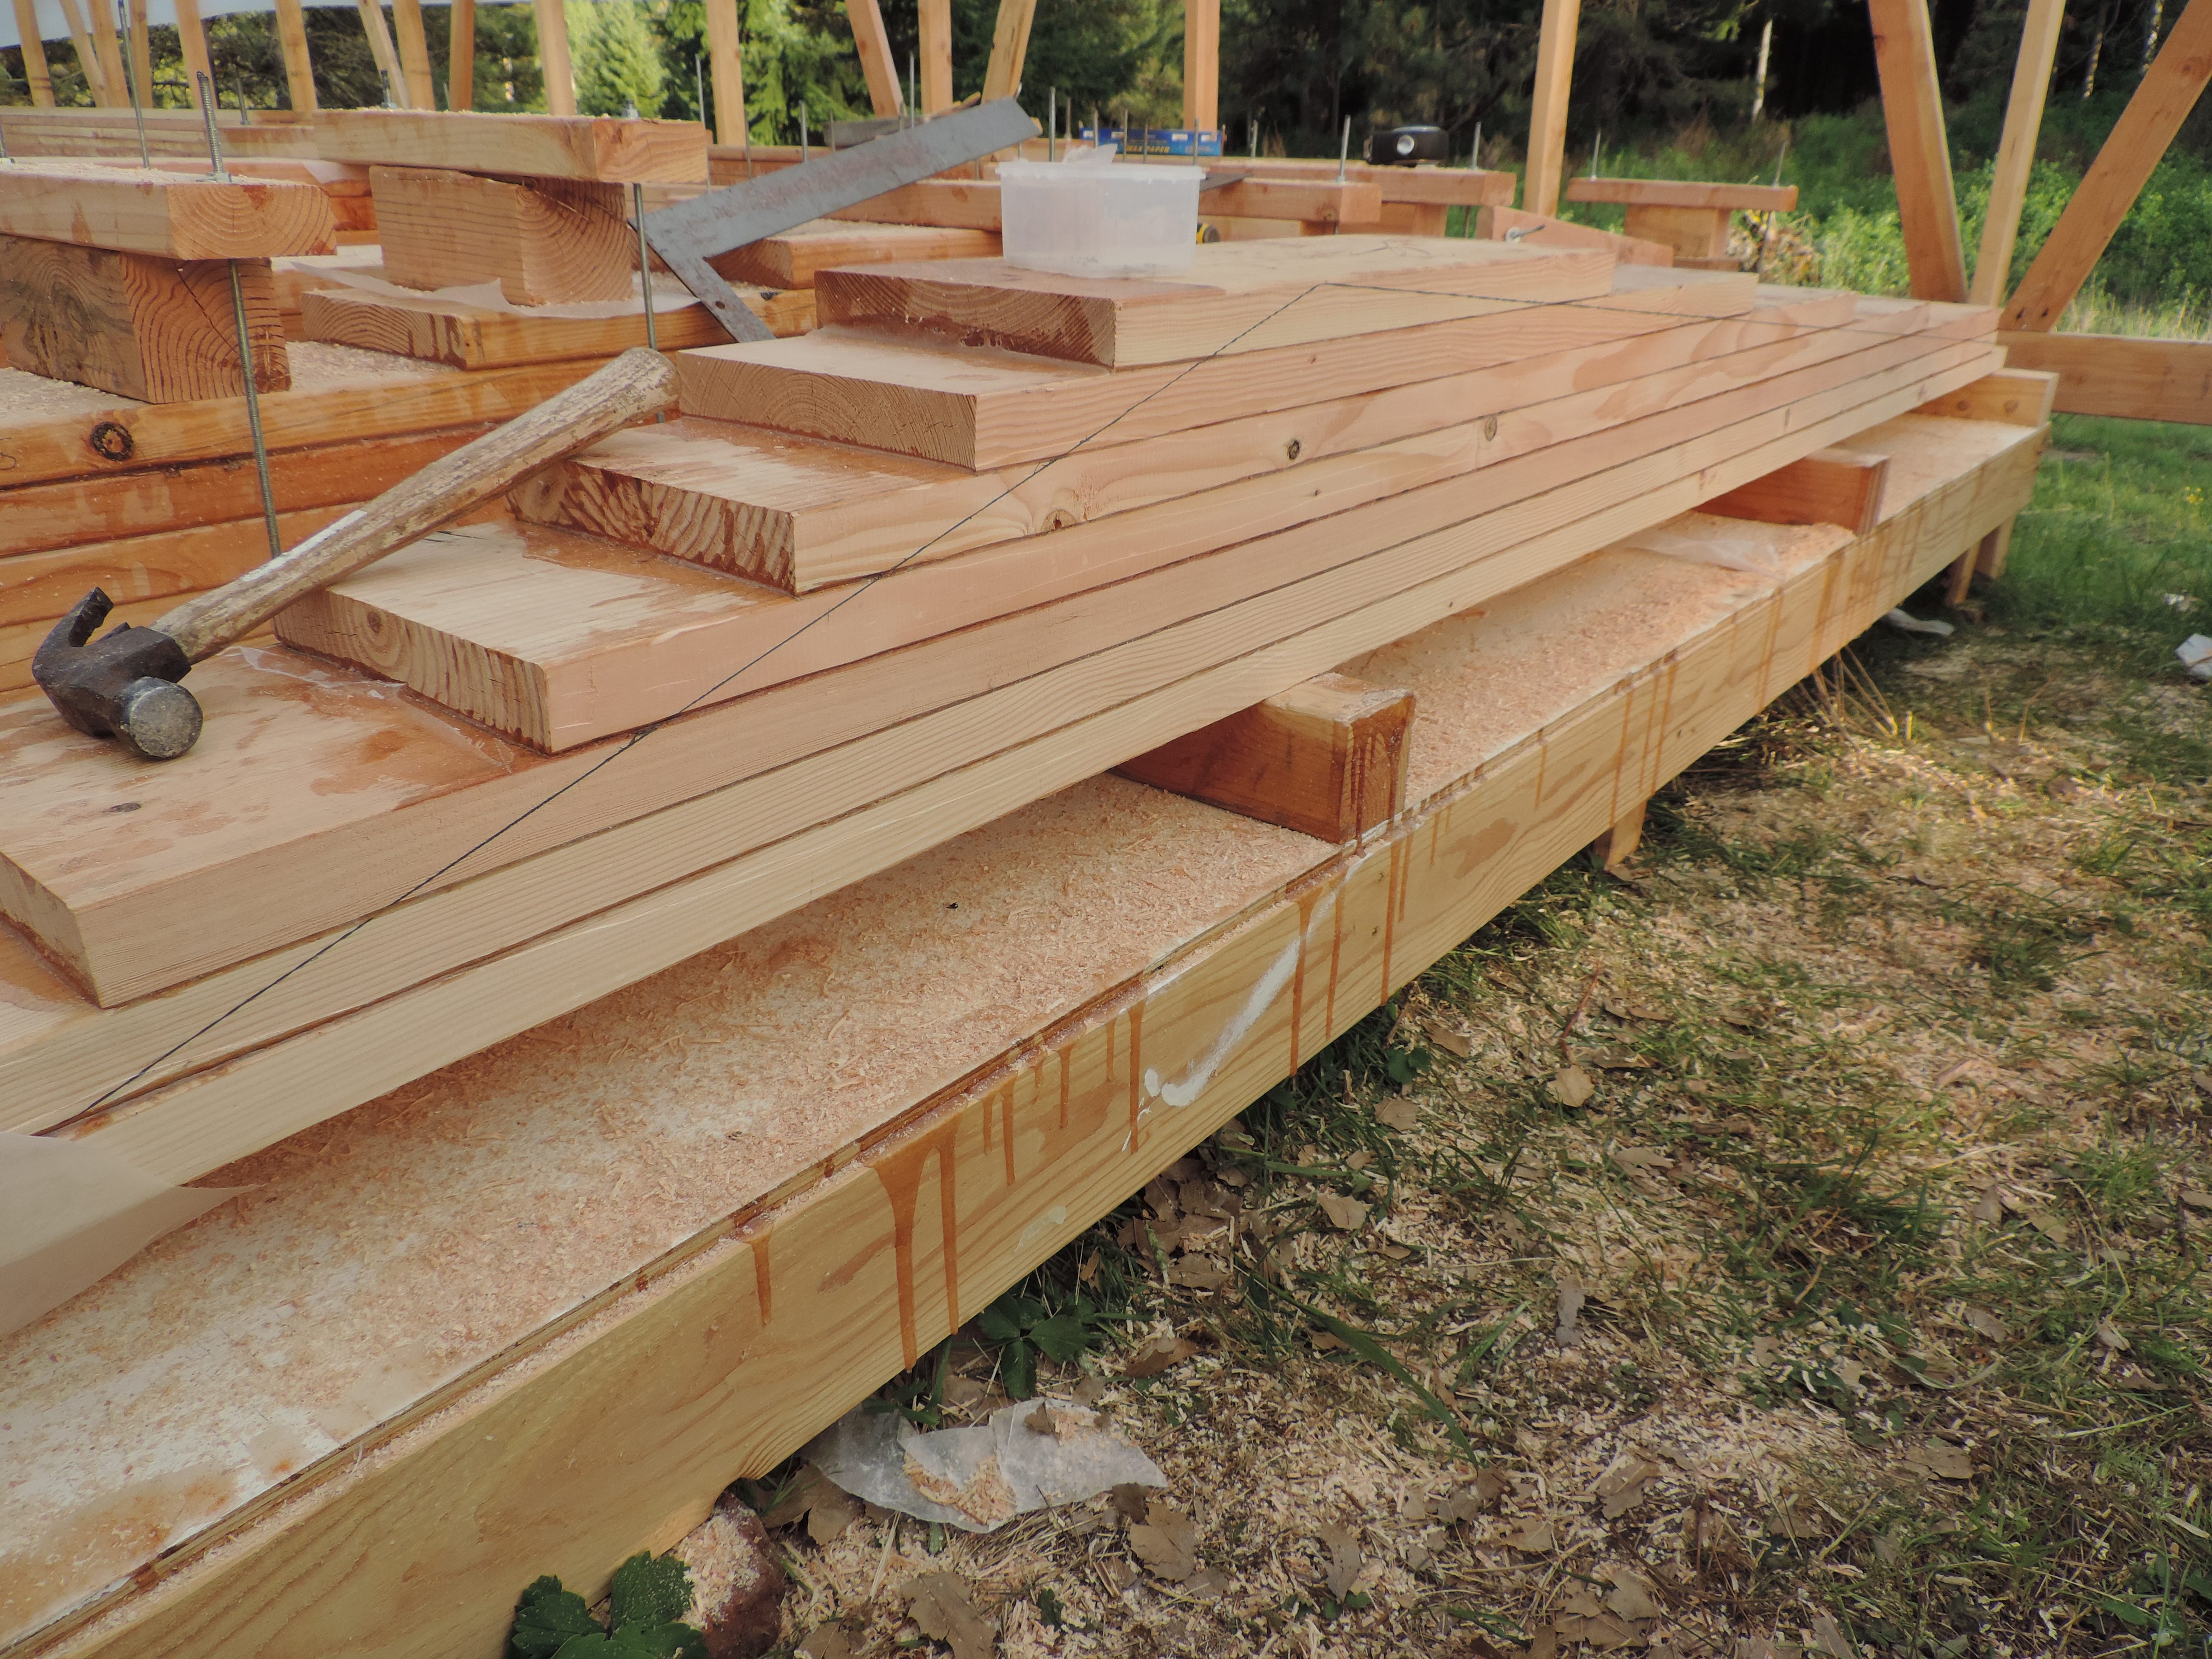
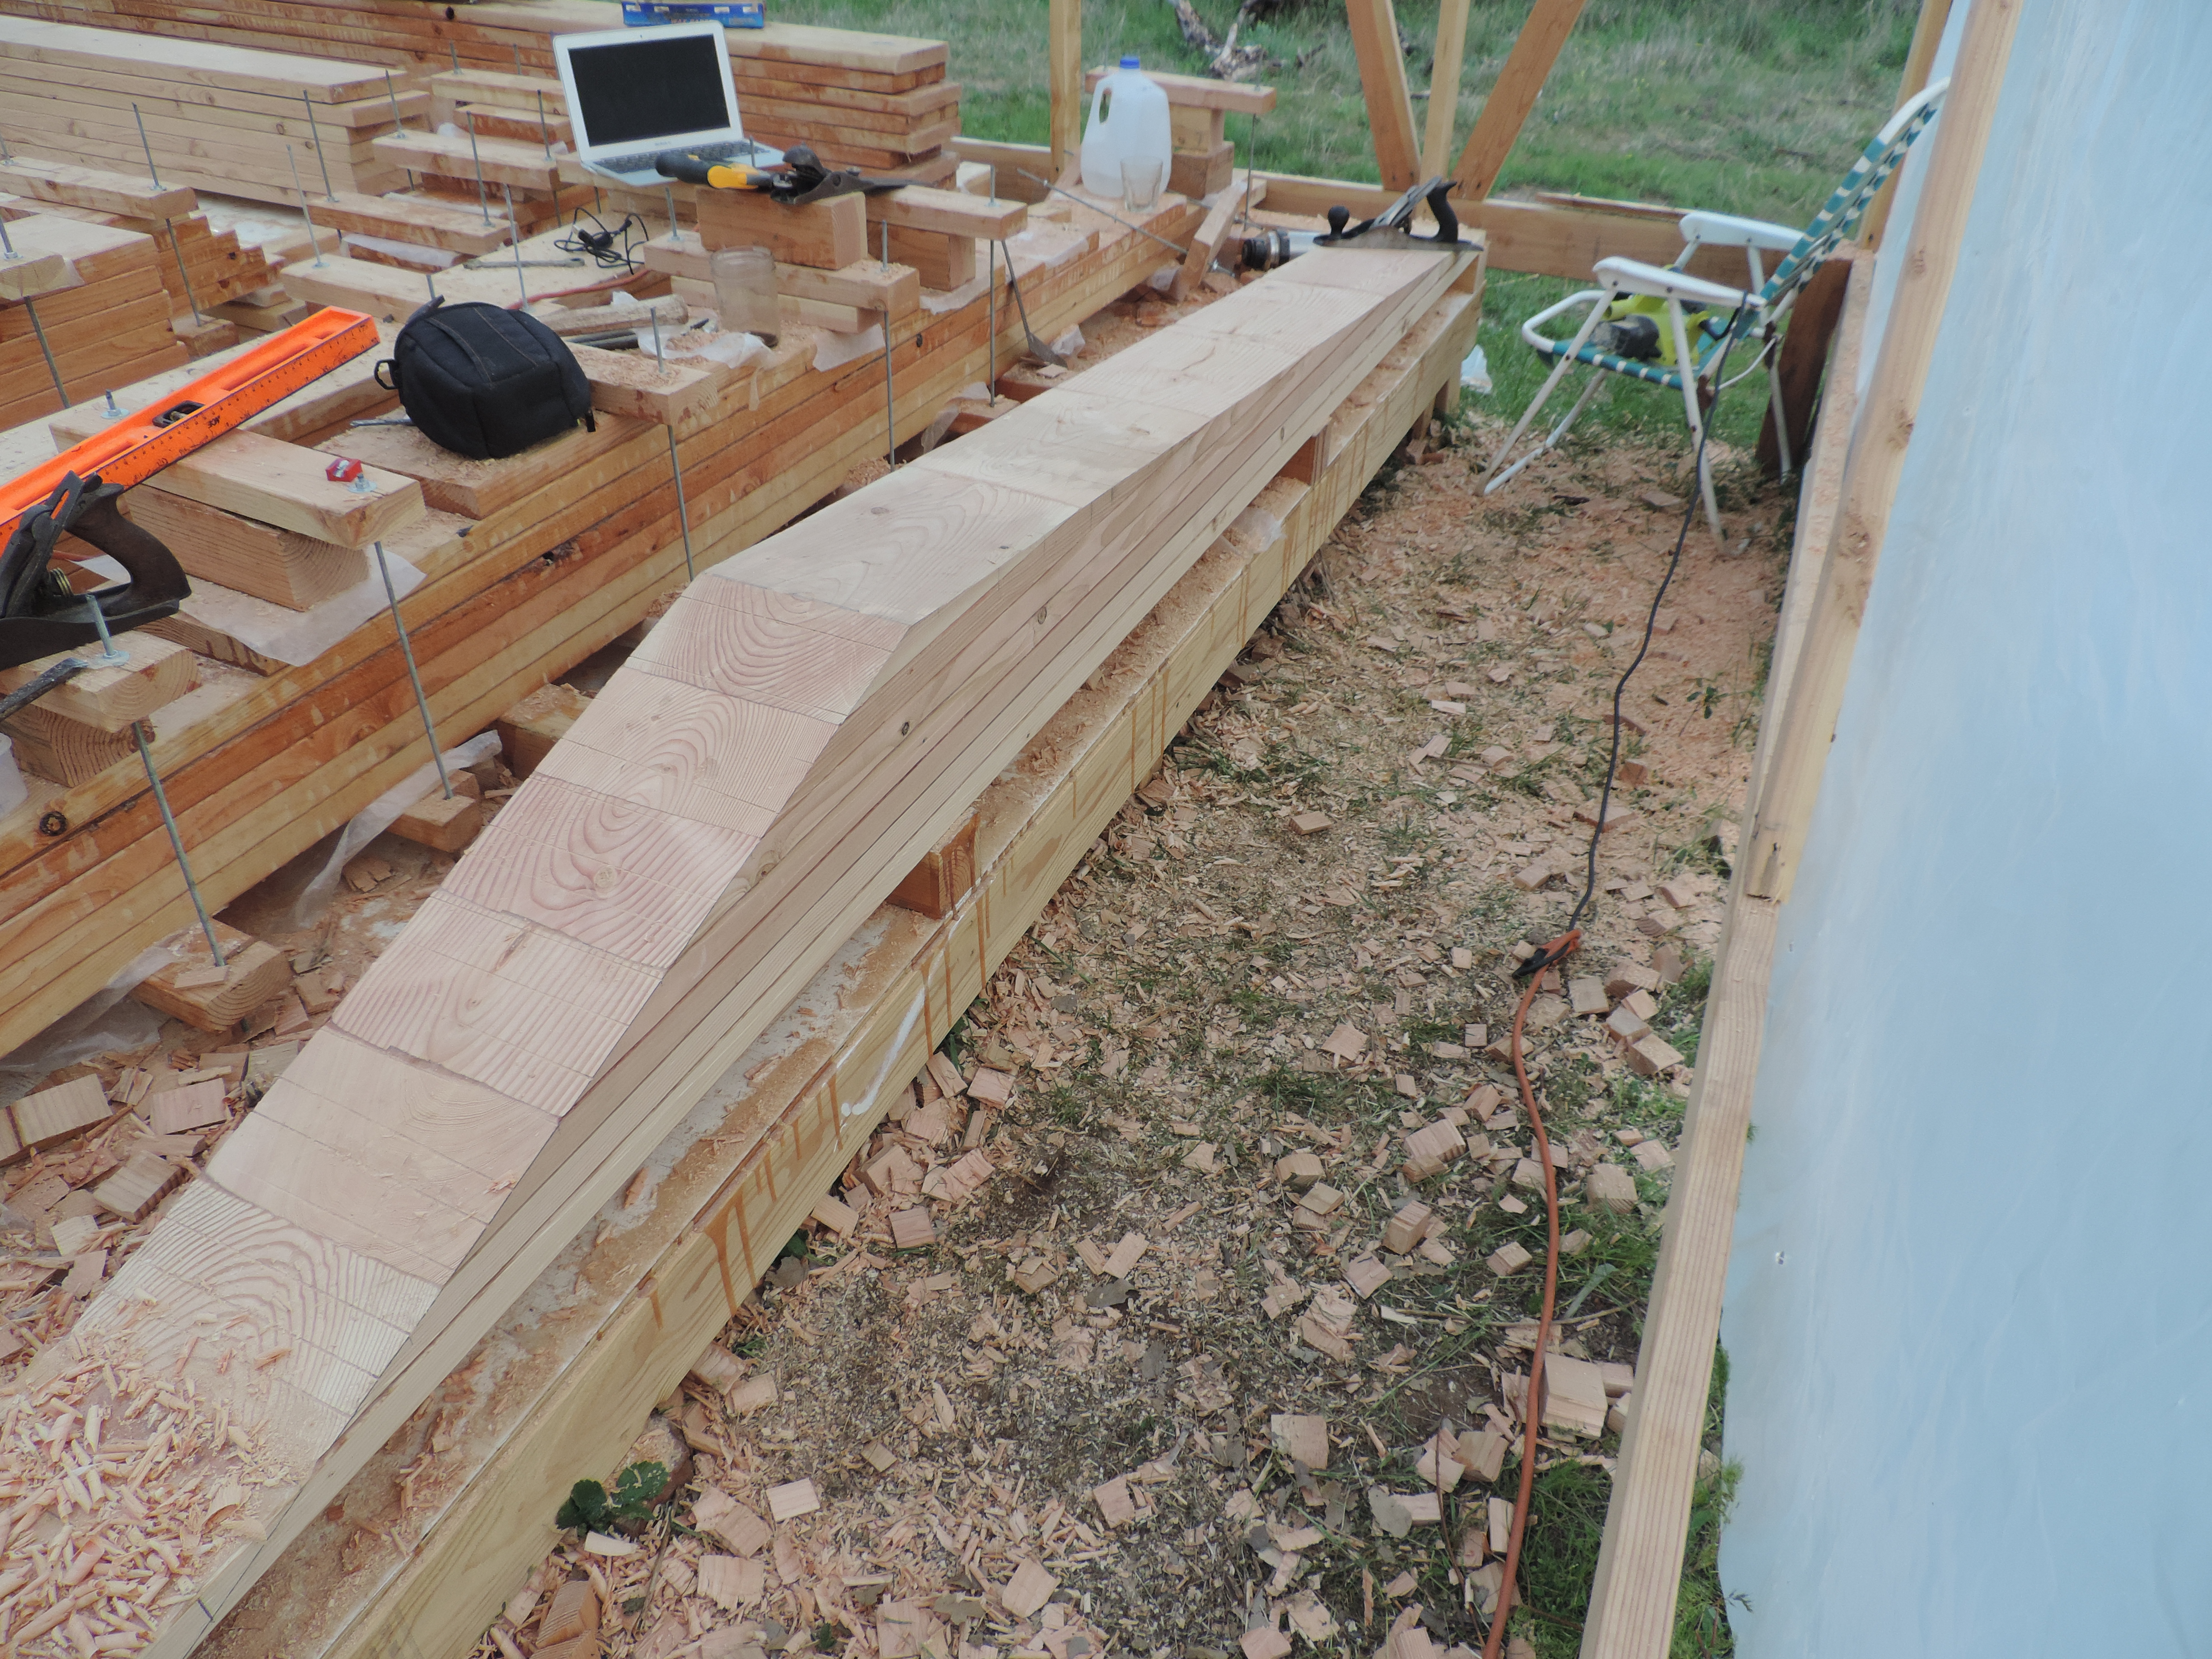
Today I got the deadwood spiked to the bottom of the keel, and started building the mould for the ballast. We are just waiting to get our keel bolts from the machine shop. Then we will be able to get cement and pour the ballast. After the ballast is poured it will need a couple weeks to cure before we can flip the keel back upright. We’re hoping to get all our black locust from the kiln soon. That way we can start building all the frames while we wait for the ballast to cure.Then once we flip the keel up we can just start standing frames up. It will be such a incredible moral booster to see the boat start to take shape. Her massive skeleton coming together for me is more than just exciting. It also represent at least some small preservation of a forgotten past, and a dying art. Wooden boats, and their history have become obsolete beside their modern counterparts. Other than a dwindling number of crusty old salts, and a few die hard wooden boat fanatics there isn’t much keeping them around. Yes they do take more work to keep them going, but in my opinion what you get back from that can never be equaled by a modern plastic boat. I could rant on for hours on this subject, but to save the readers from having to wipe away the boredom induced drool from their chin I will move on.
Back to work I suppose. Wish us luck that the cradle doesn’t collapse under the weight of the ballast…. That would be bad…