
Well sit right back and enjoy this here ding dong of a keel flipin ballast pourin ho down!
Half way there!
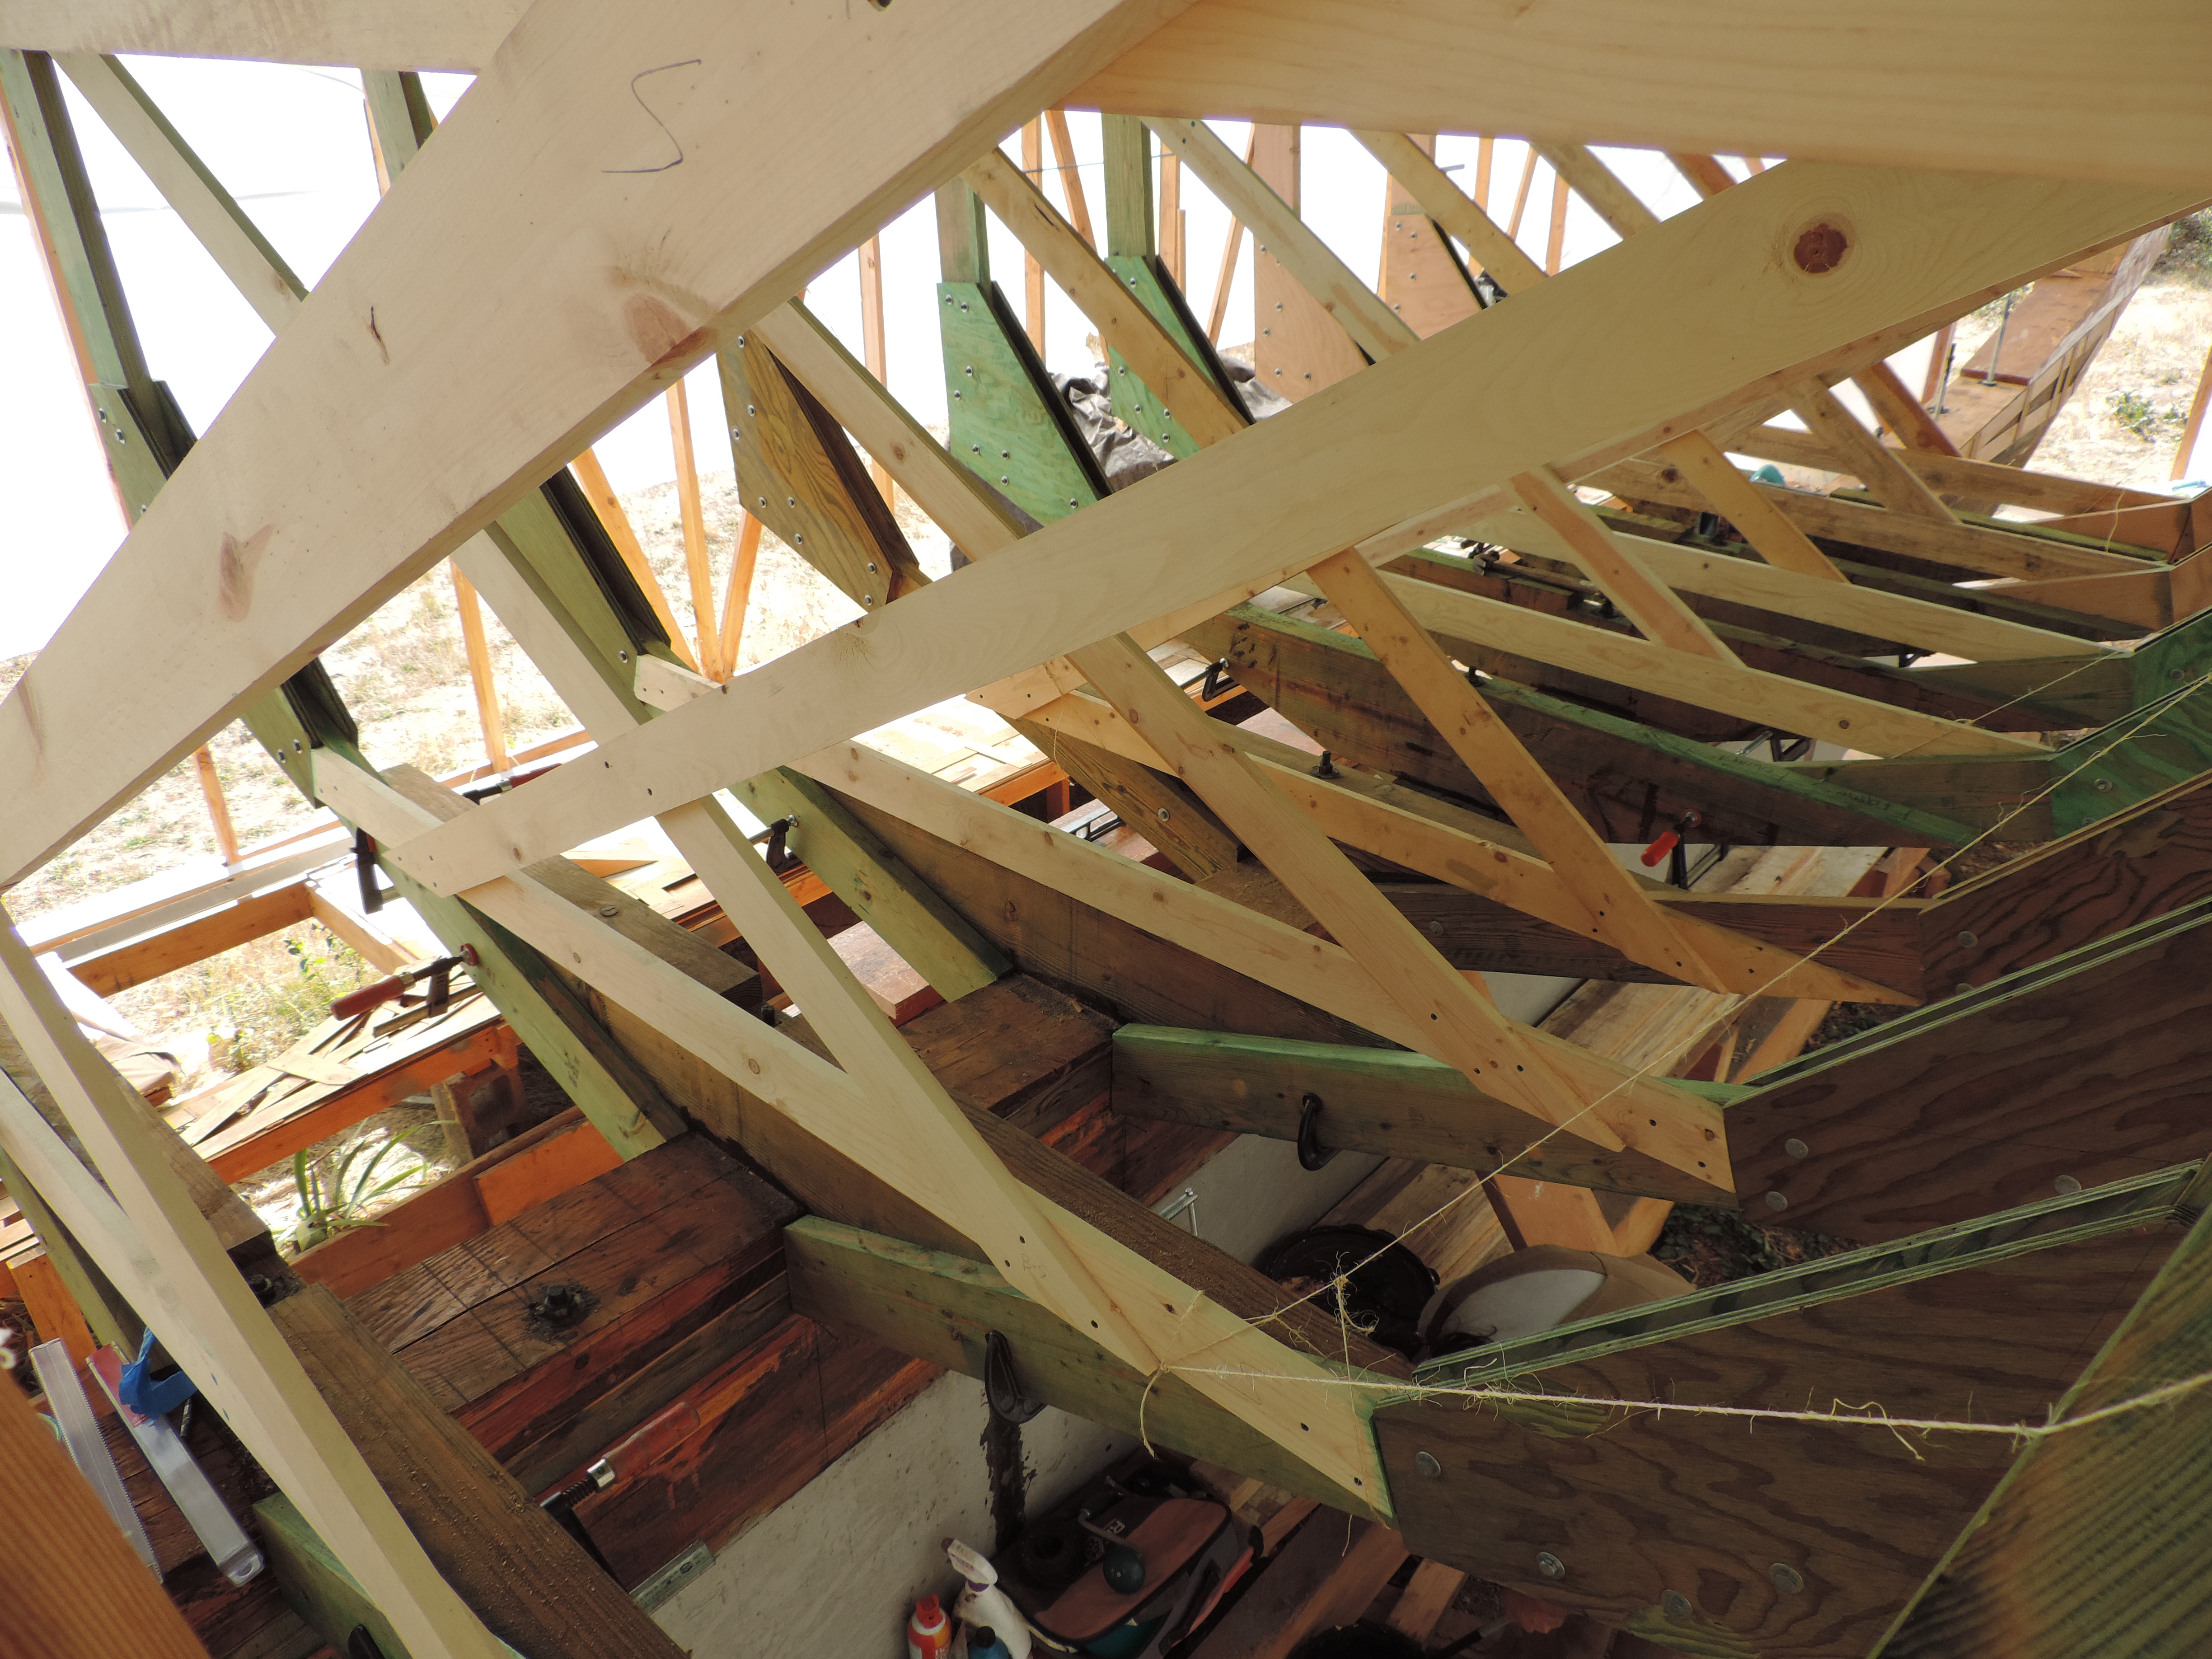
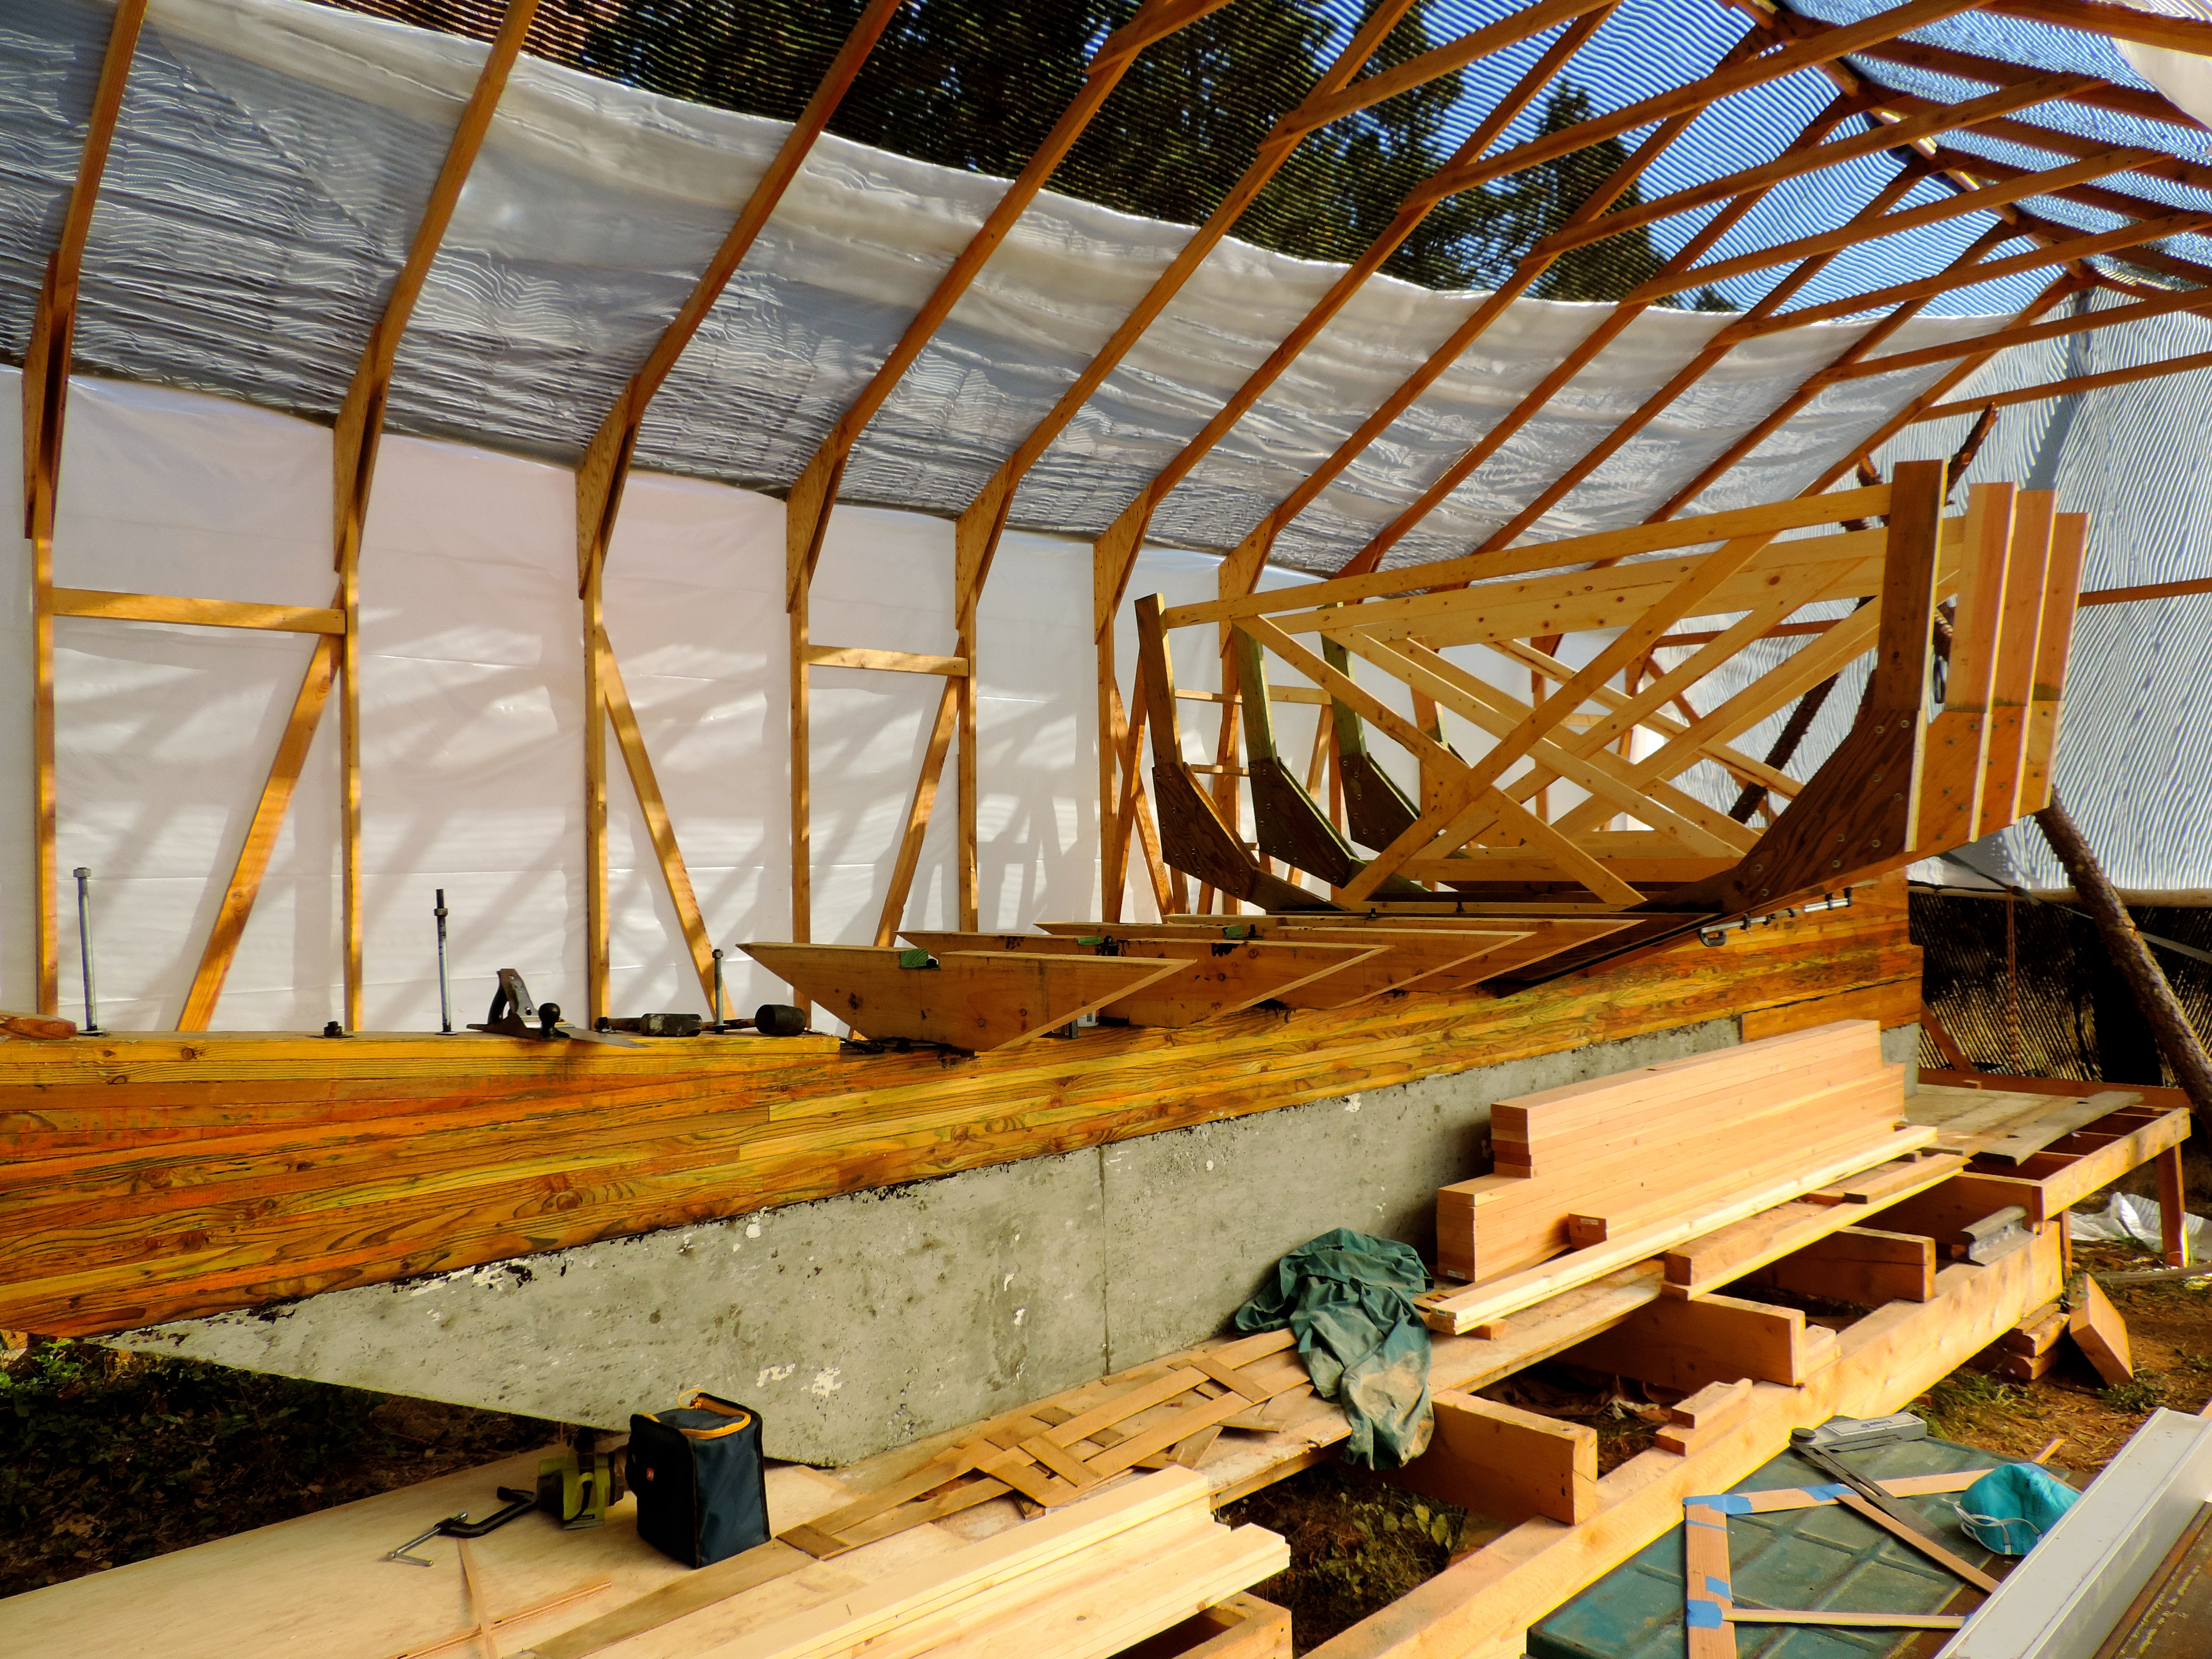
We are officially half way through framing! It took us 9 days so hopefully she will be all framed out in a little over a week. Thankfully summer is officially over, and it’s really starting to cool down. Which means much more productive days! Somehow we seem to be ahead of schedule despite all the setbacks from the crazy summer heat, and delays on materials. We still have no idea what winter will bring. The last two years were super mellow with no snow, but thats not the norm. Usually there is quite a bit of snow,and temperatures dipping down into the teens. We will see I suppose! Were trying not to get our hopes up, but if progress continues as it is I think we are looking at 6-8 months before she can be trucked to a boatyard to finish her off! Hard to believe… It’s a crazy thing to see something thats only existed in your mind as a dream for so long become a reality. It wouldn’t be possible without the generosity of everyone who has helped us along the way! Thank you!!
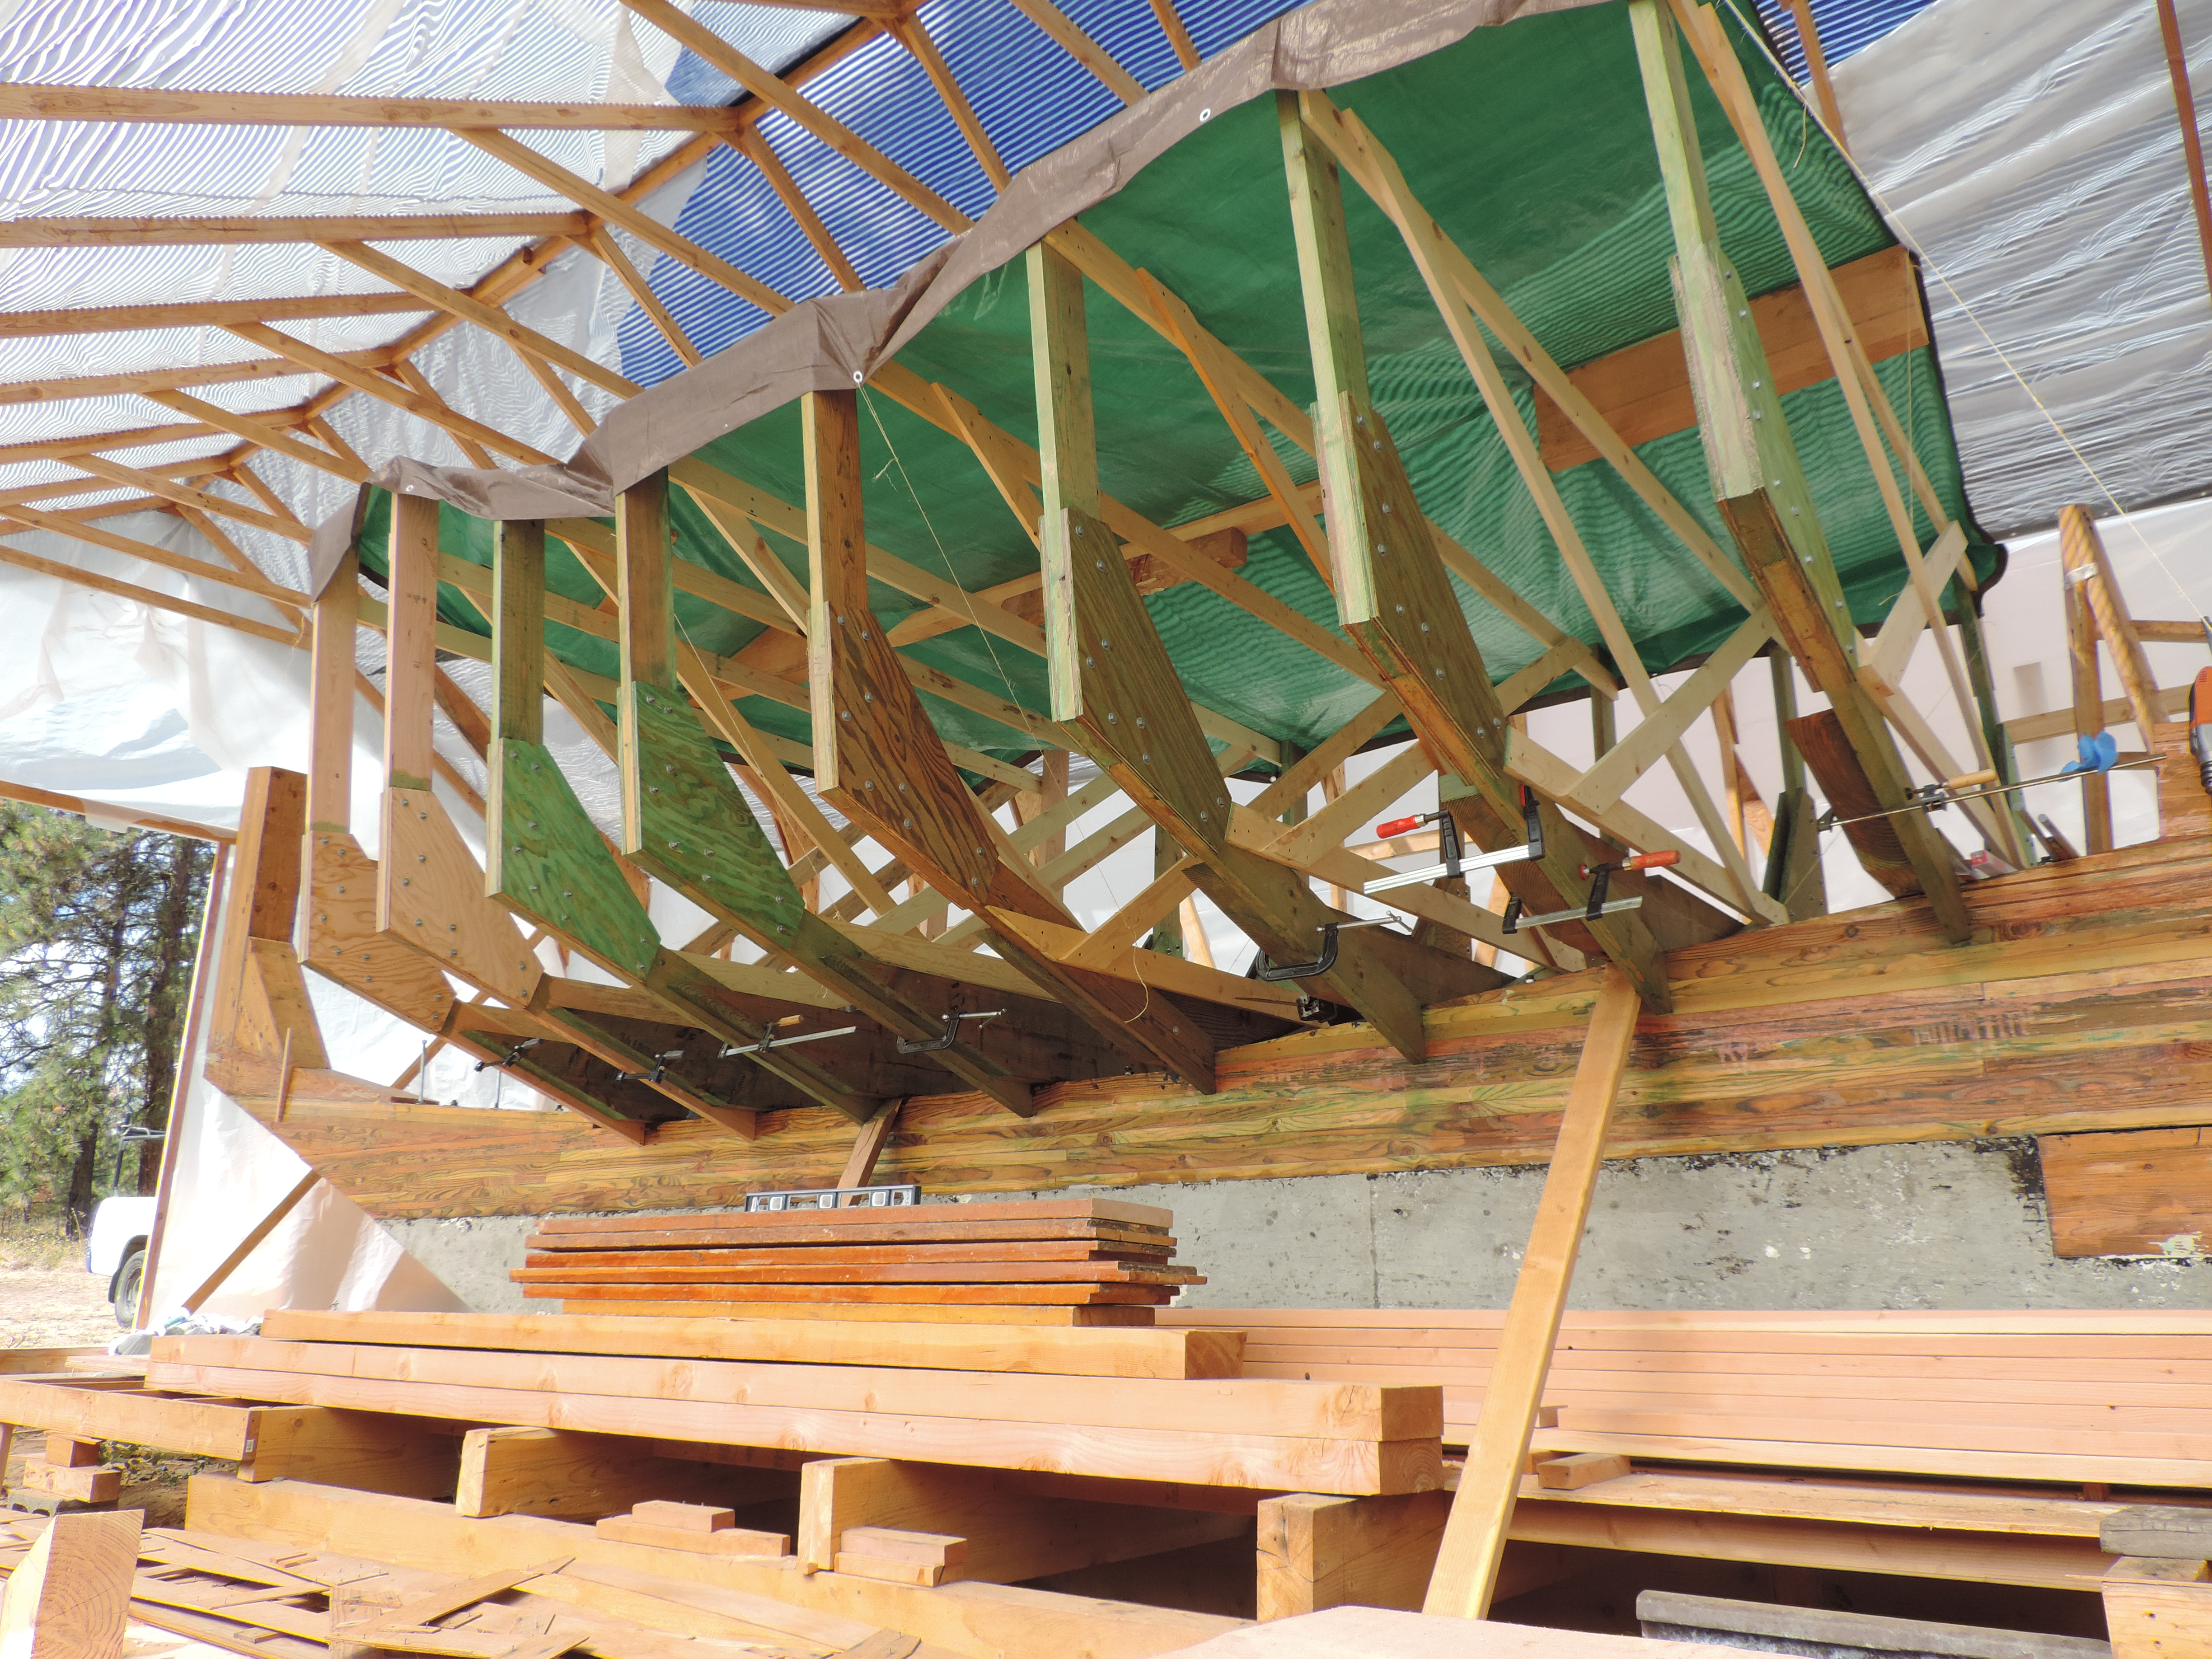
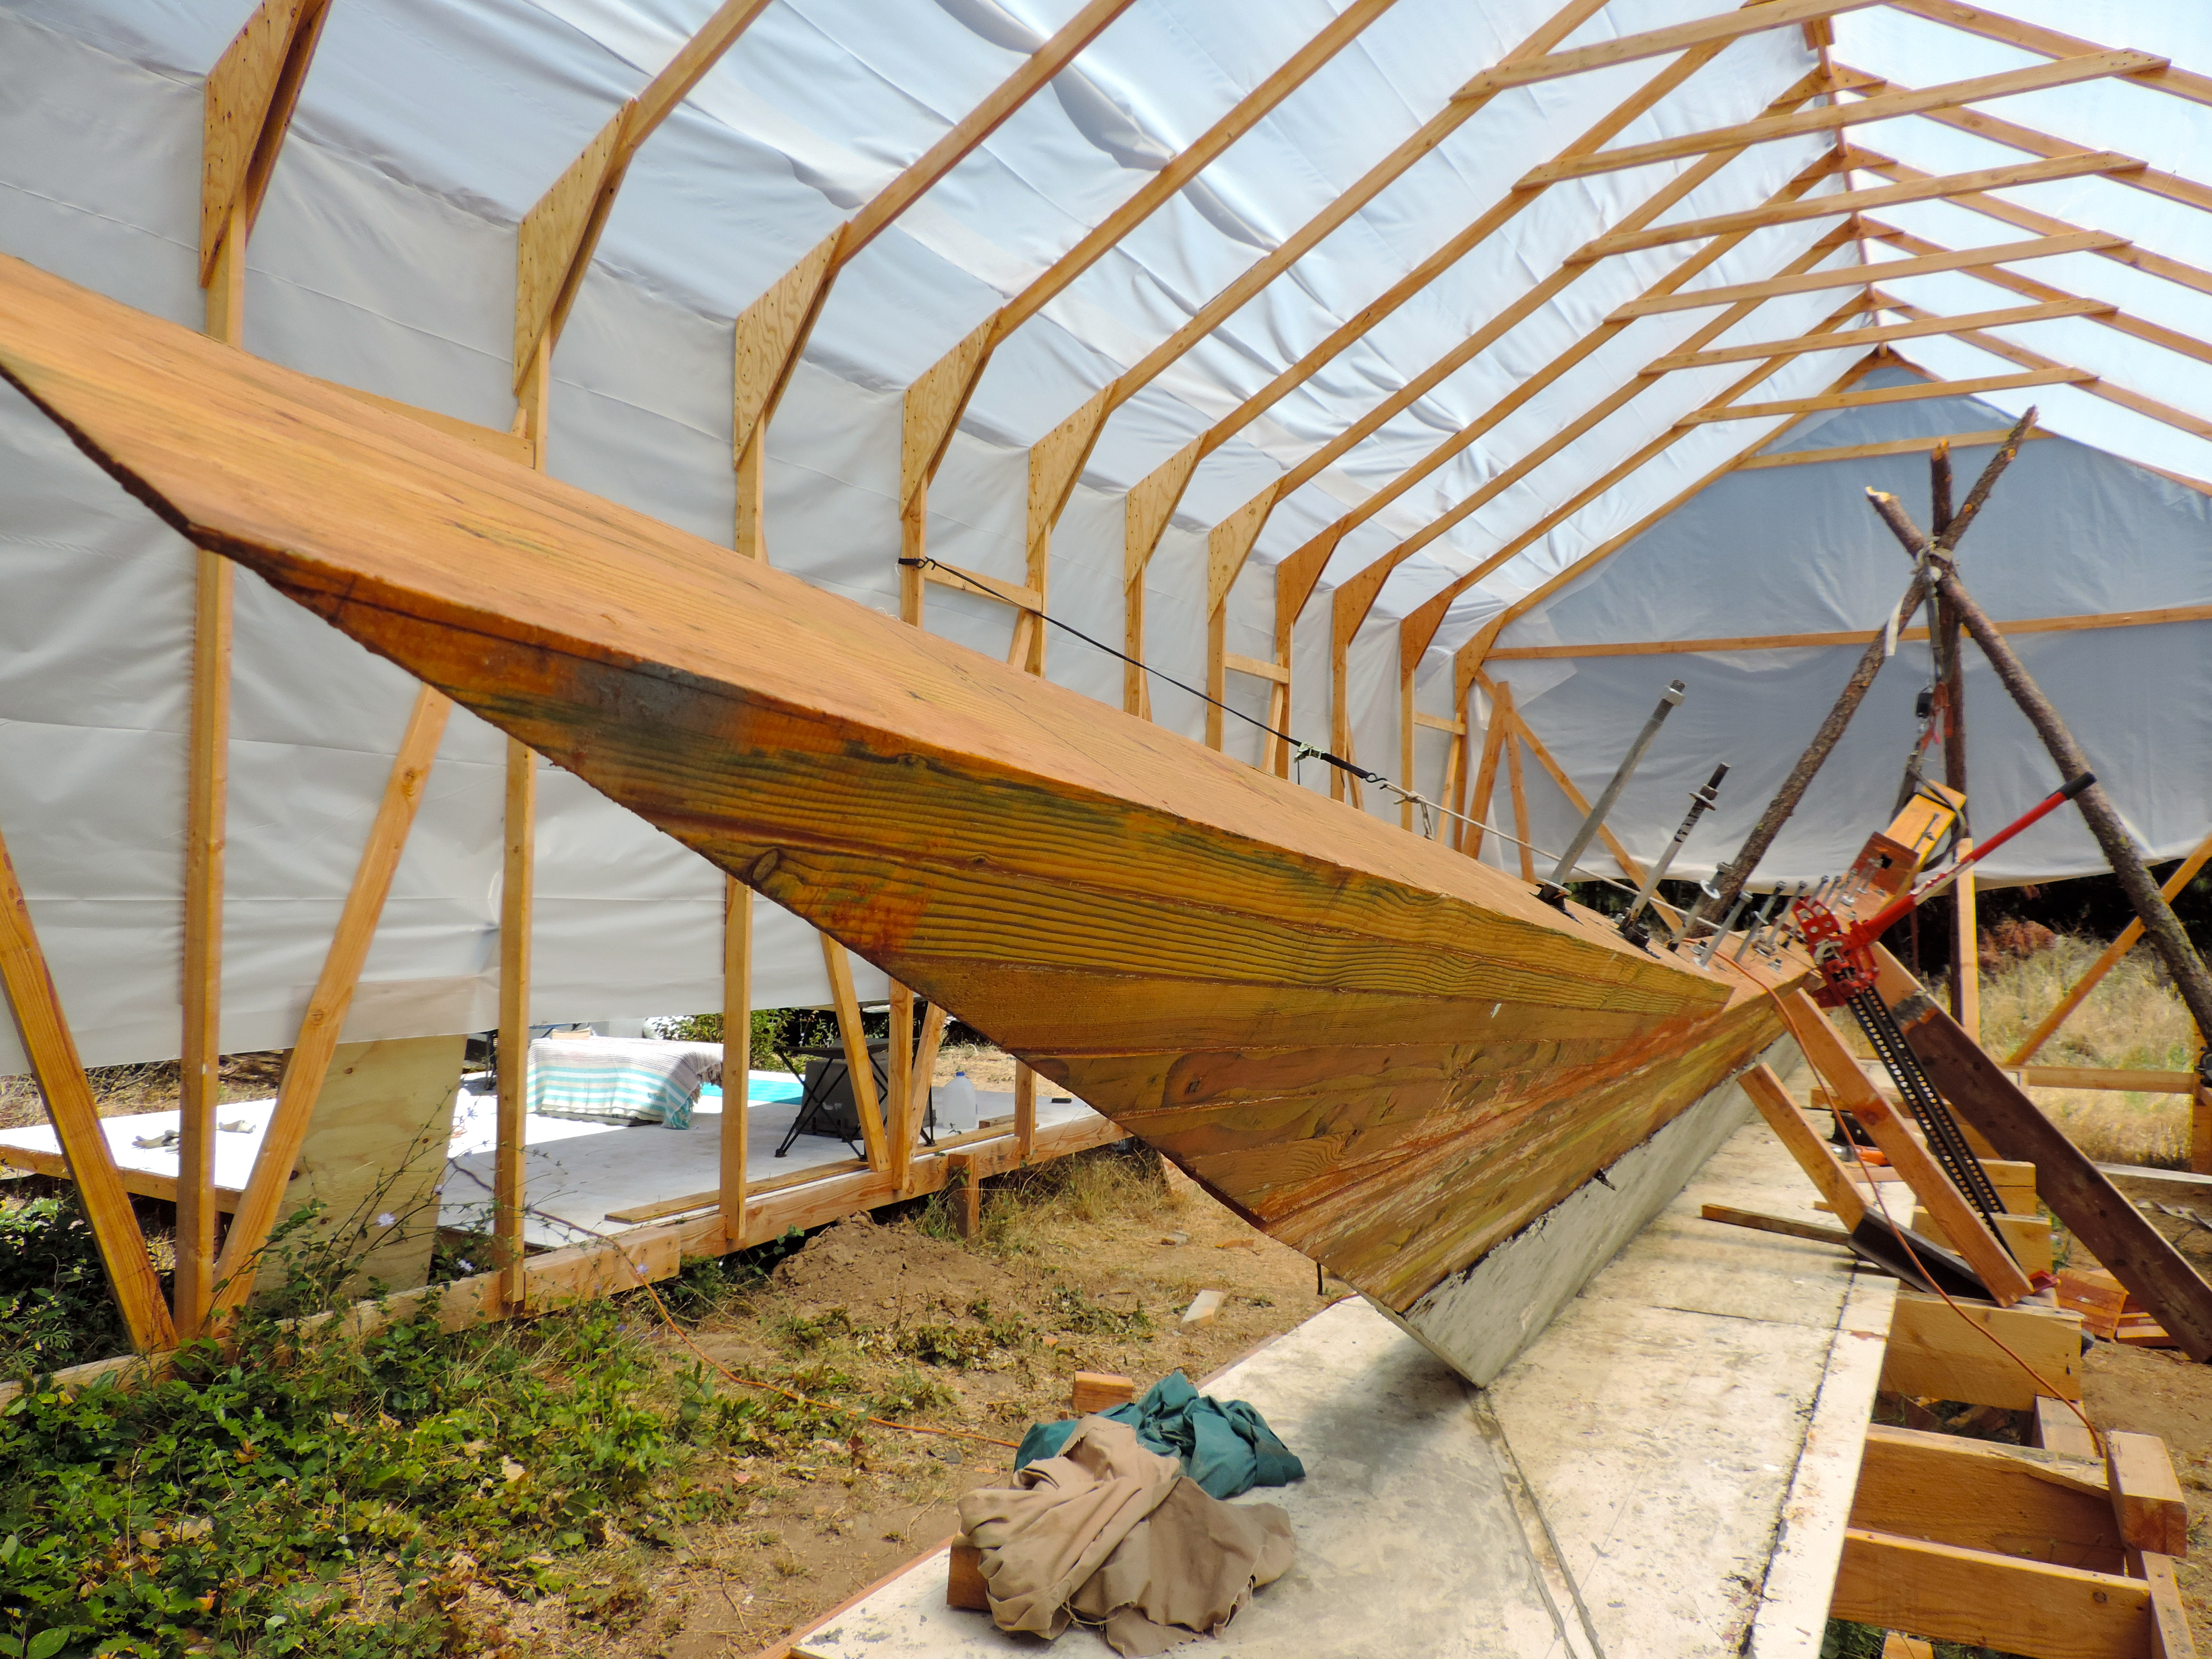
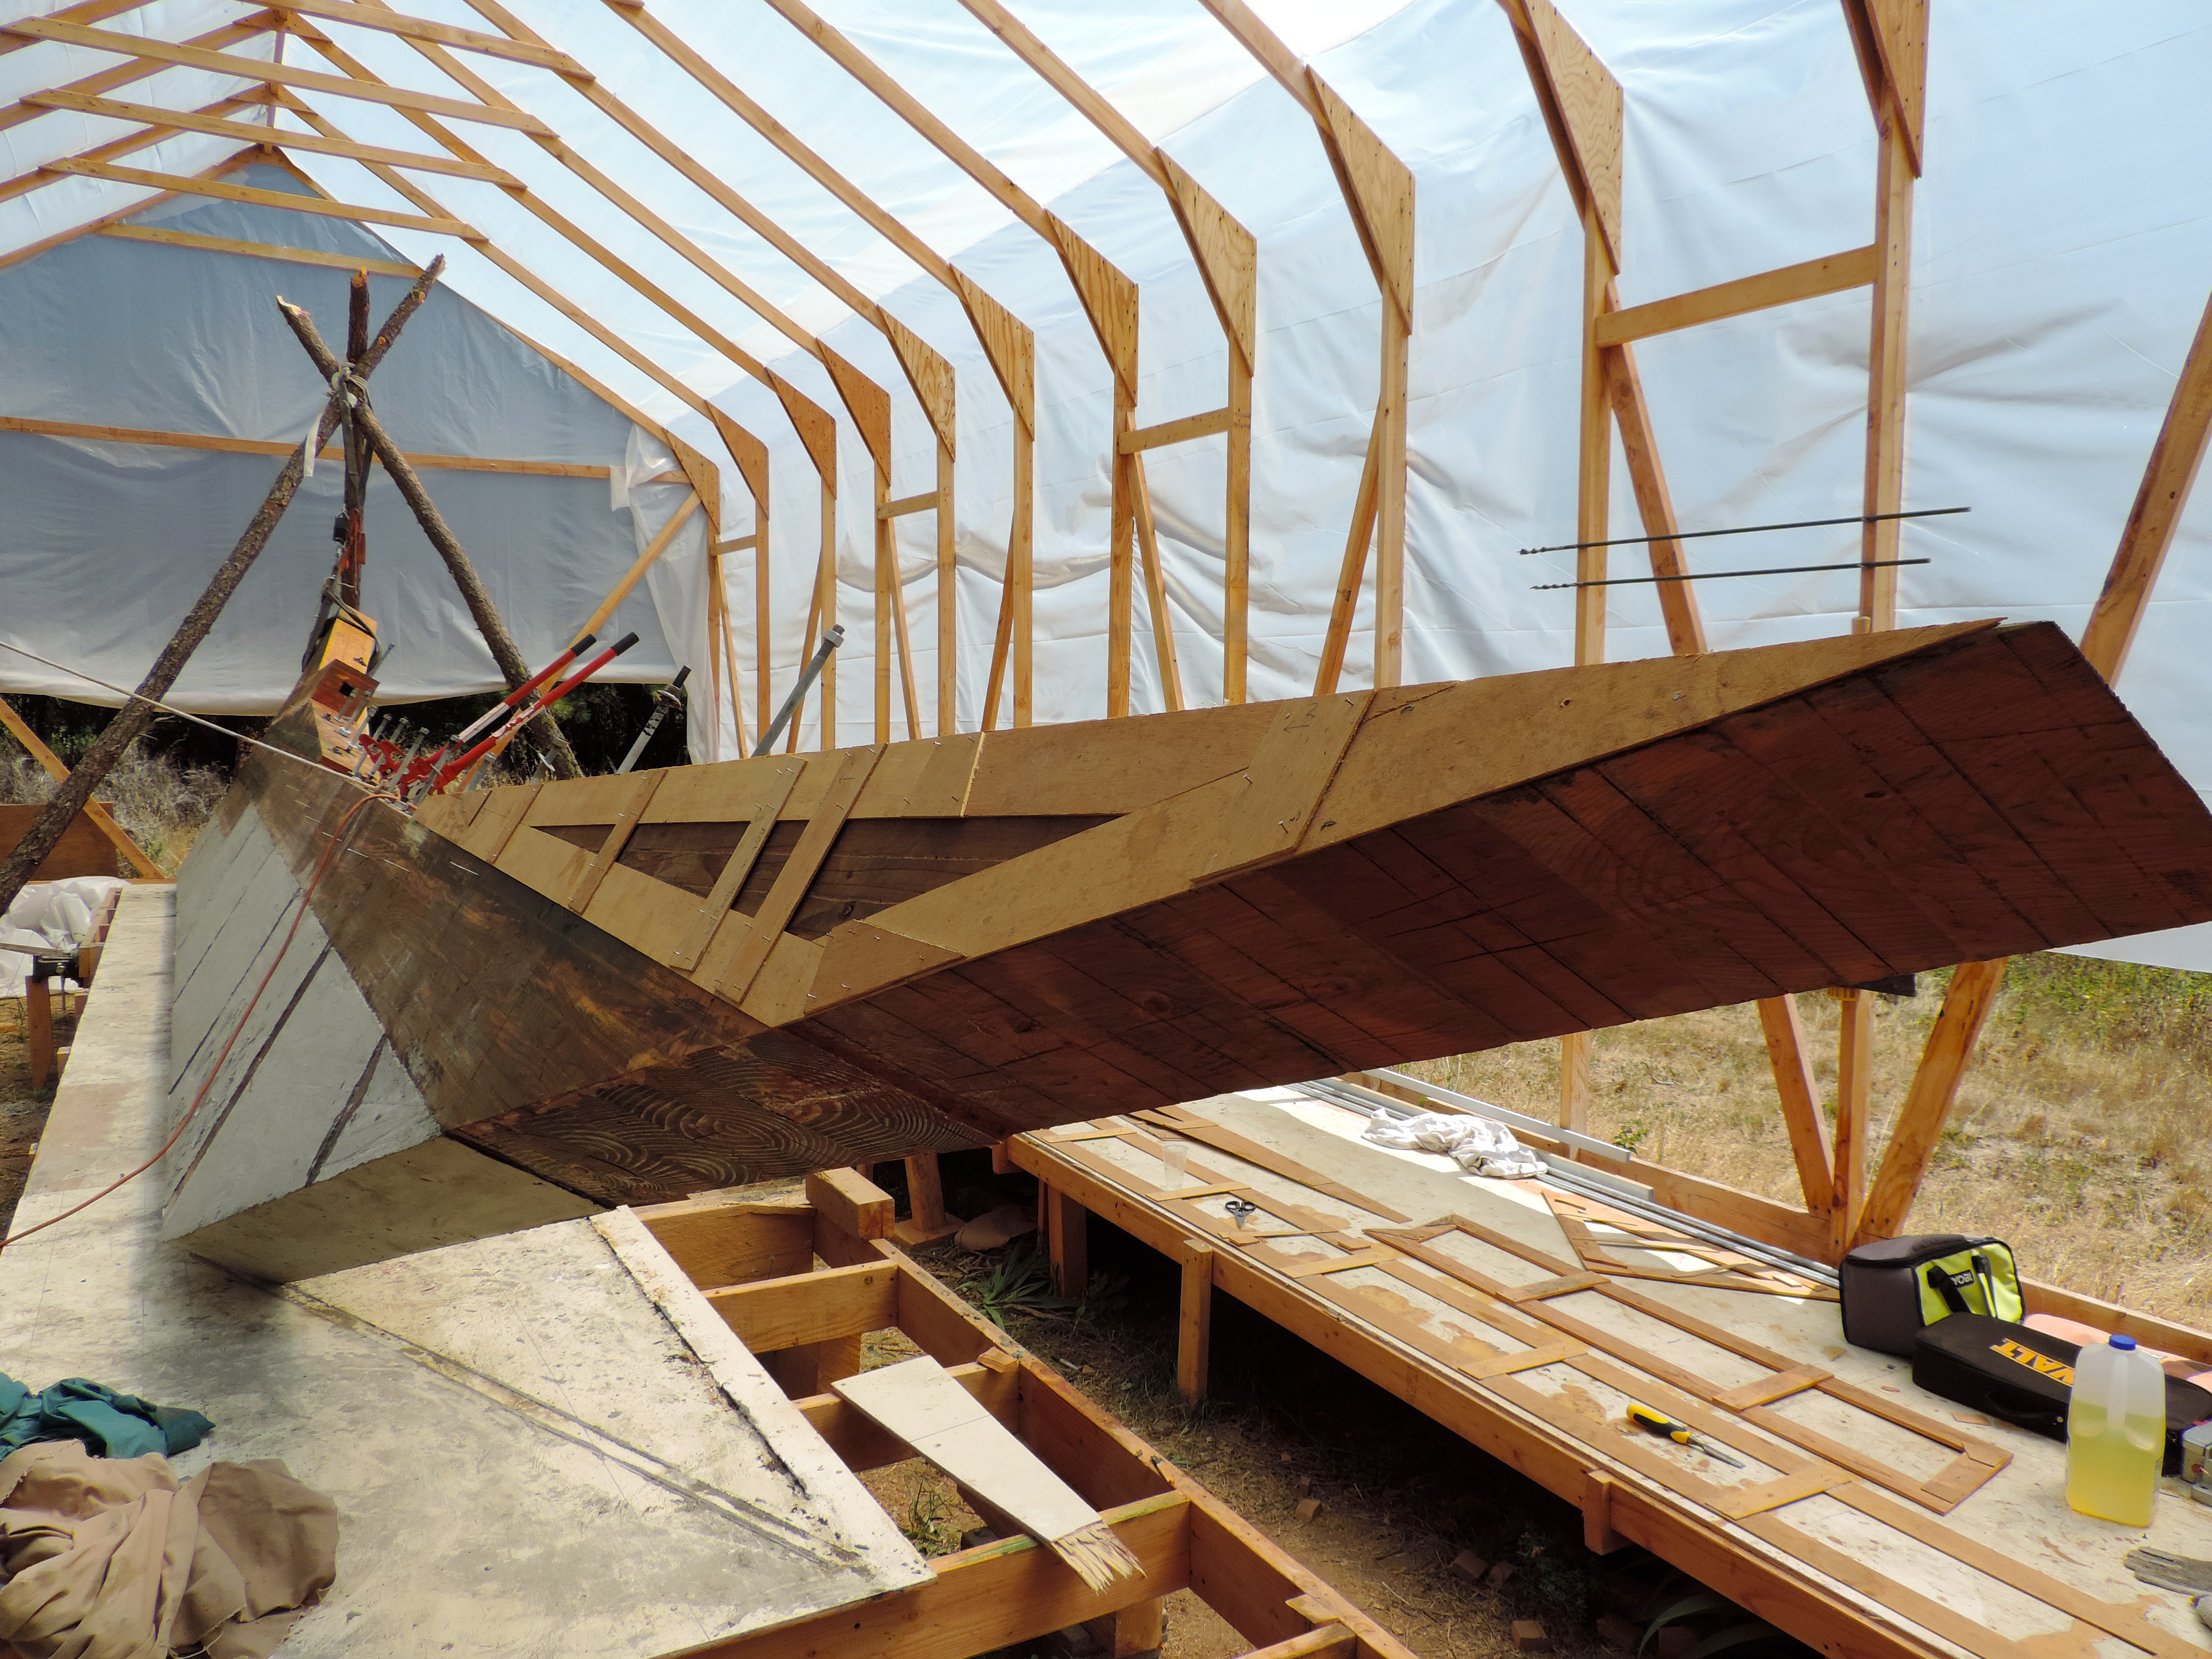
 Her whole belly framed out! They will start to get smaller and smaller at both ends.
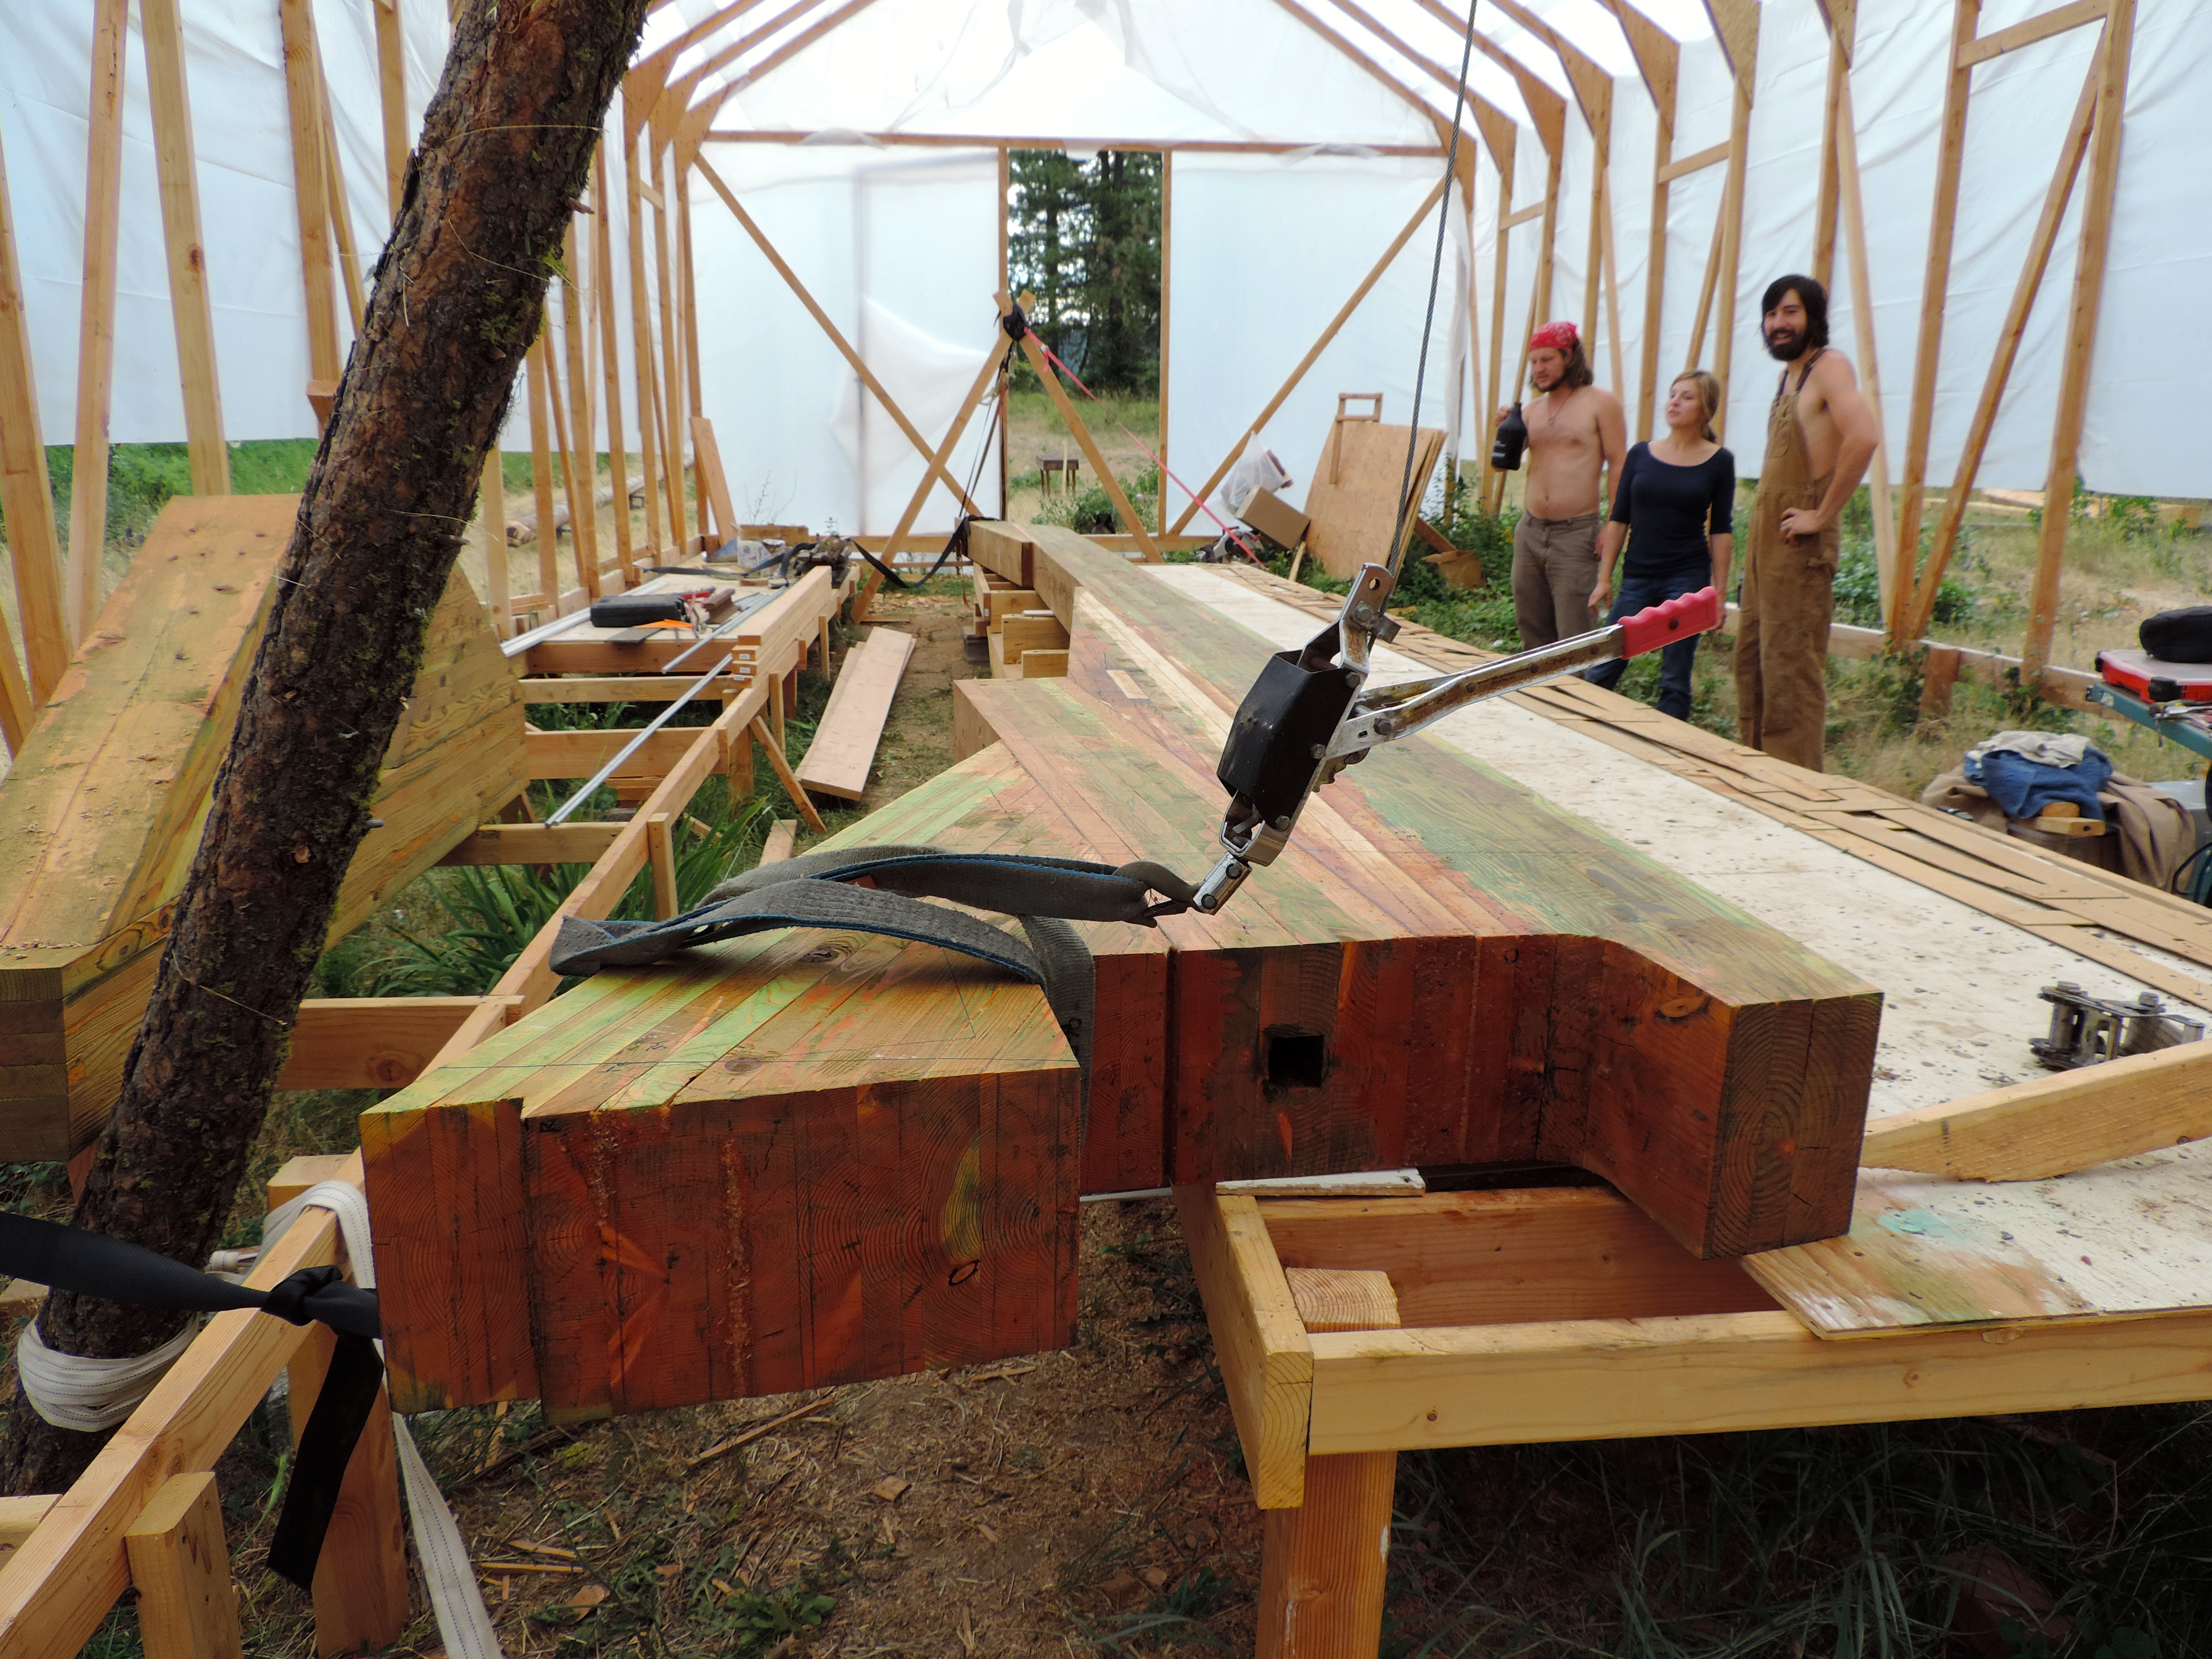
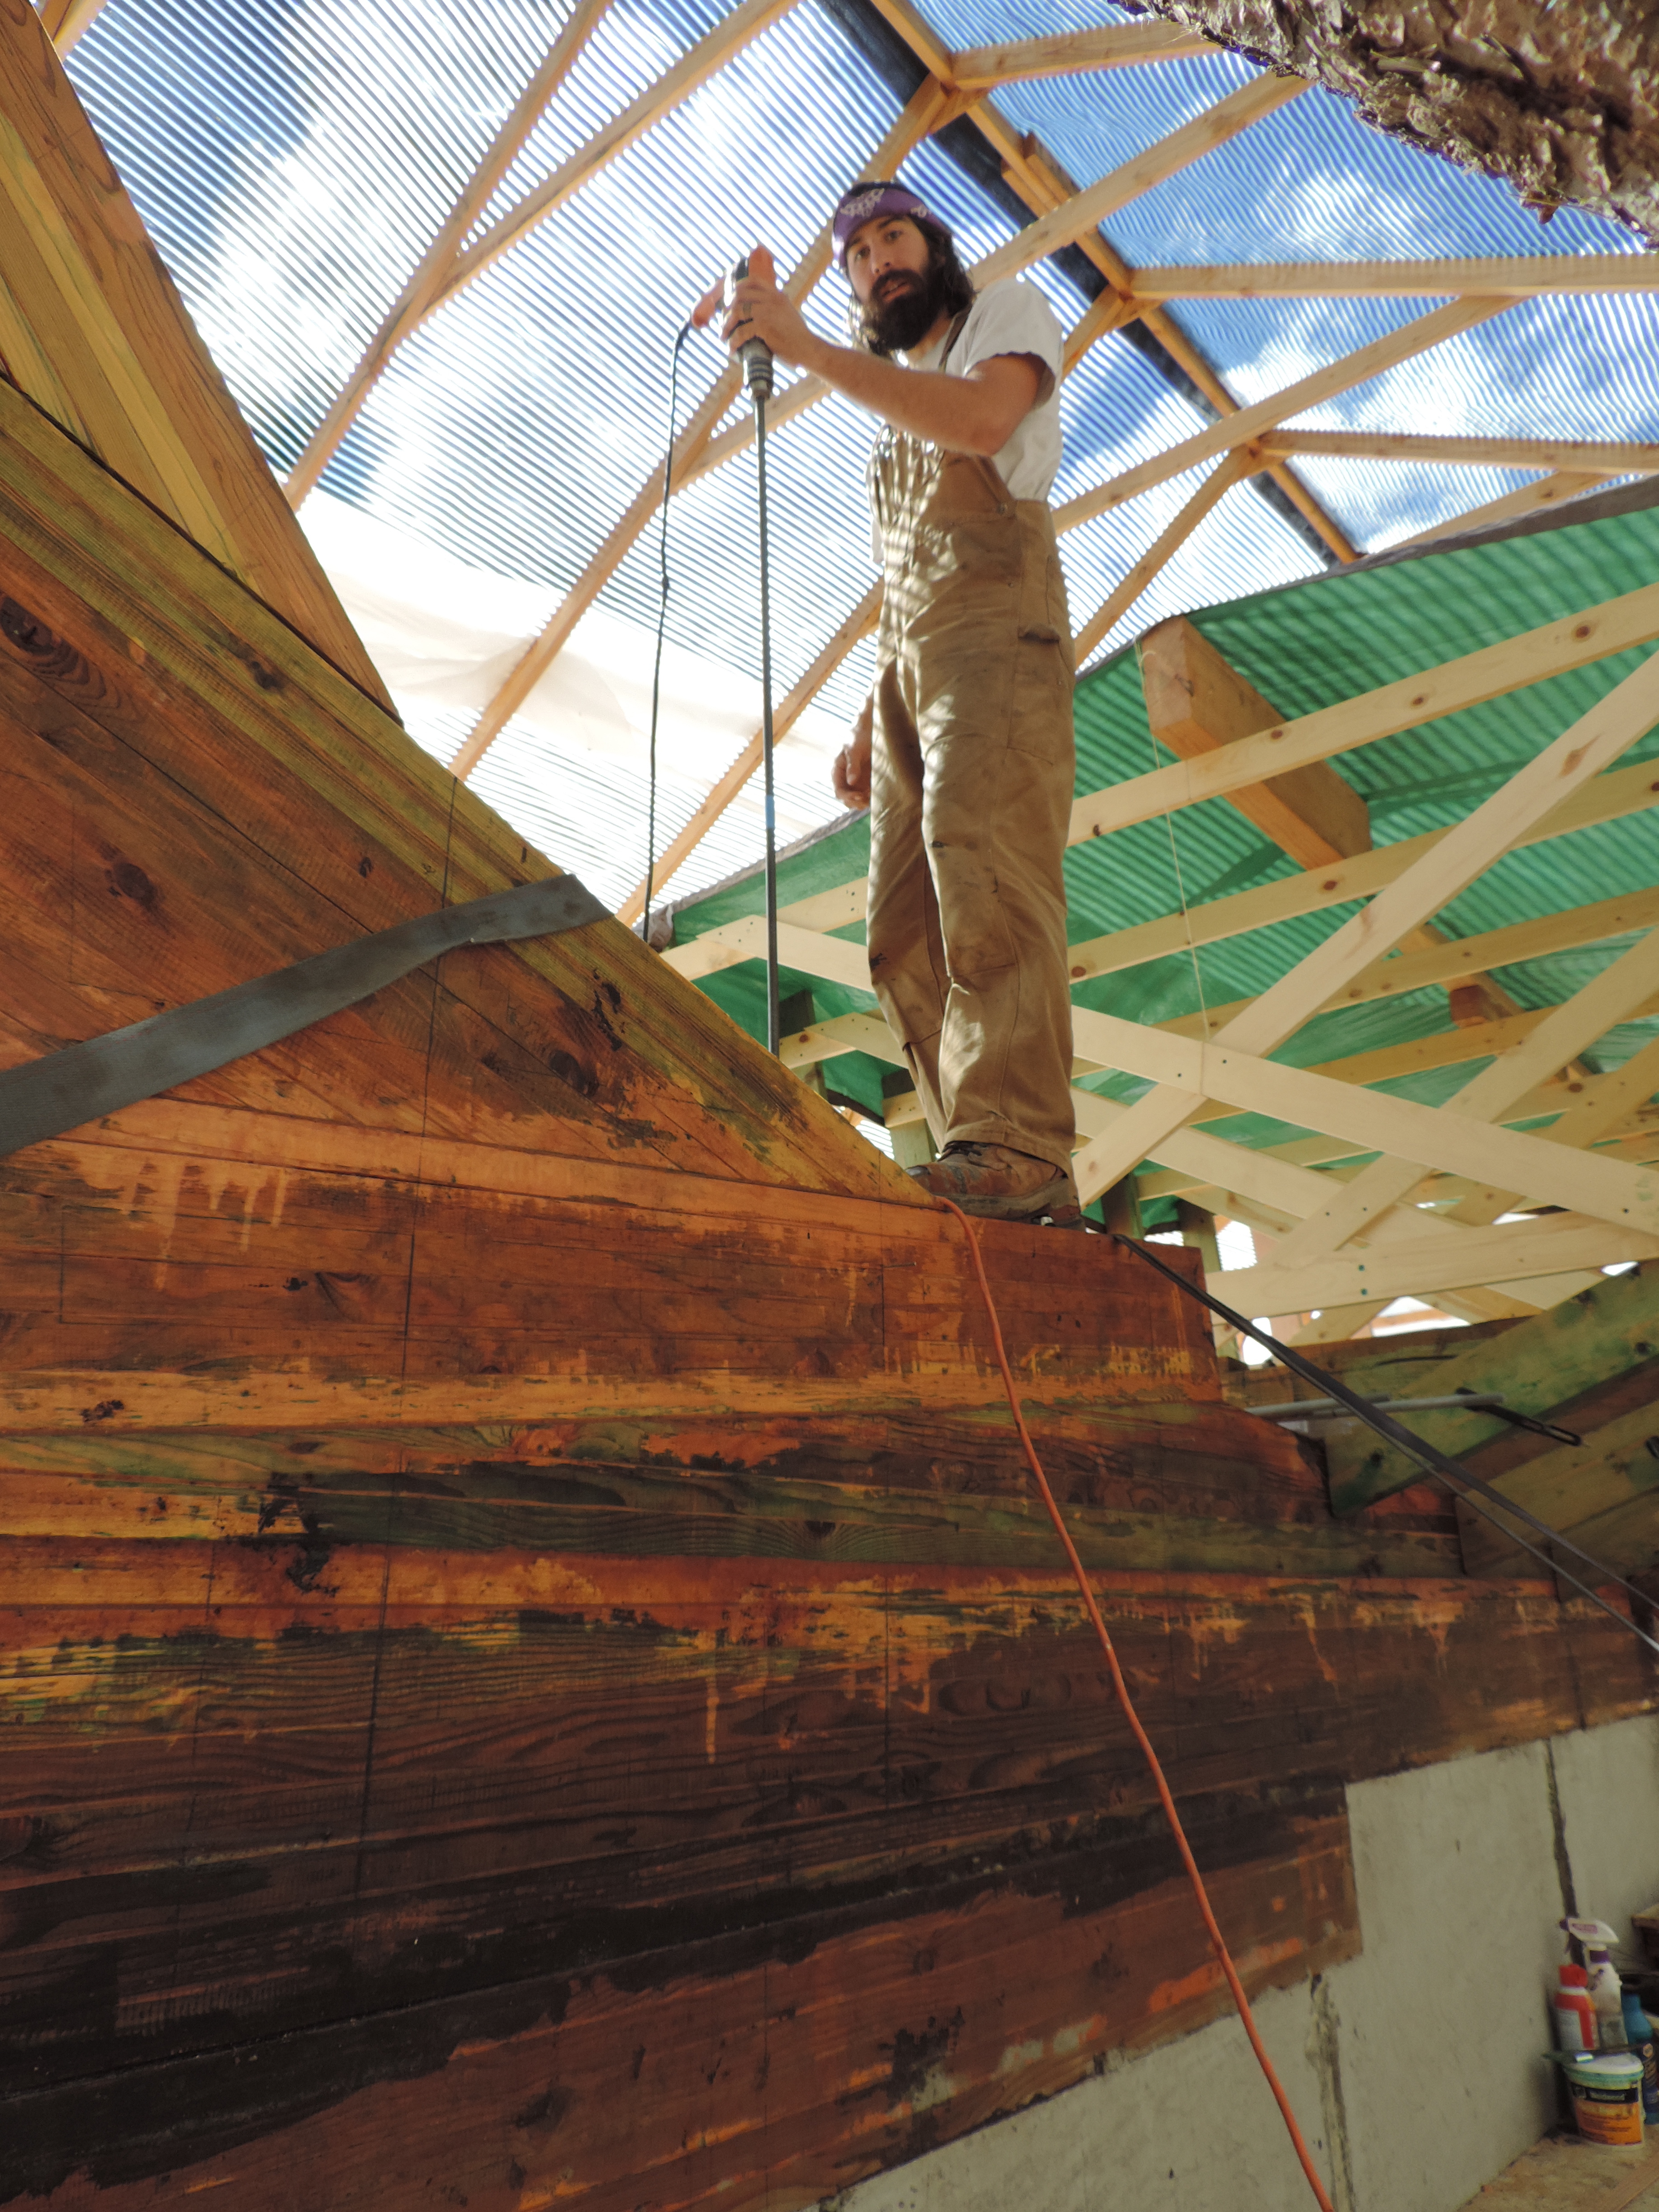 Drilling for the last drifts through the keel with the giant auger our blacksmithing neighbor made for us! Thanks Jim!
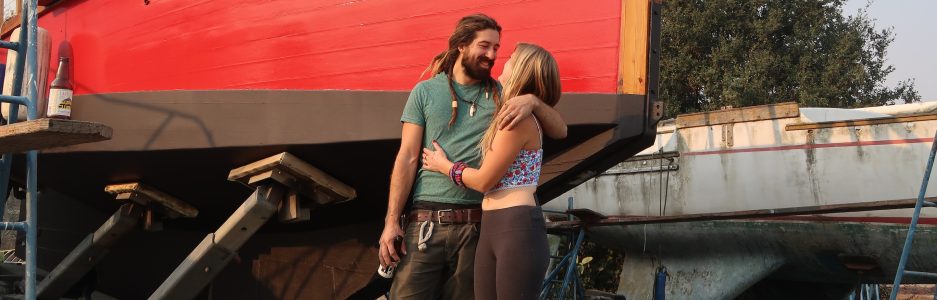
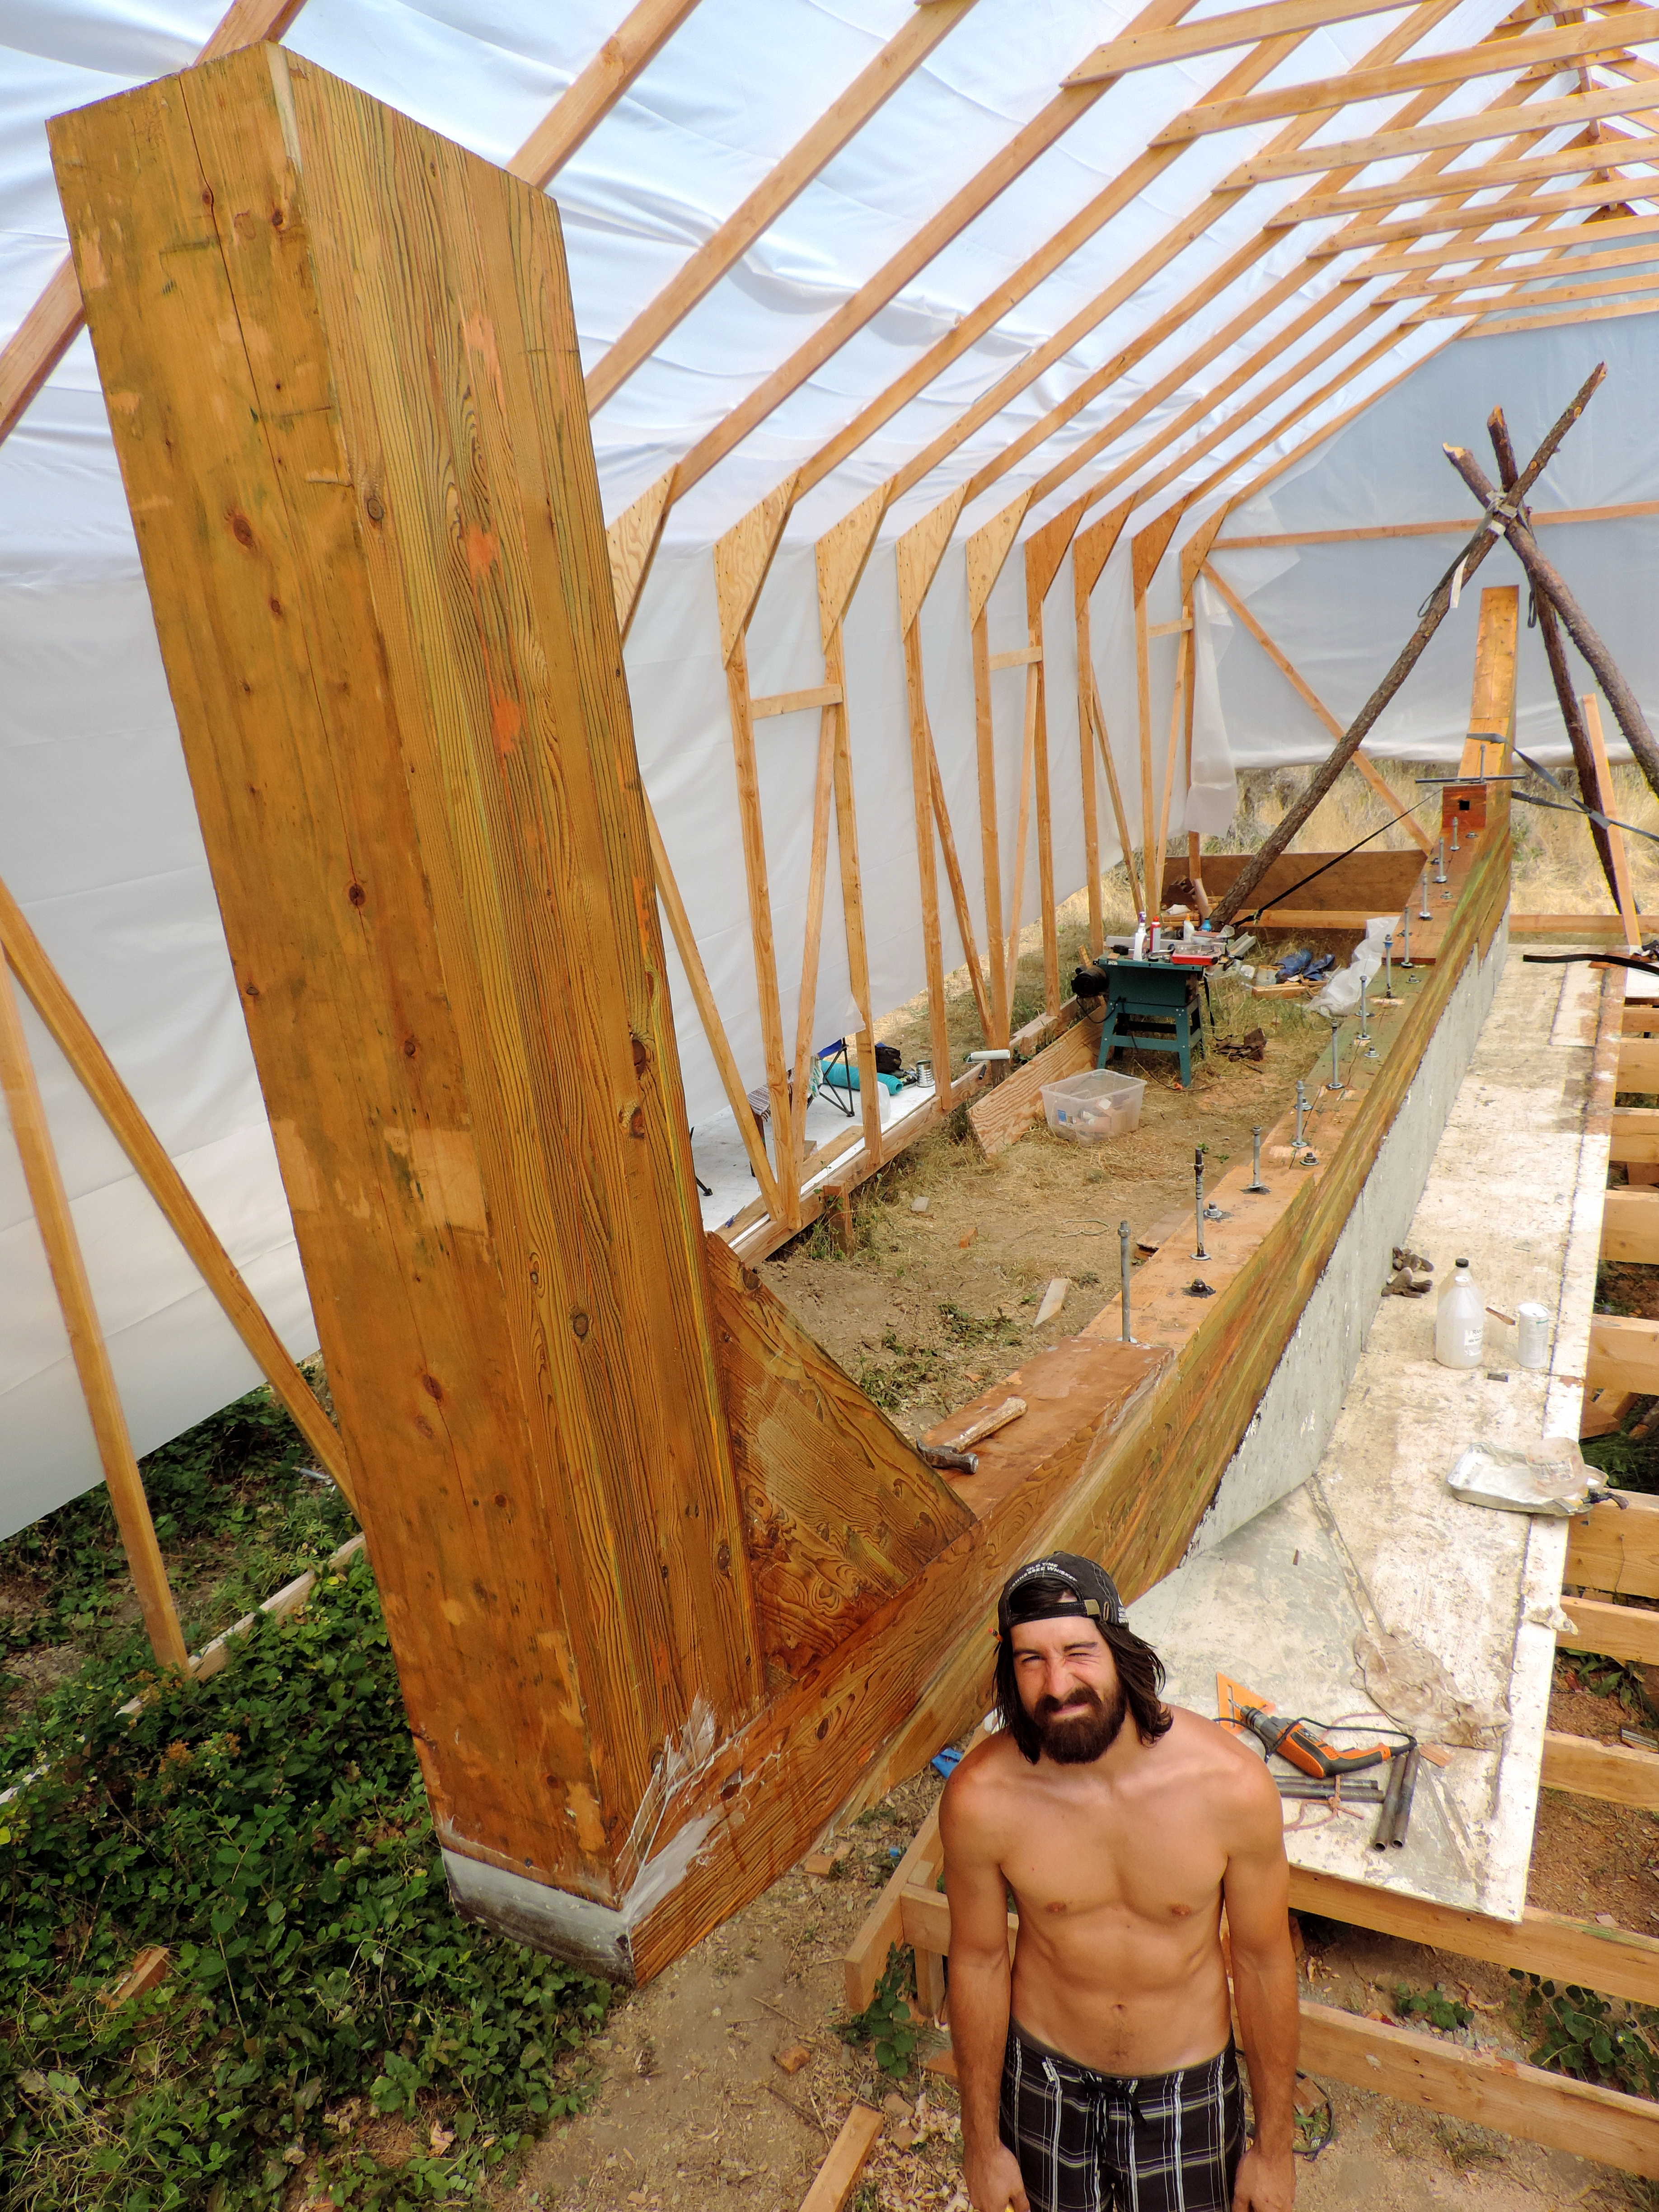
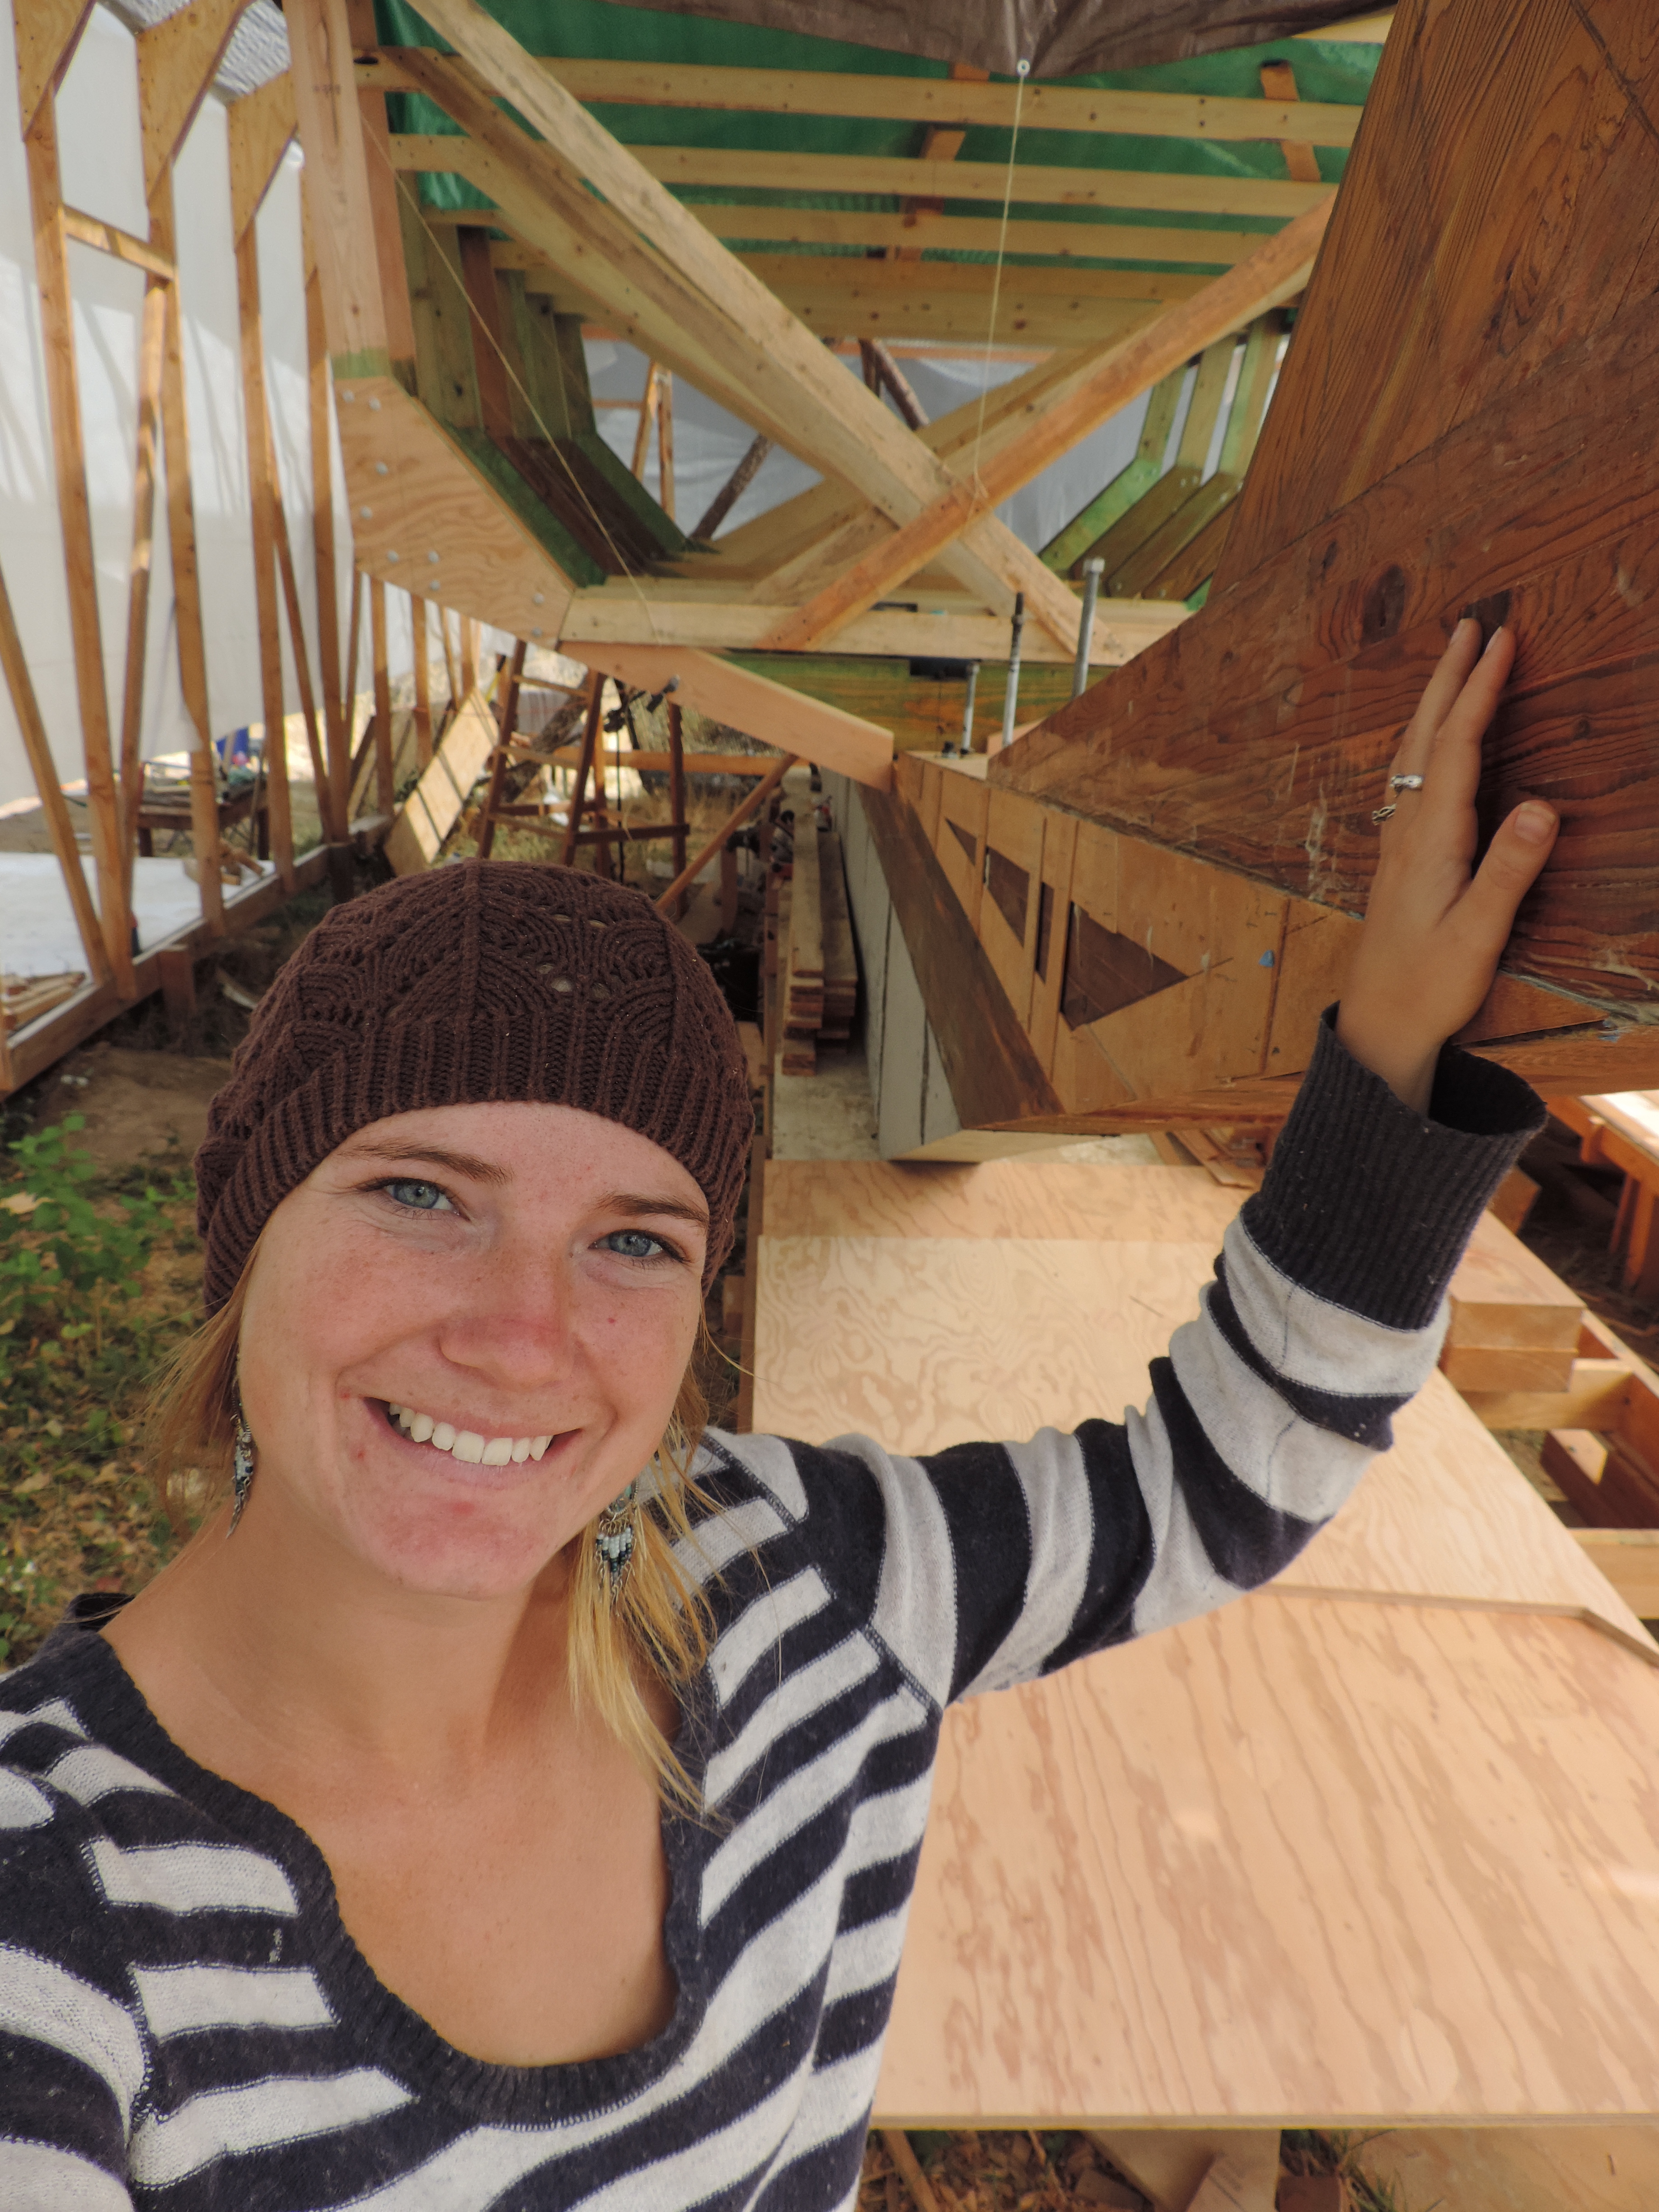 Ruth striking a cute pose with our salty lady.
\
Salt&Tar Episode 1!
Back to work!
We are back to work building frames after a two week trip down to California. They are coming together pretty quick so far. Although We could probably get at least two done per day I have set a realistic goal of one frame per day to balance productivity with my laziness.
Believe it or not they are actually lining up reasonably well to! We have 5 done so far , so I think in roughly 2ish weeks she will be completely framed!
 Yup…
Yup…
Frames and floors!
We have finally stared framing our yacht! So far we only have one frame, and four floor timbers. It only took a day to do the first set, and Im pretty sure i’ll only get faster at it the more of them I do. Hopefully we can knock them out quick!
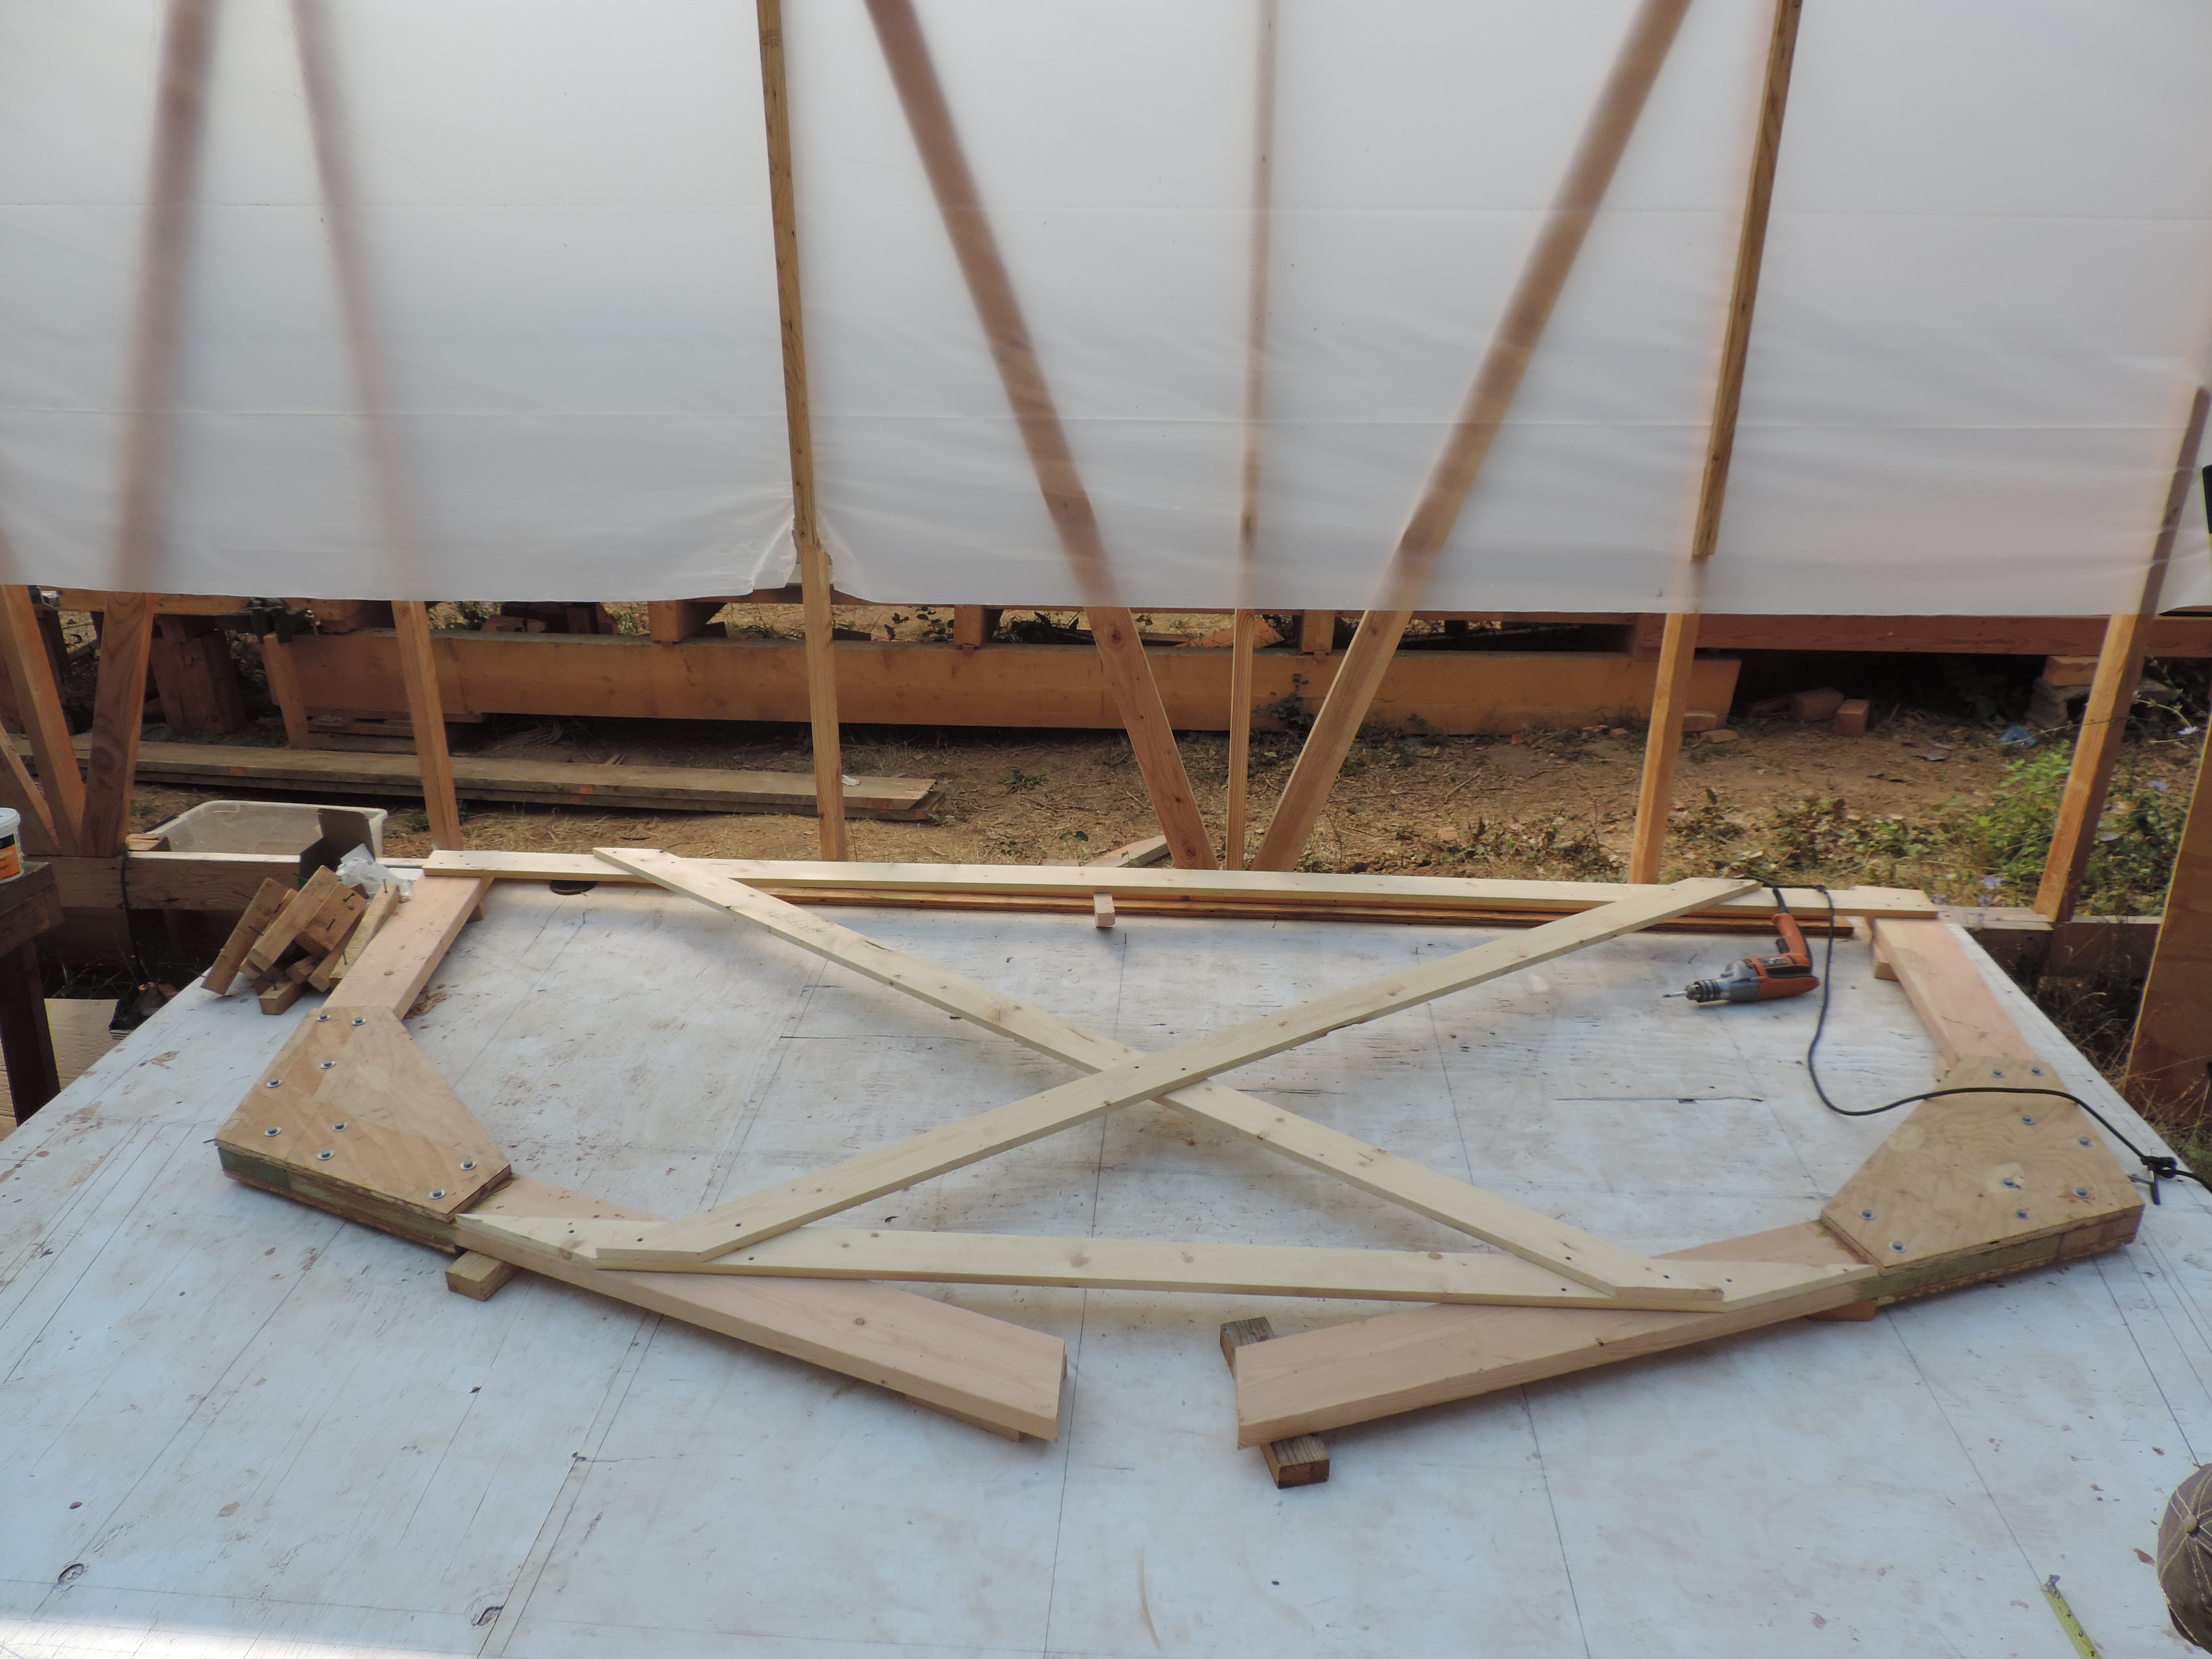 First frame done.
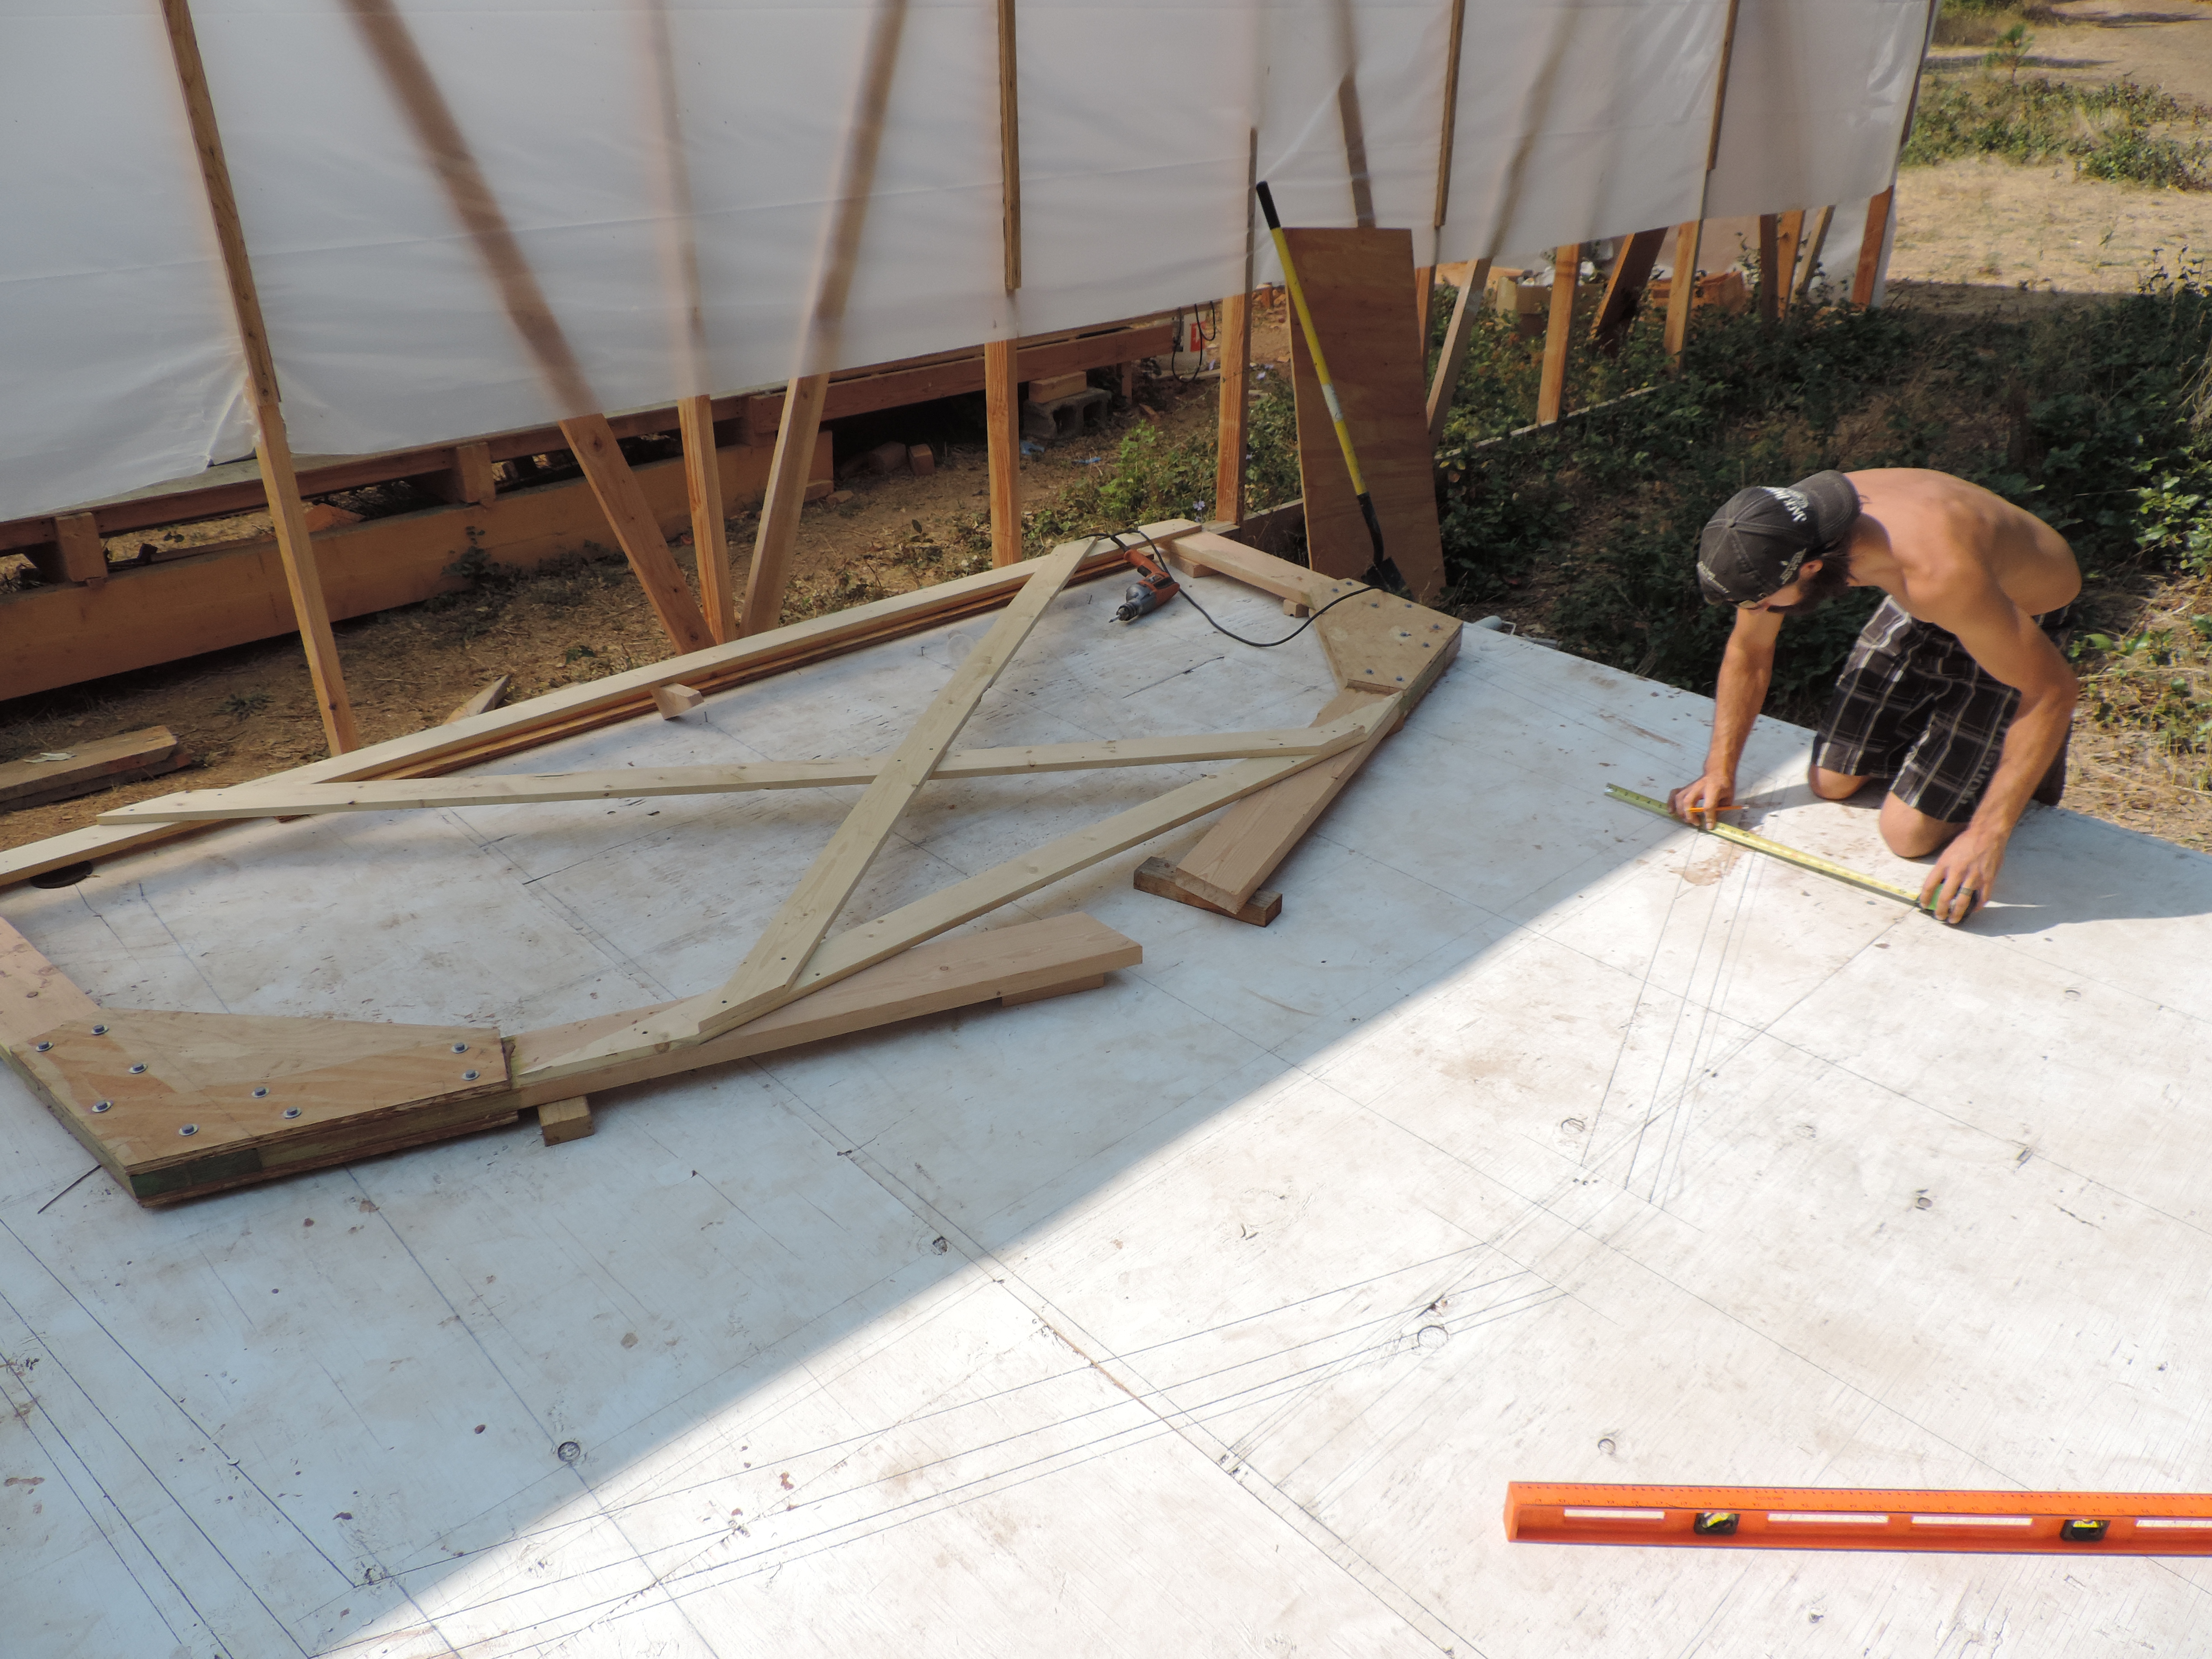 Measuring for the floor timber. You can barley make out the outlines of the frames on the table. This is what we use to find the correct shape for all the frames.
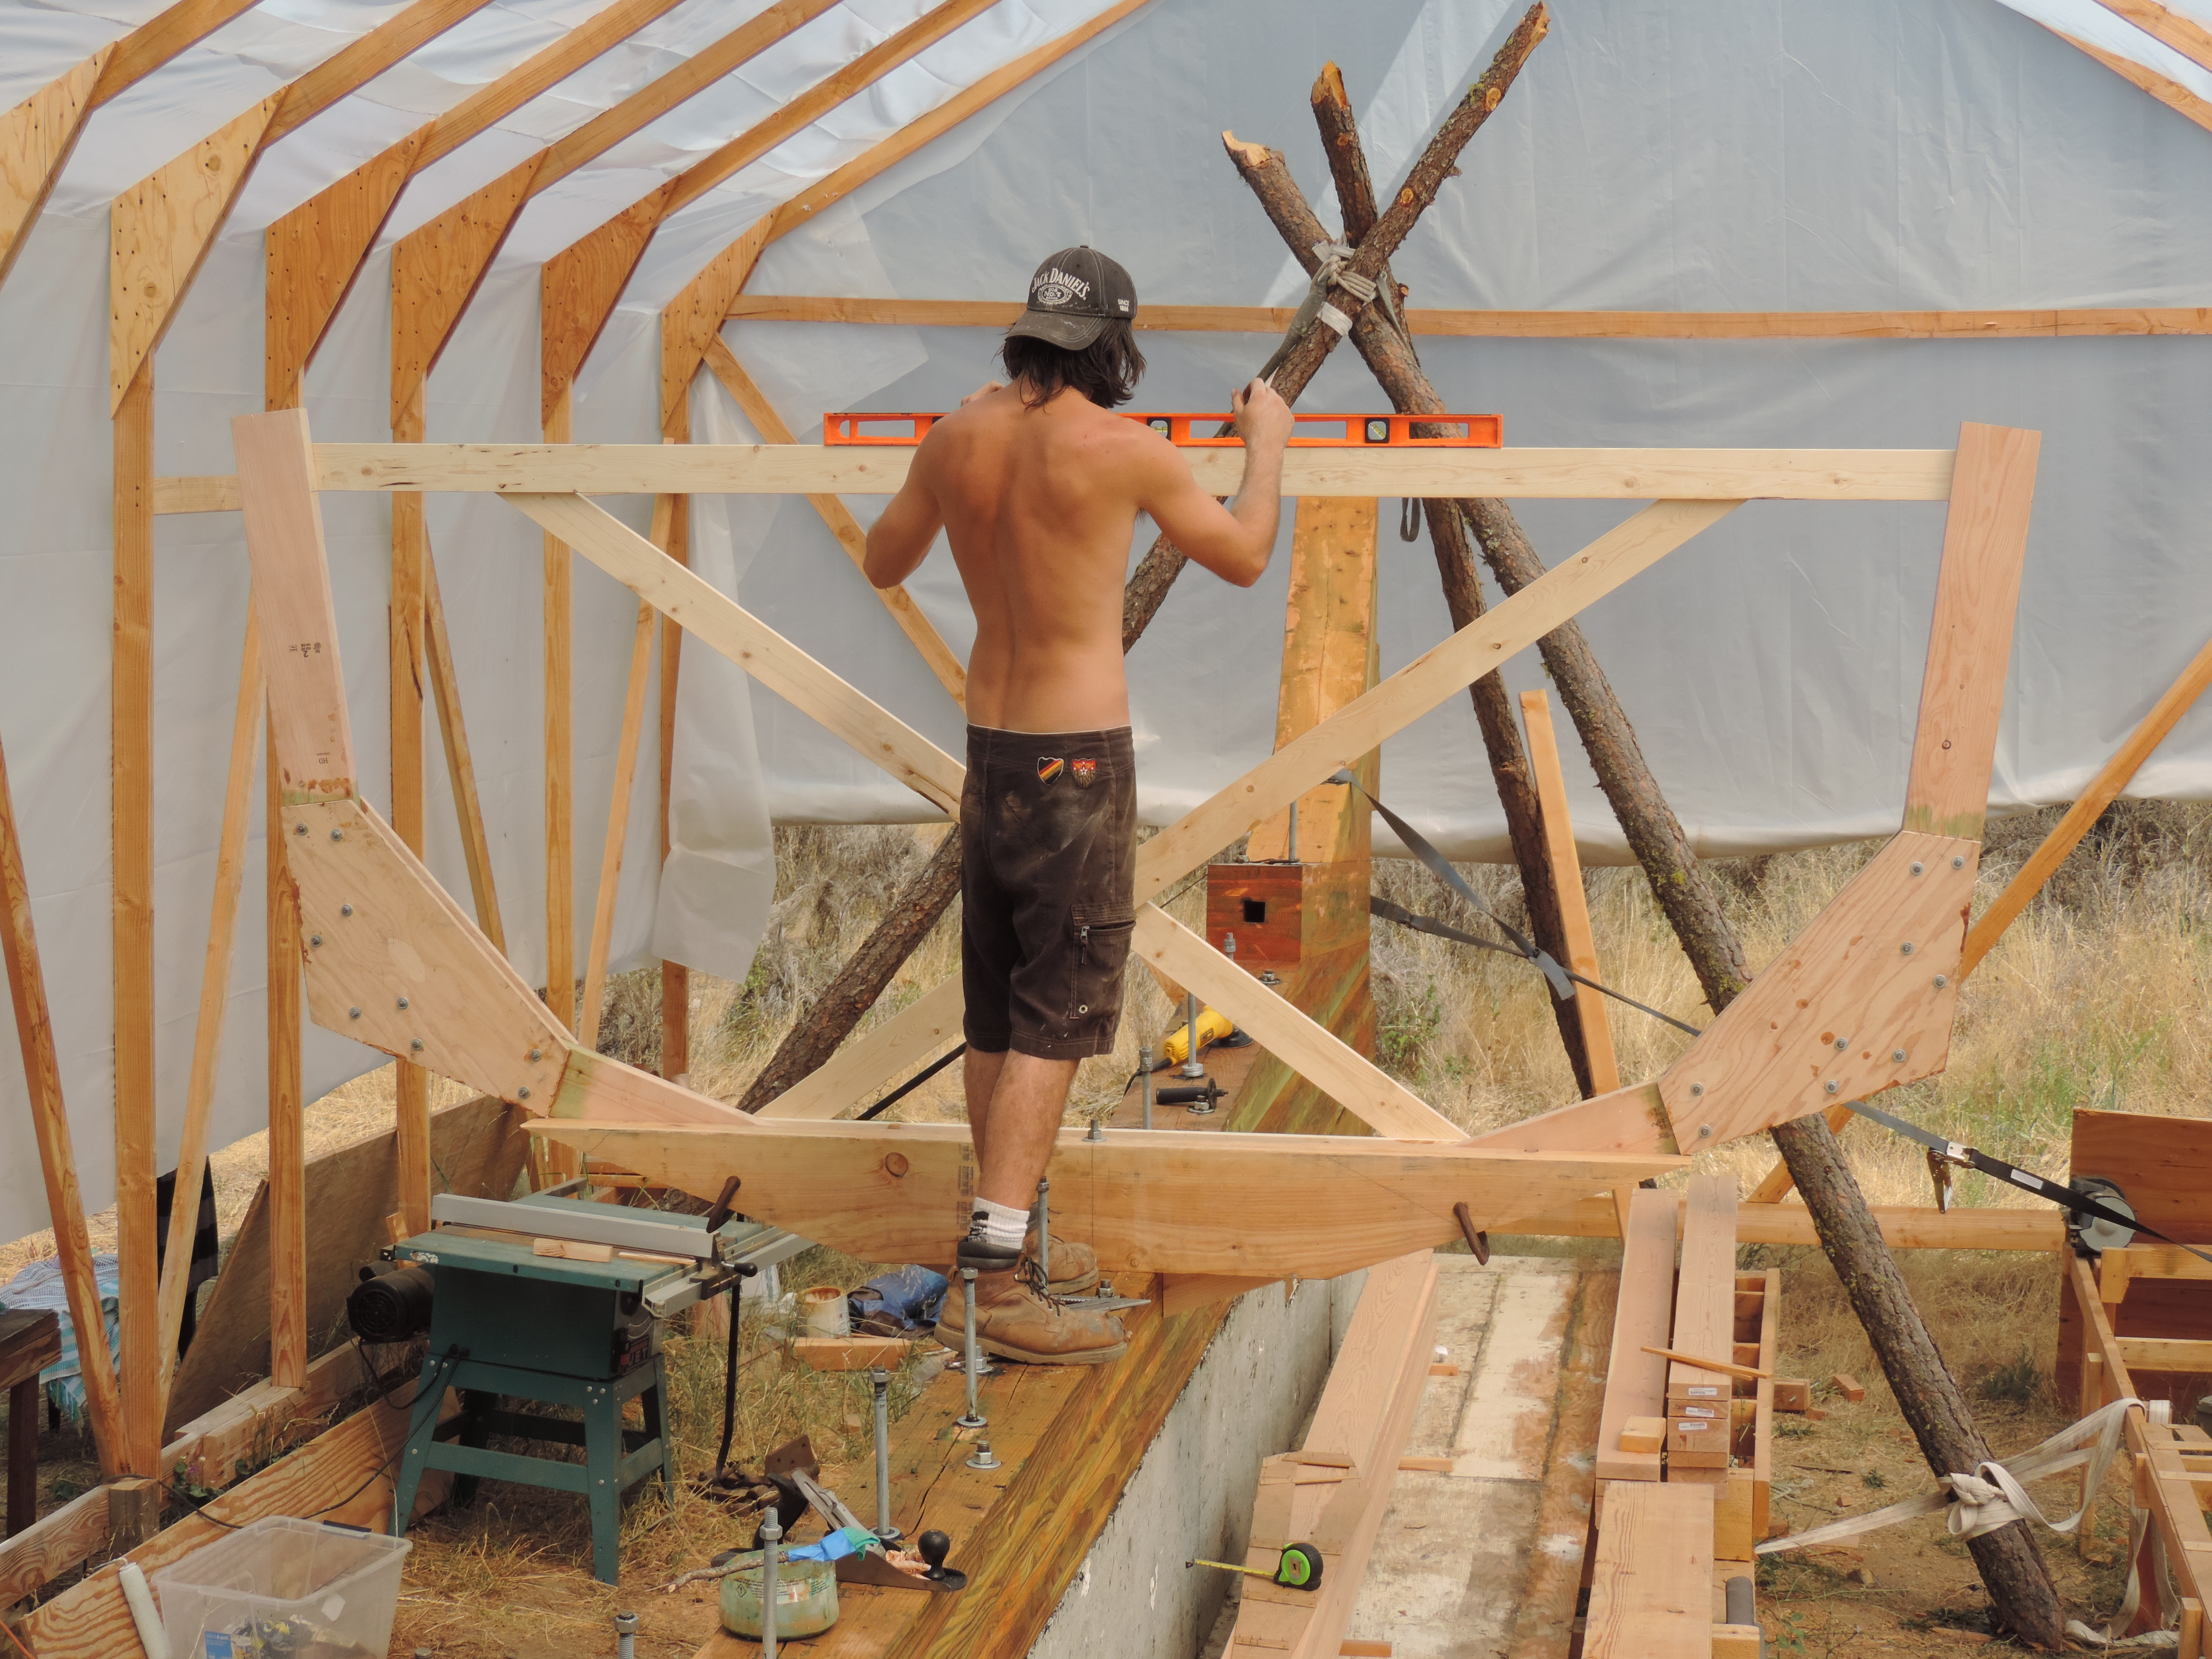
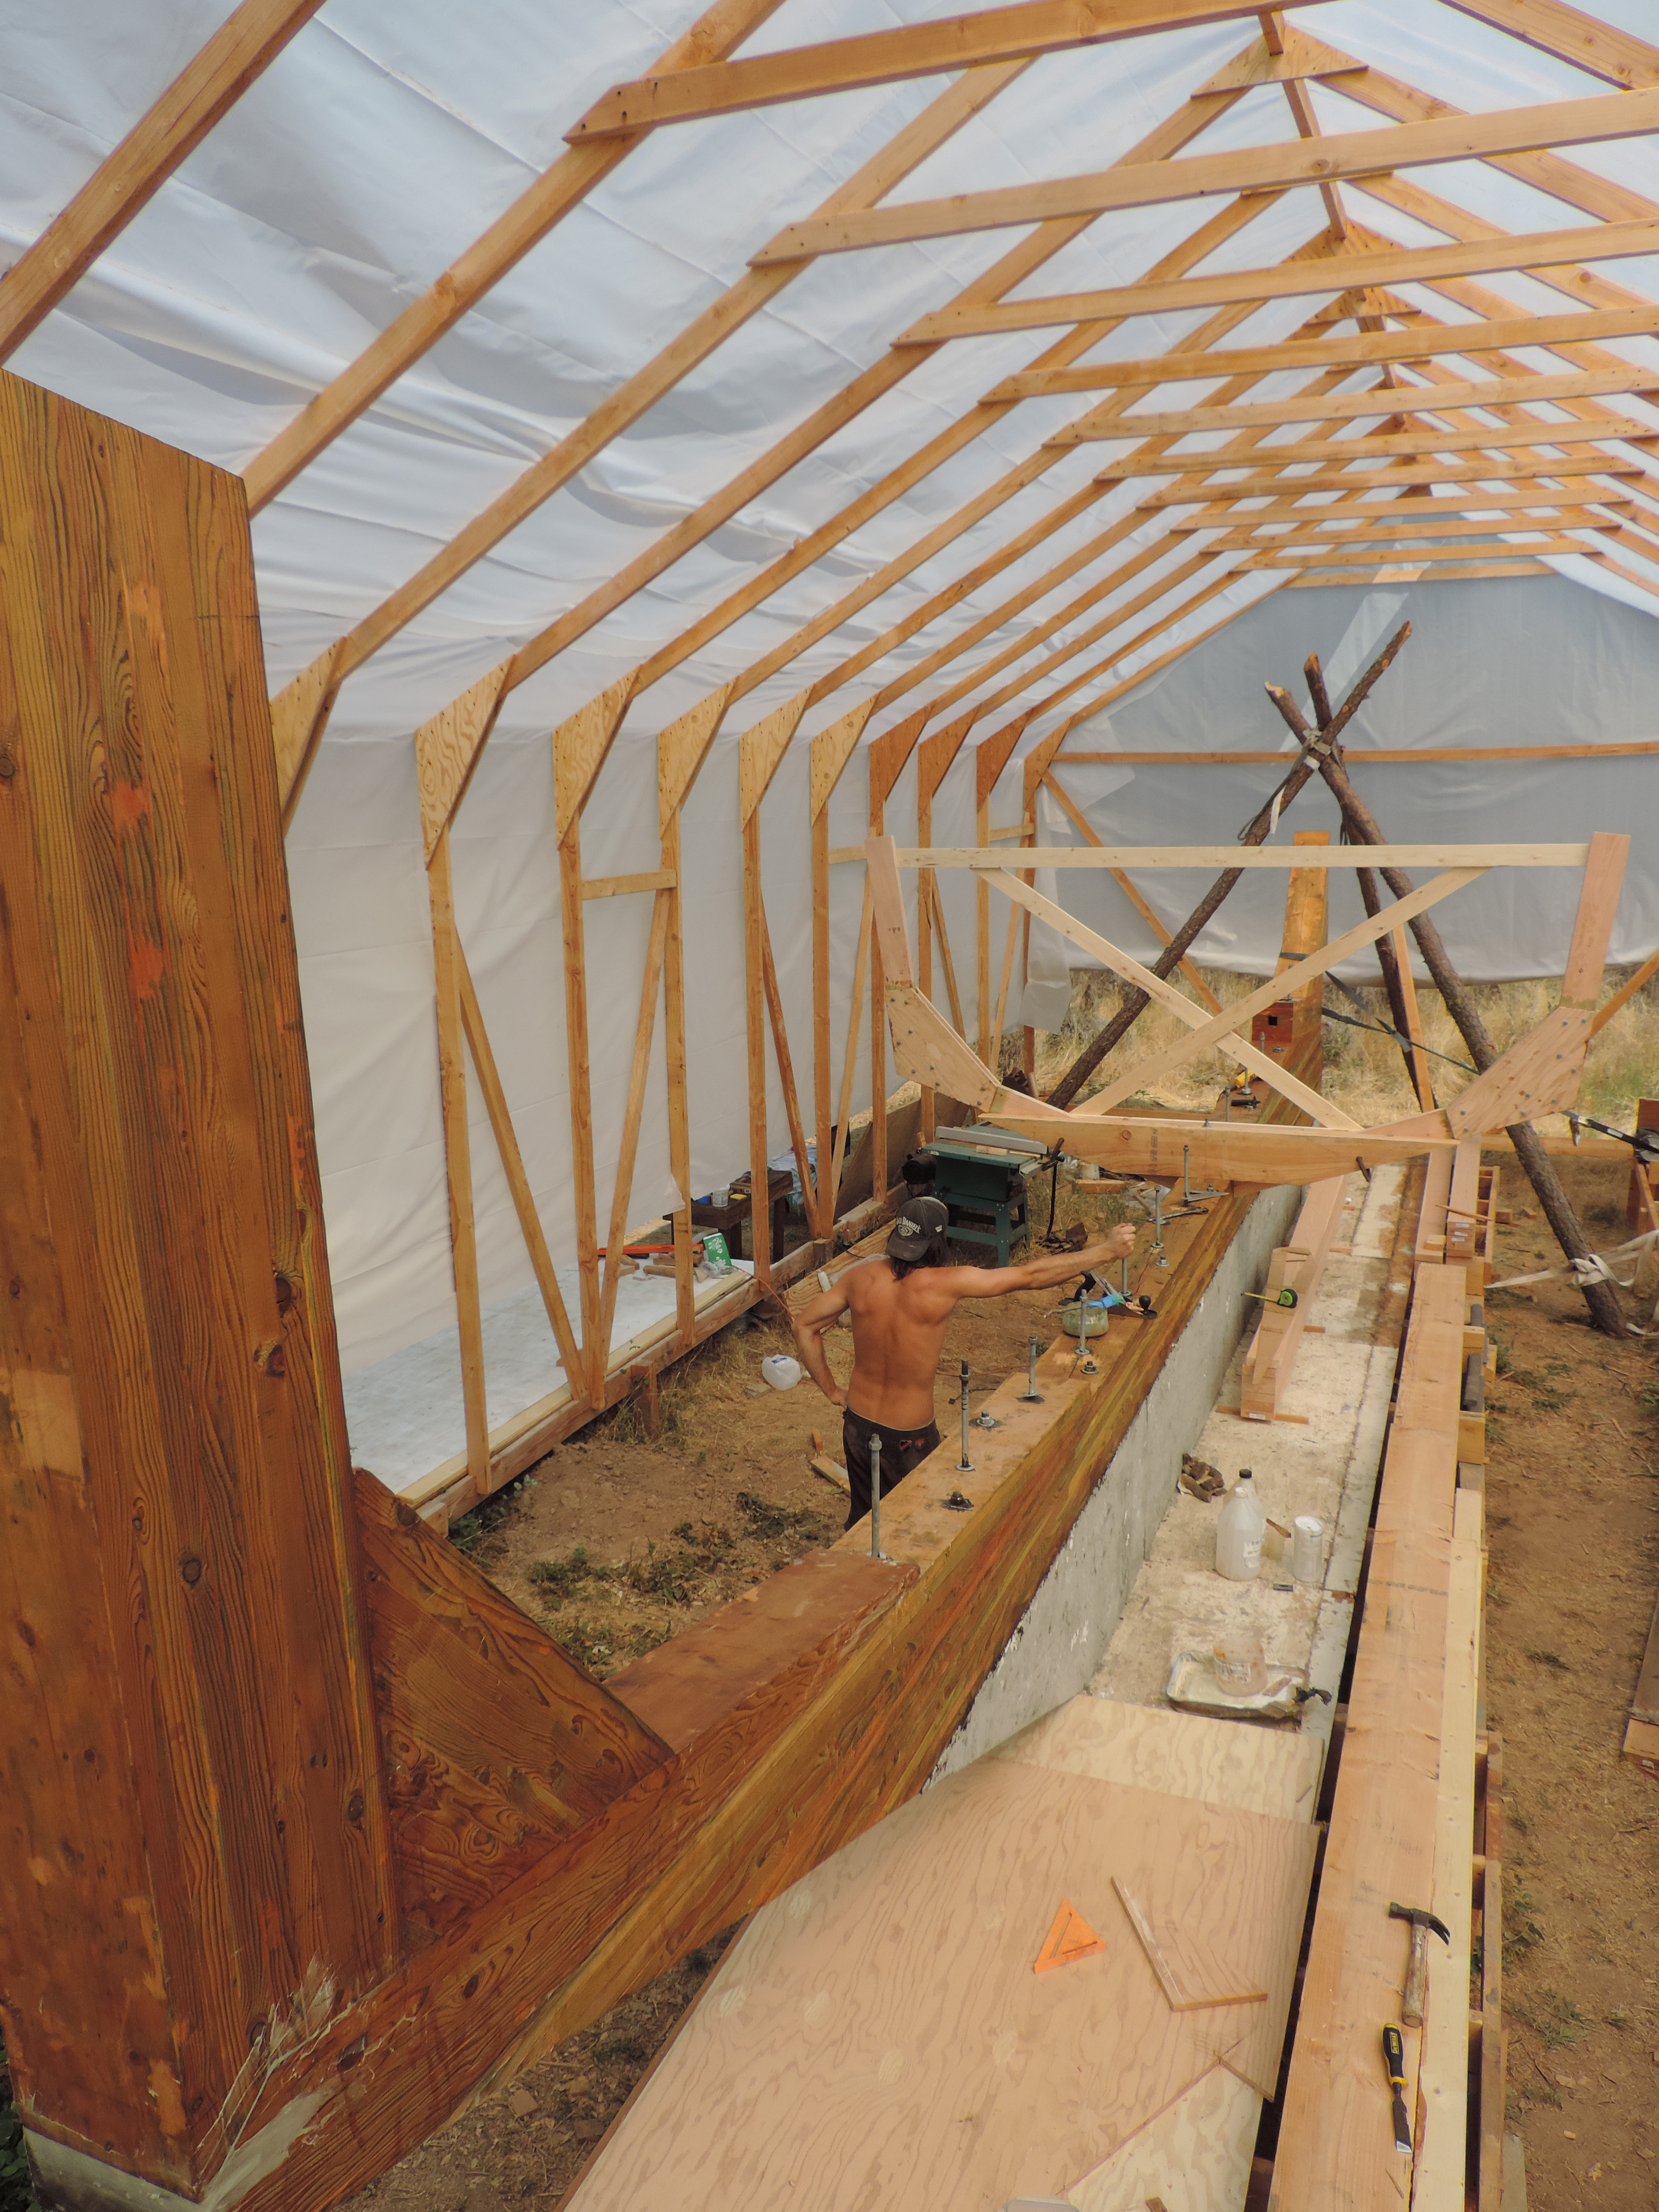 Getting the first set up, and making sure things are level.
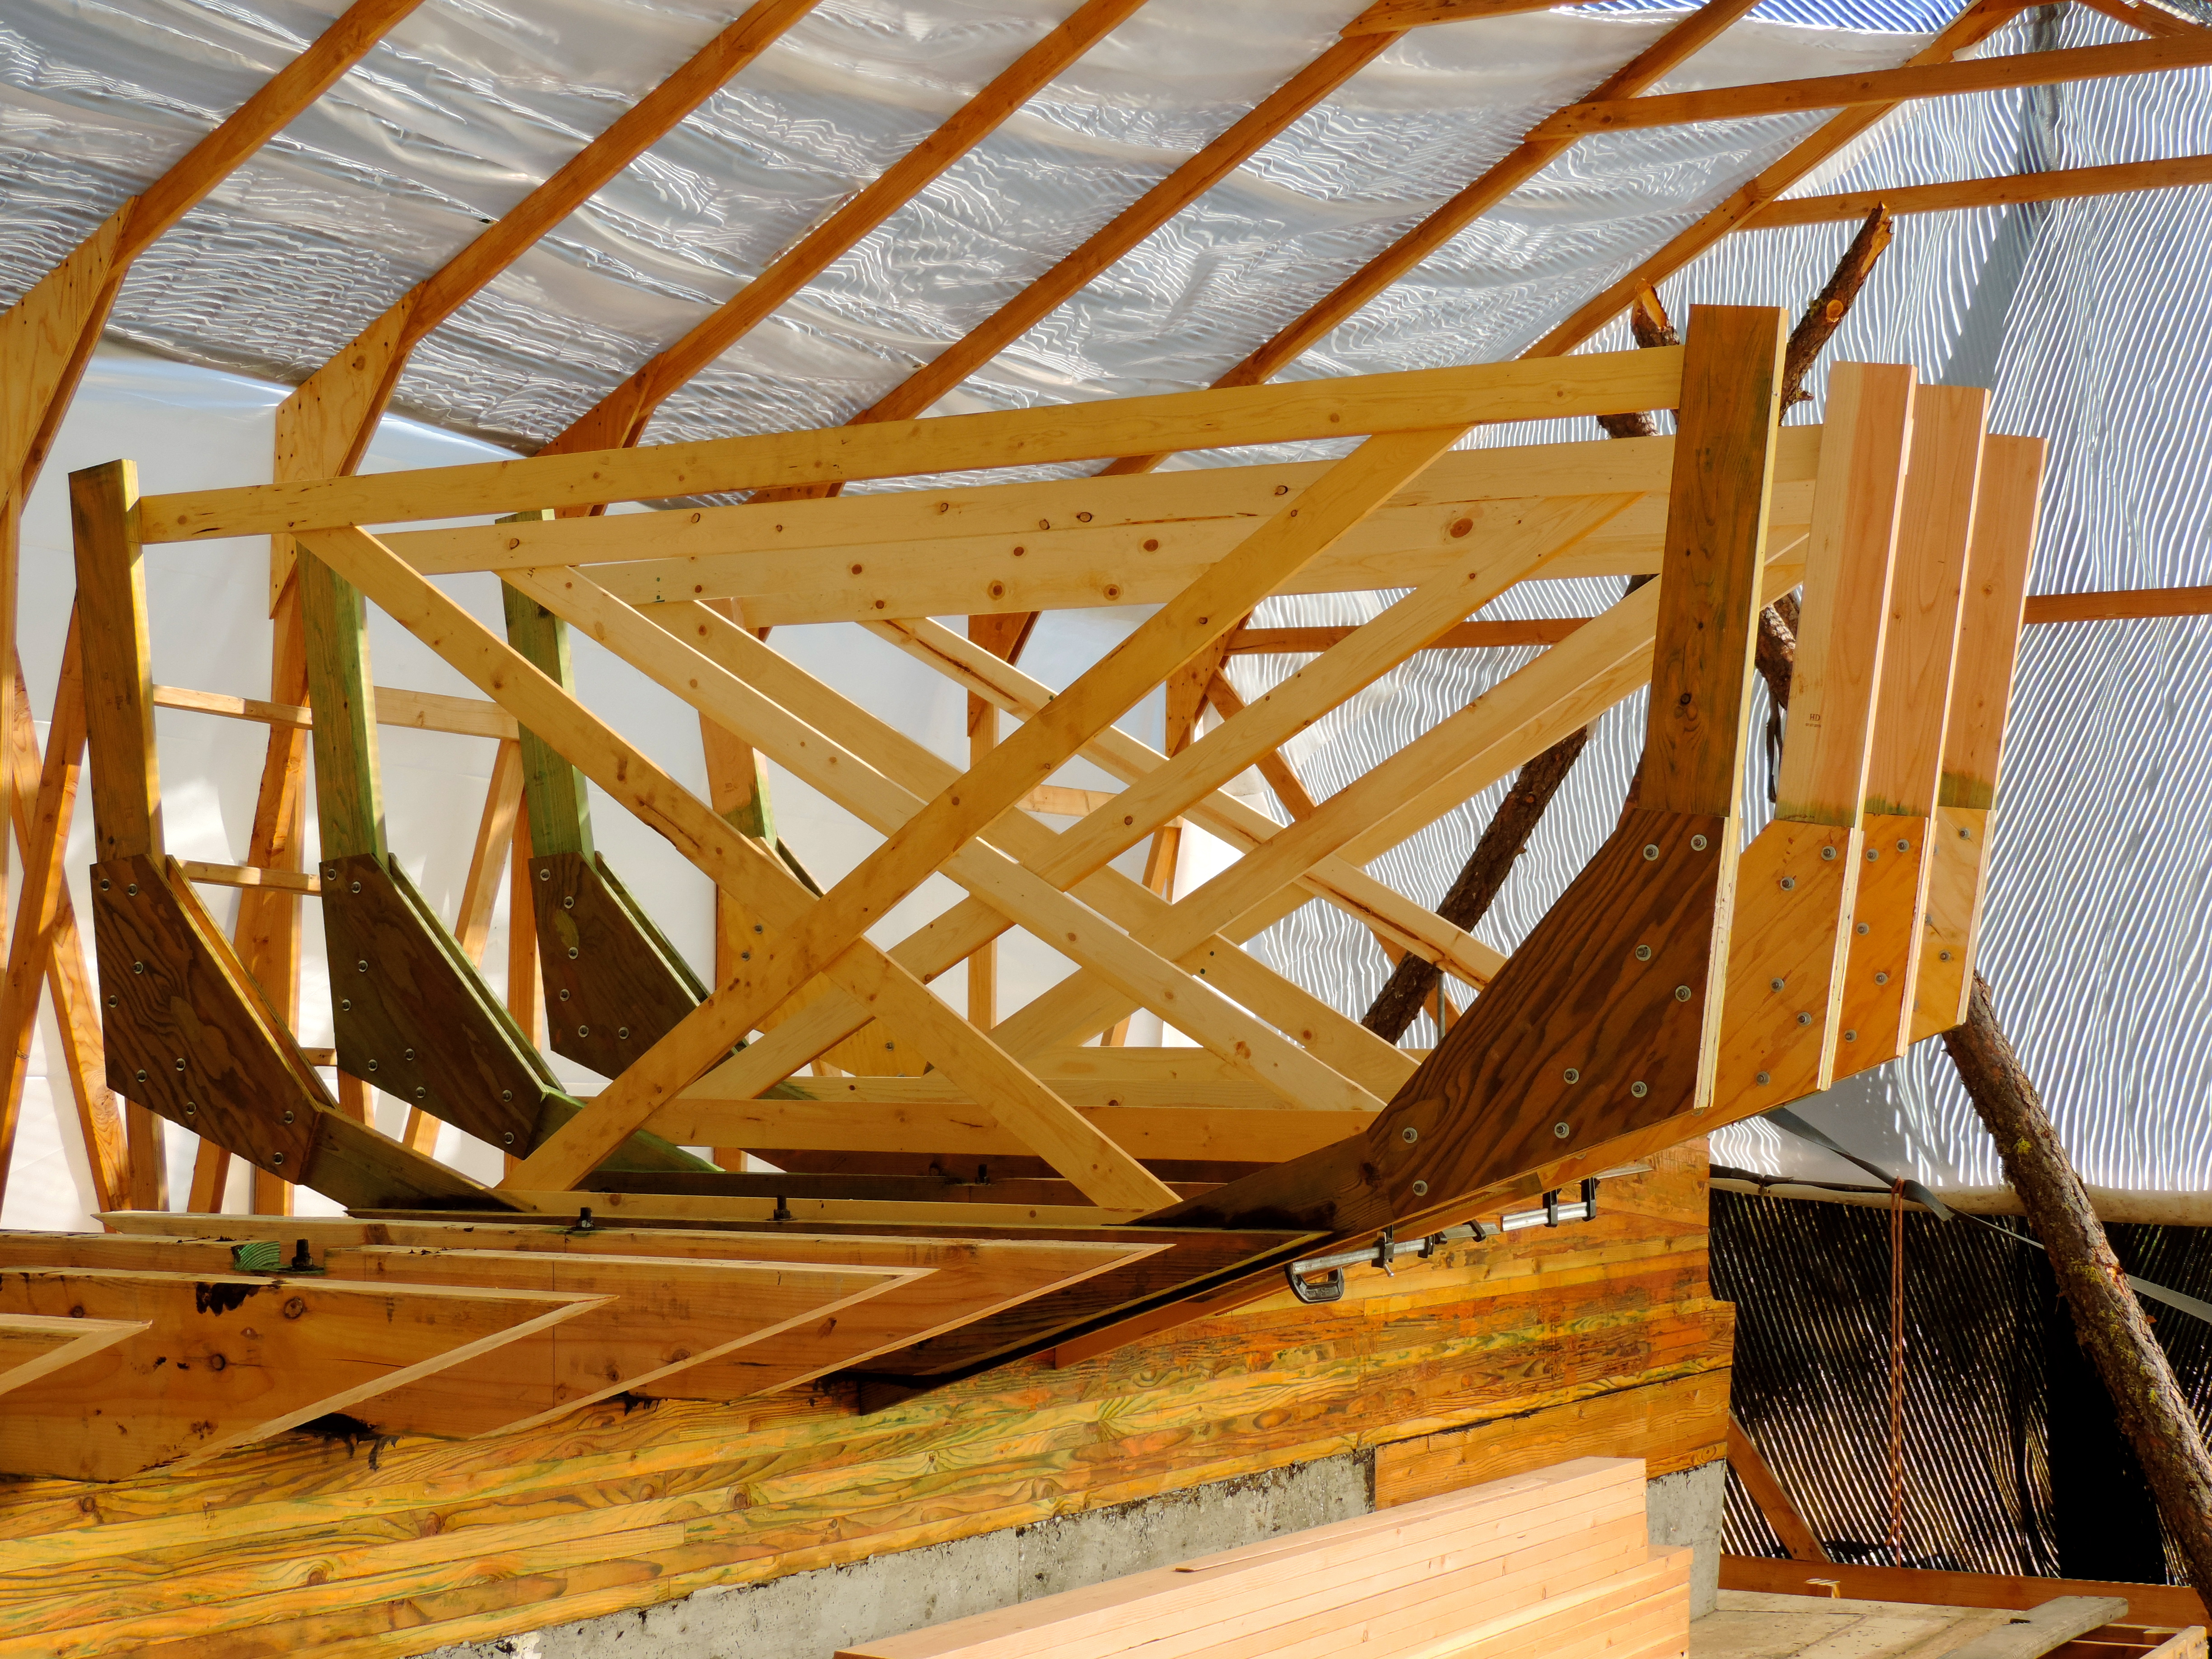
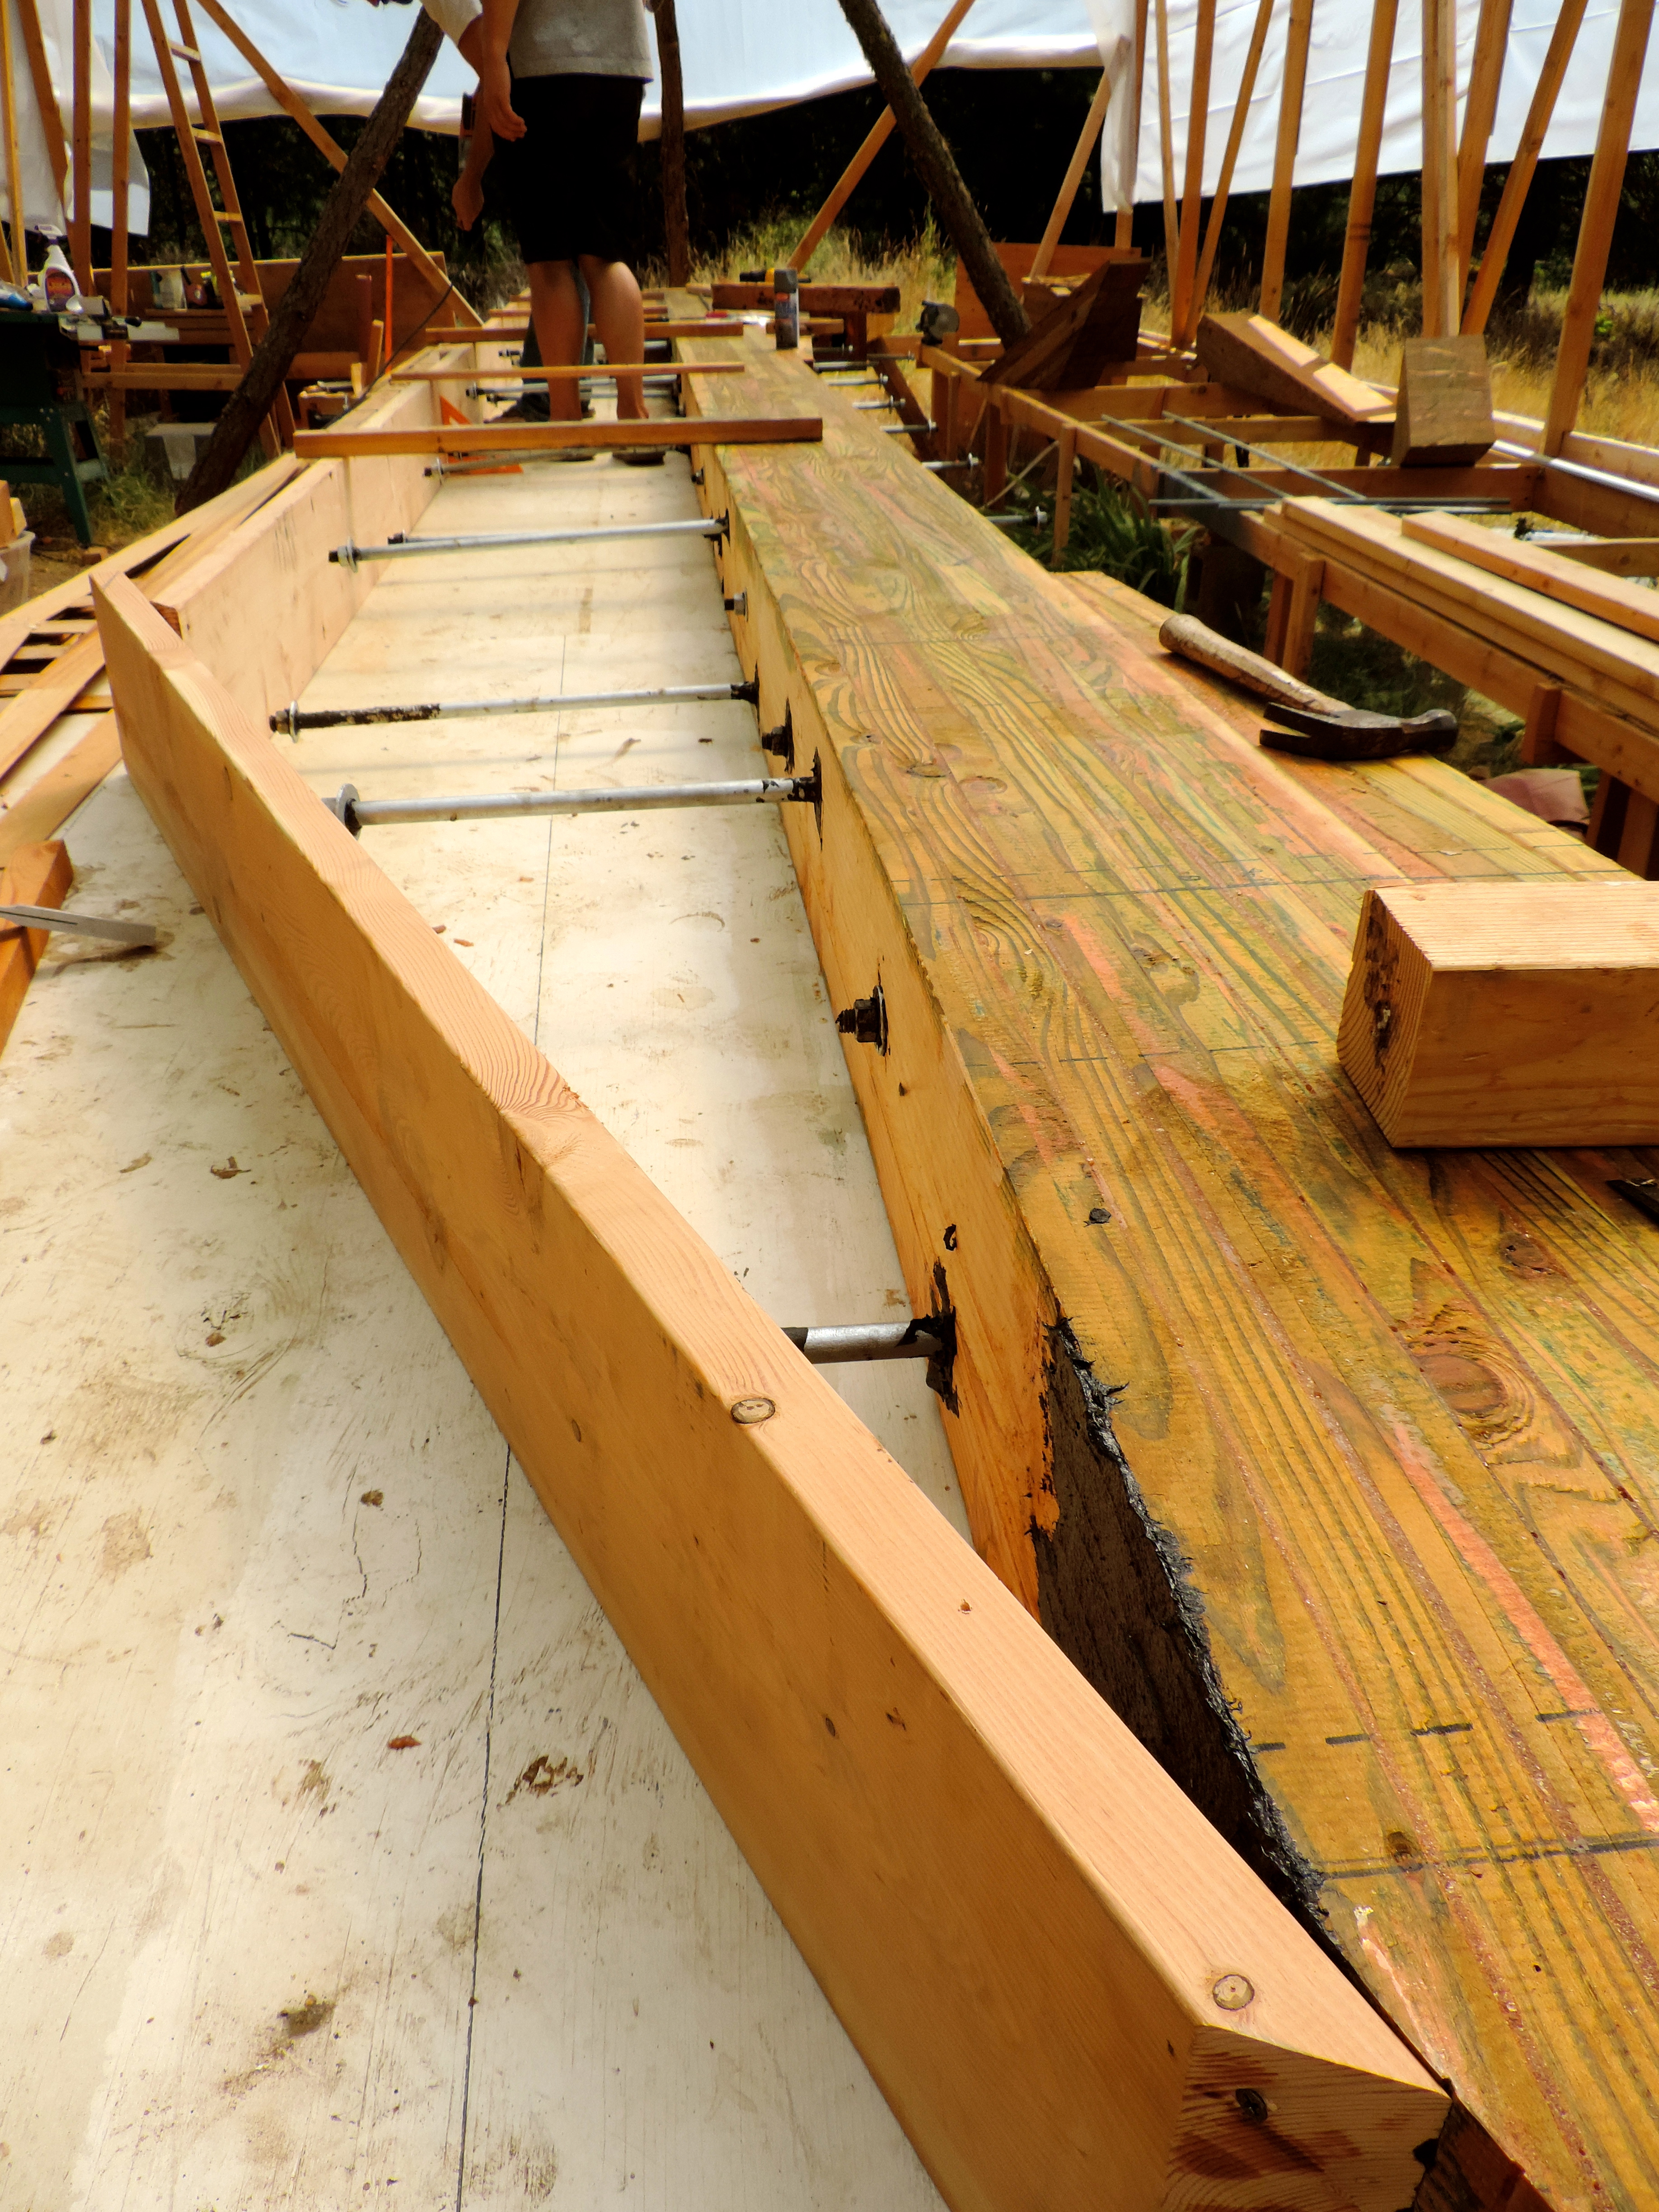
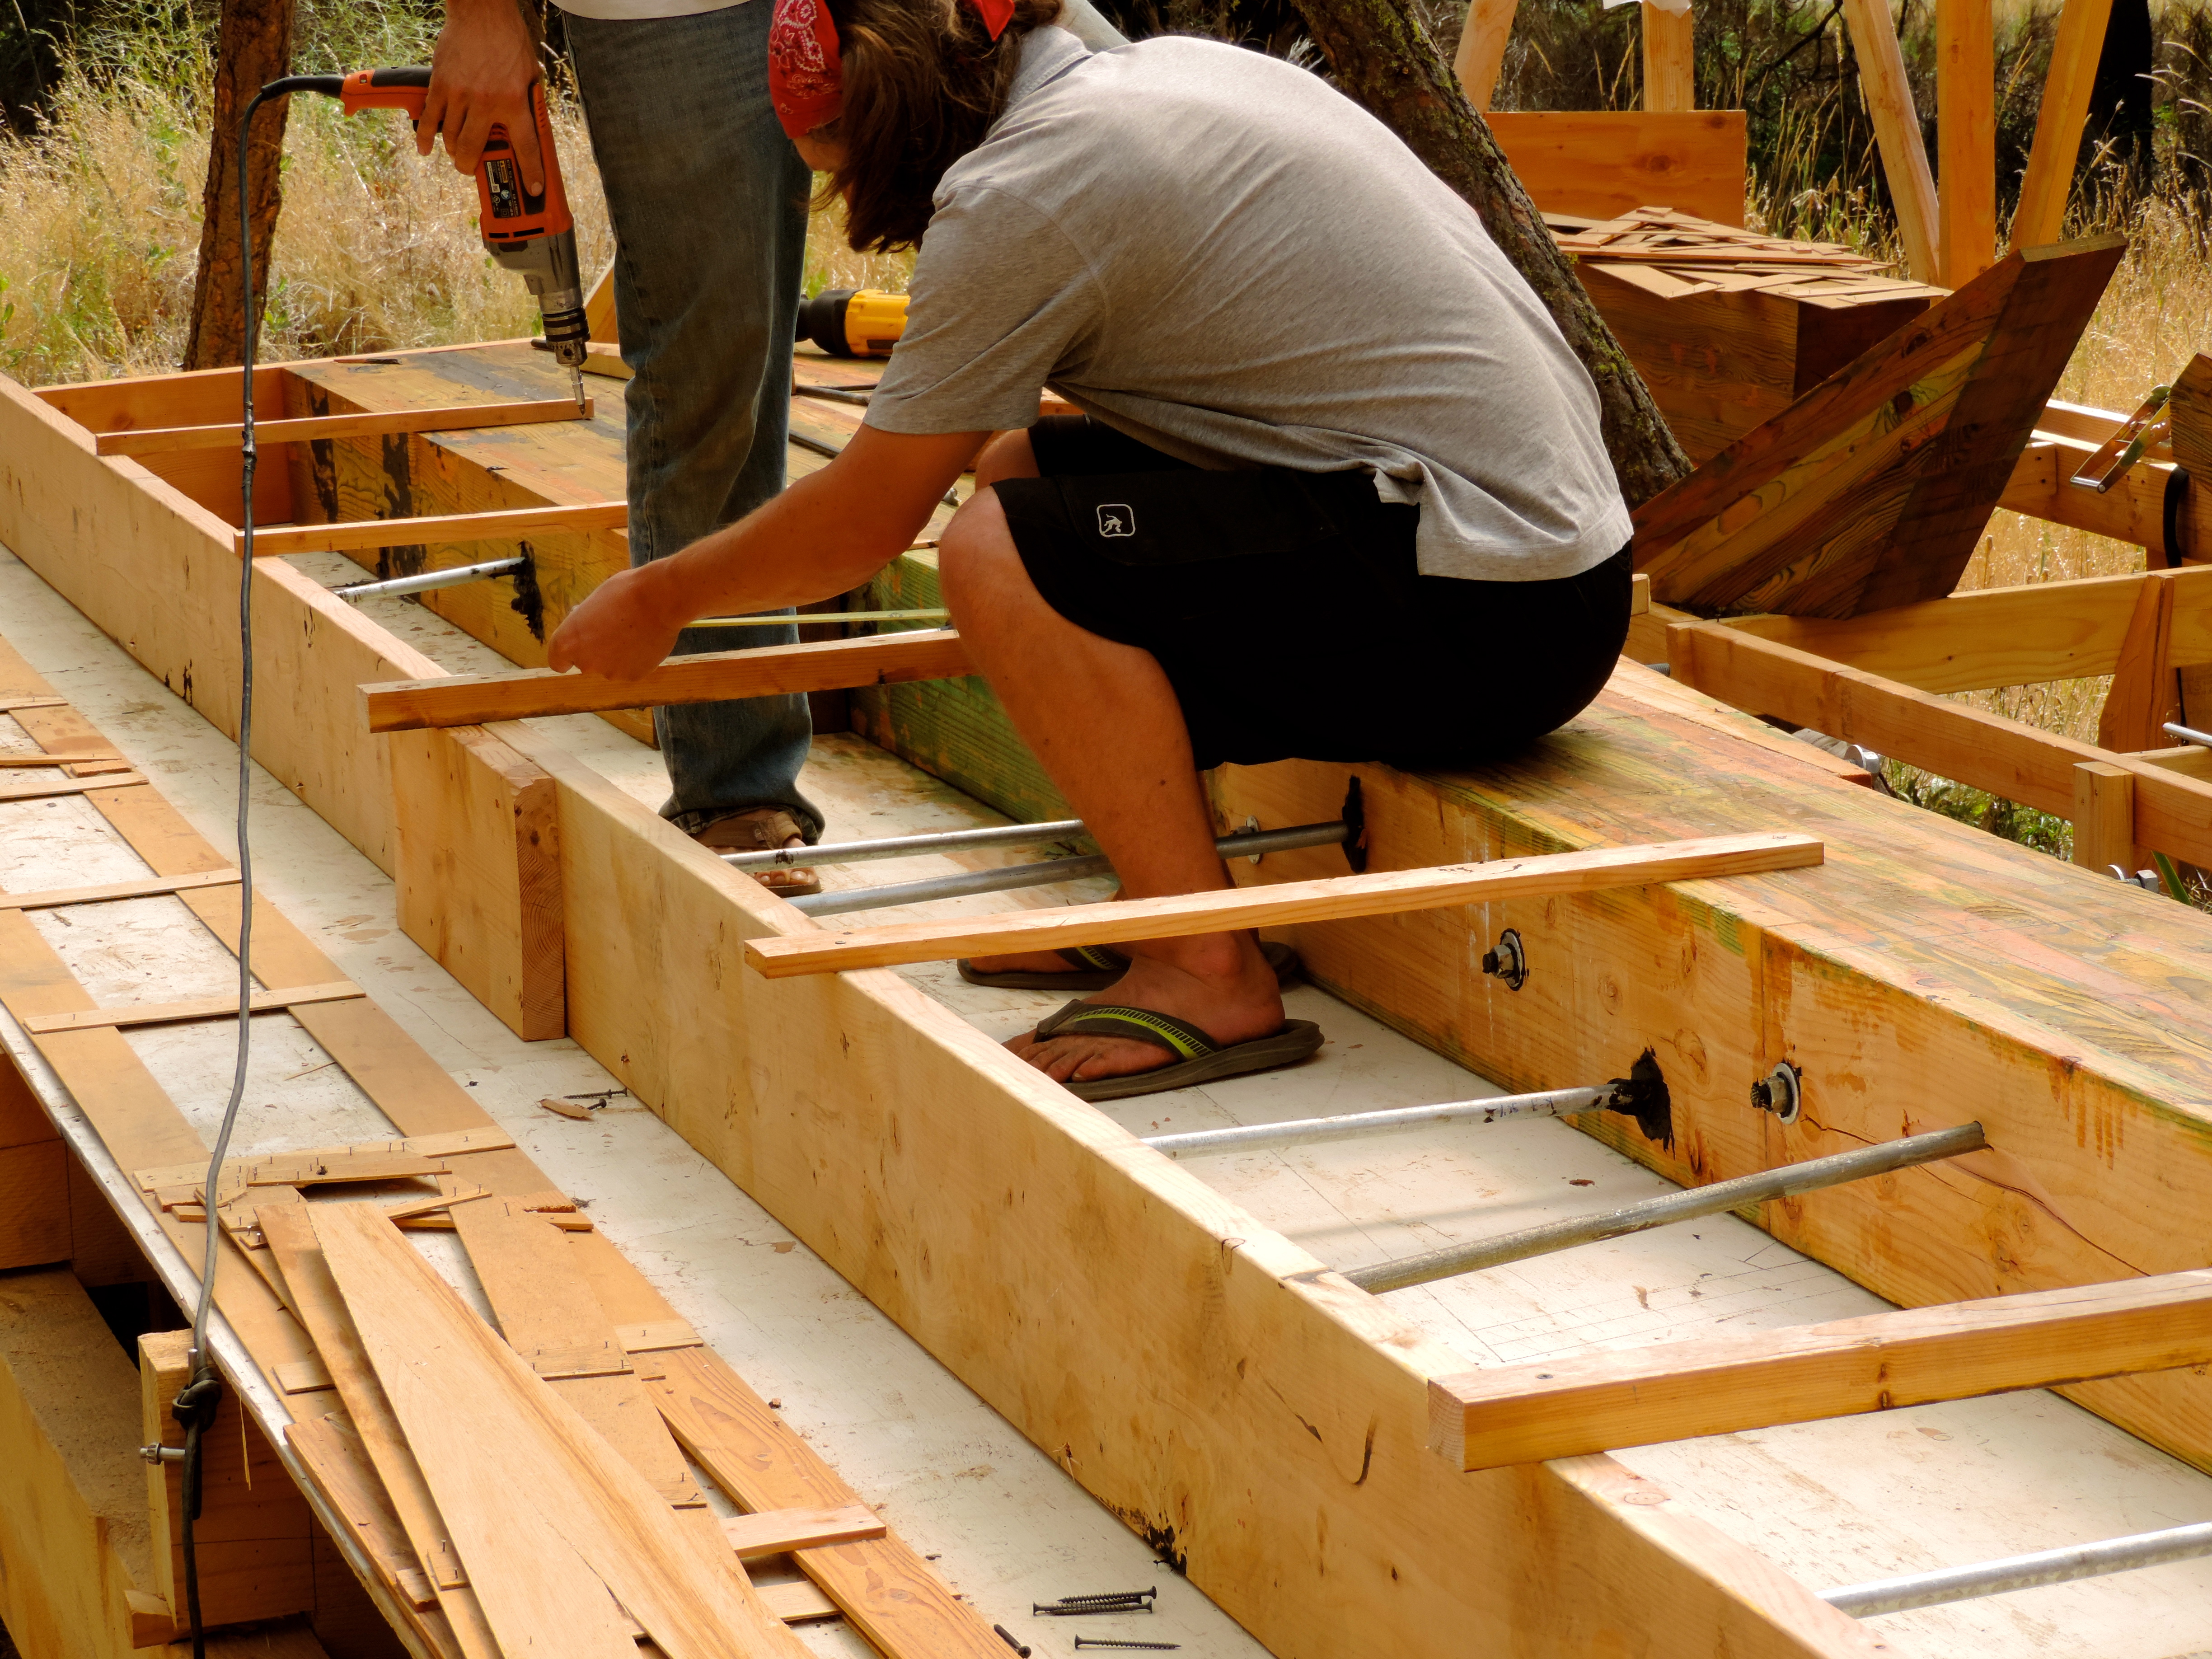
 All bolted in place! everything lined up nicely. The floor timber is the big cross beam at the bottom of the frames. This is what ties the frames to the keel. Which is why we left a bunch of bolts sticking up out of the keel. Once we get the floor all measured up we drill a big hole through the middle of it and slide it down onto one of the bolts, securely fastening it to the keel. then the frames are through bolted to the floors with six 3/8in. bolts.
The more she comes together the more I realize just how stout this design is. I think she will inspire confidence in any and all adventures to come!
keel stuff
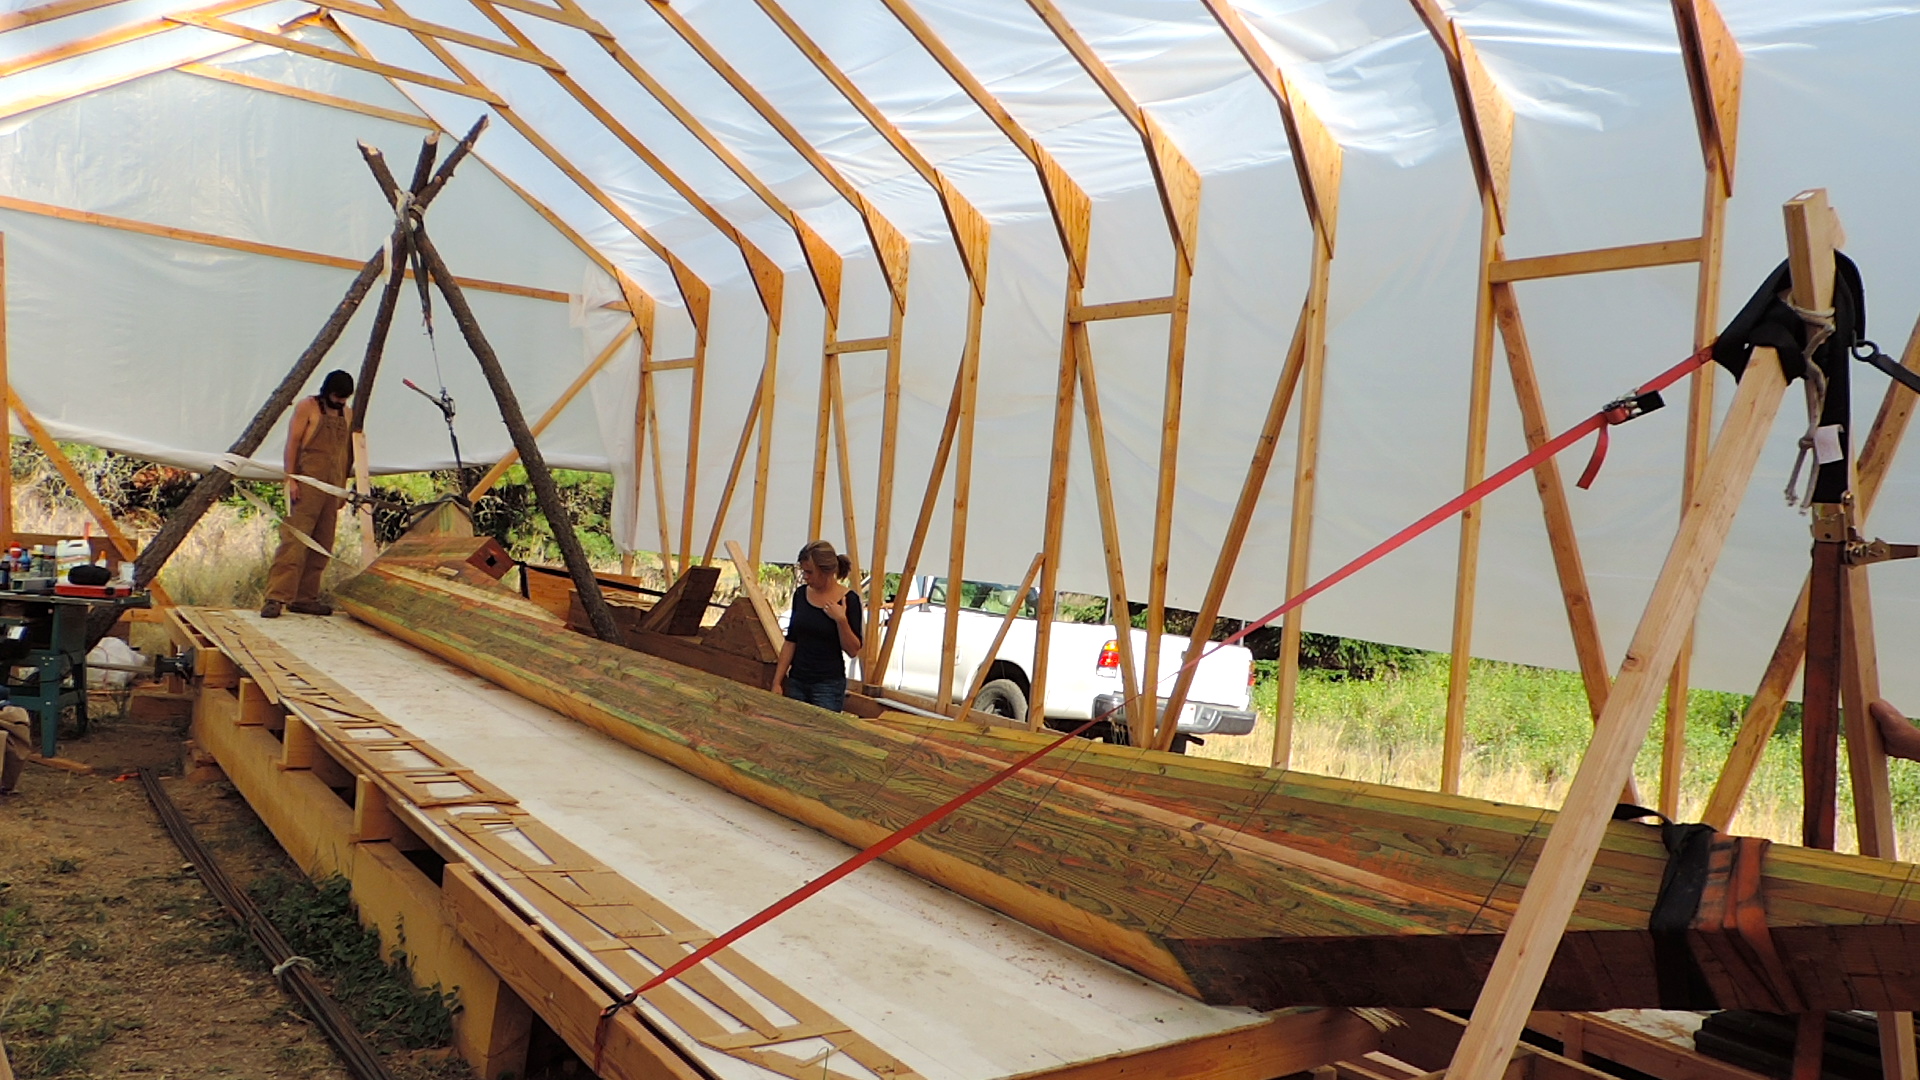
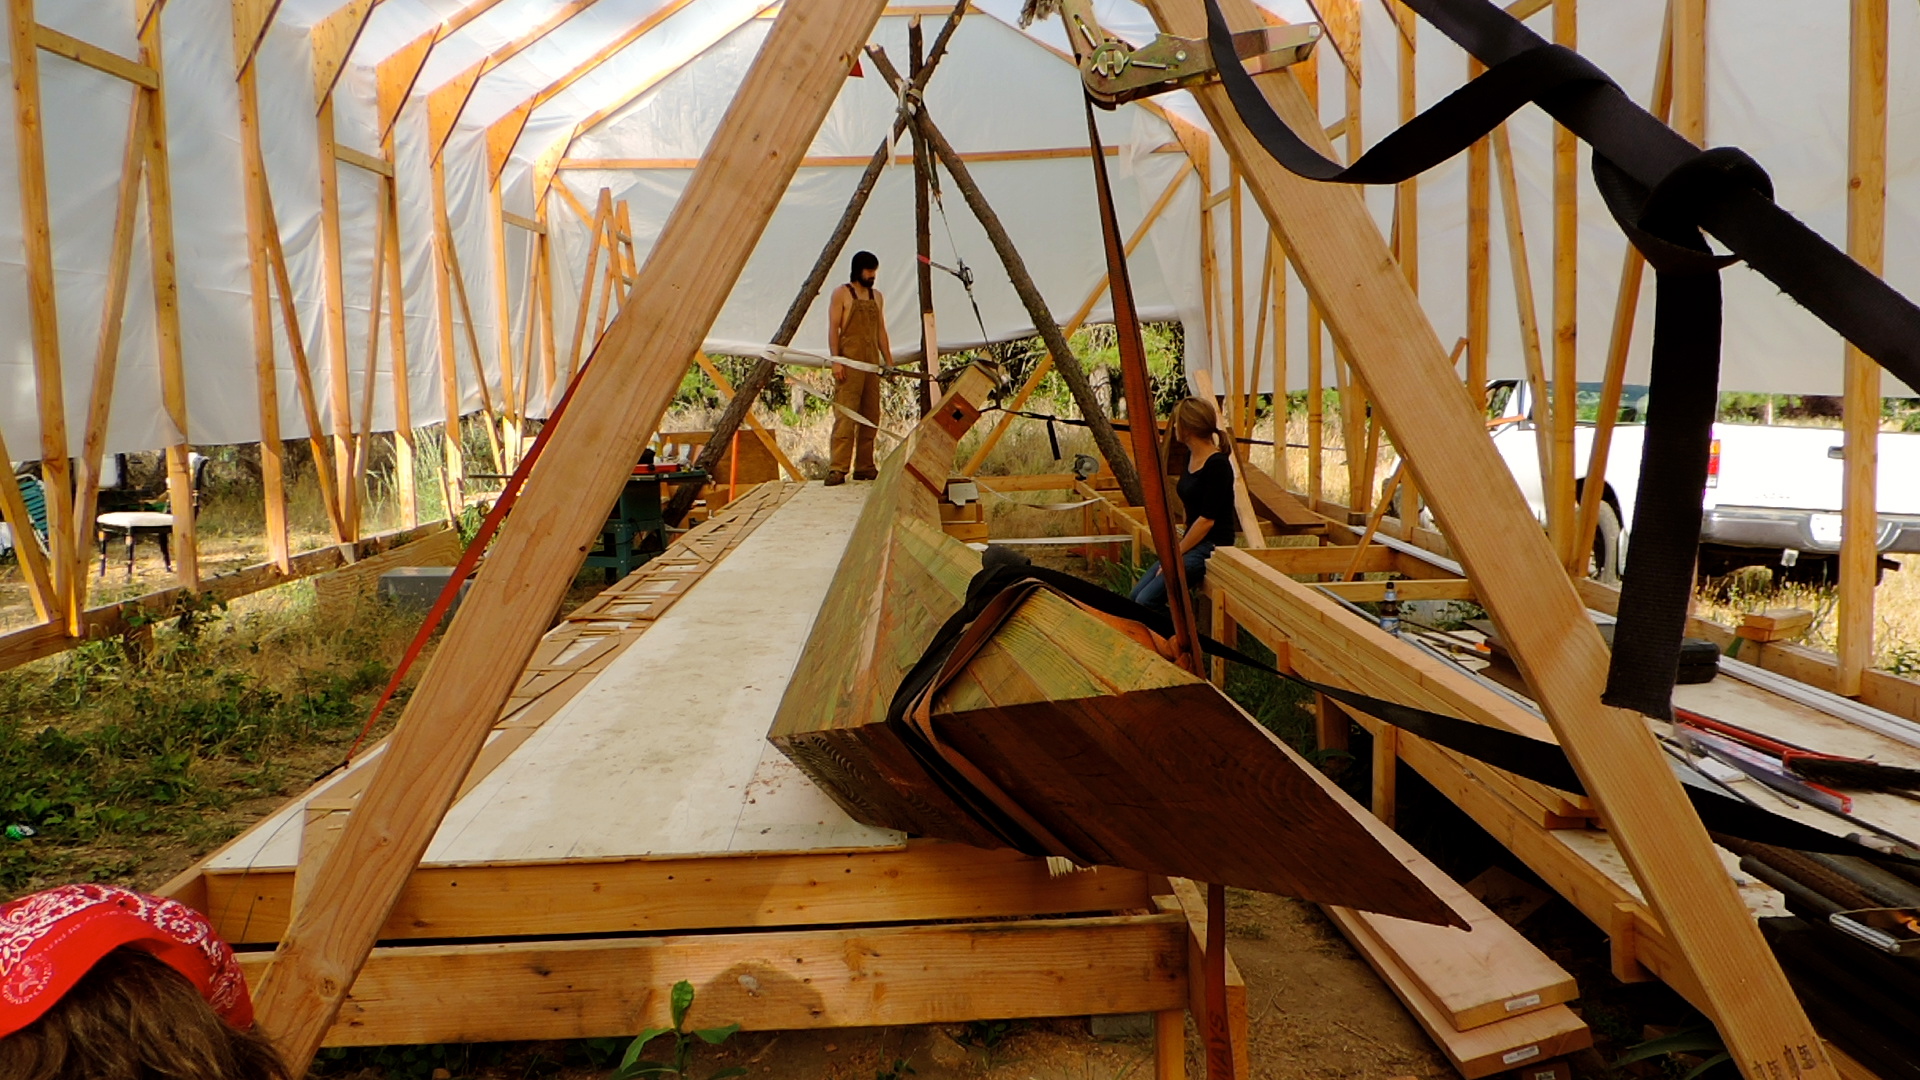
Two weeks have gone by since the ballast pour so it was time to flip the keel back upright. It was surprisingly easyish. Two high lift jacks, and a cable come along was all it took. The hard part was determining where to put the jacks to maintain a good grip so the 7000 pound keel didn’t fall back on top of me… seeing as I am neither dead nor crippled I managed not to screw it up.
 Working both jacks together to slowly inch the keel up.
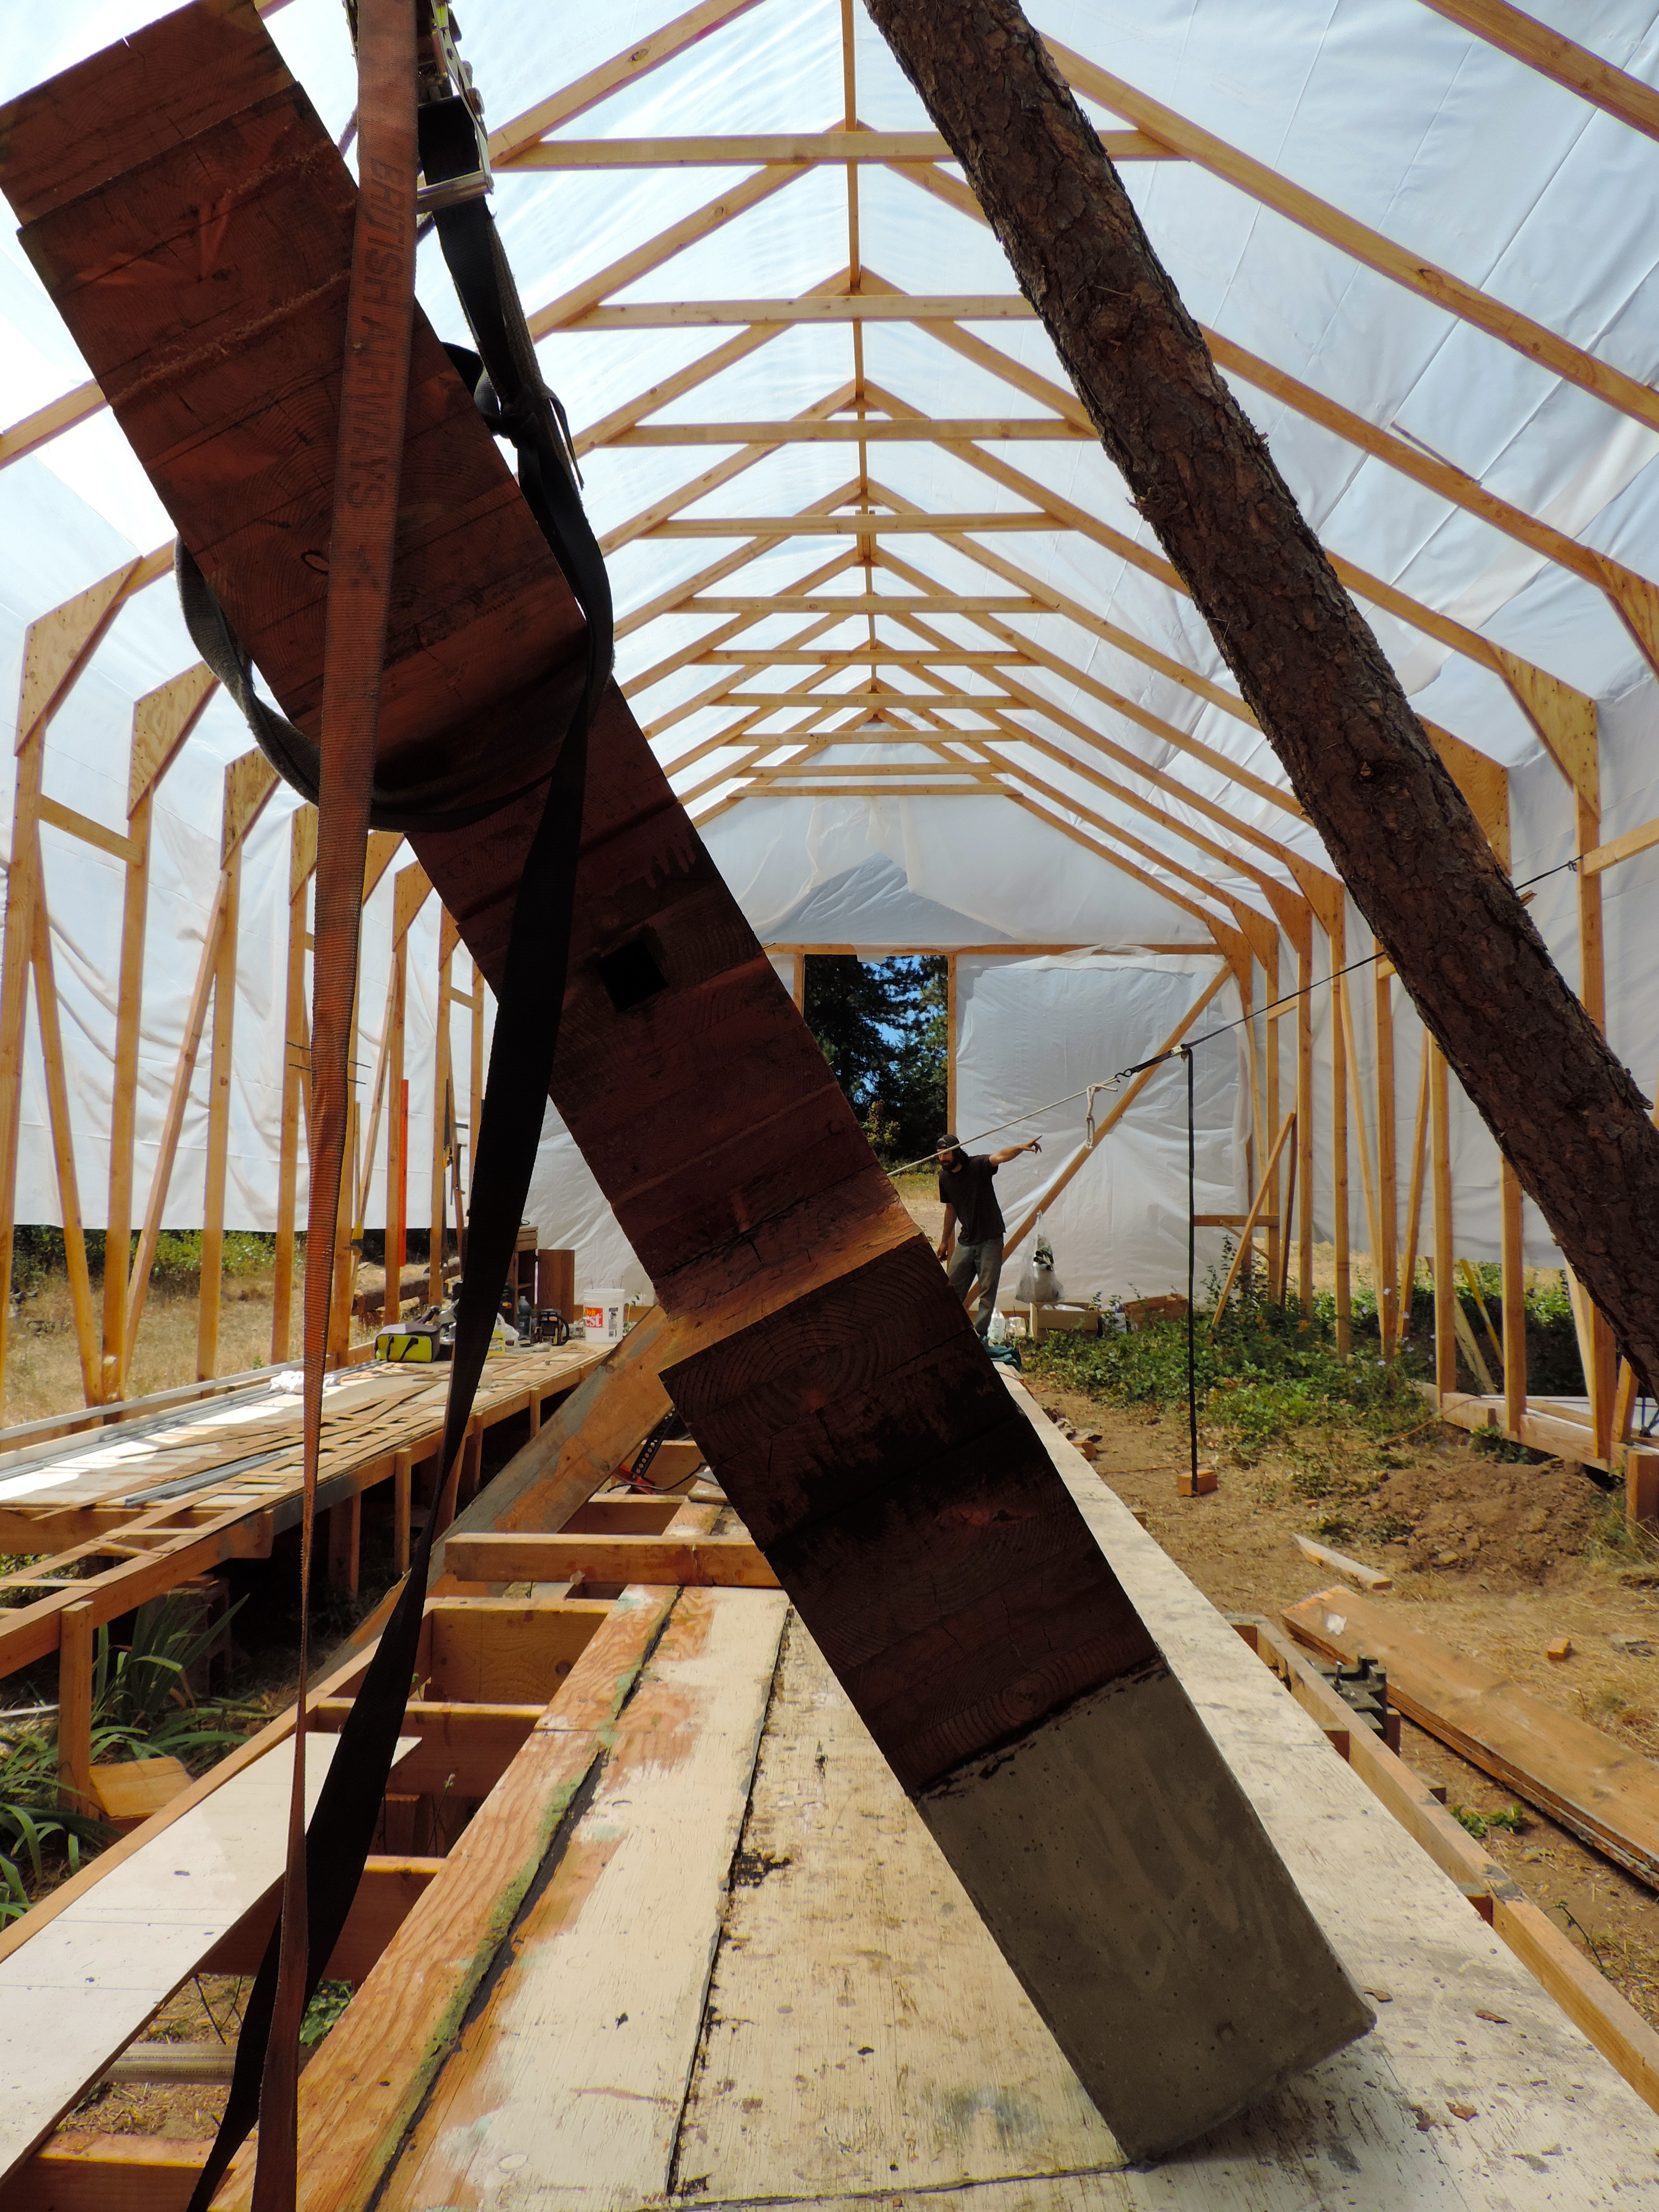
 Being careful not to let it fall the other way once it passes the teetering point.
 HAZZAH!
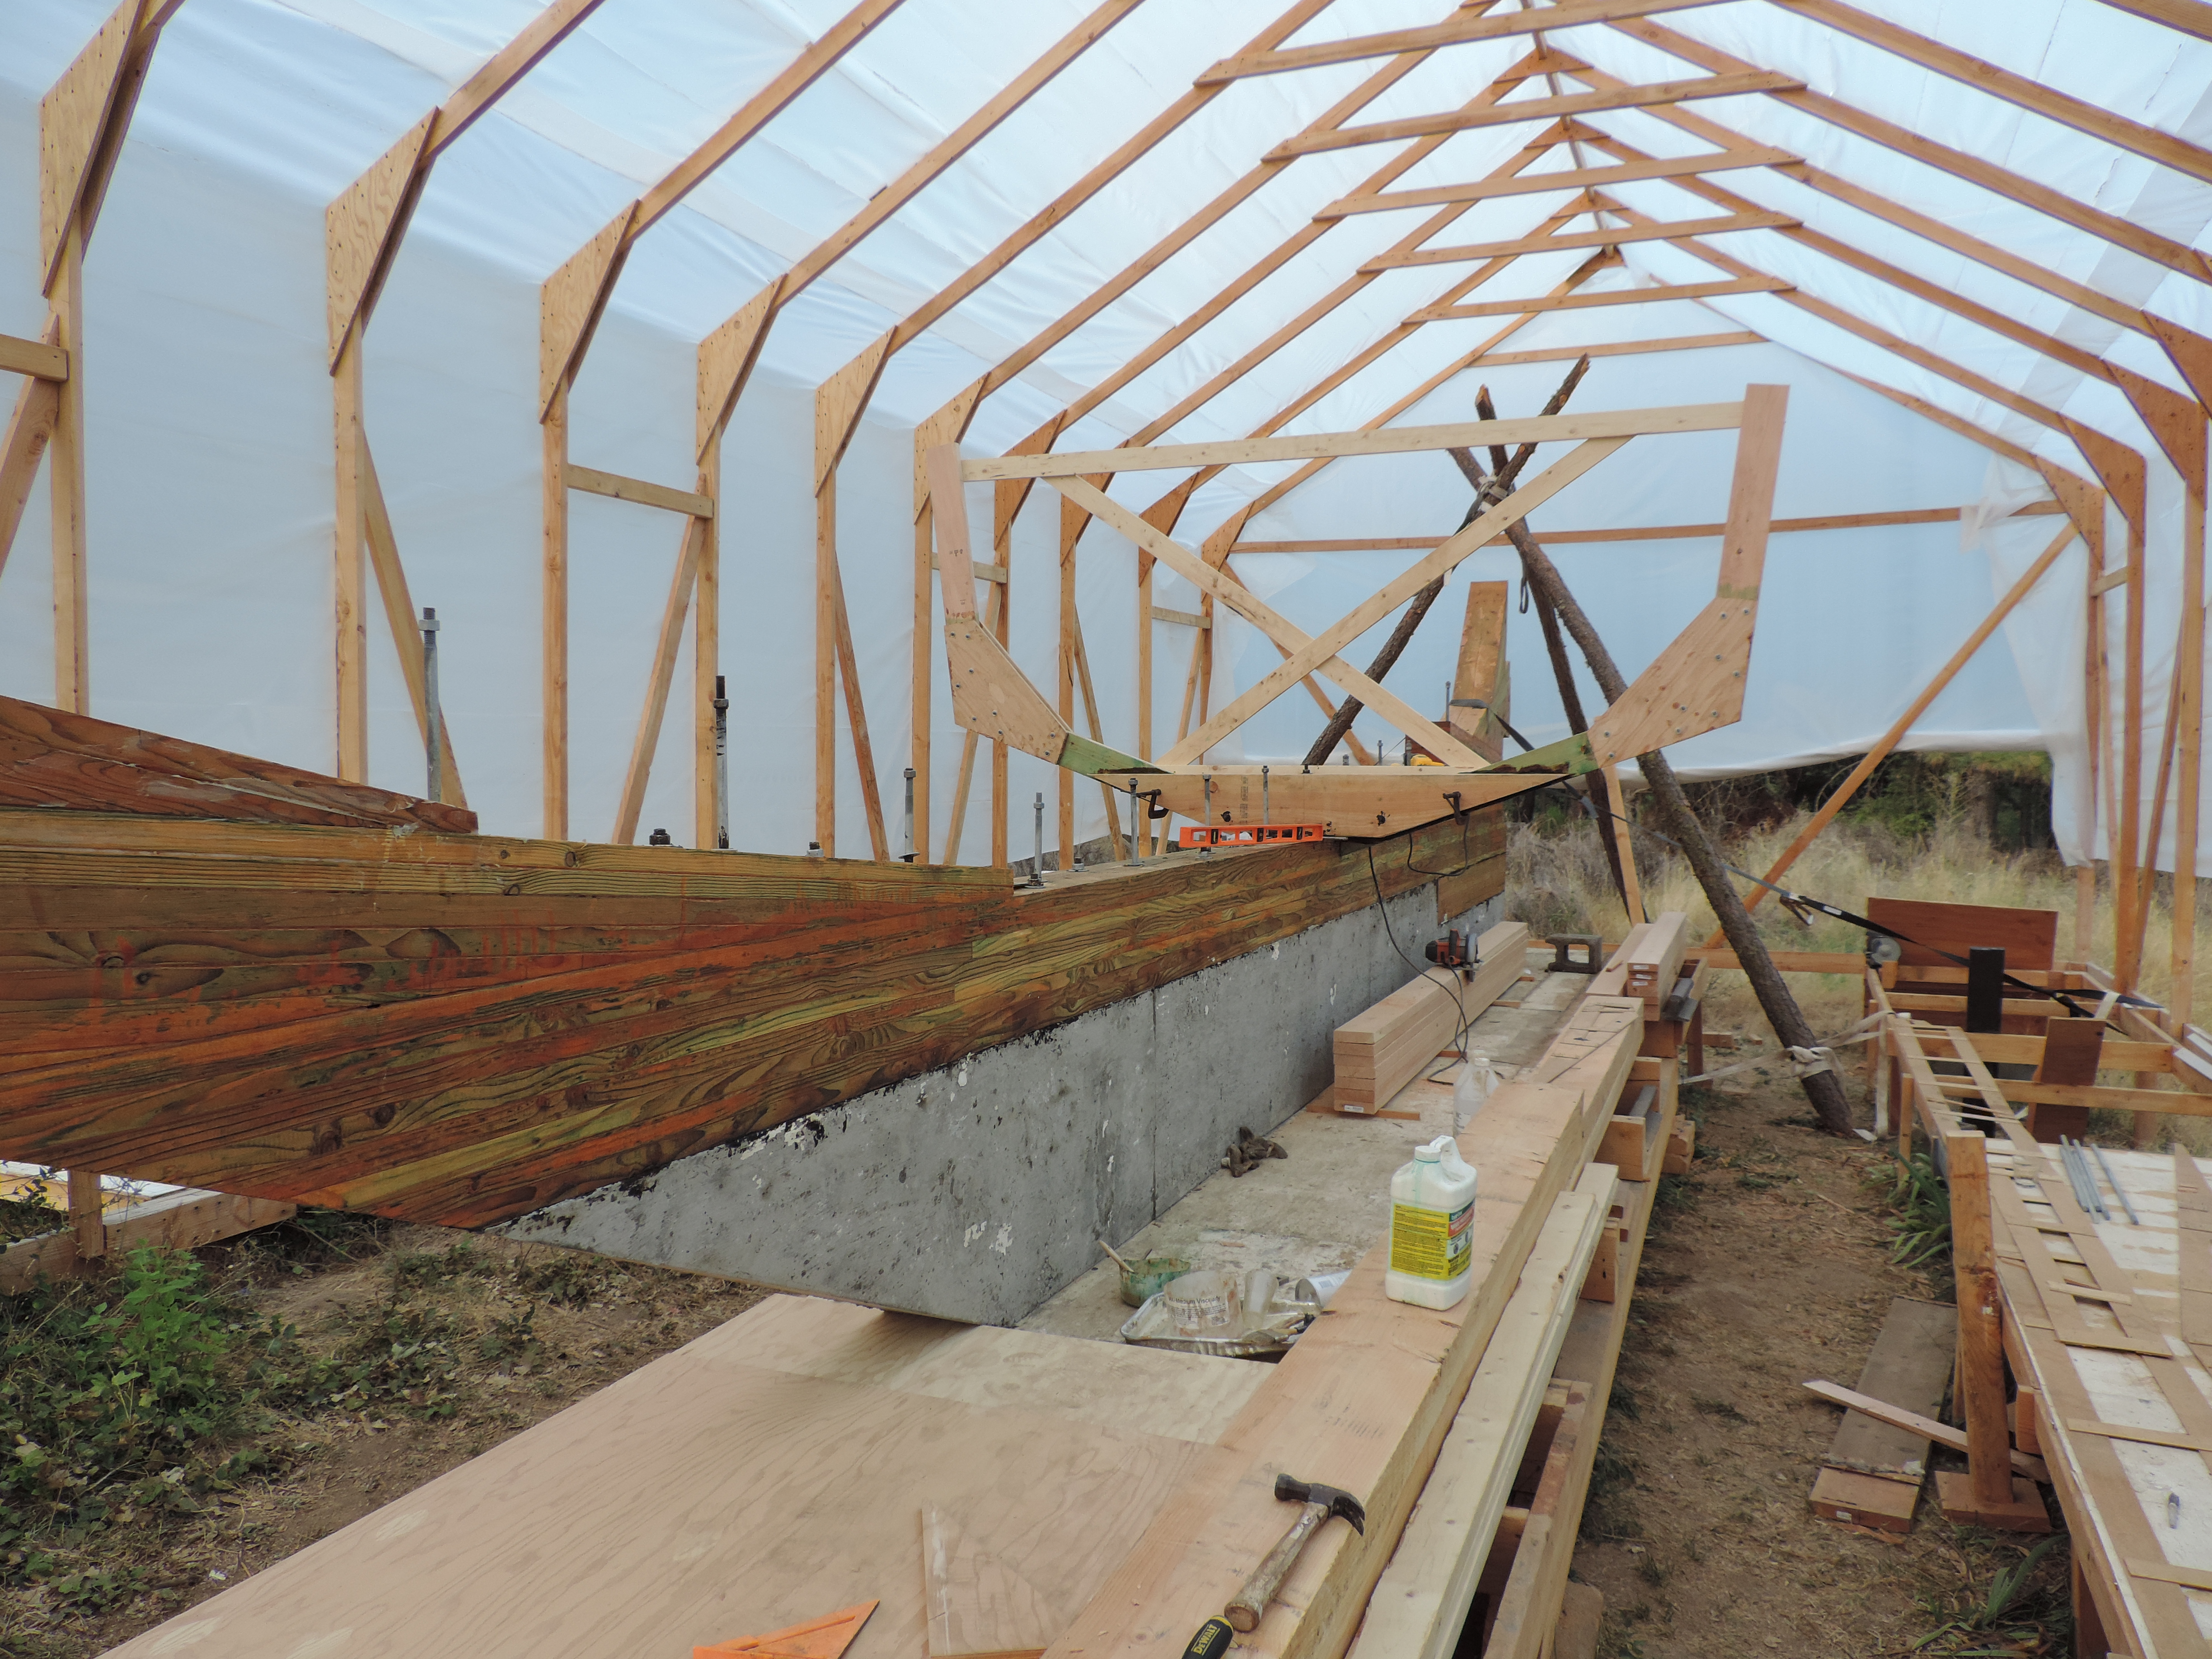
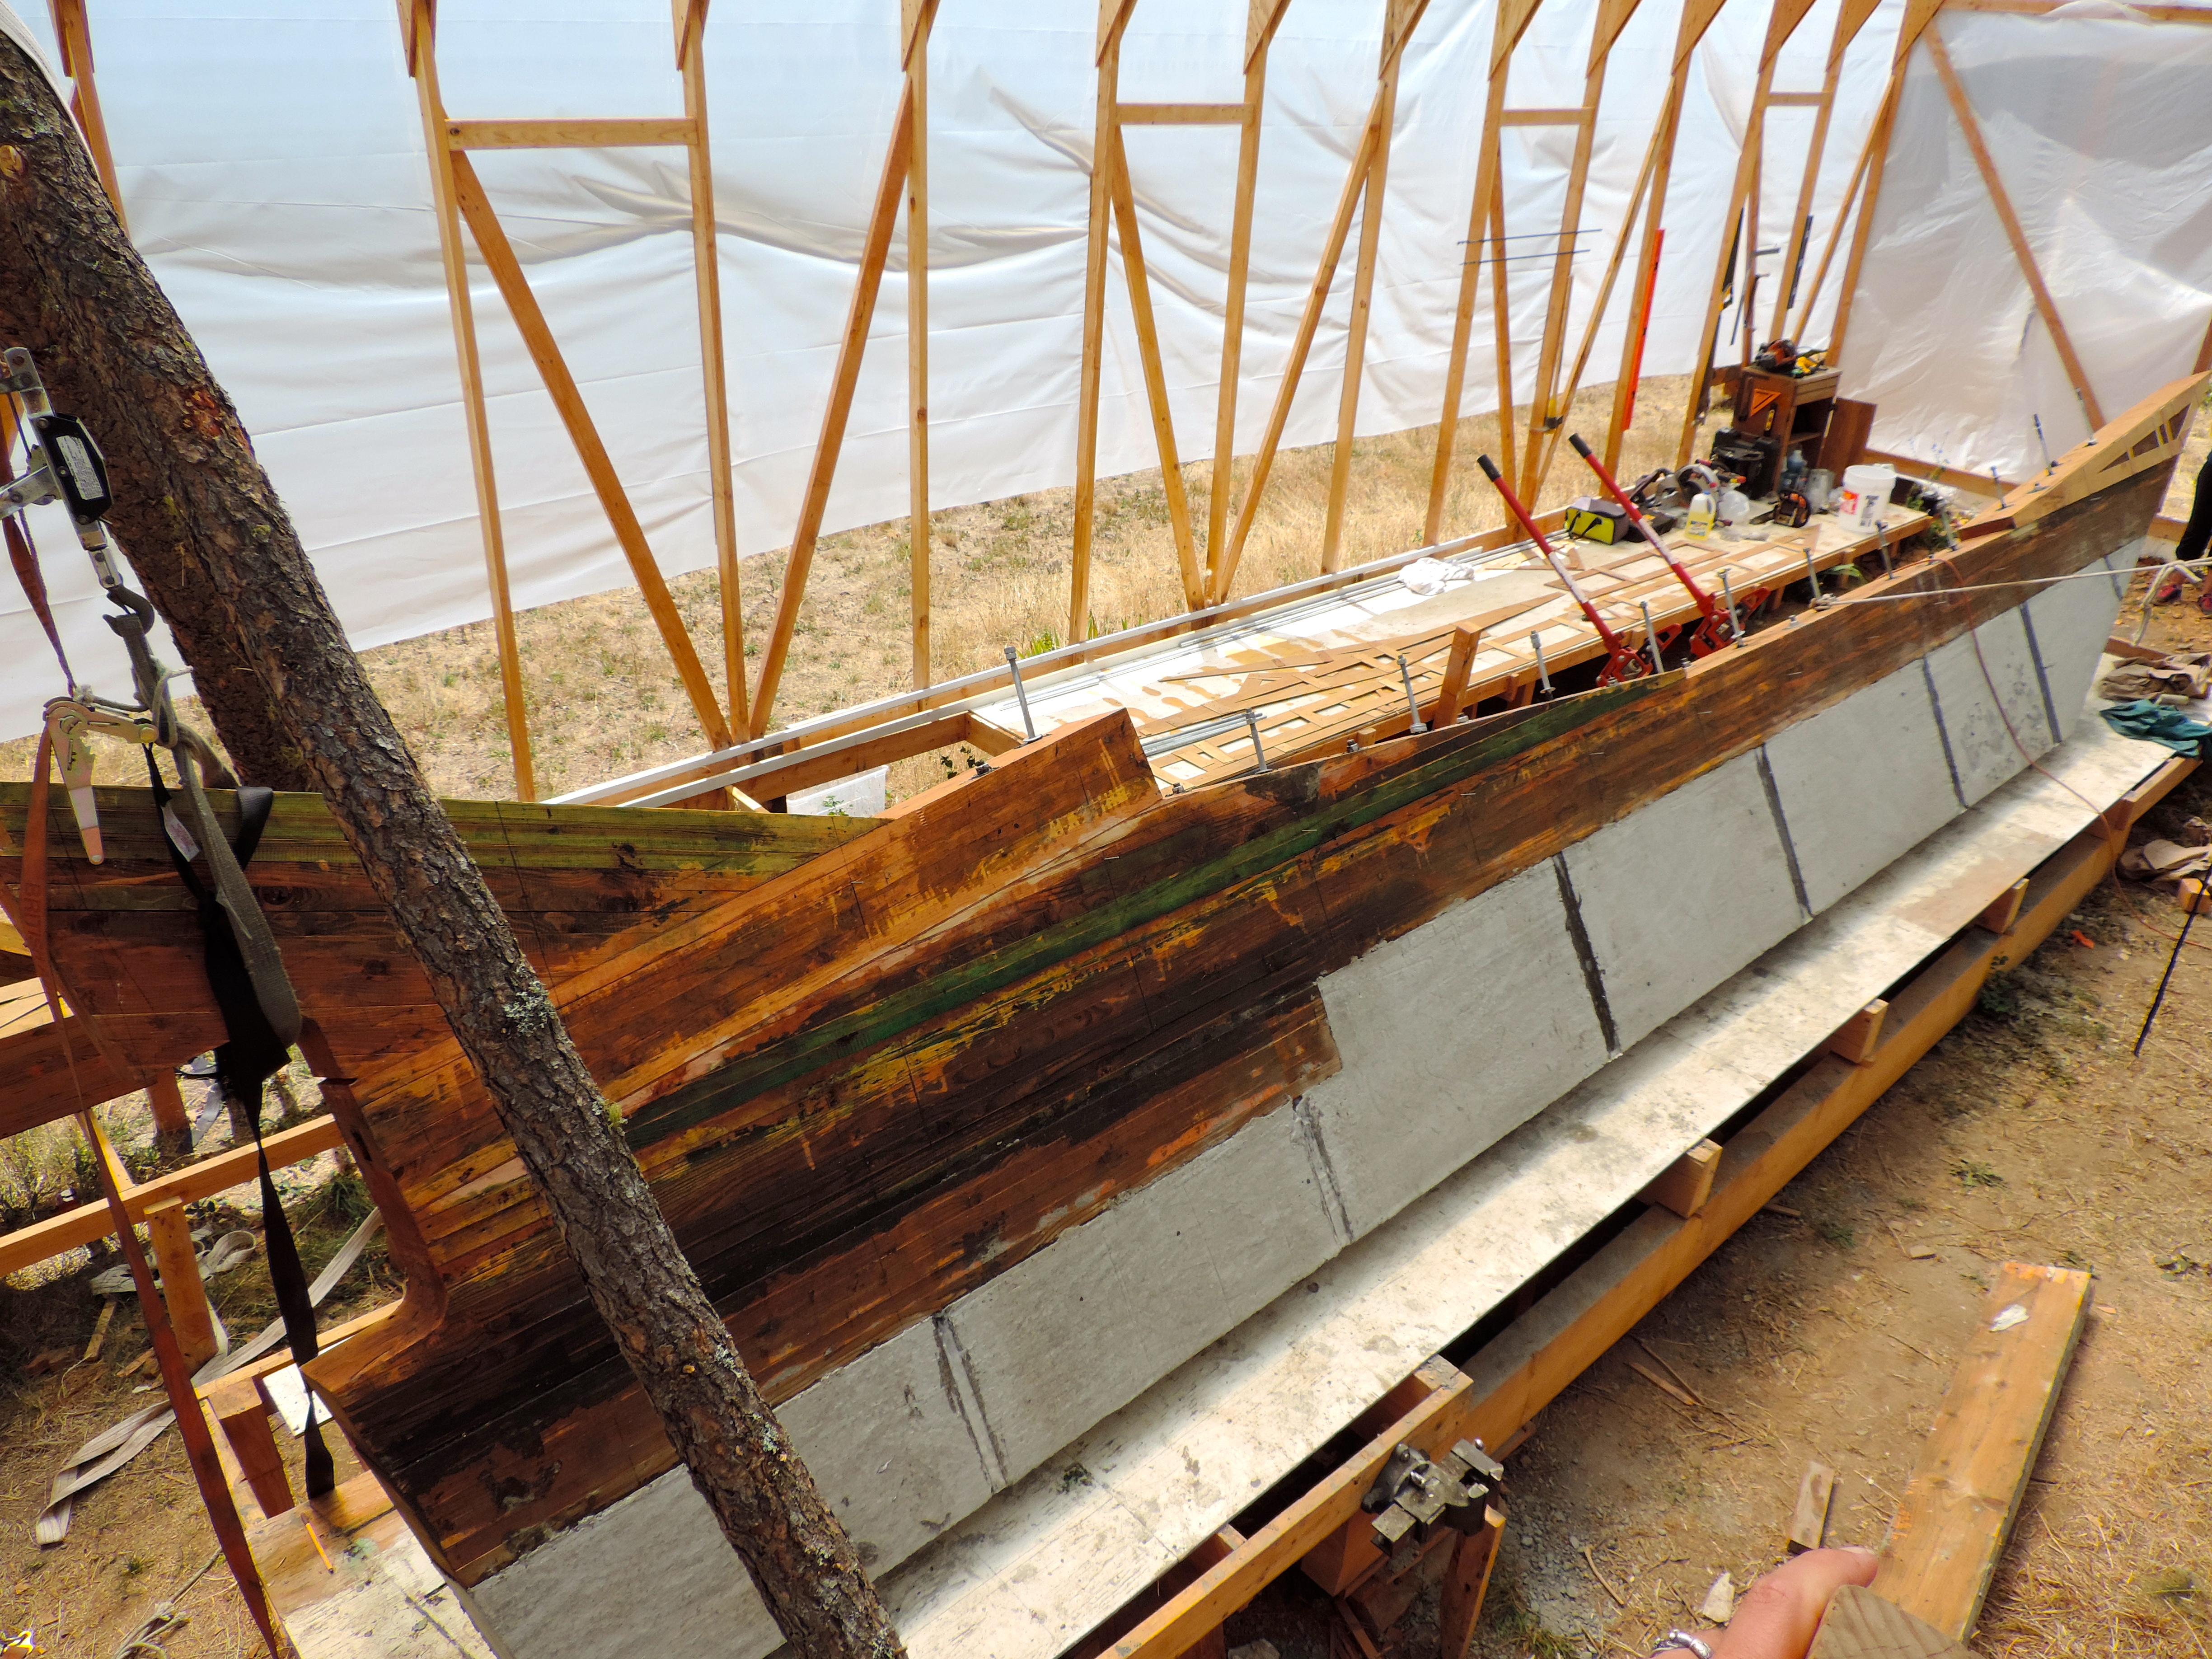
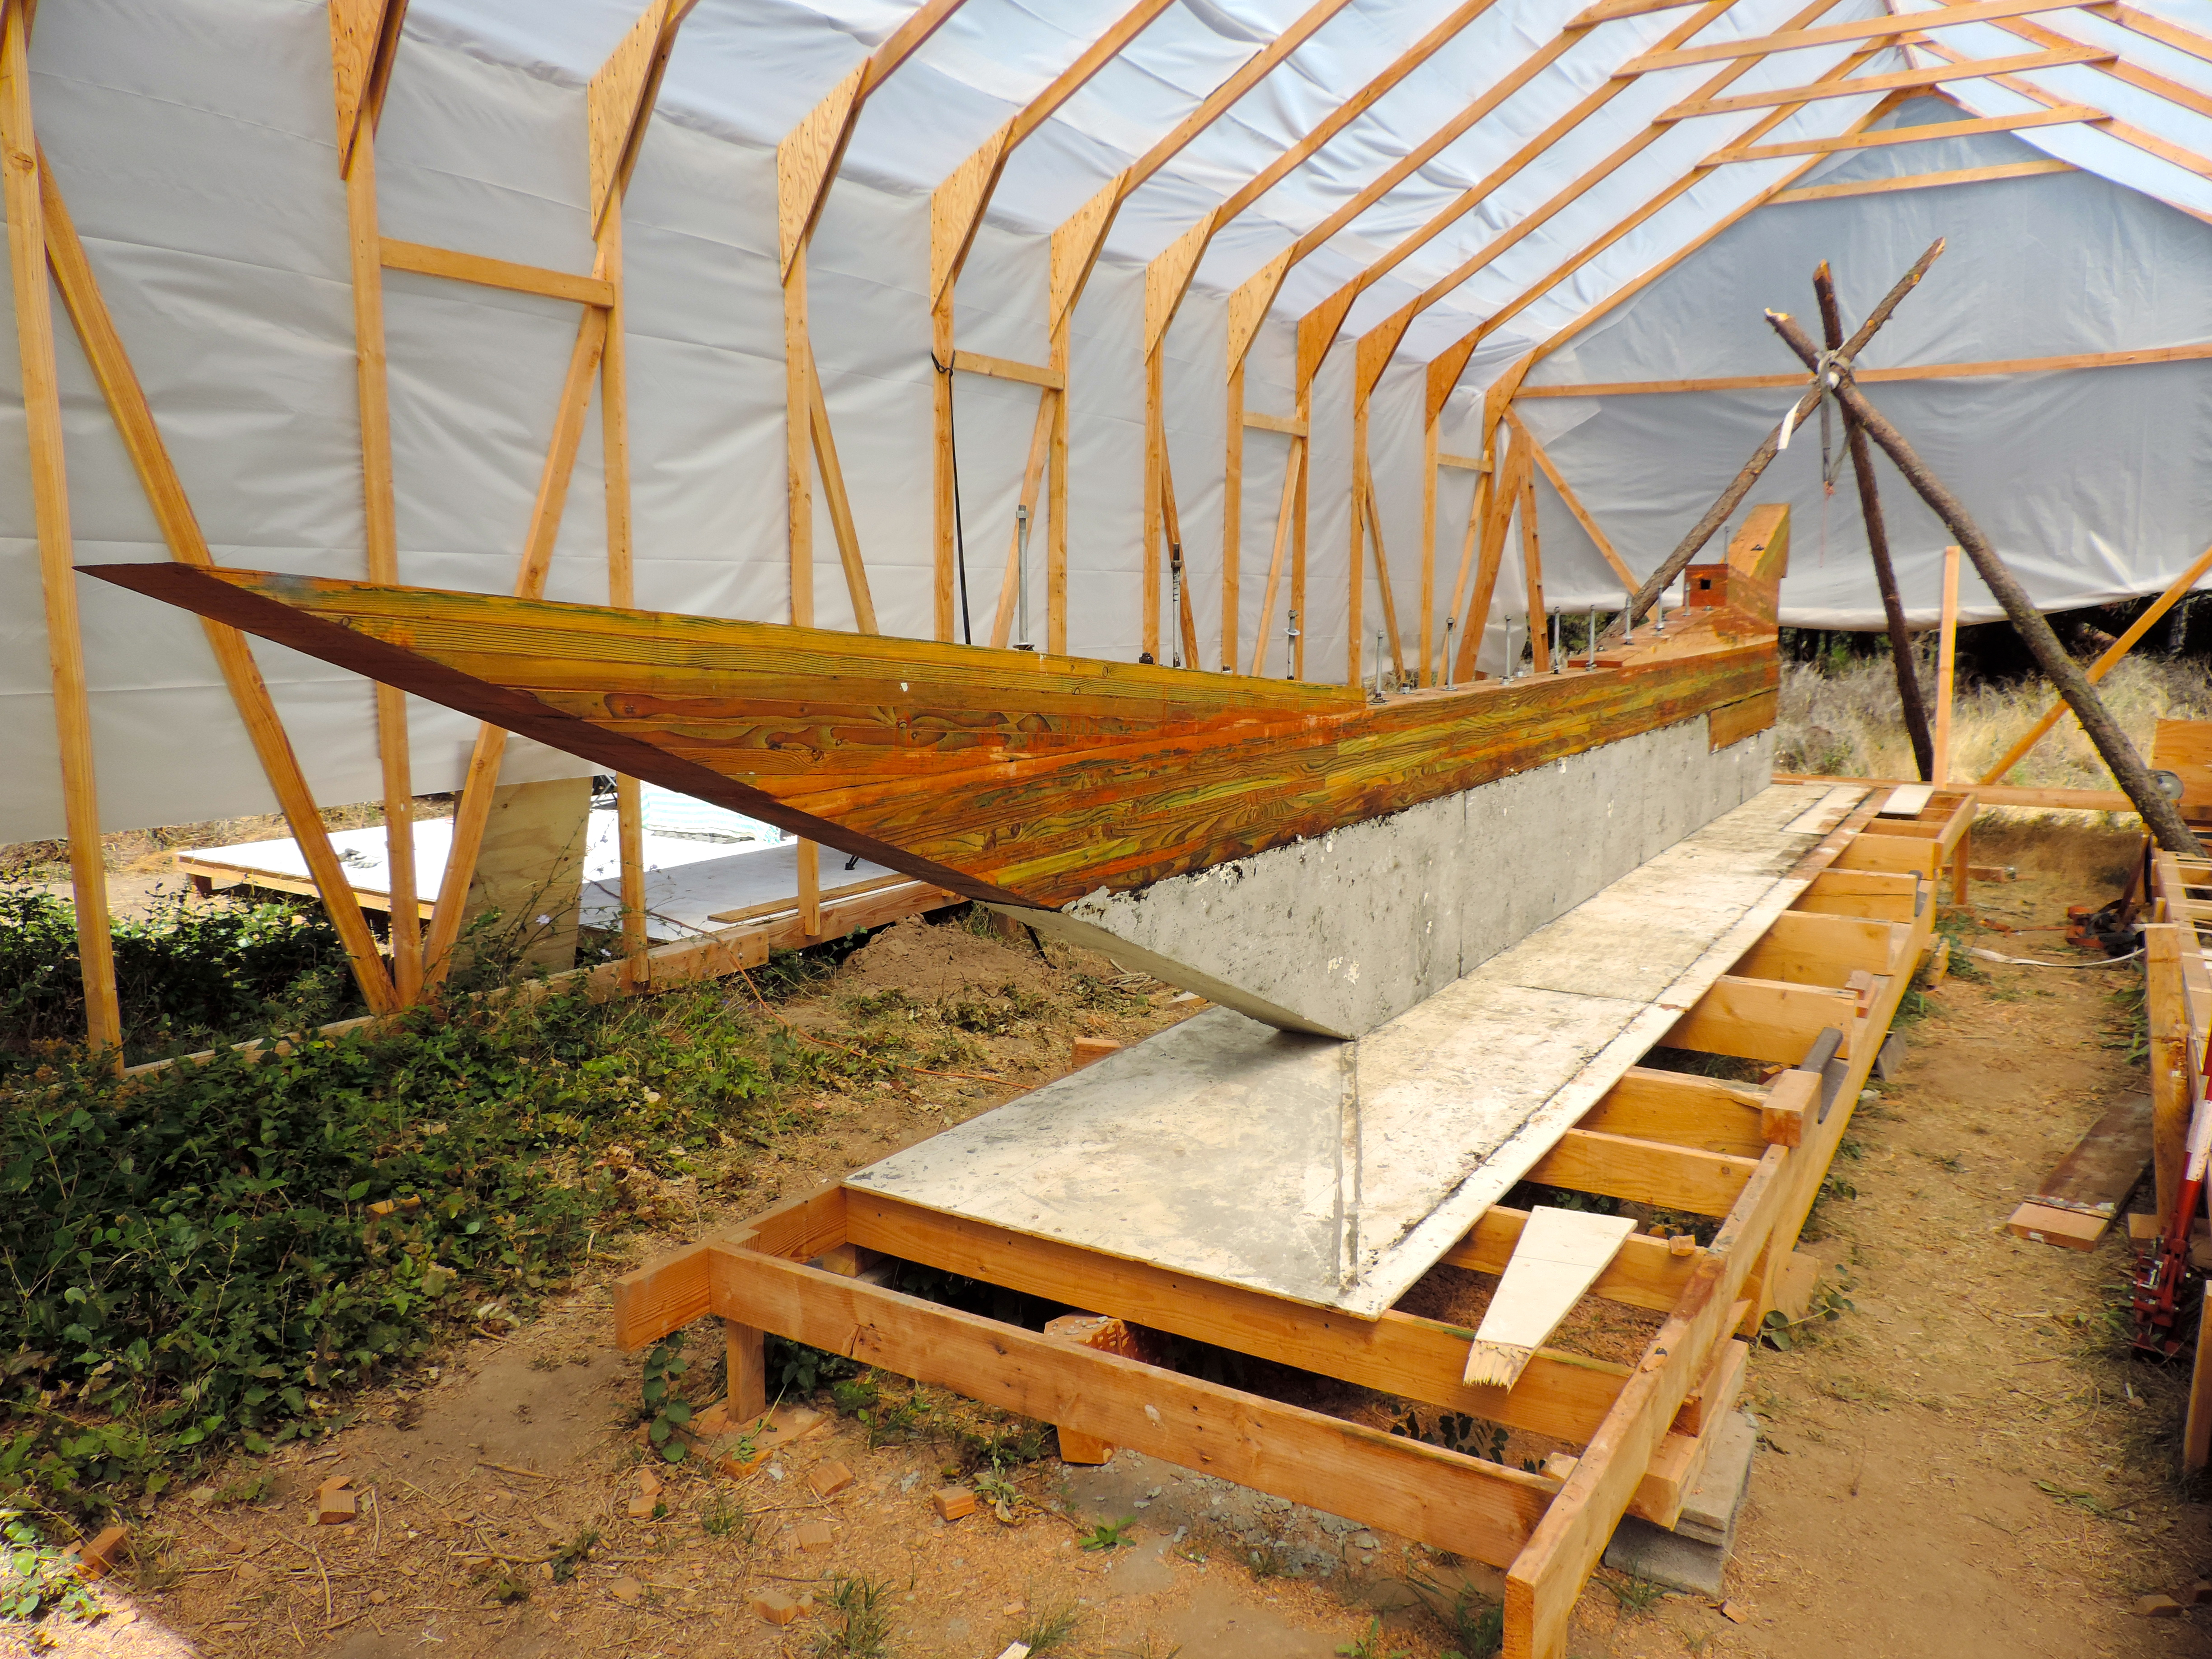
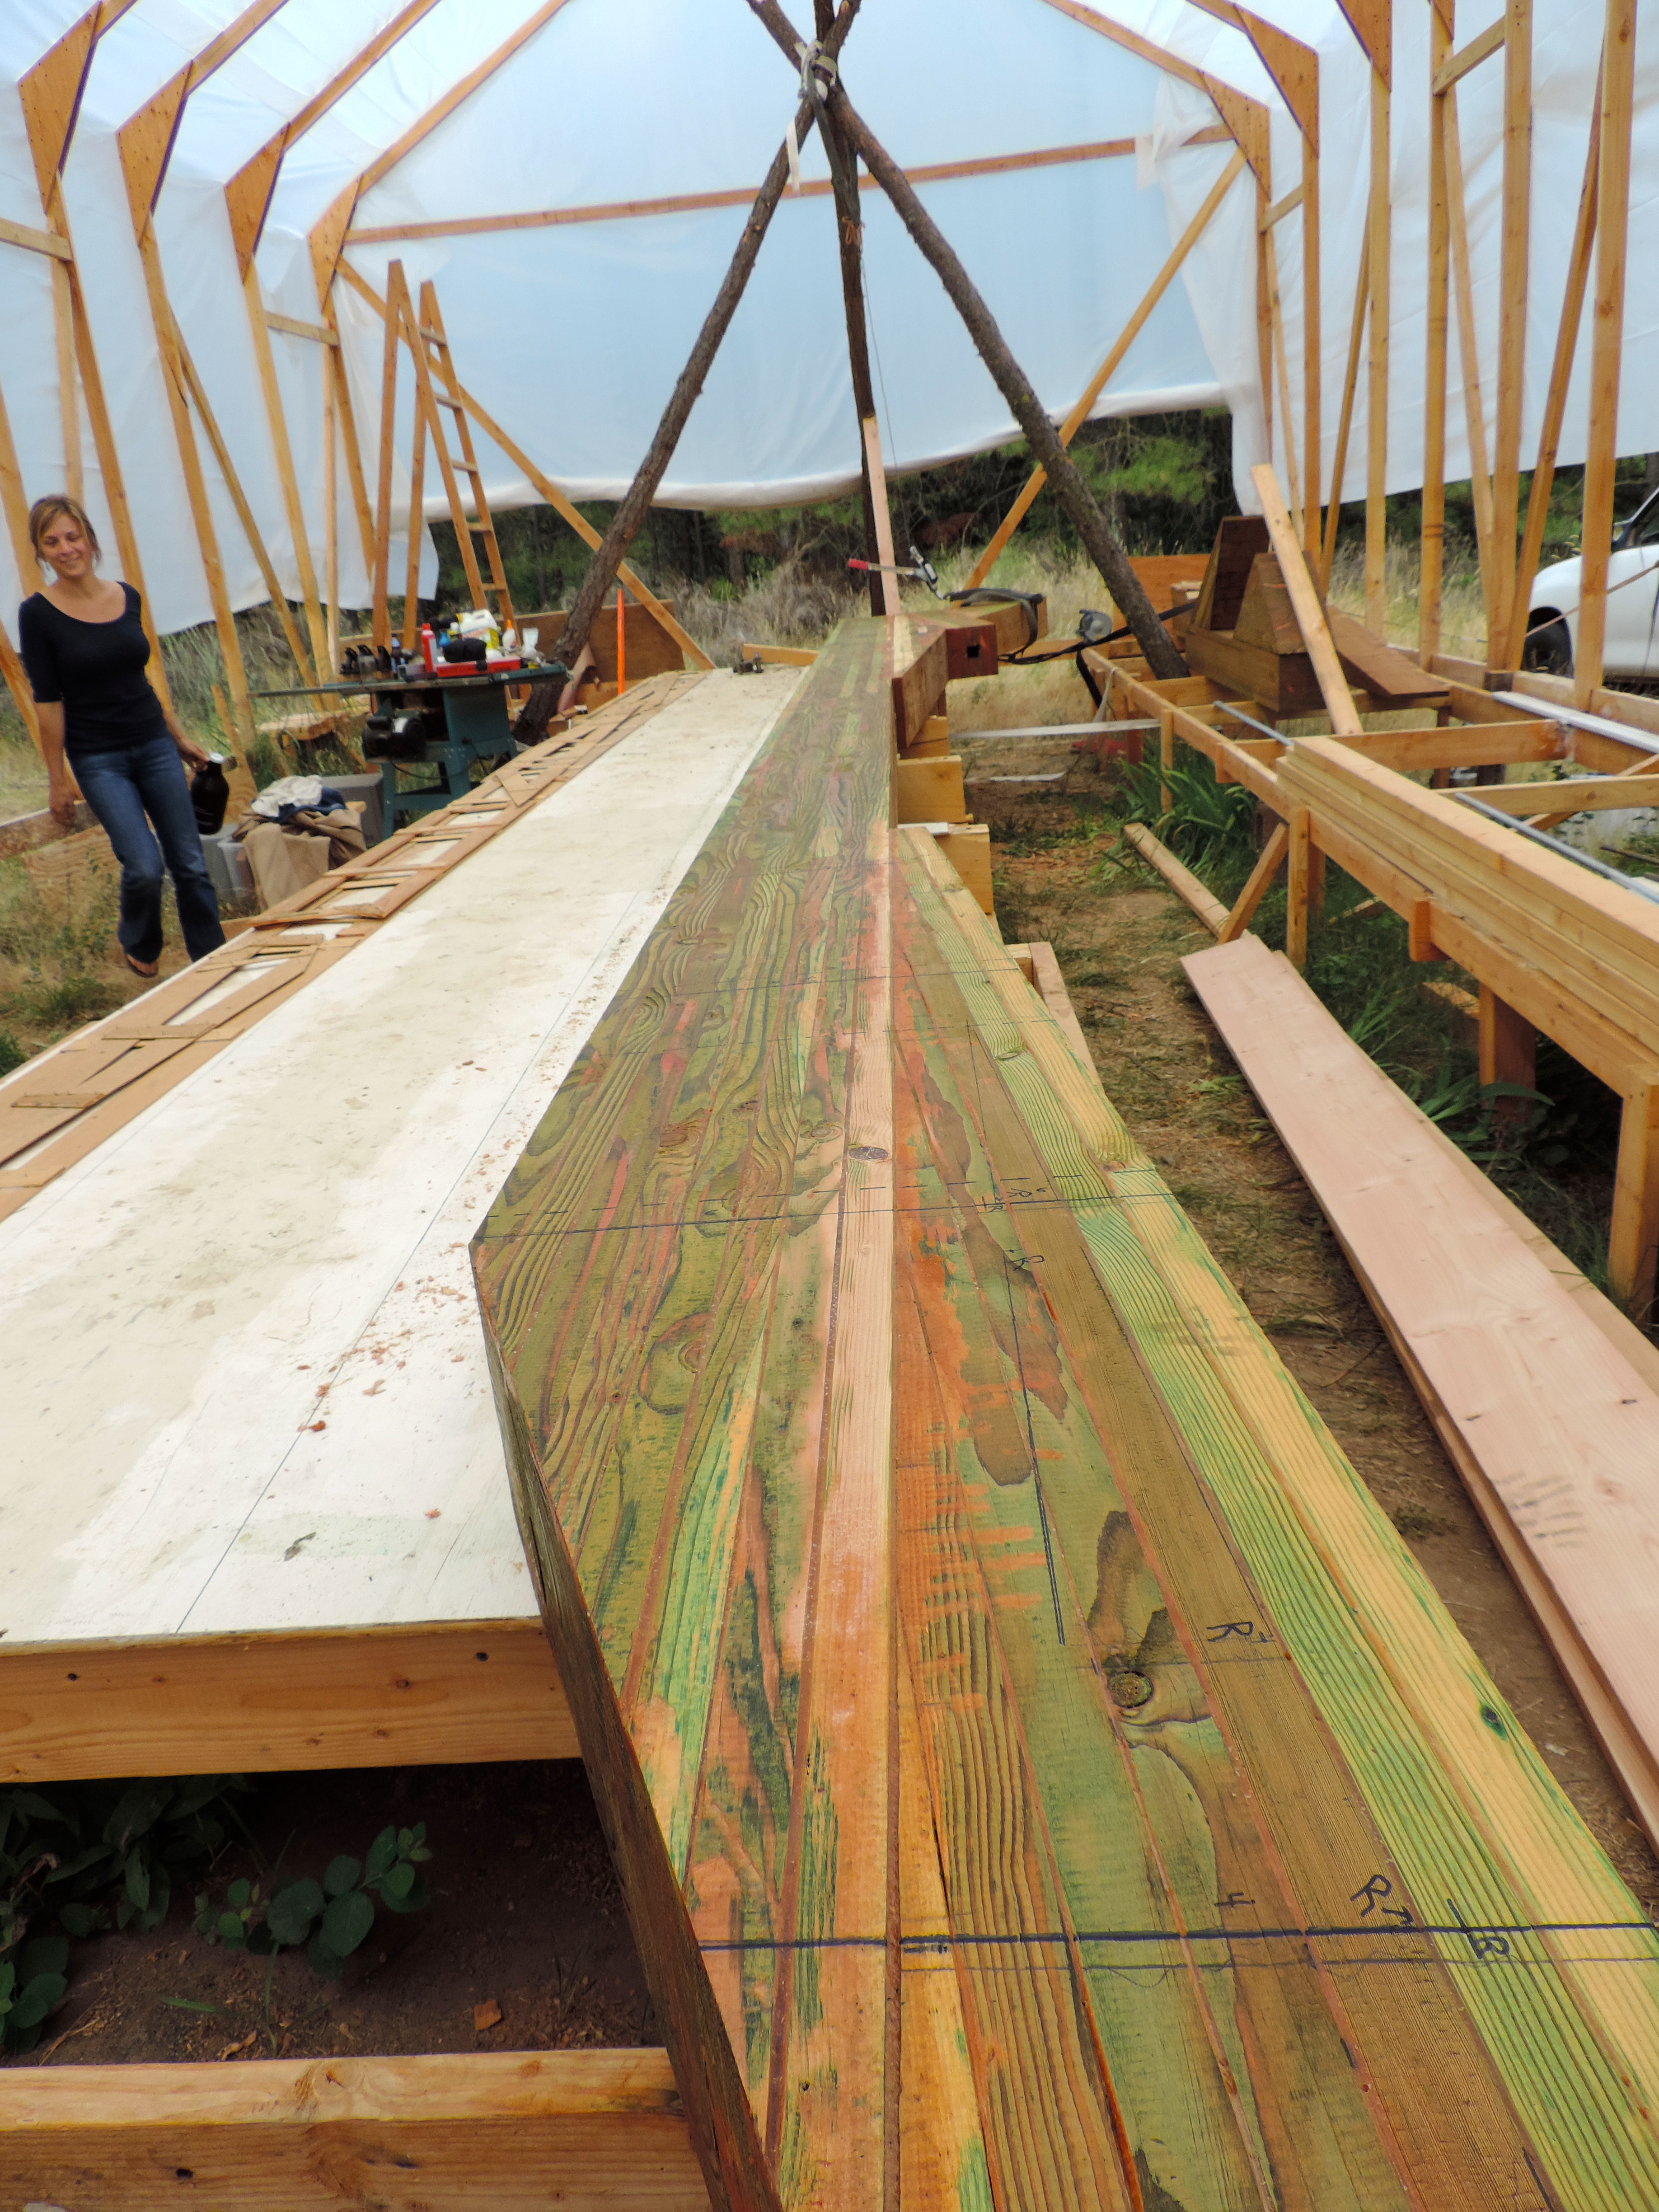
The last couple days we have been working on getting the keel totally done. We still had three timbers to attach in order to complete the keel assembly.

 She grew a little!
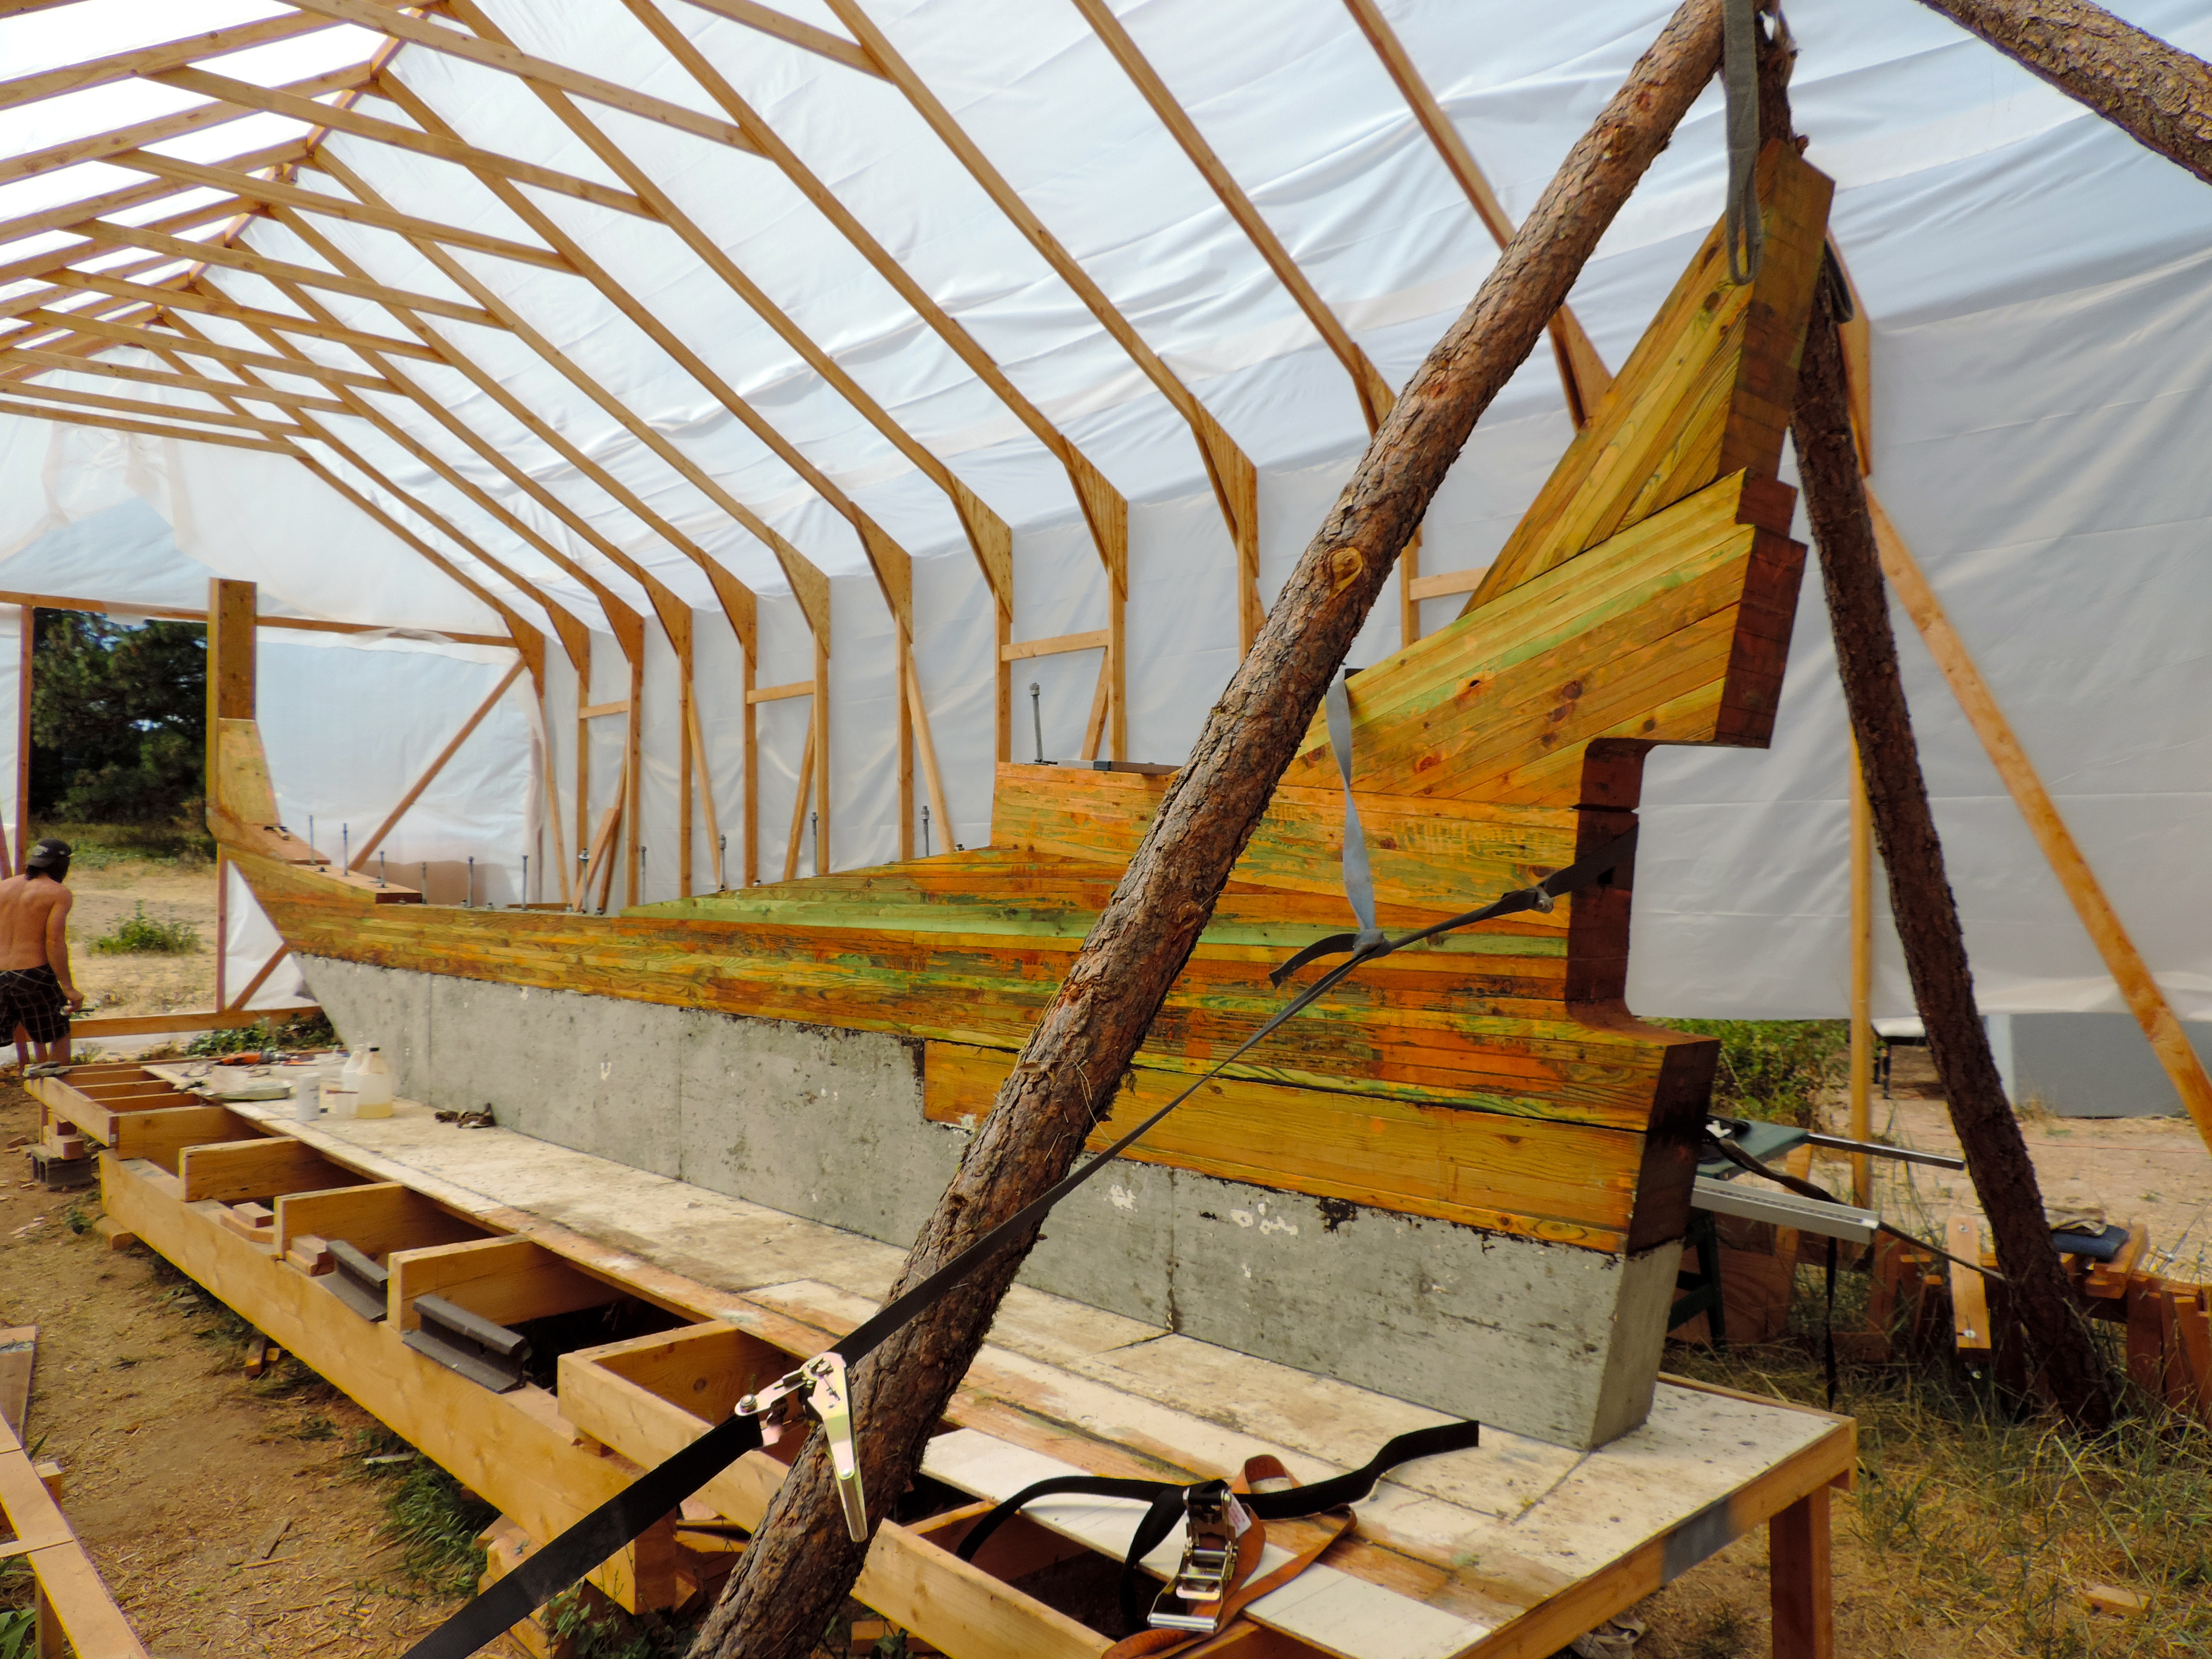 Forefoot, stem, and stem knee added up front. transom knee aft. She now only has a few feet of clearance from the rafters in the shed! Some slight miscalculations in determining the height of the shed….. definitely swabs fault.
Hard to believe we are at the framing stage! We are itching to start building the frames, but we are still waiting on the lumber. Hopefully by midweek we can get started on them, but for now it’s pretty freakin cool to see the whole keel put together!
ballast pour
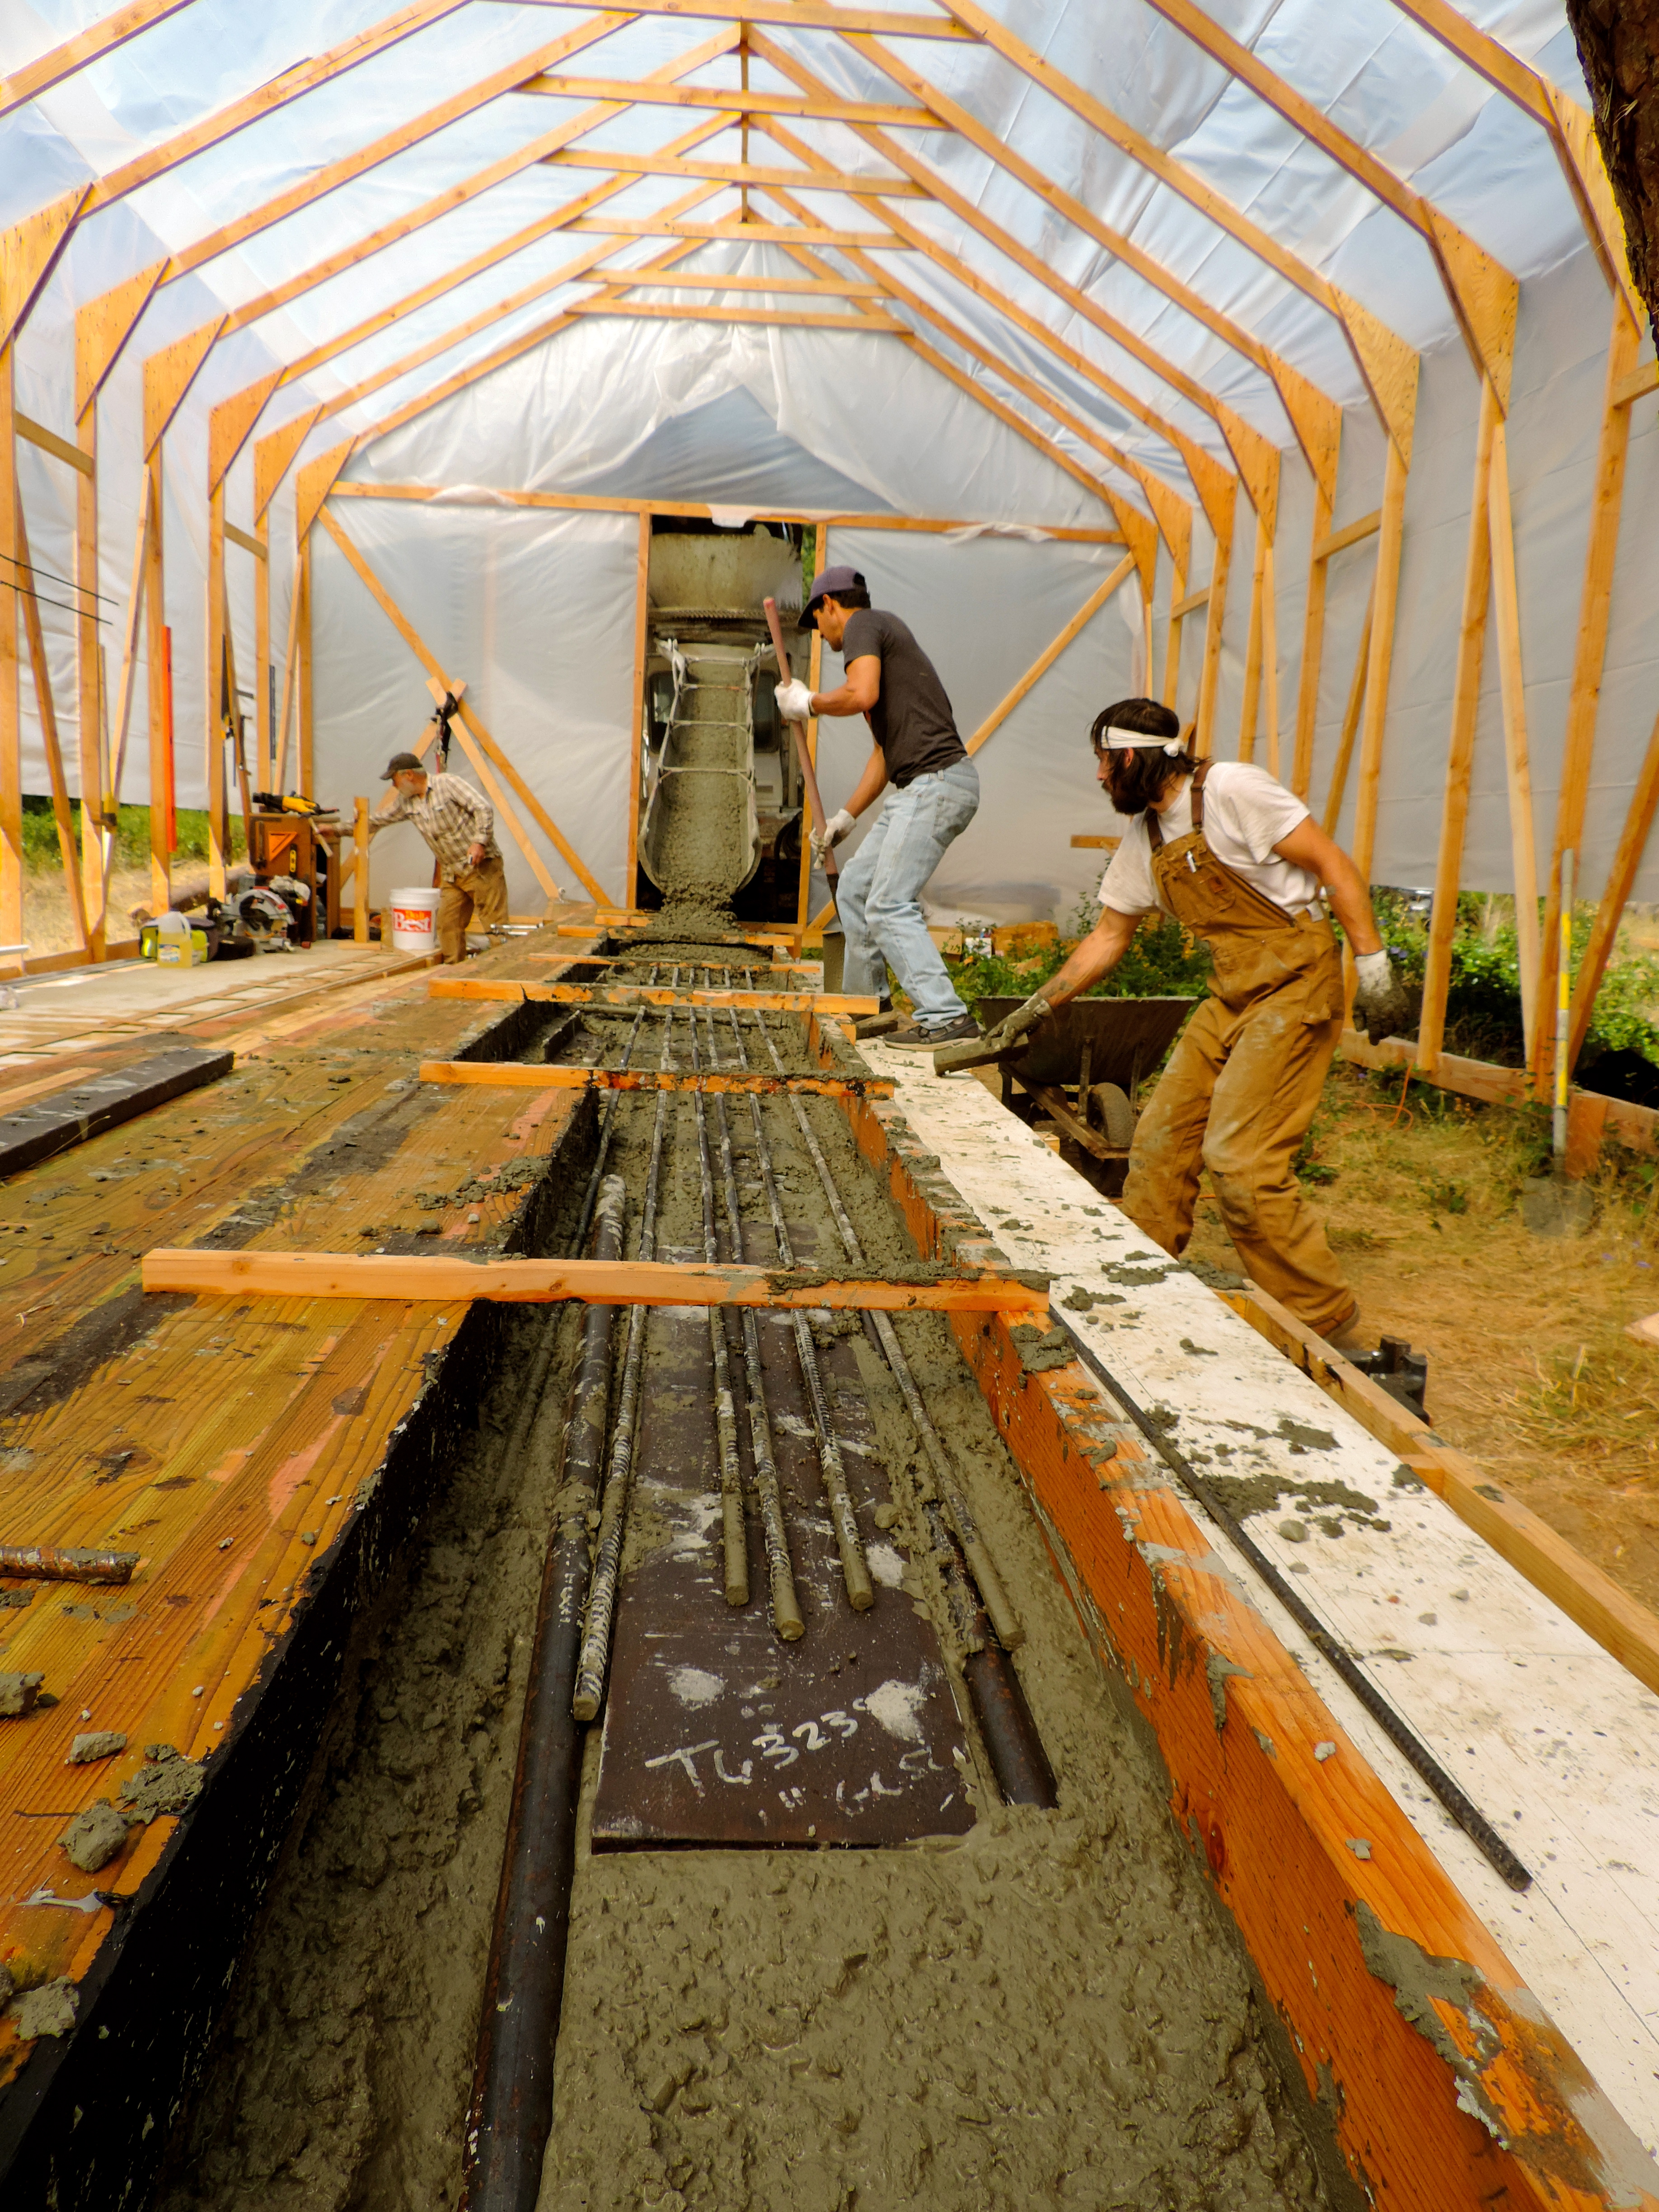
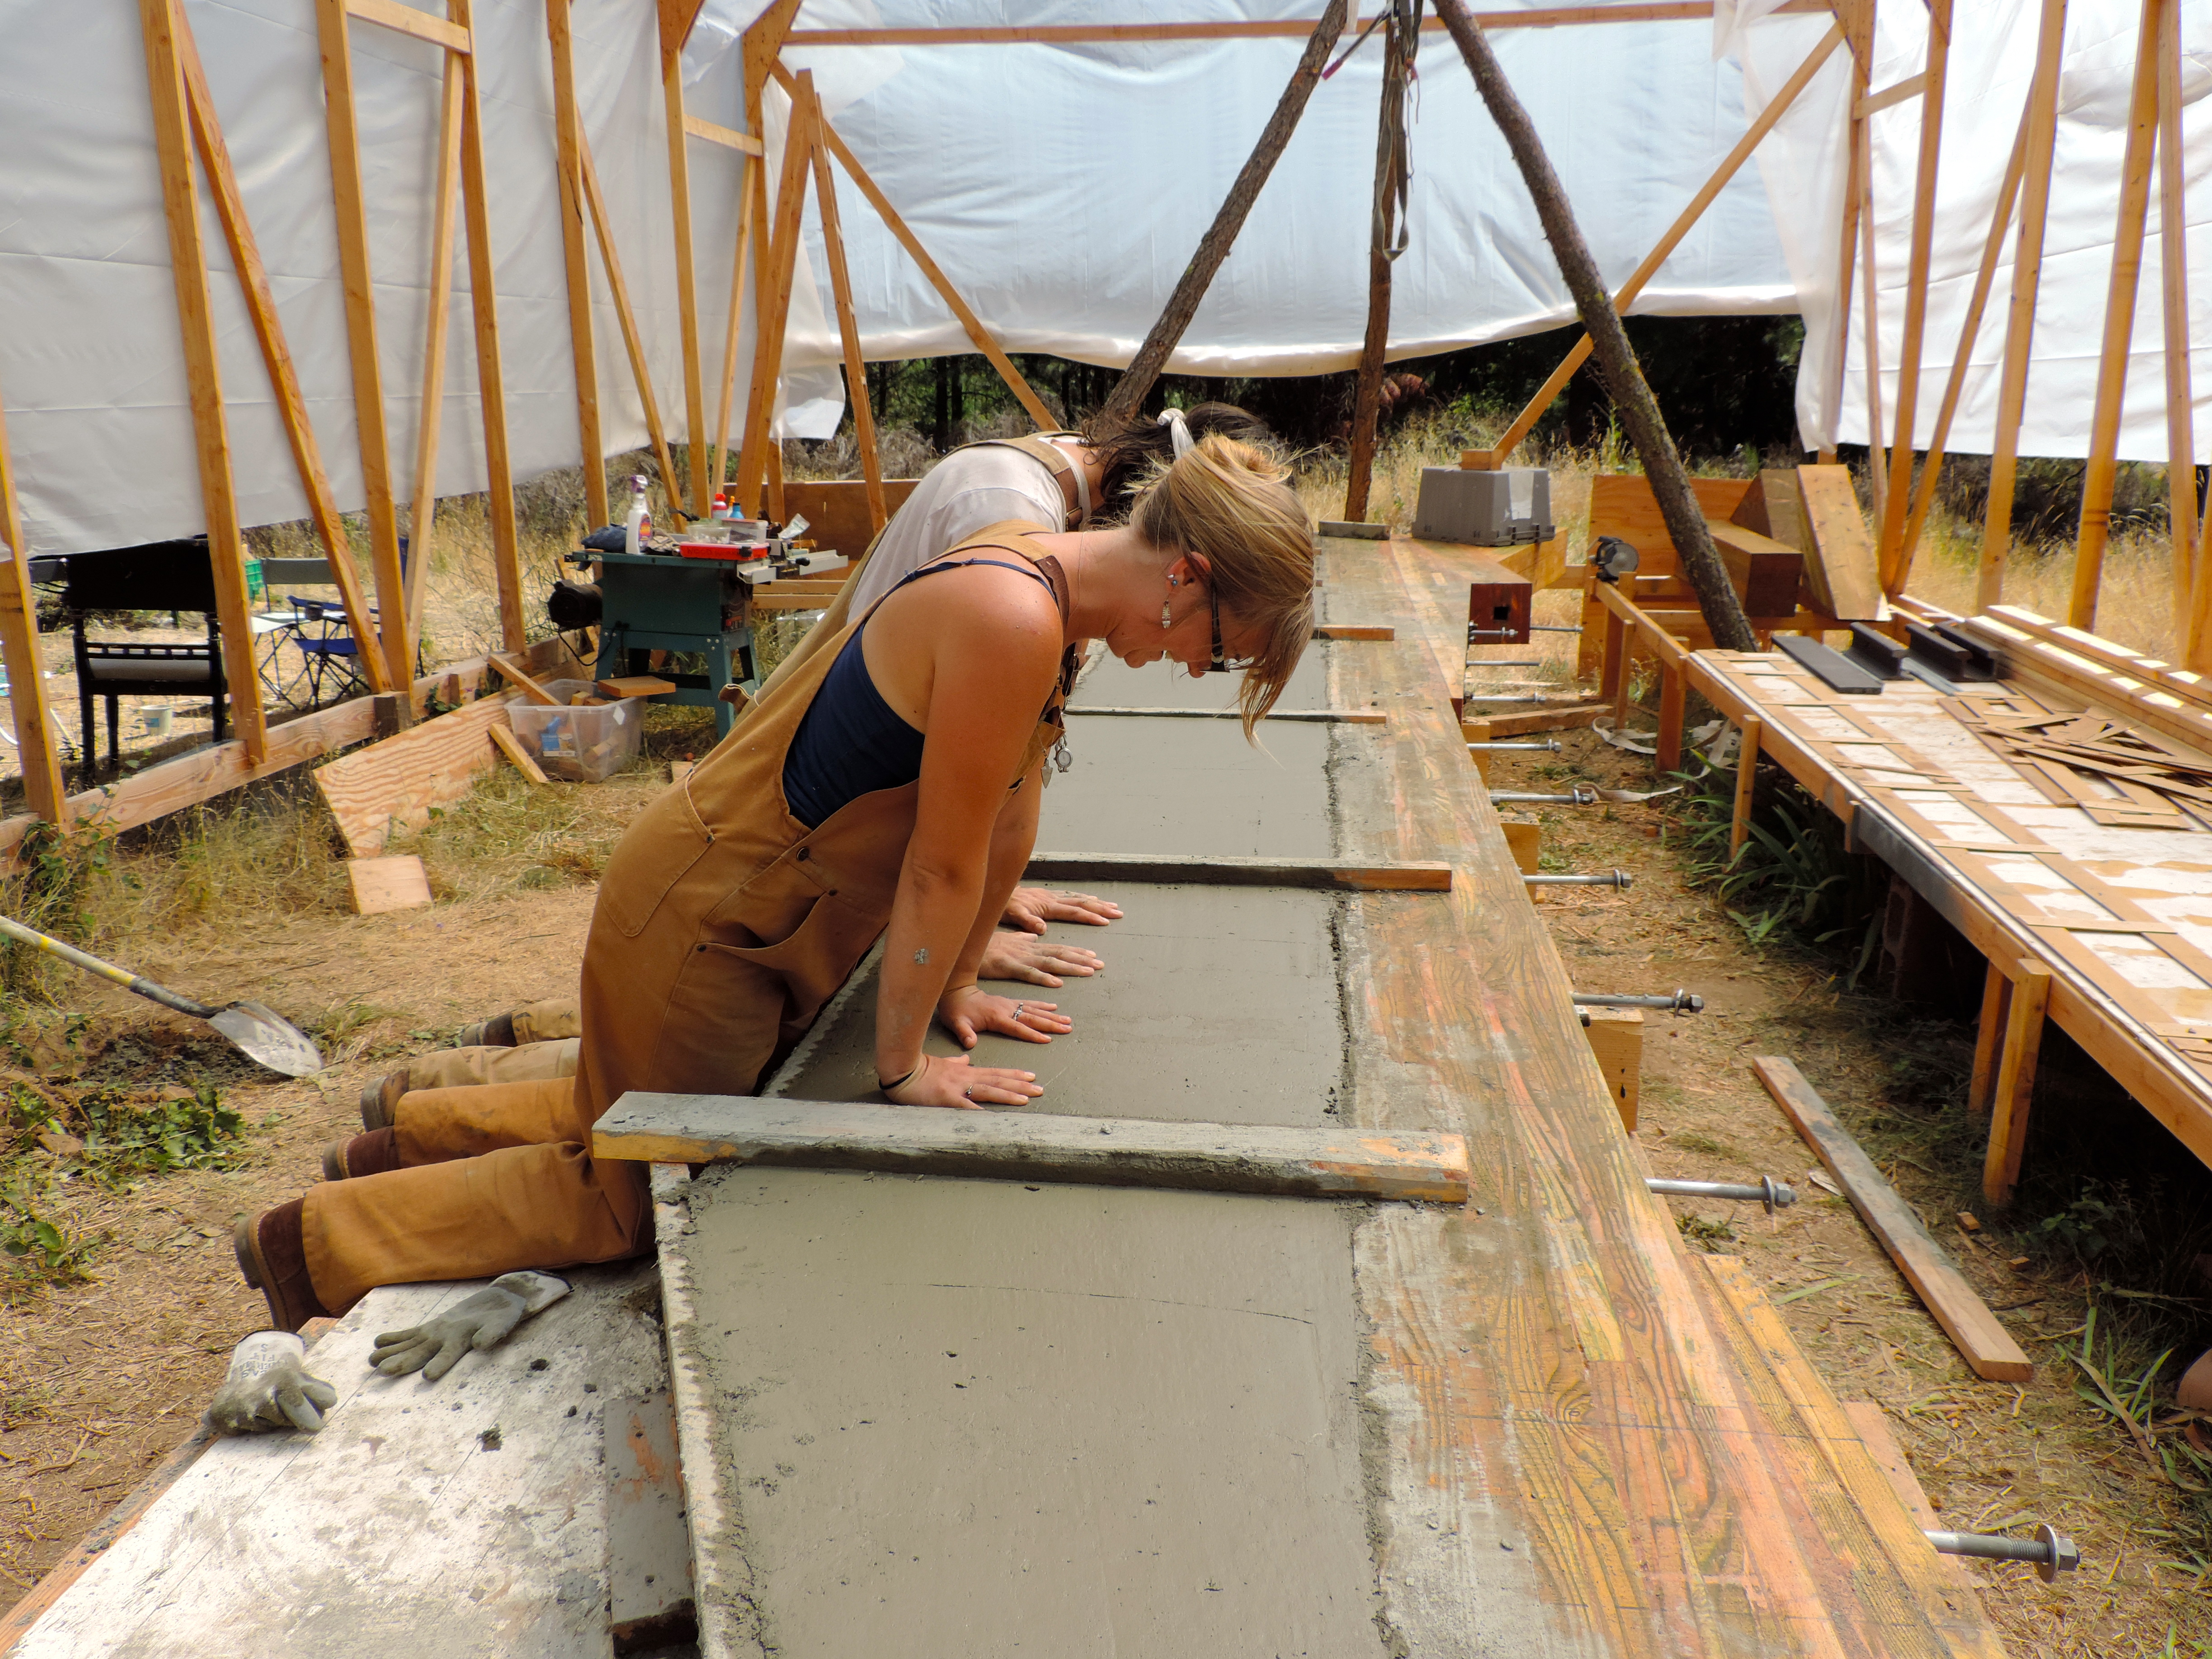
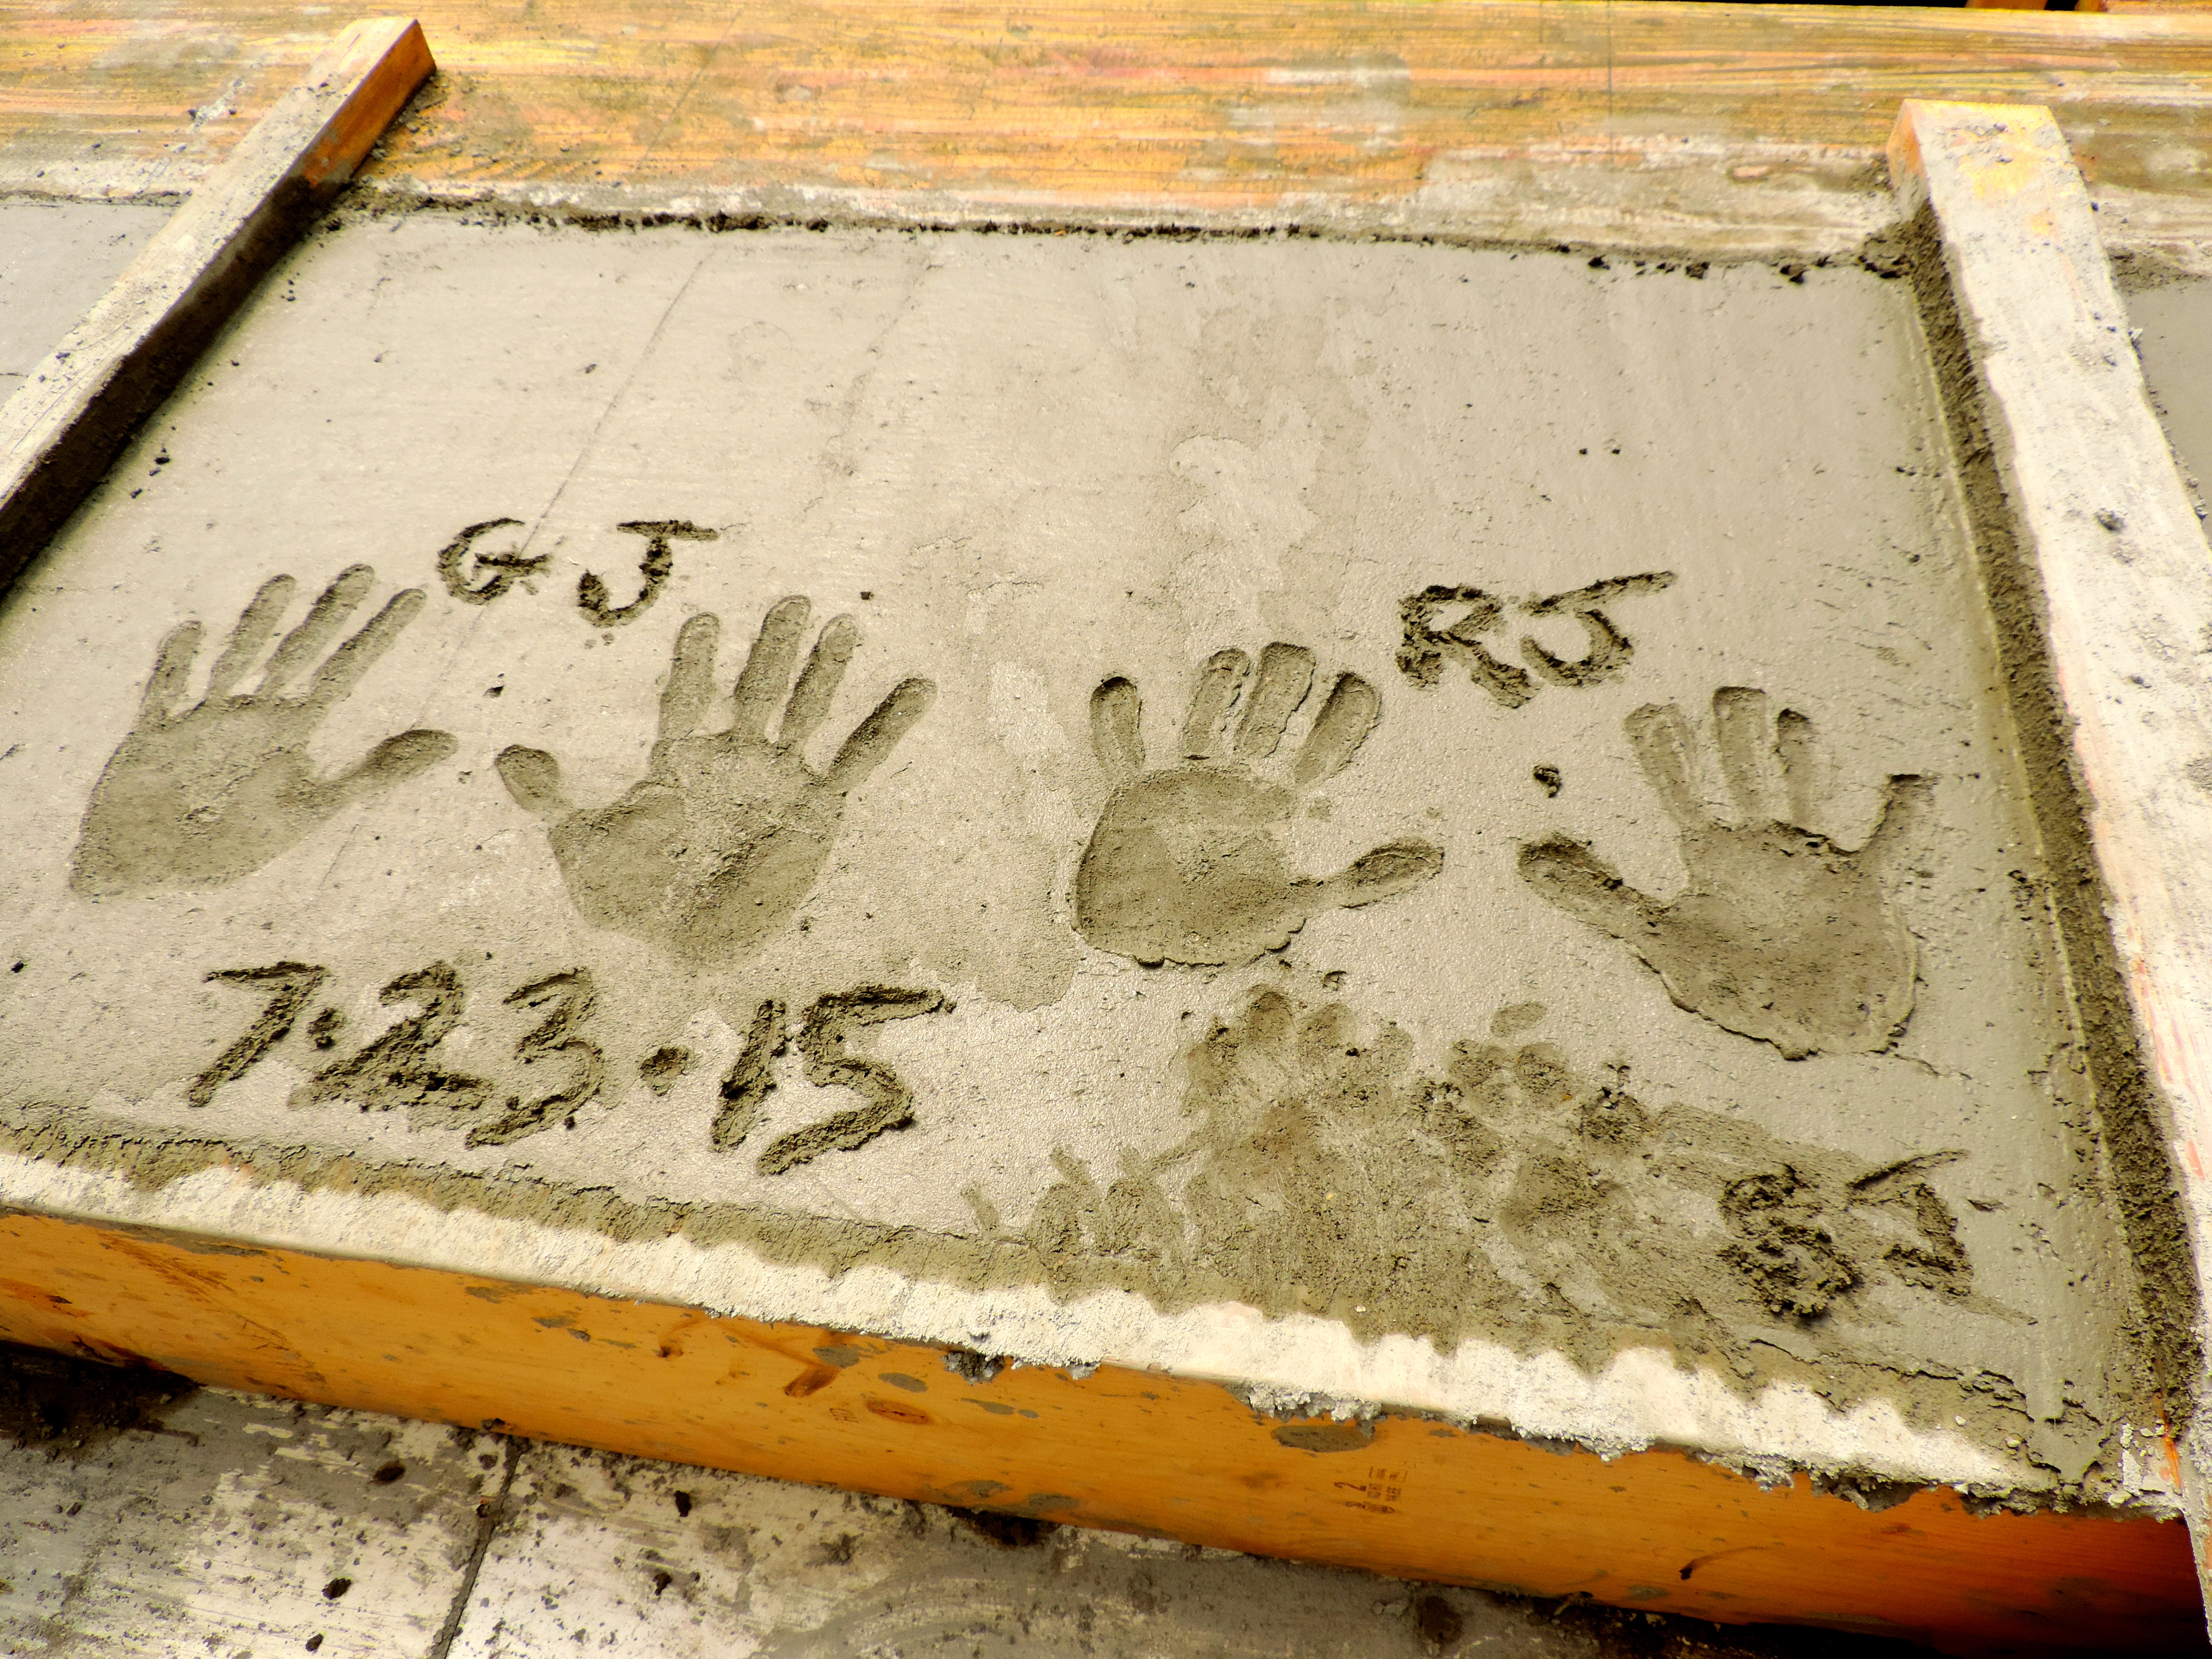
After months of hard work we finally poured the ballast! This marks a major turning point in the whole project because we can now move on to building our frames! We poured on the 23rd, and we have to let it sit for at least two weeks before we can stand it back up right. We have started the process for building our frames which we were really hoping to knock out while we waited for the keel to cure. Unfortunately the wood for the frames wont be ready for at least 3 or 4 more days so we will be delayed a bit. No big deal though, whats another few days I suppose… Anyway back to the subject at hand! The ballast pour went fine as frogs hair. We had some friends show up just in time, and they were a huge help. We hired a local cement company to bring a truck up which was totally worth it. It was inexpensive, on time, and the driver was really laid back. If anyone in the columbia river gorge needs some cement poured I recommend rapid ready mix in Bingen WA. We ended up with just the right amount of scrap iron, and the whole process took less than two hours!
 Bolts driven through. Me and DJ building the ballast mold.
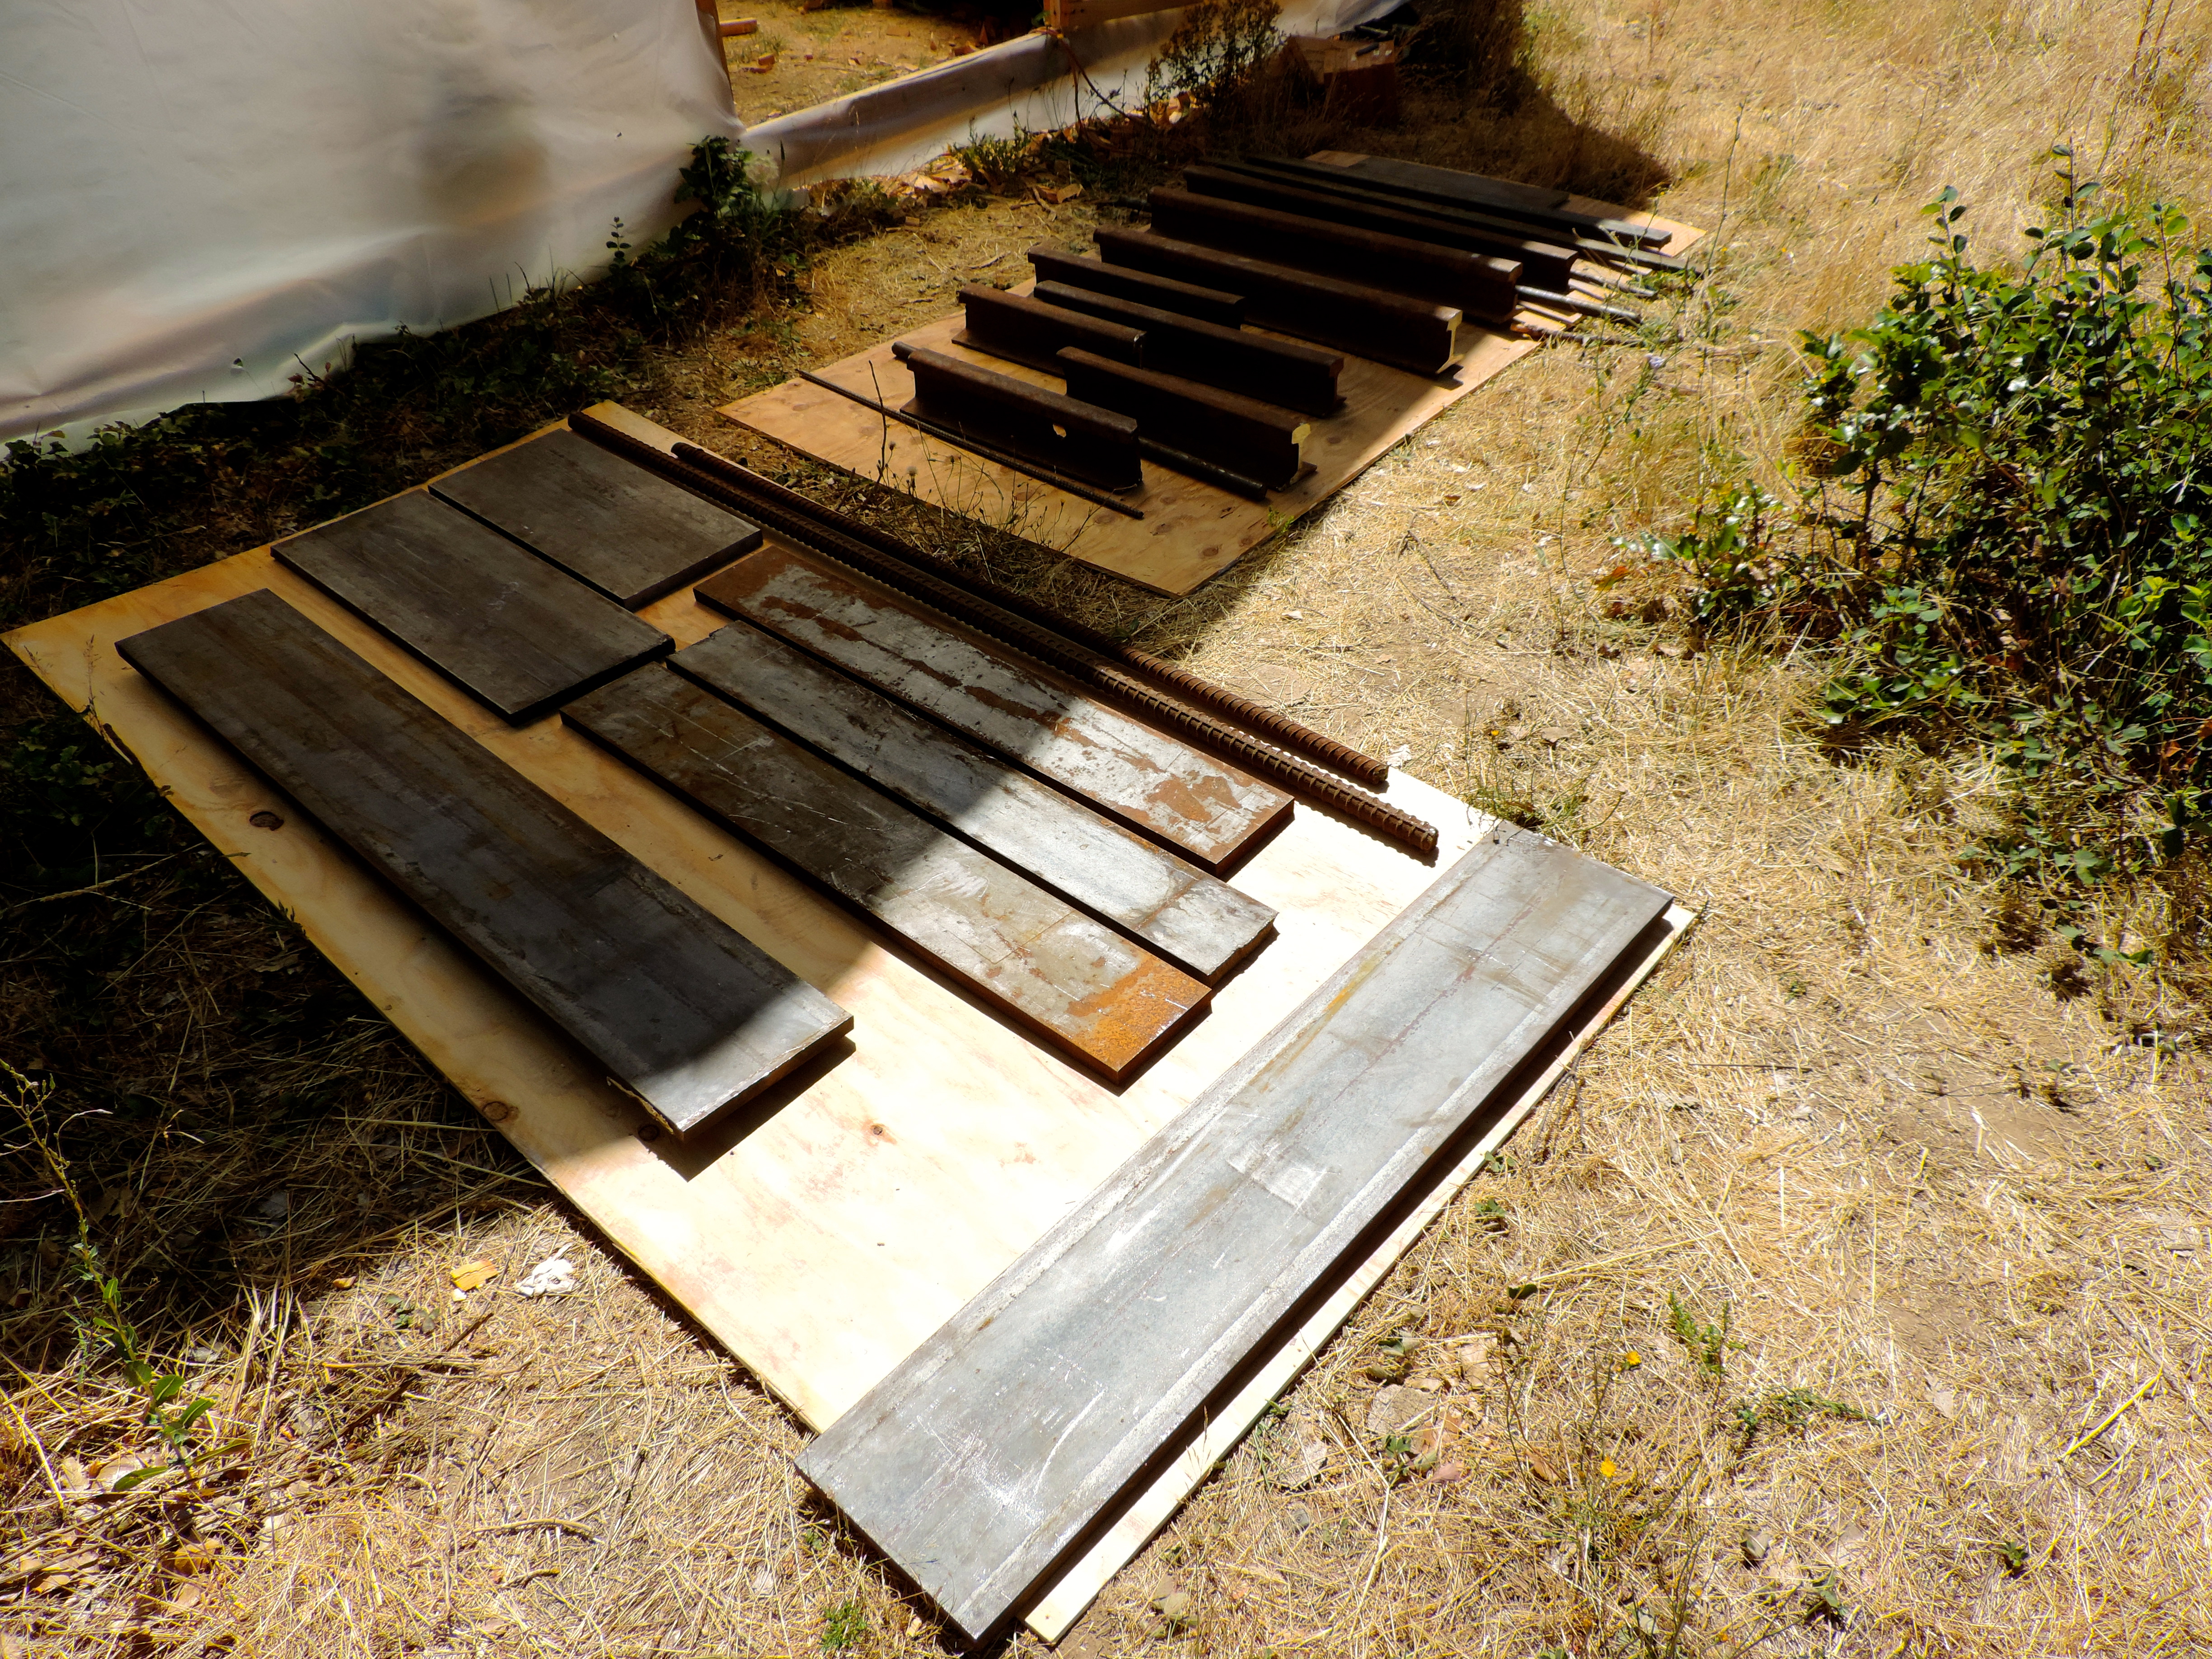
 All the scrap iron about to be treated with ospho.
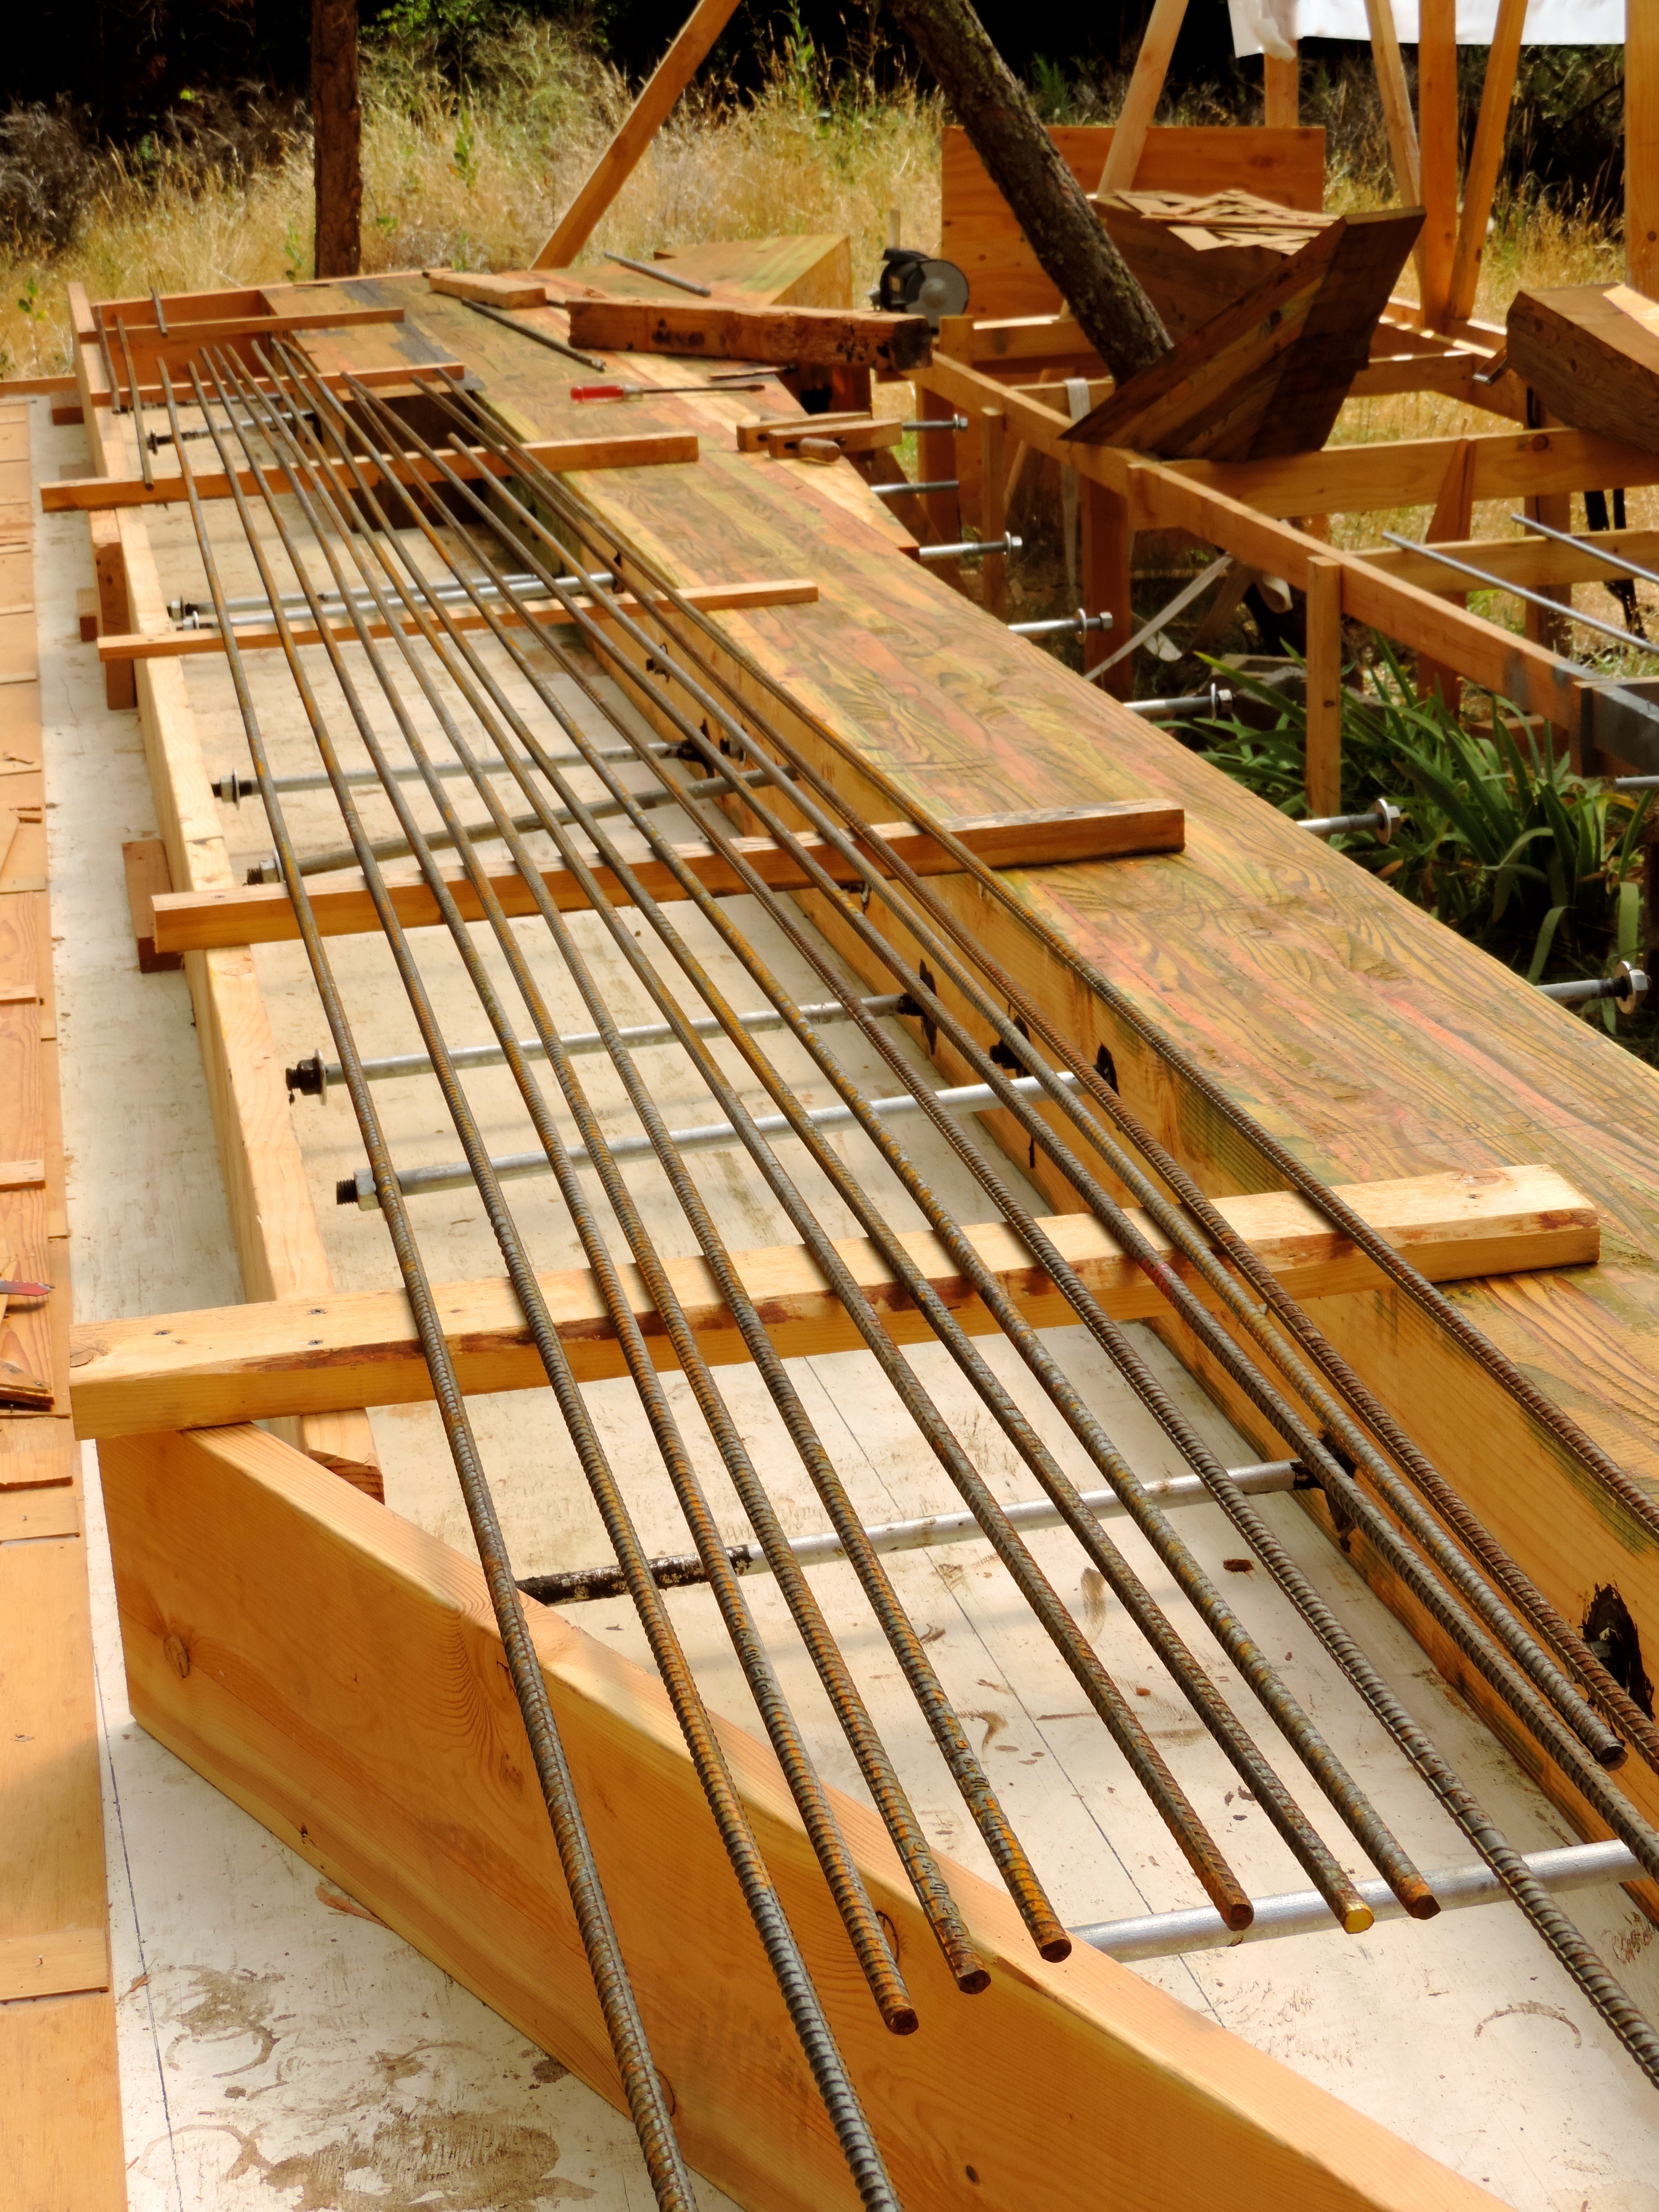
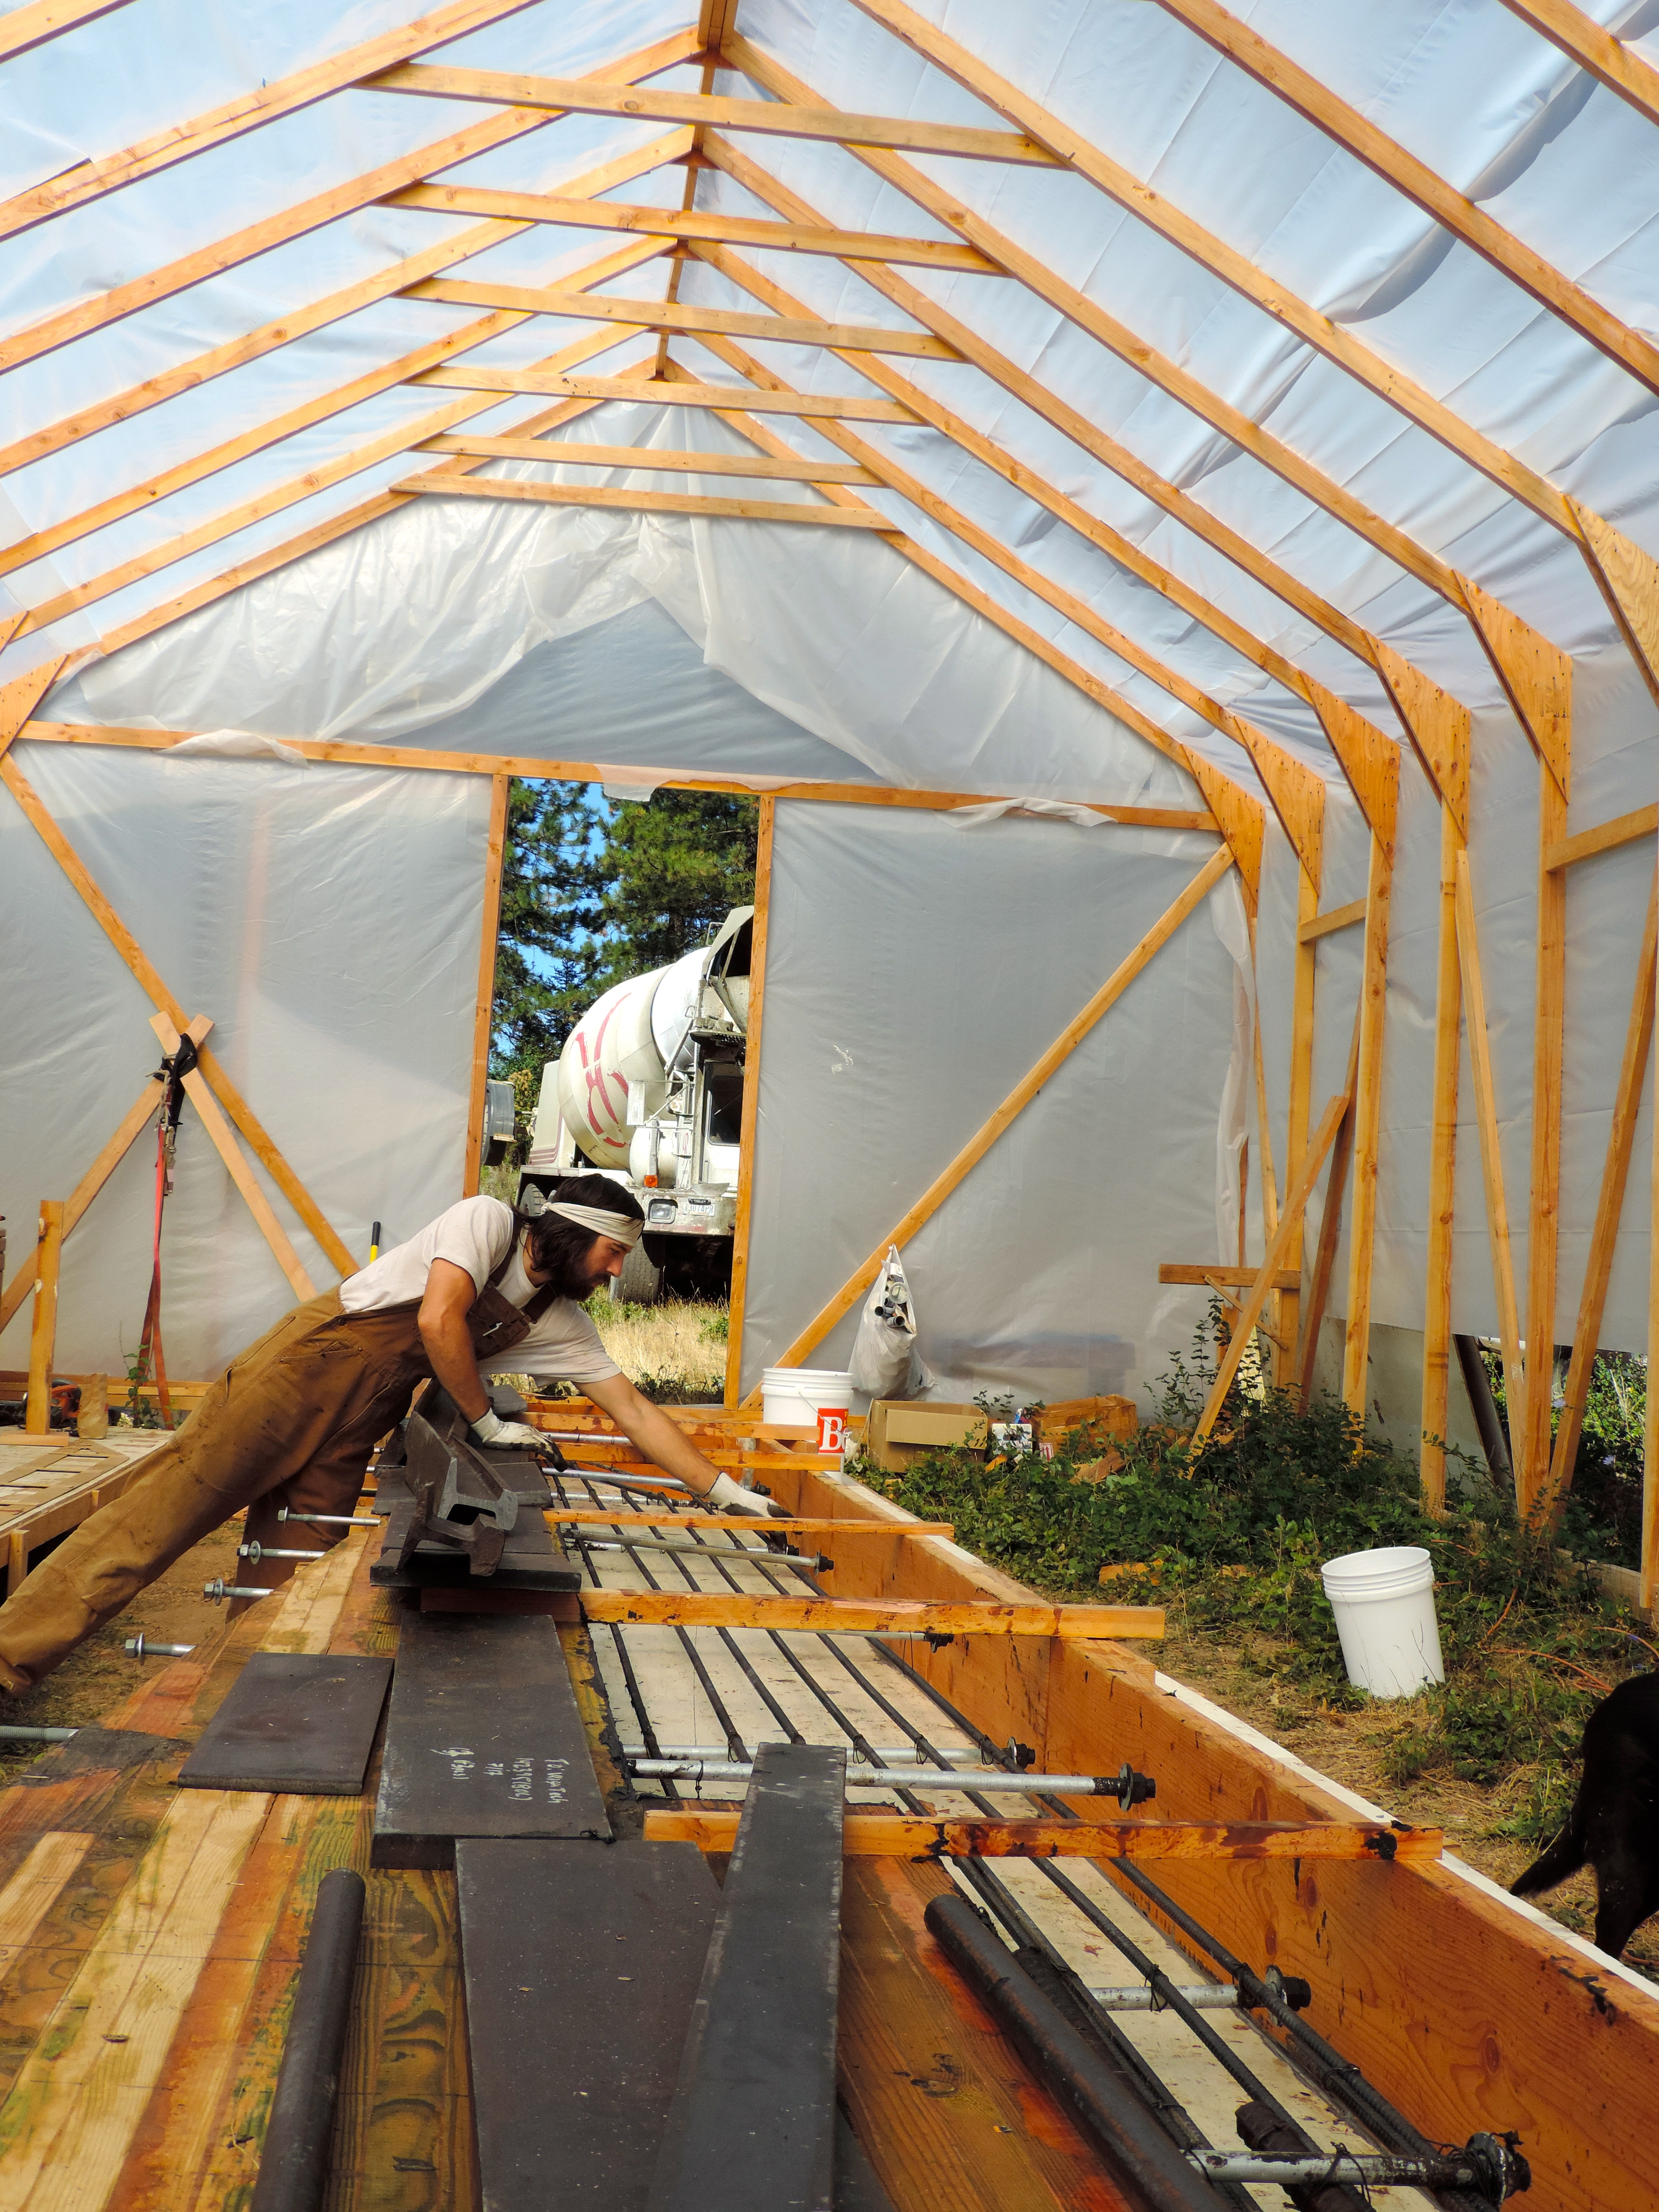
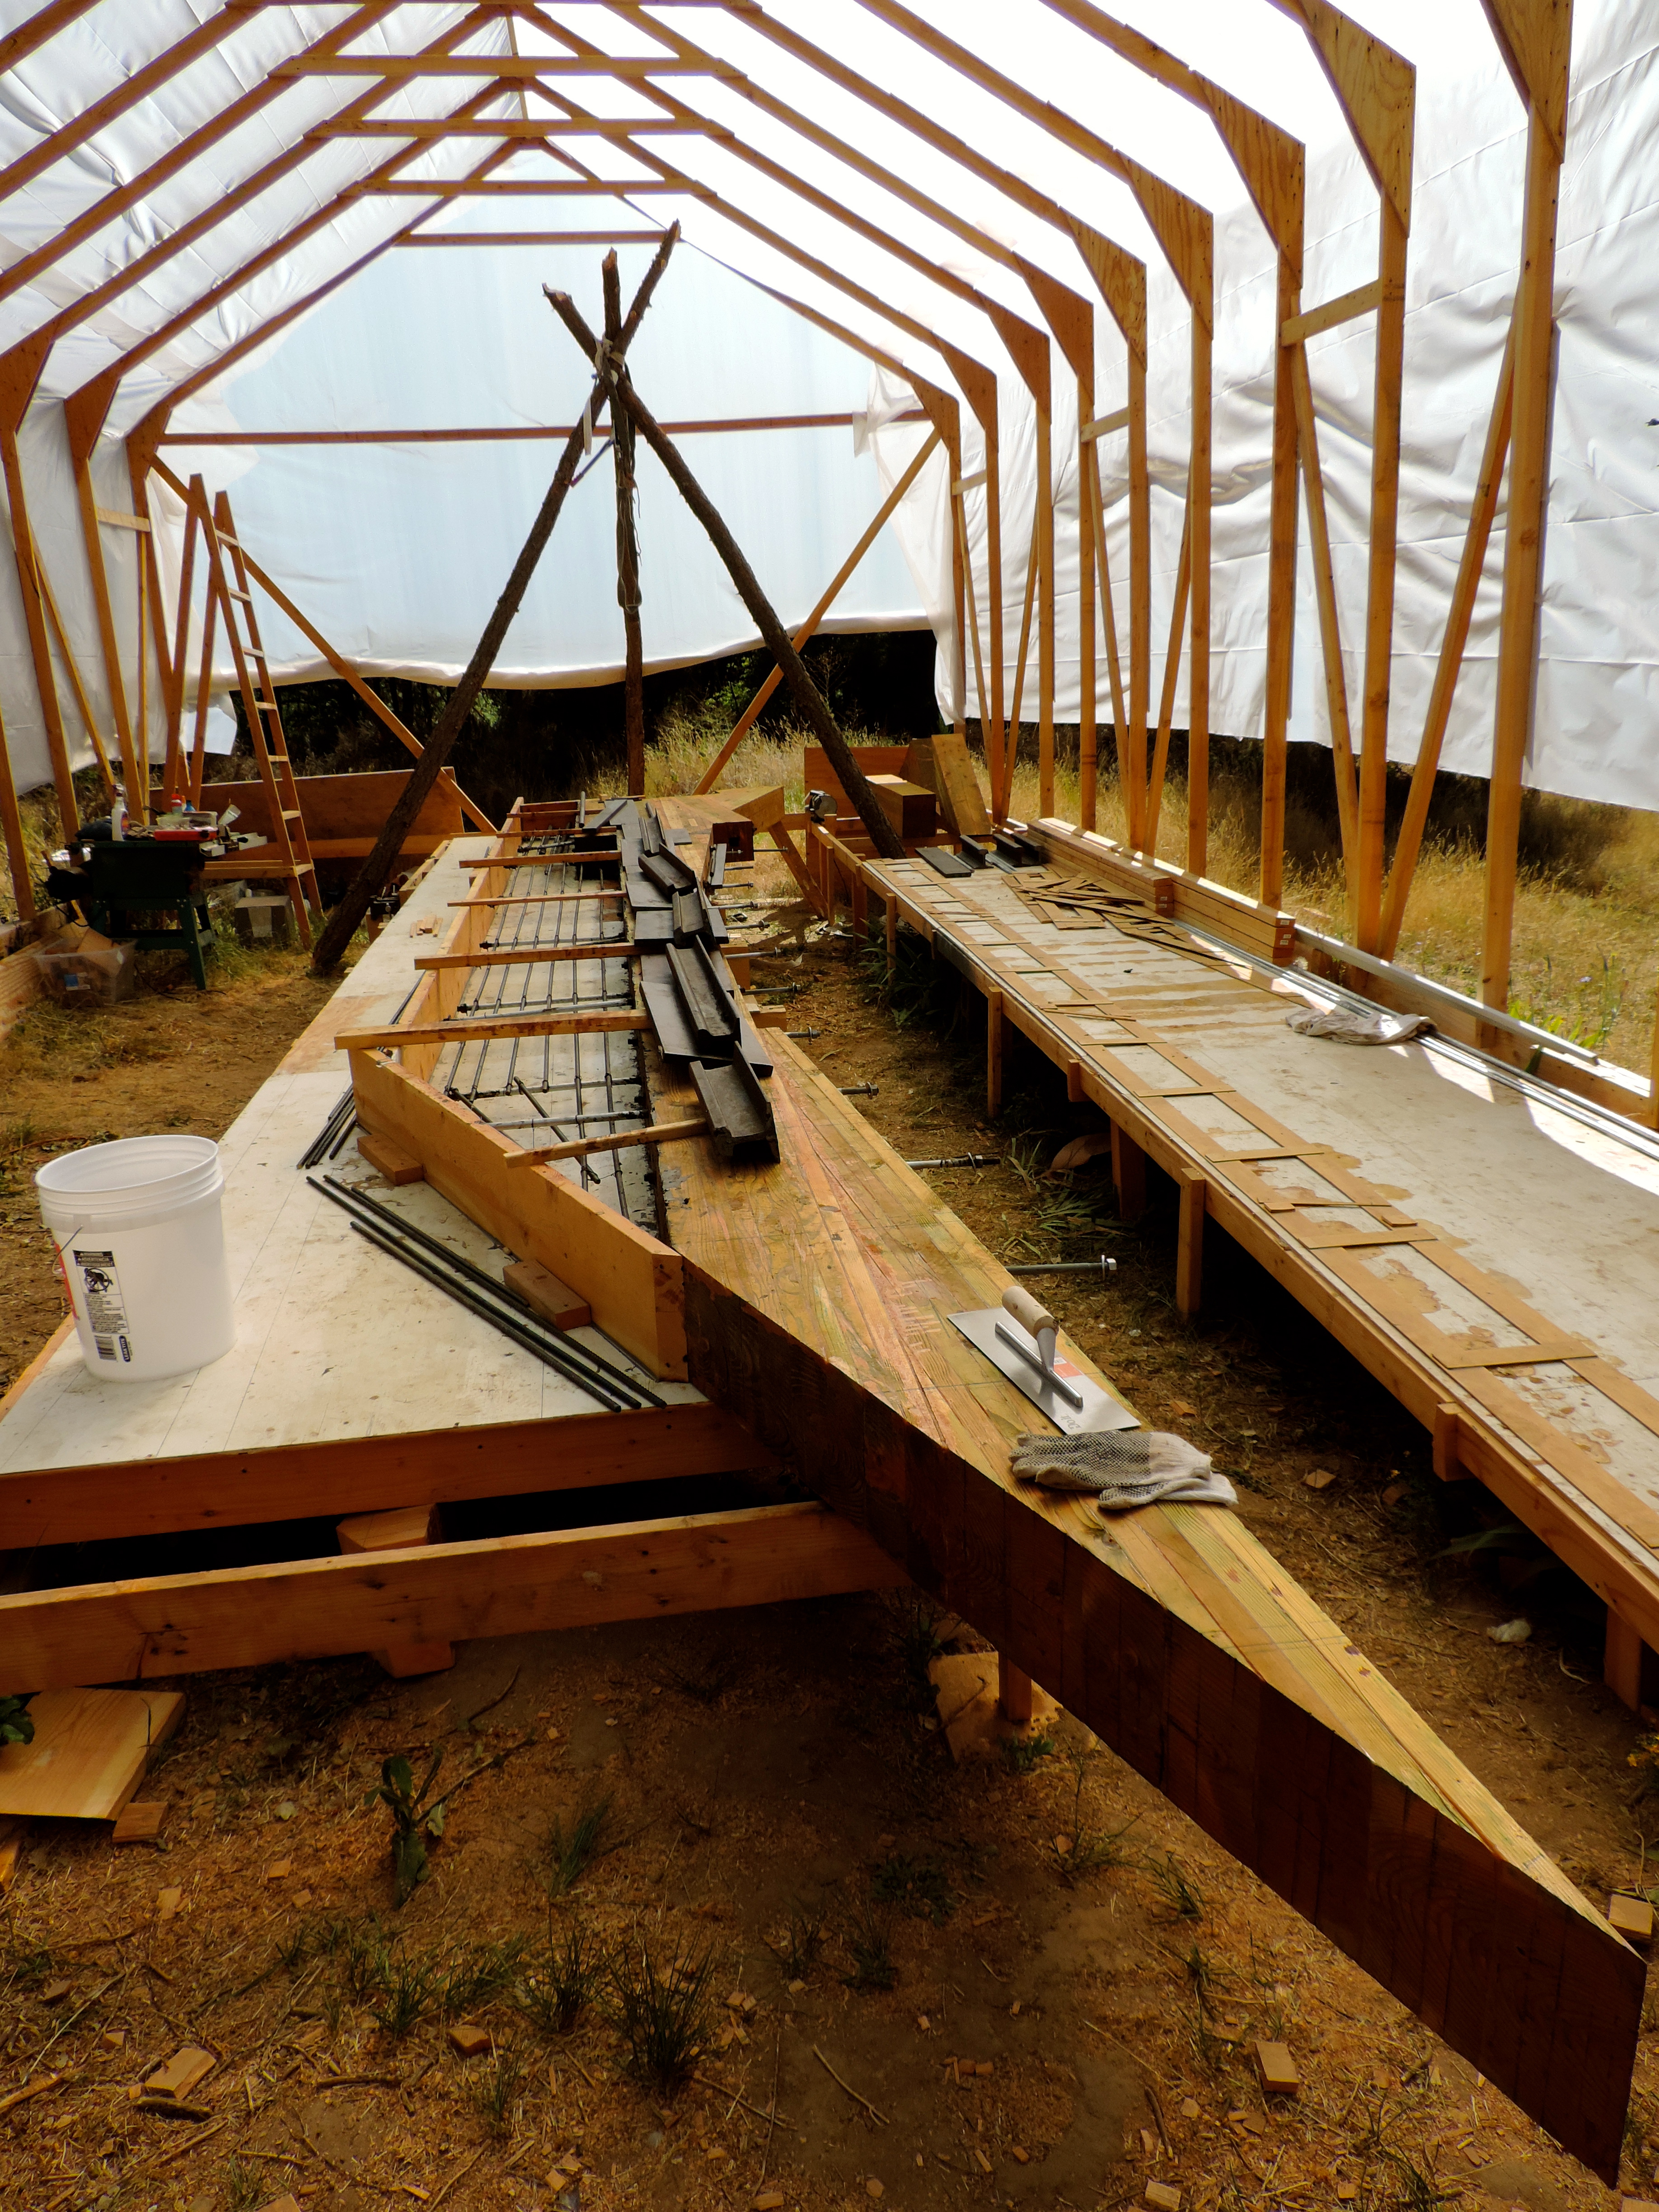 Coating the rebar, and dry fitting scrap before the pour.
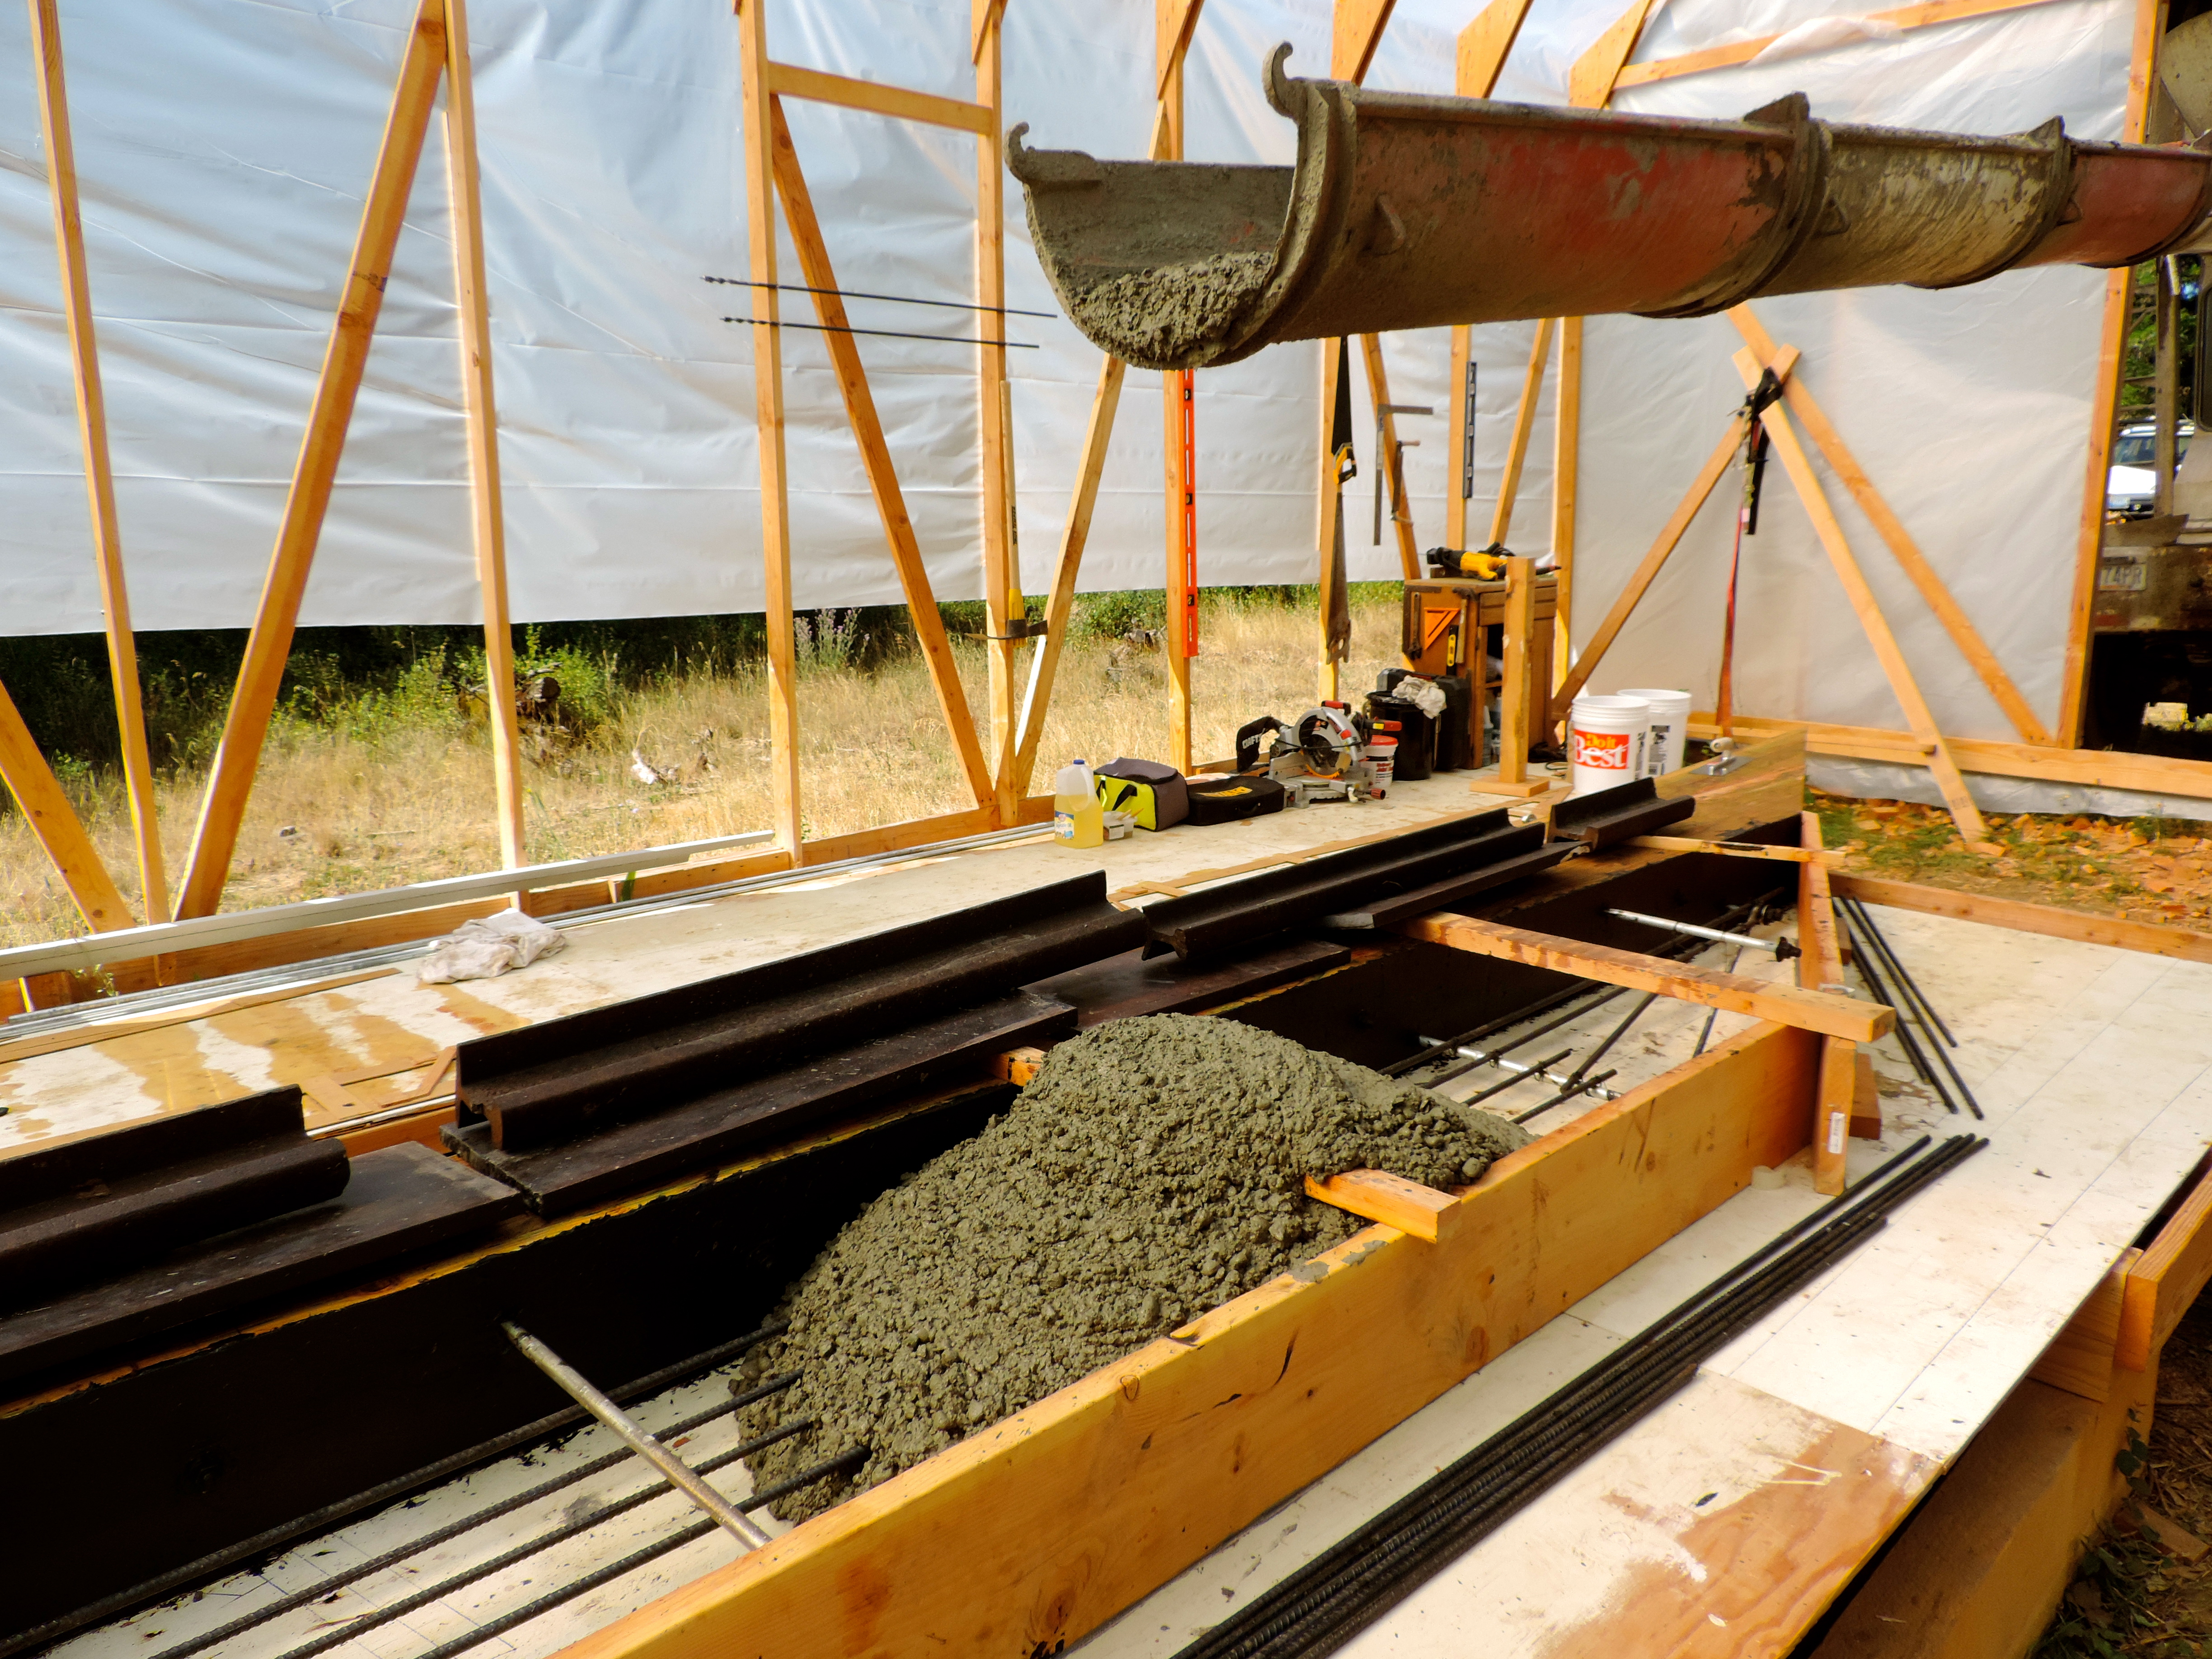
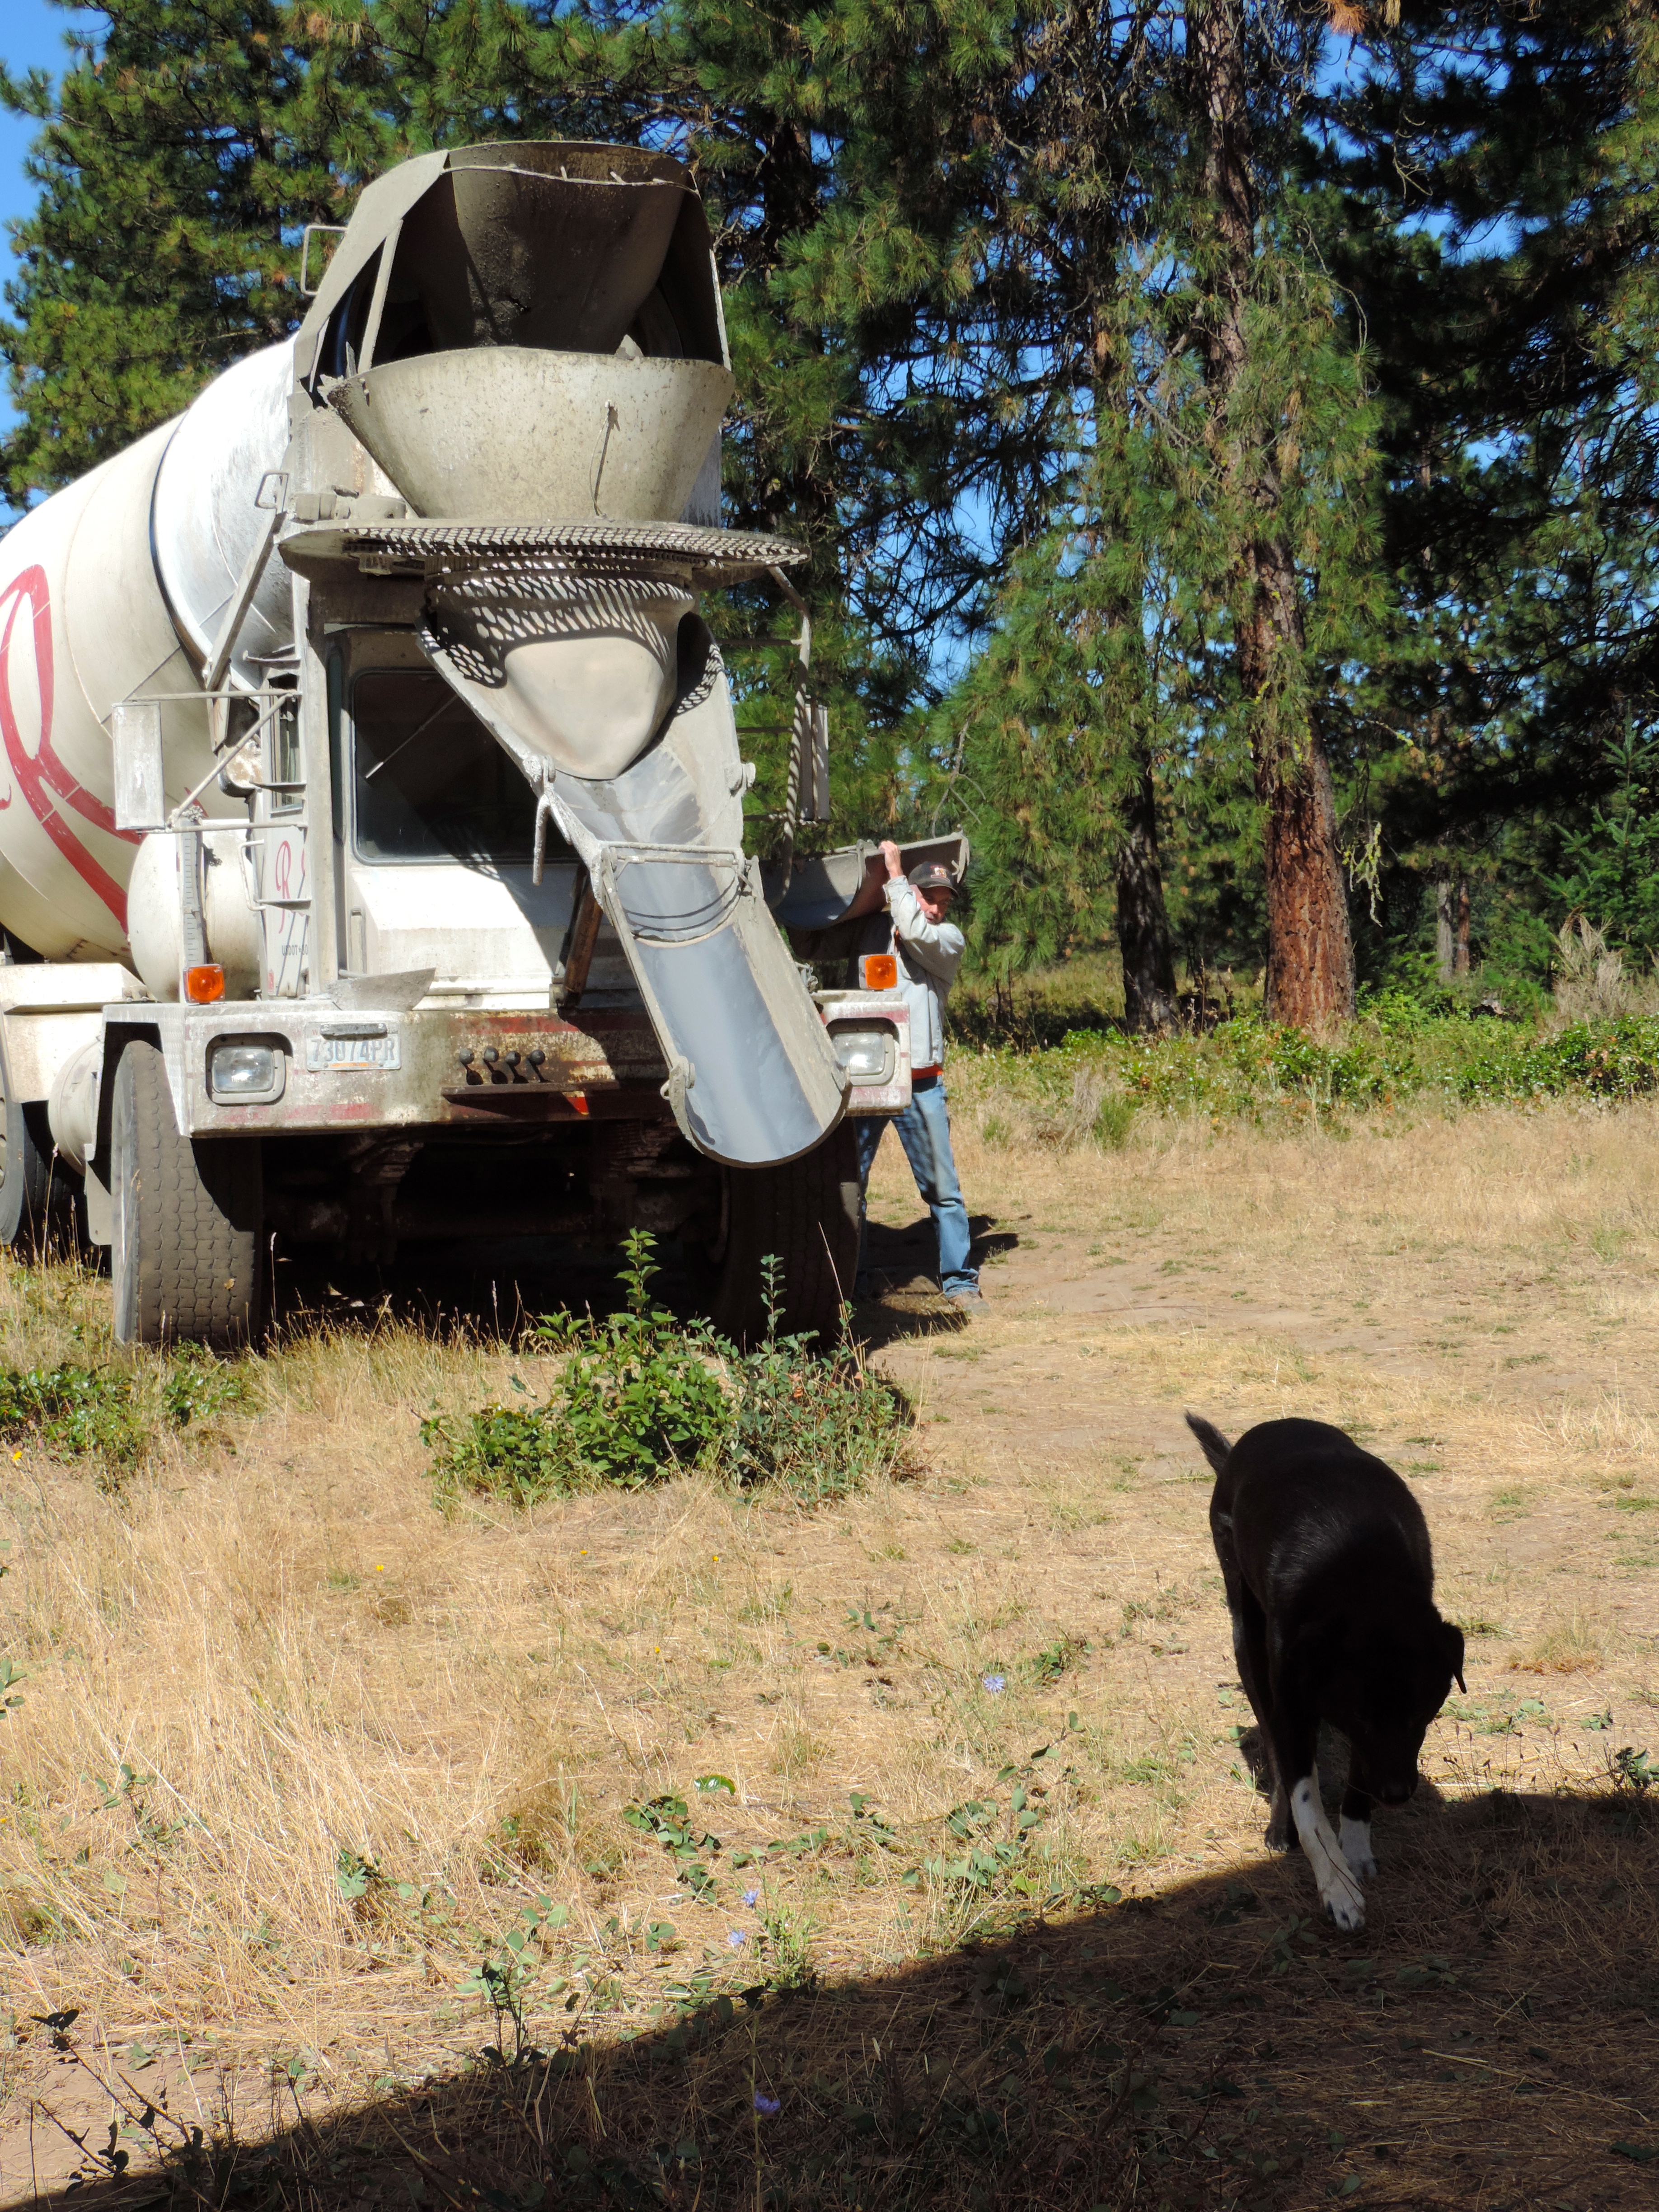 Here it comes!
 Final touches.

 A bit of a tight fit!
 He poured a little out at first to check the consistency. We added a bit more water…
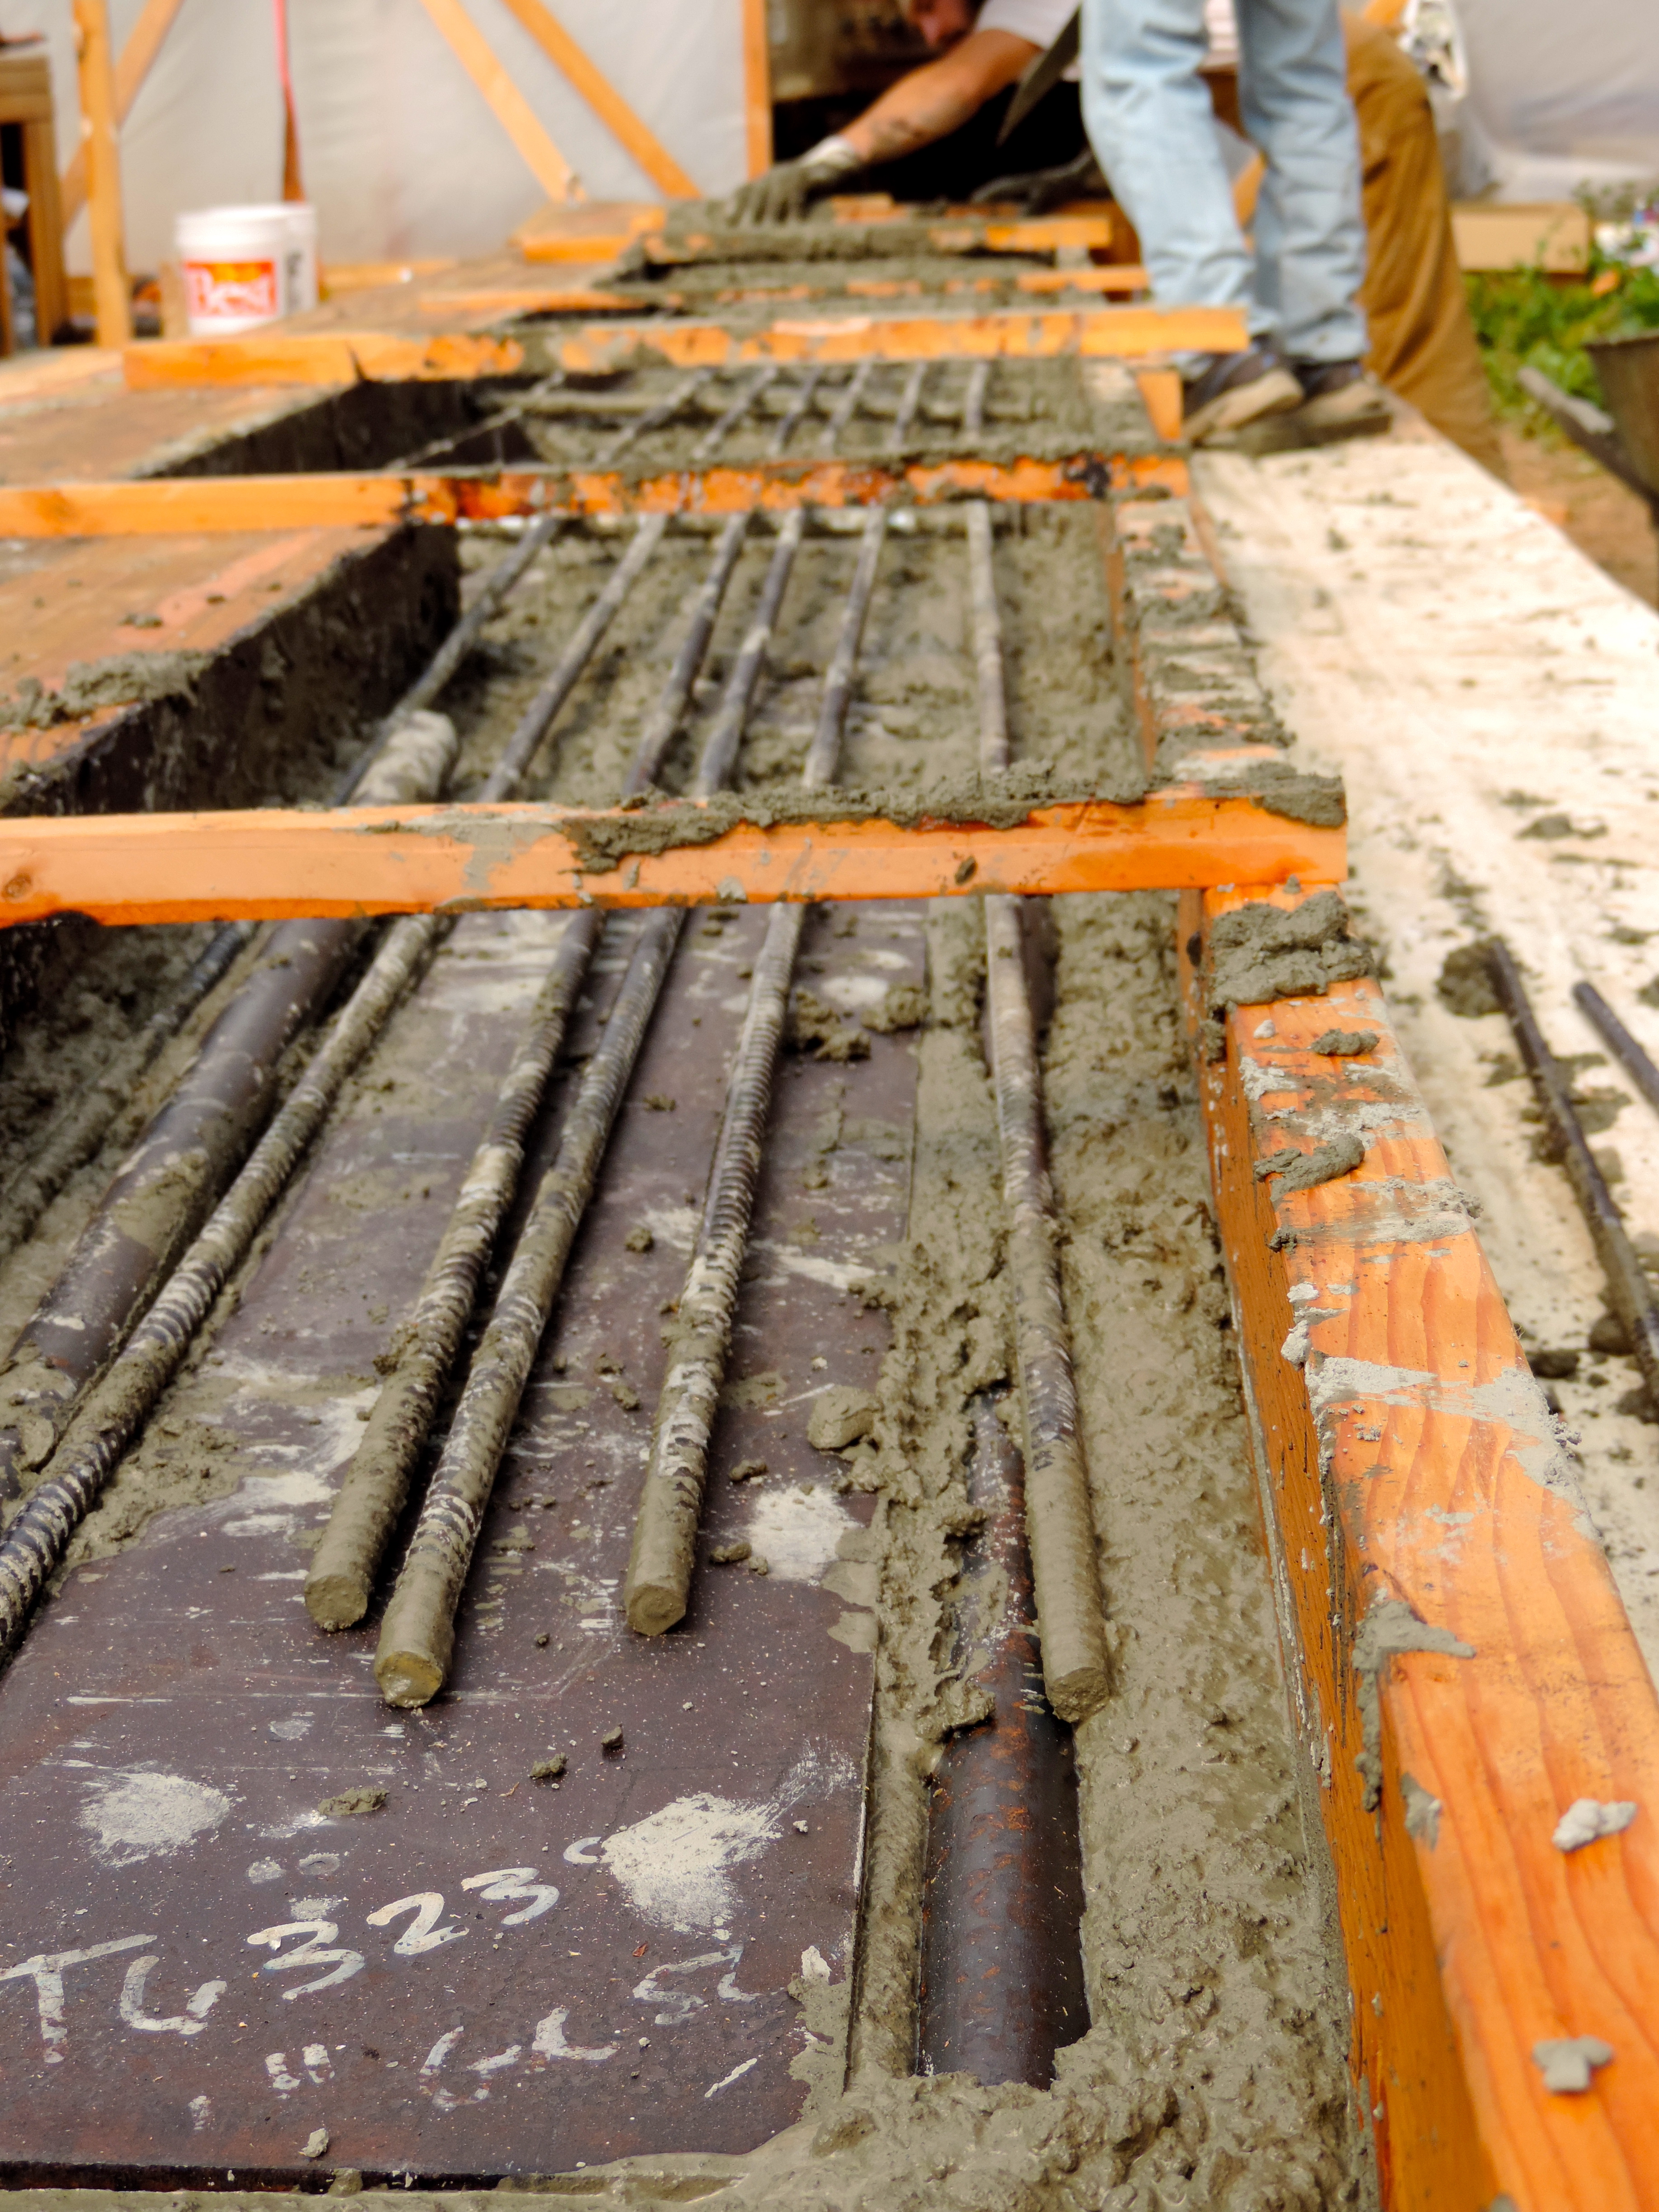 All scrap, and second layer of rebar in.
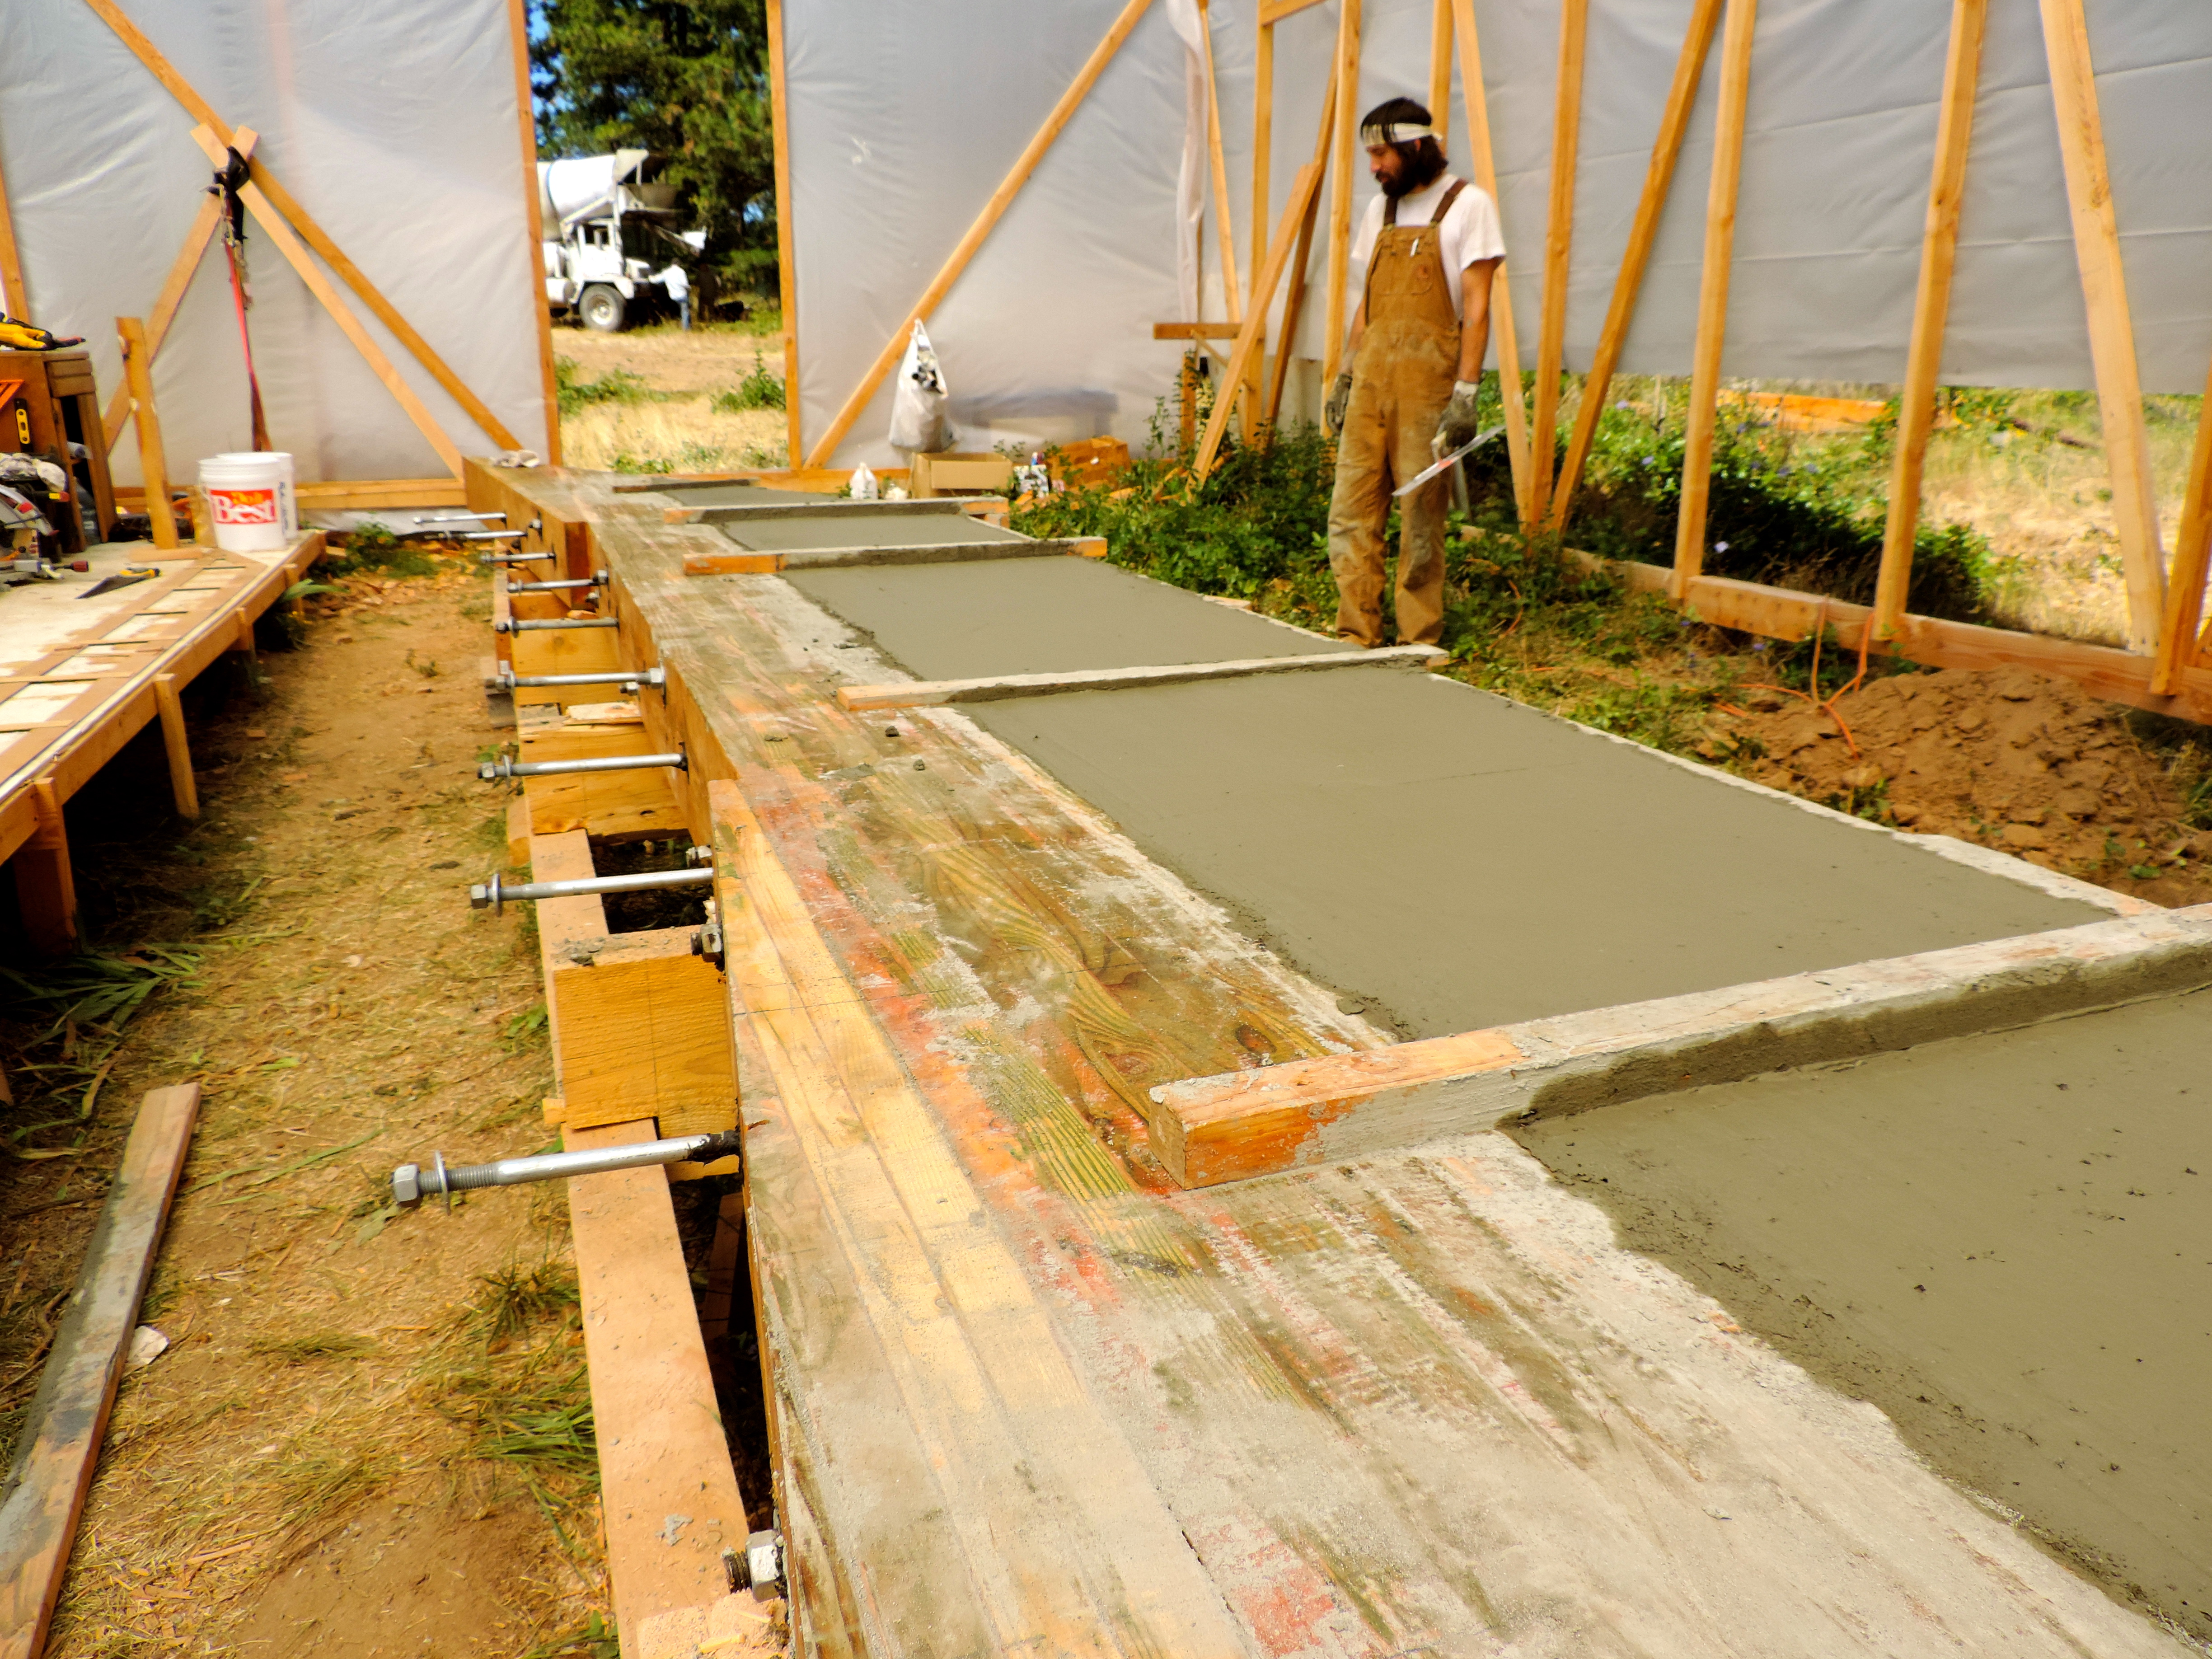 Smoothin things up.
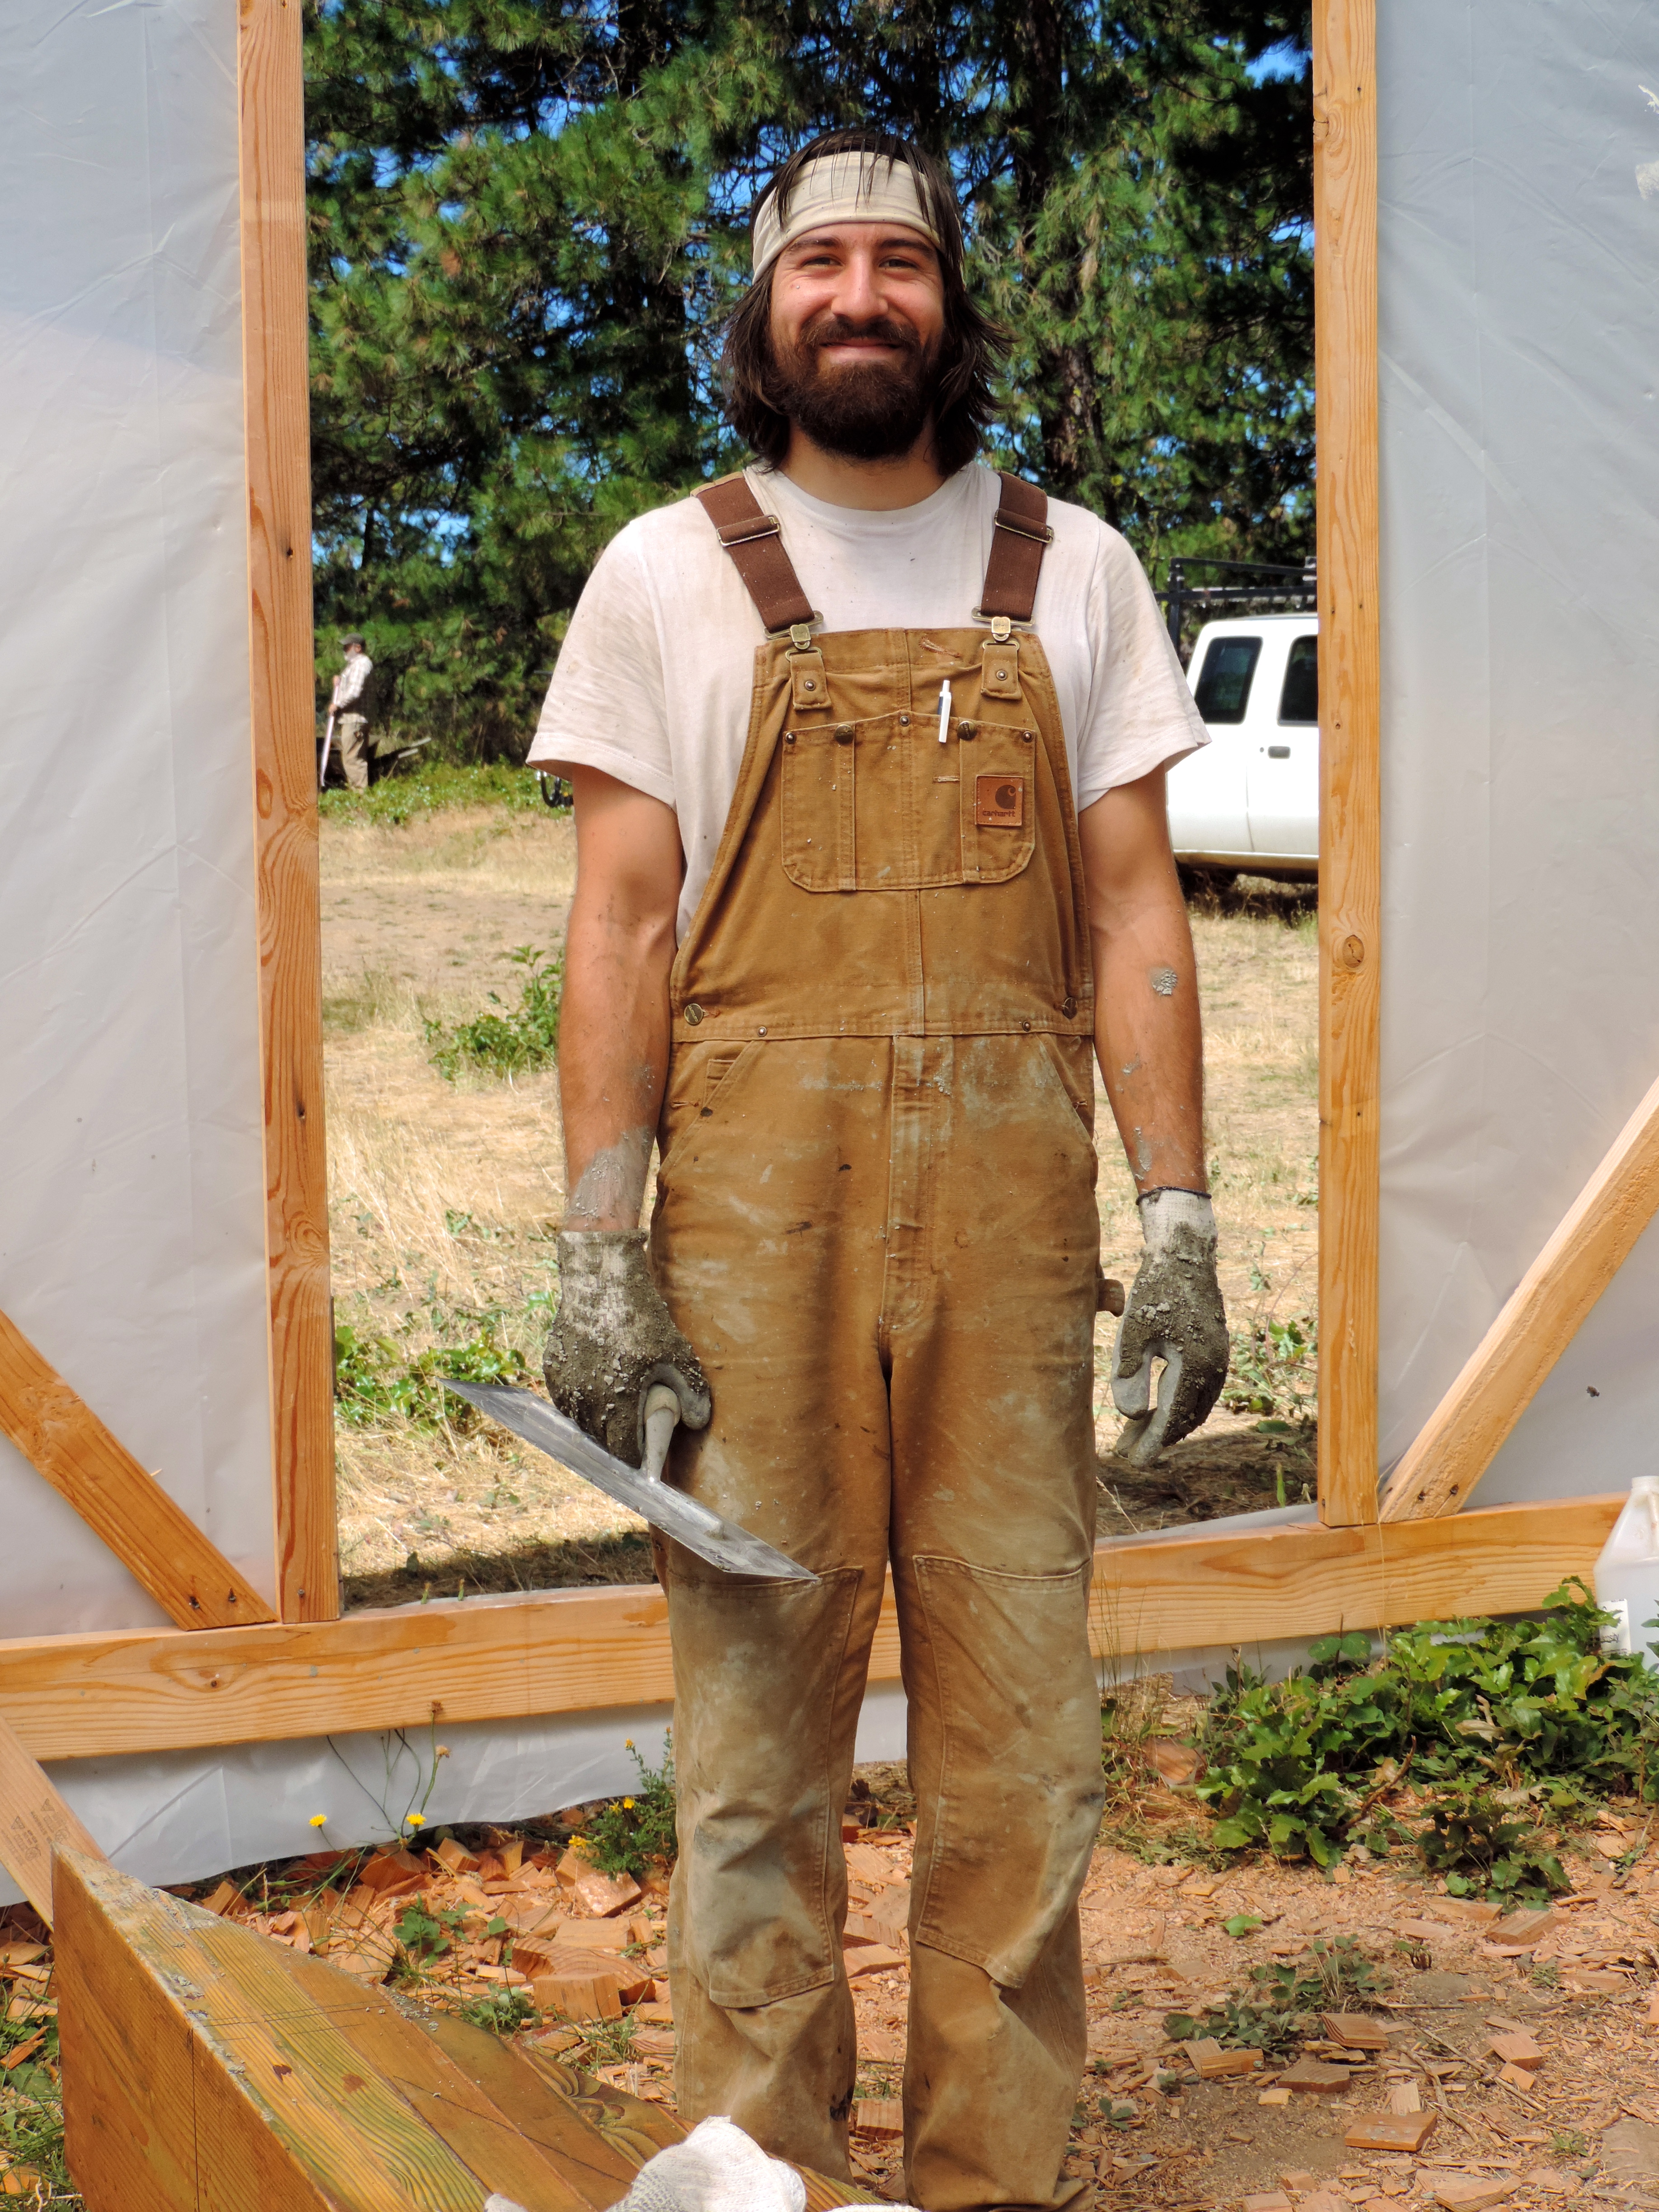 Pretty stoked!
 For hydrodynamics…
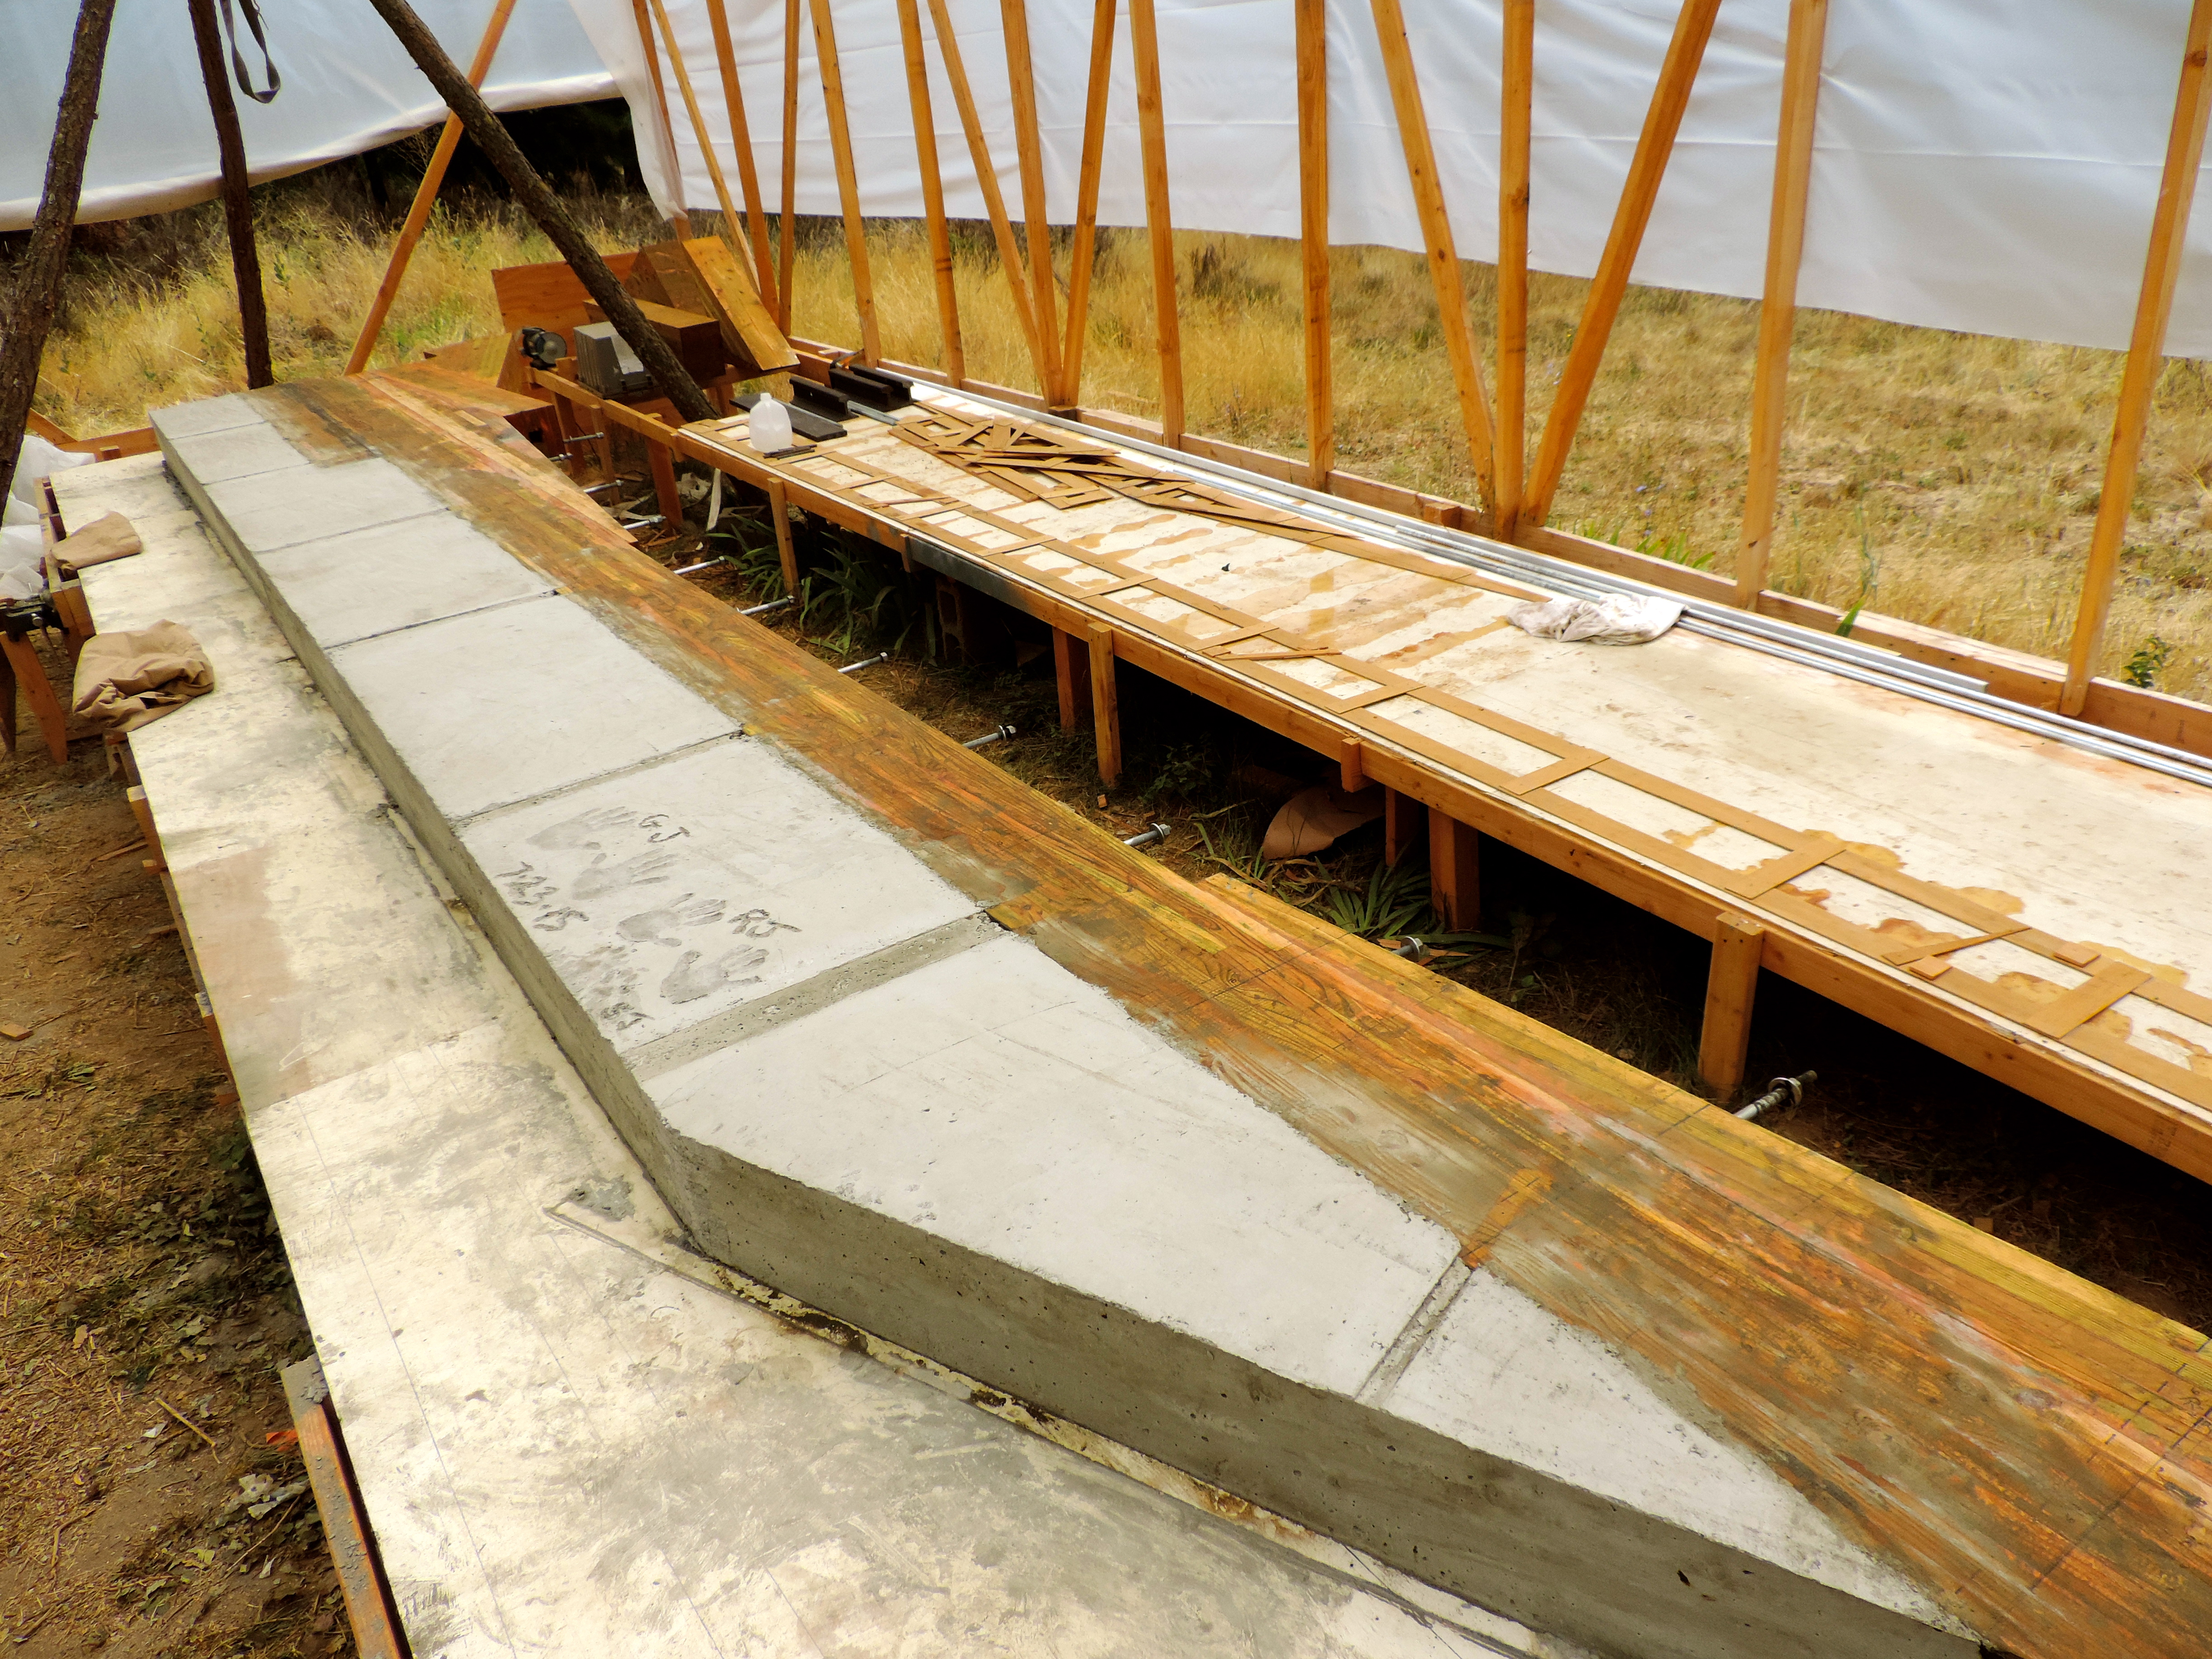
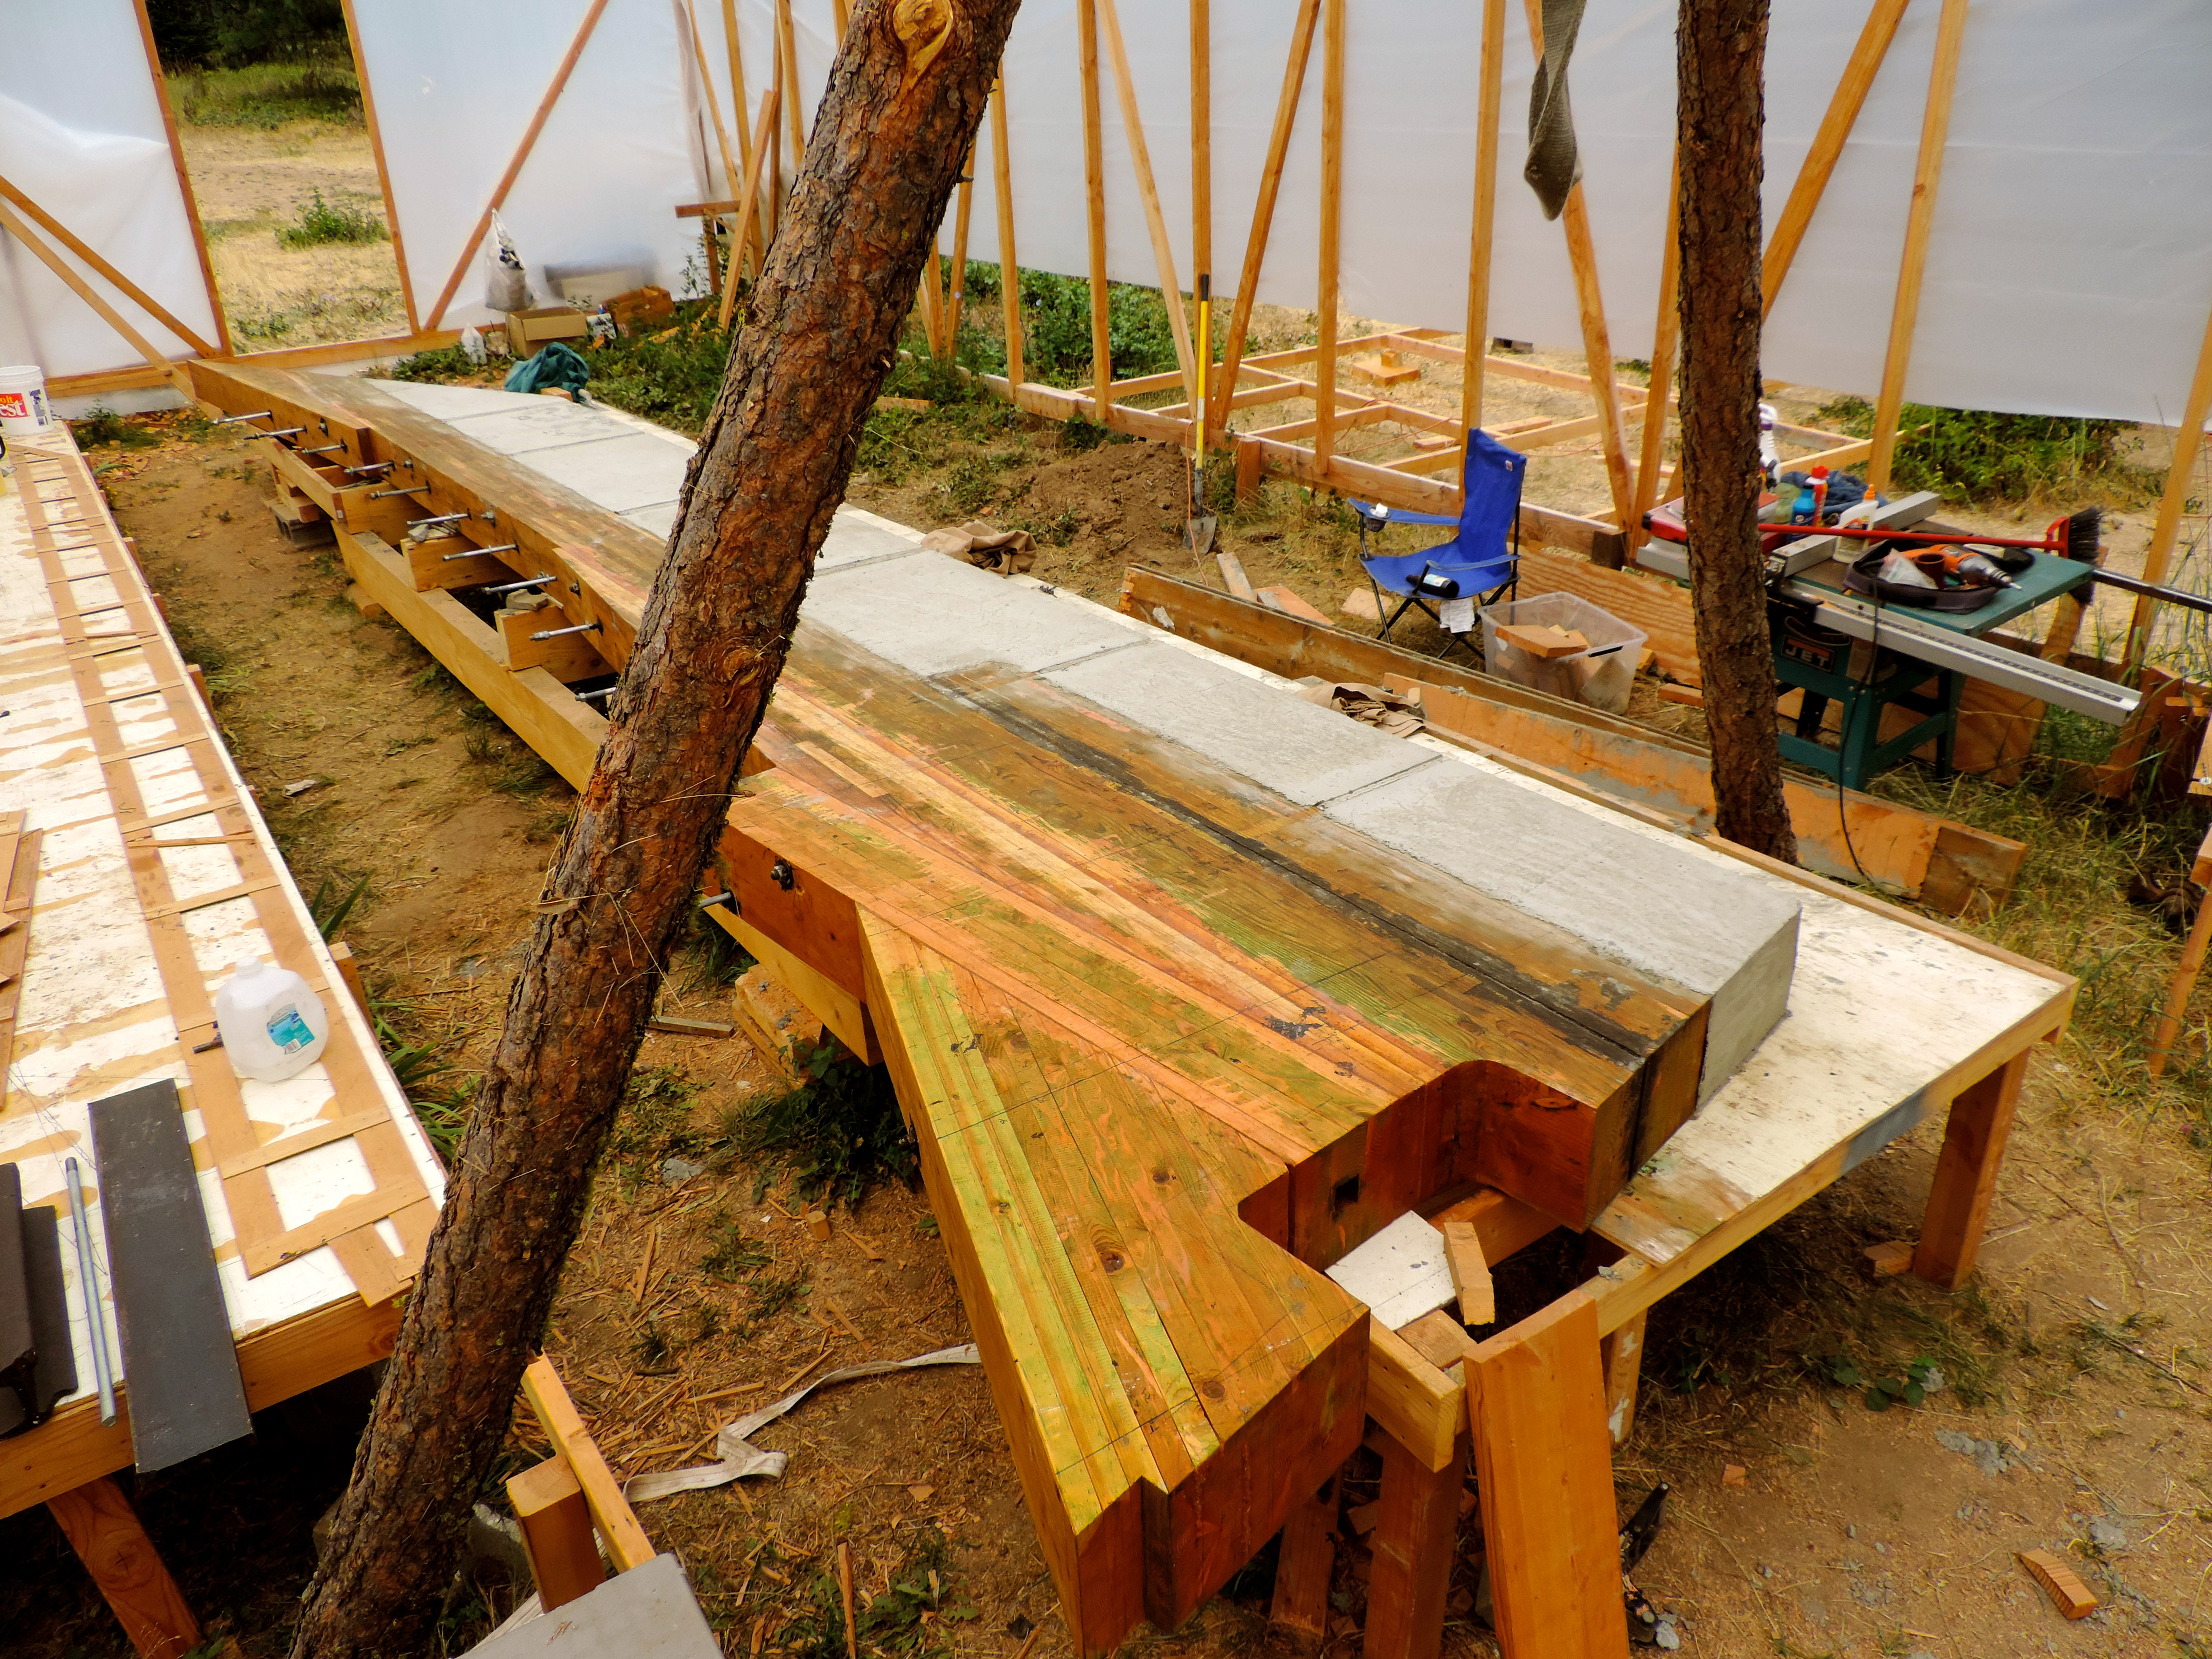
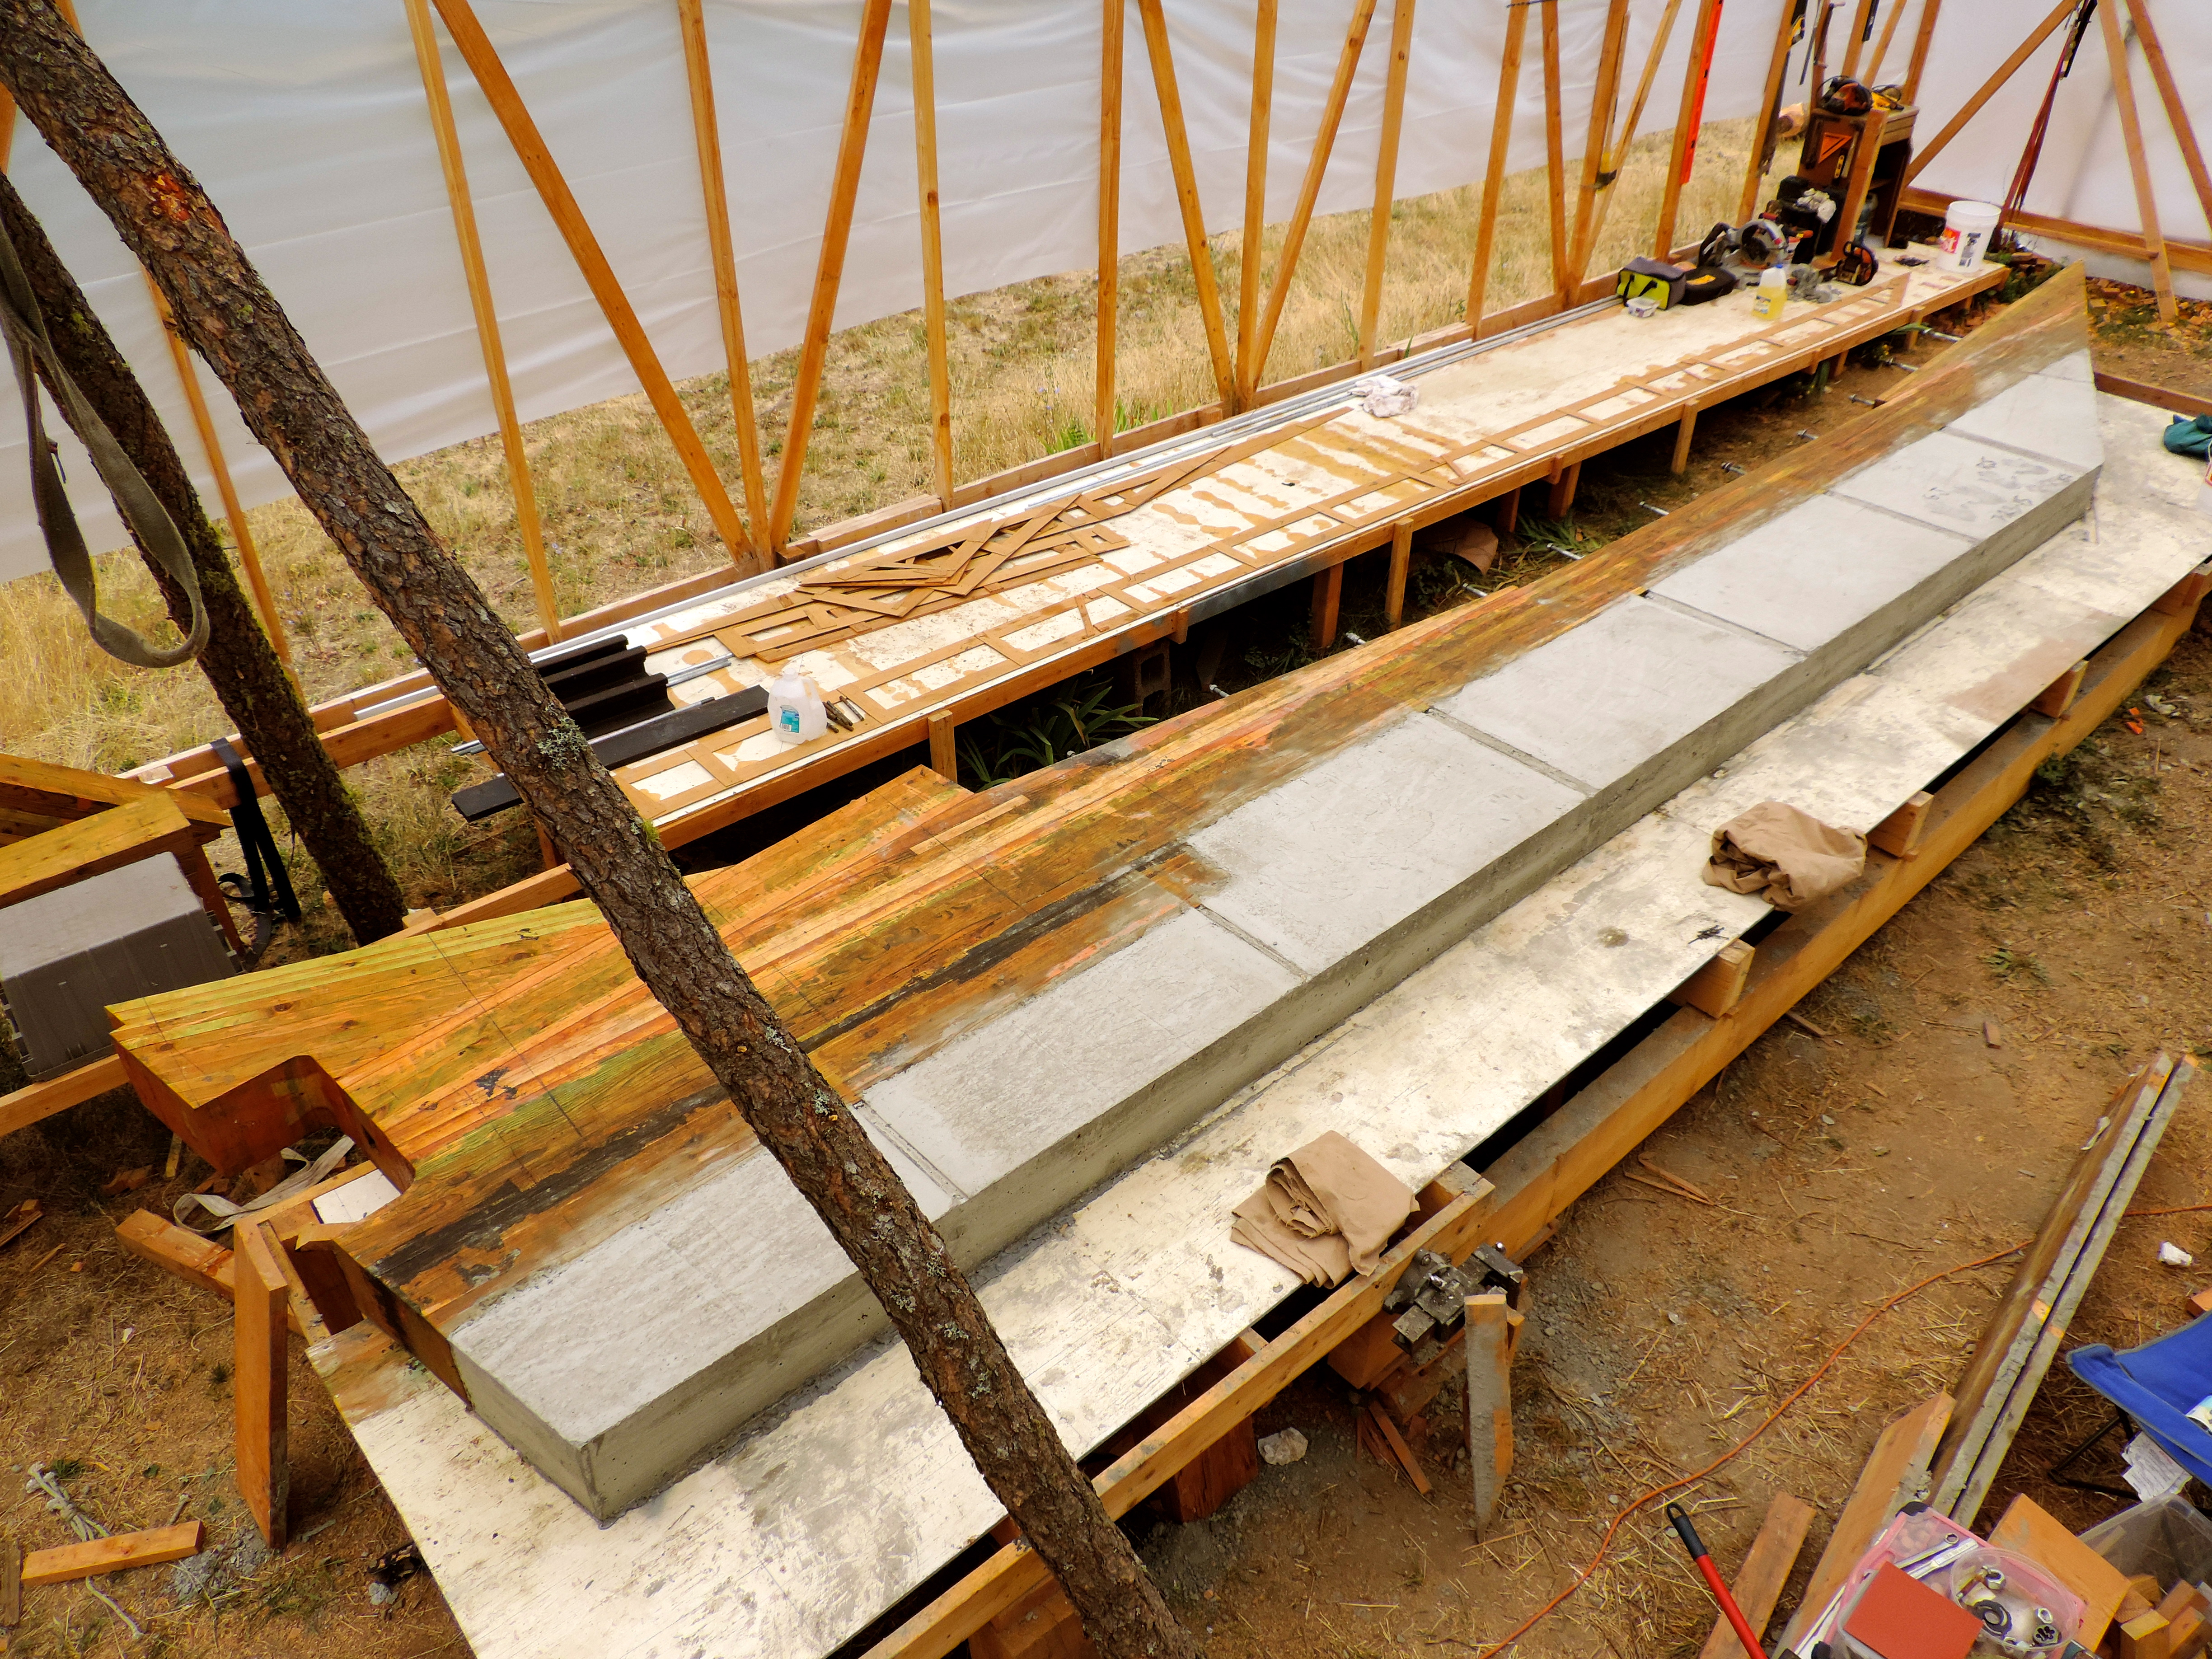 That is a damn stout keel!
keel flip part 2
We finally did it! And we didn’t even break anything! The tripod worked swimmingly. We had total control of the keel, and were able to inch it down nice and slow. The whole setup is way overkill for the keel right now, but we are planing to use it to flip the keel back up after adding 6 or 7 thousand pounds to it. Hopefully that go as well as this did!
Today I got the deadwood spiked to the bottom of the keel, and started building the mould for the ballast. We are just waiting to get our keel bolts from the machine shop. Then we will be able to get cement and pour the ballast. After the ballast is poured it will need a couple weeks to cure before we can flip the keel back upright. We’re hoping to get all our black locust from the kiln soon. That way we can start building all the frames while we wait for the ballast to cure.Then once we flip the keel up we can just start standing frames up. It will be such a incredible moral booster to see the boat start to take shape. Her massive skeleton coming together for me is more than just exciting. It also represent at least some small preservation of a forgotten past, and a dying art. Wooden boats, and their history have become obsolete beside their modern counterparts. Other than a dwindling number of crusty old salts, and a few die hard wooden boat fanatics there isn’t much keeping them around. Yes they do take more work to keep them going, but in my opinion what you get back from that can never be equaled by a modern plastic boat. I could rant on for hours on this subject, but to save the readers from having to wipe away the boredom induced drool from their chin I will move on.
Back to work I suppose. Wish us luck that the cradle doesn’t collapse under the weight of the ballast…. That would be bad…
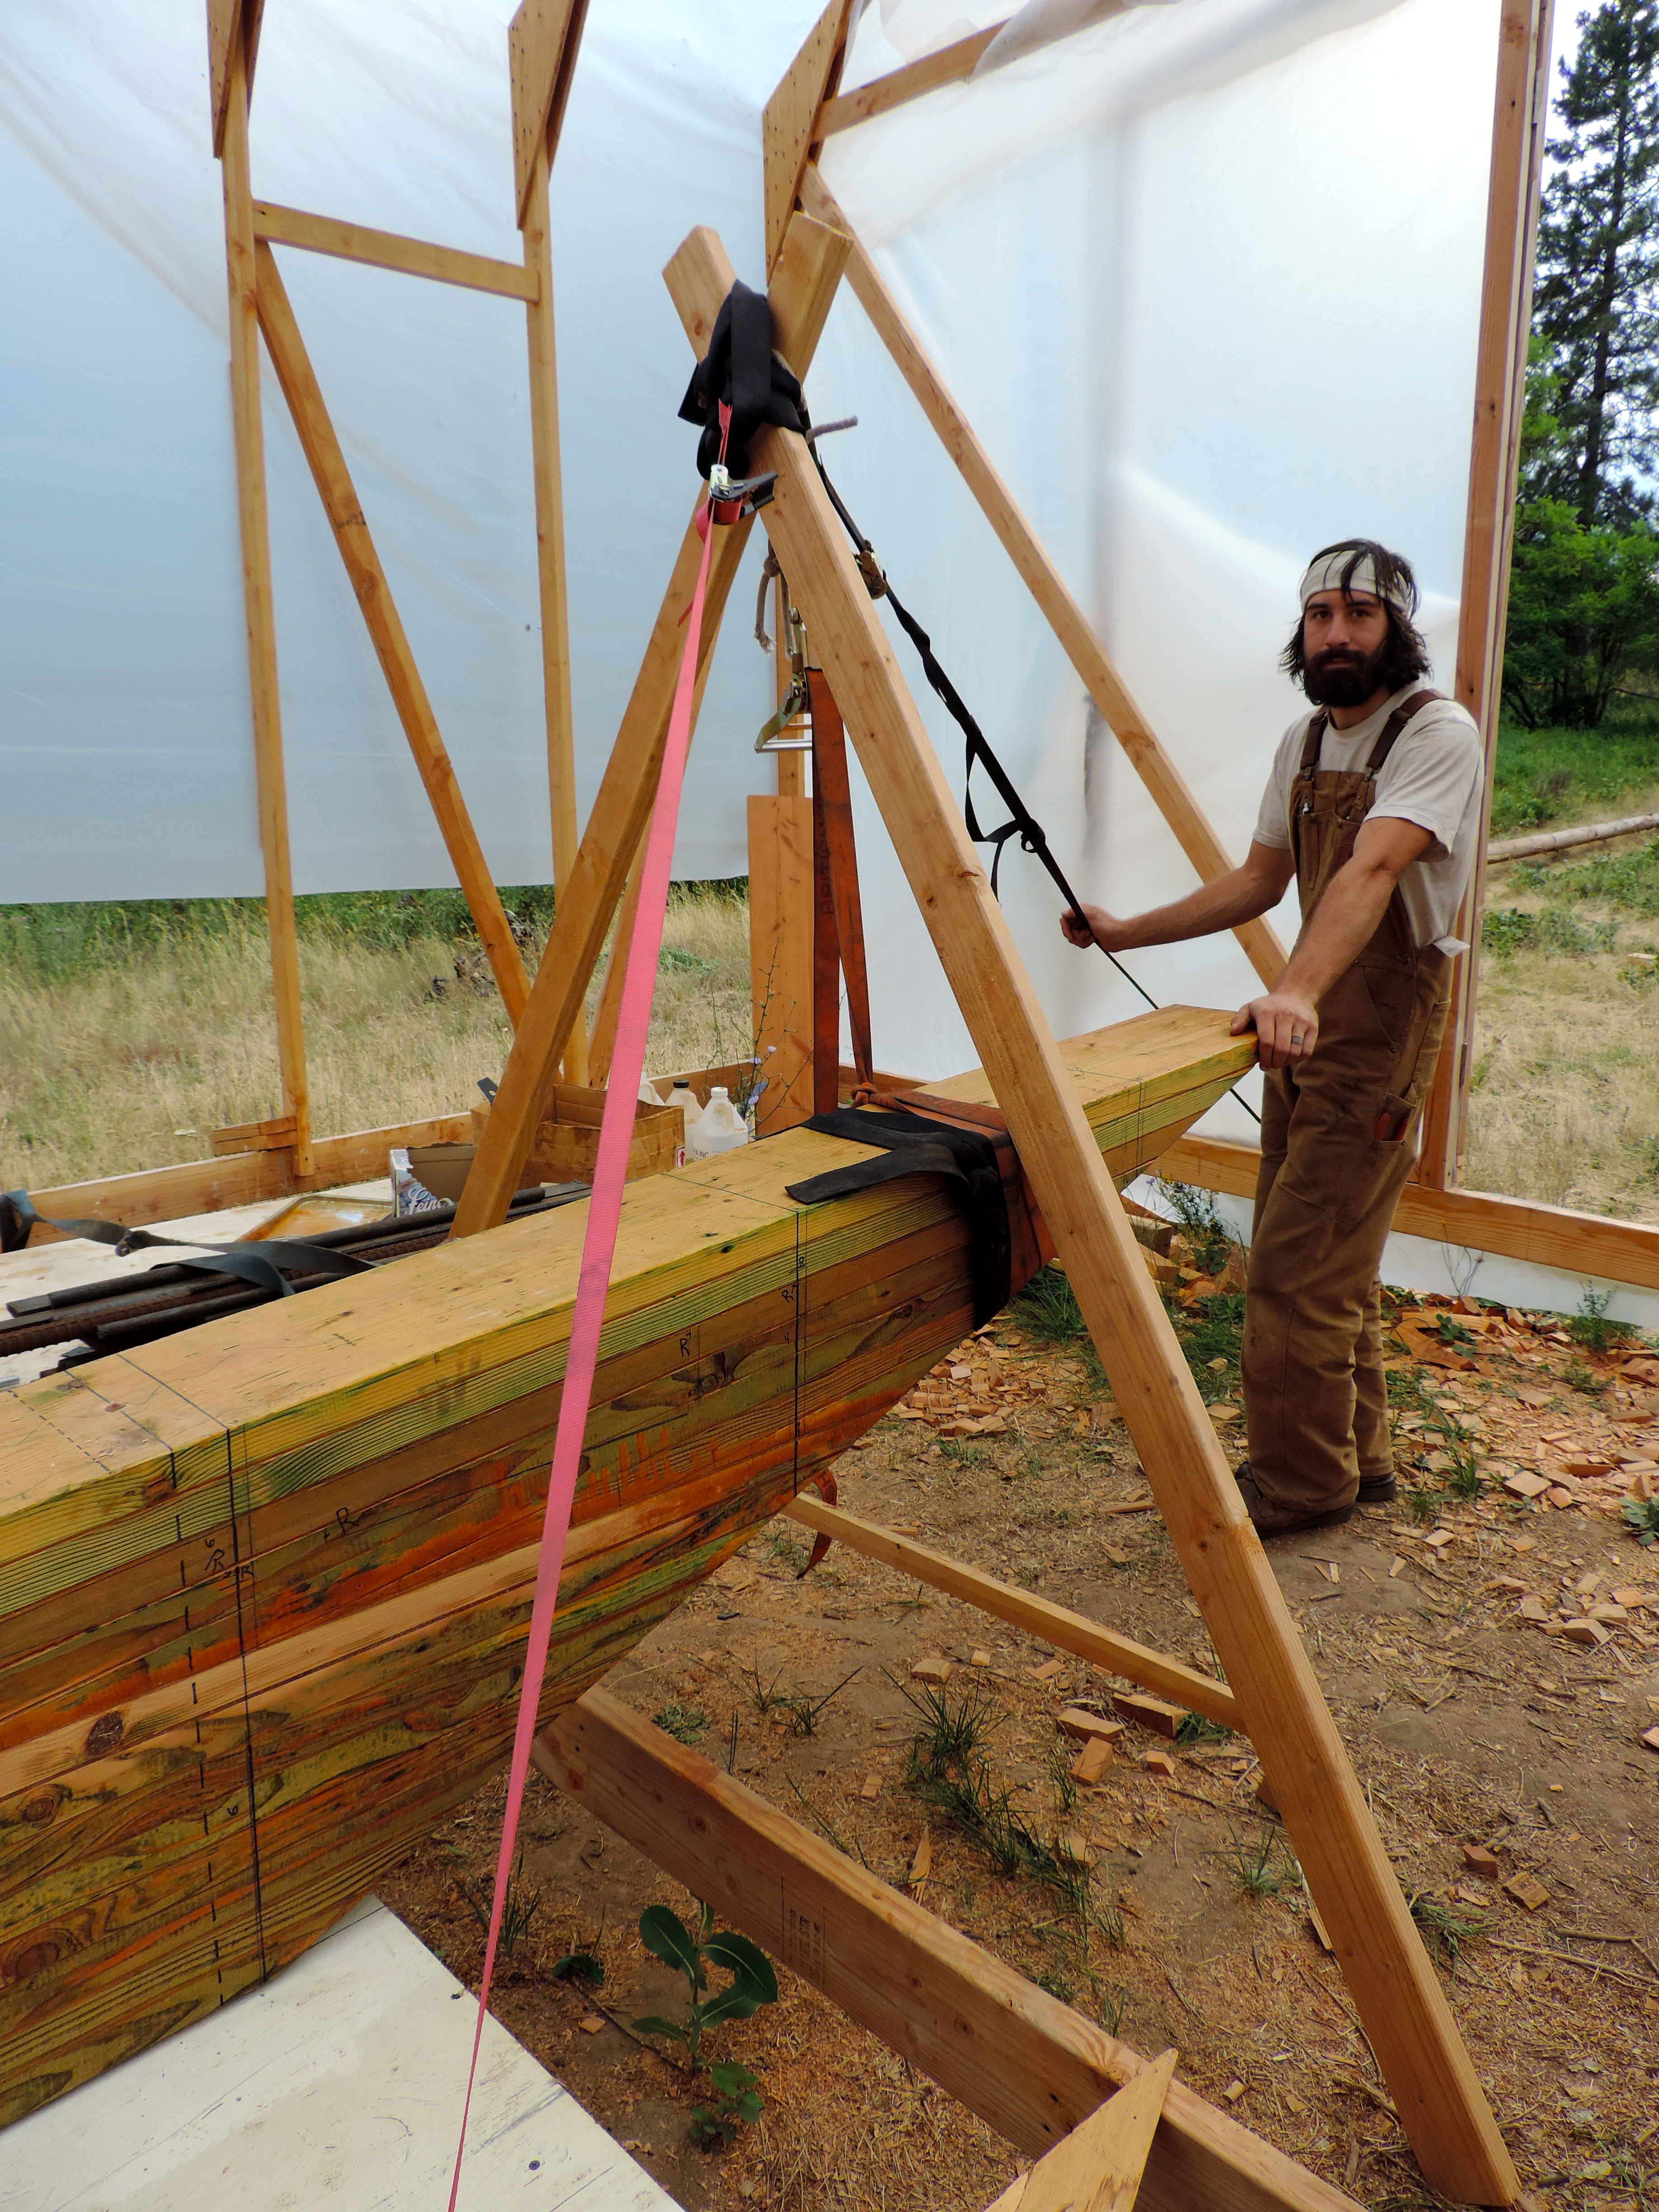
keel flip!
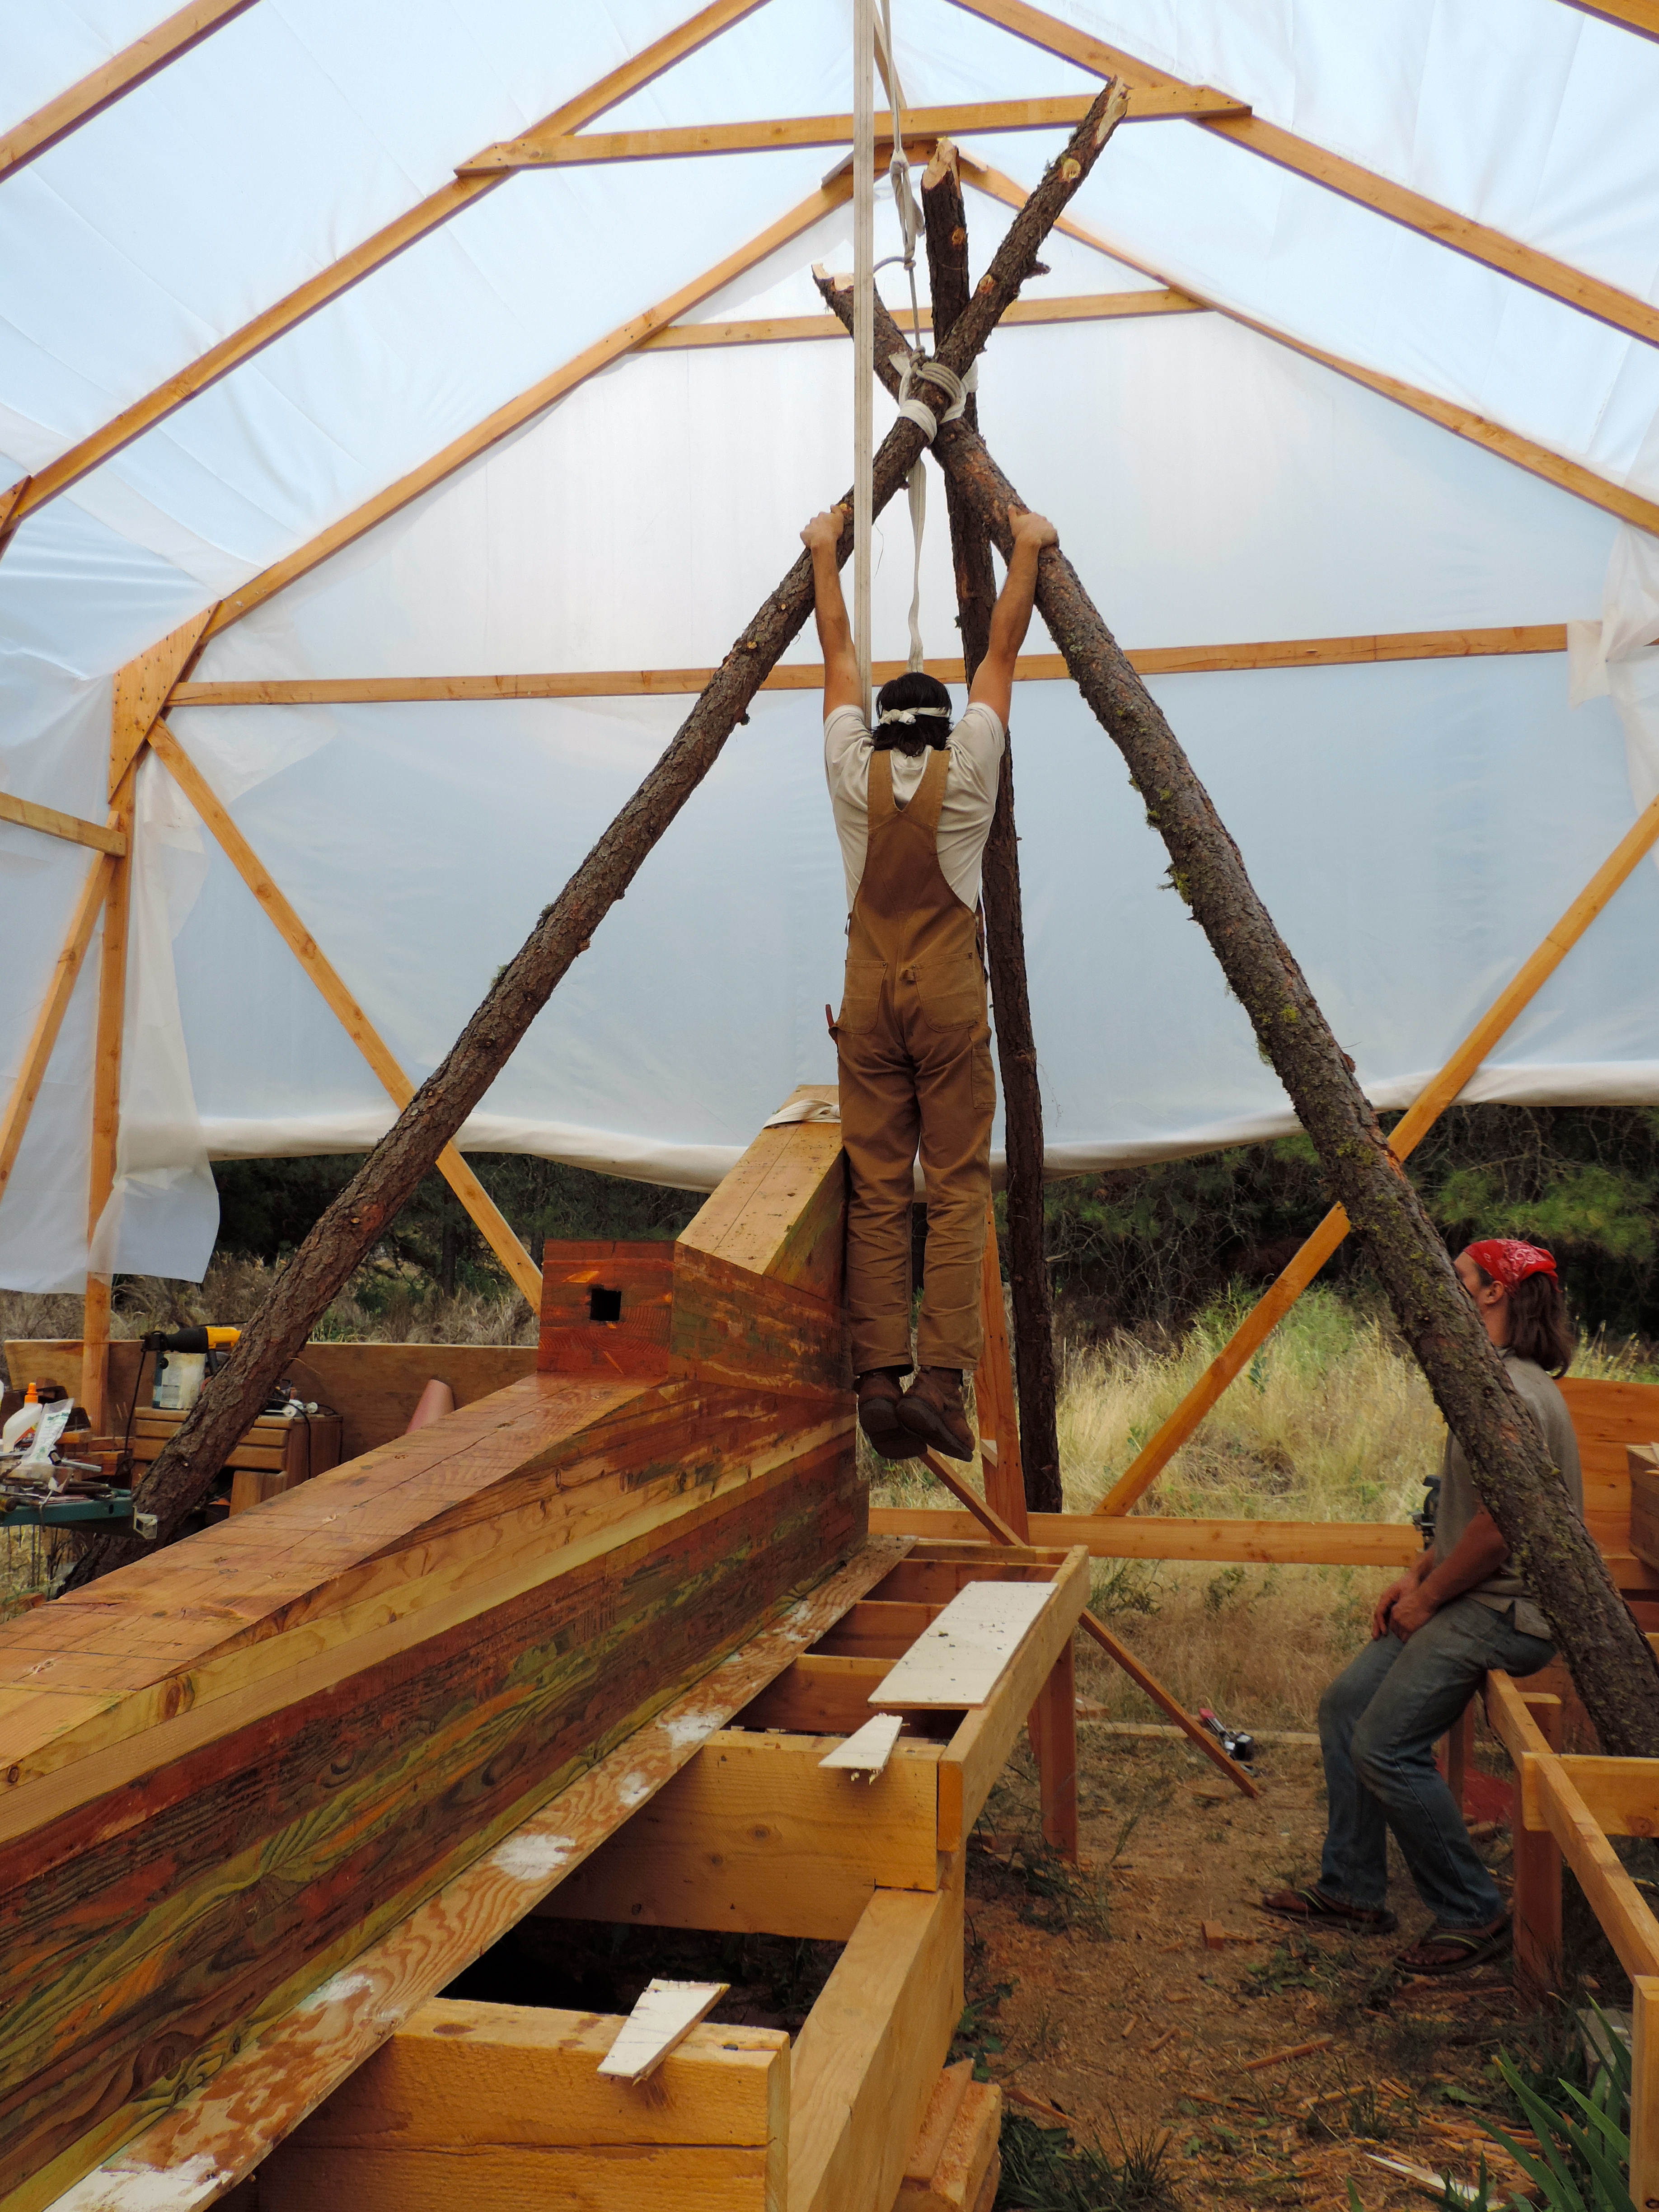
Alright, we have made the bolts, drilled the holes, got all our scrap iron, and materials to build the mold… It’s time to flip this damn thing over already! DJ and I devised a plan that is certain to most likely work. Most of the weight is in the back section of the keel where all the timbers are stacked up. That is also the tallest part where we can get the most leverage. We decided to build a big tripod from a few little pines, then use a come along from the side to start the flip, and a come along above to control the flip. Also we made a little A frame at the front of the keel to make sure it doesn’t start to spin
.
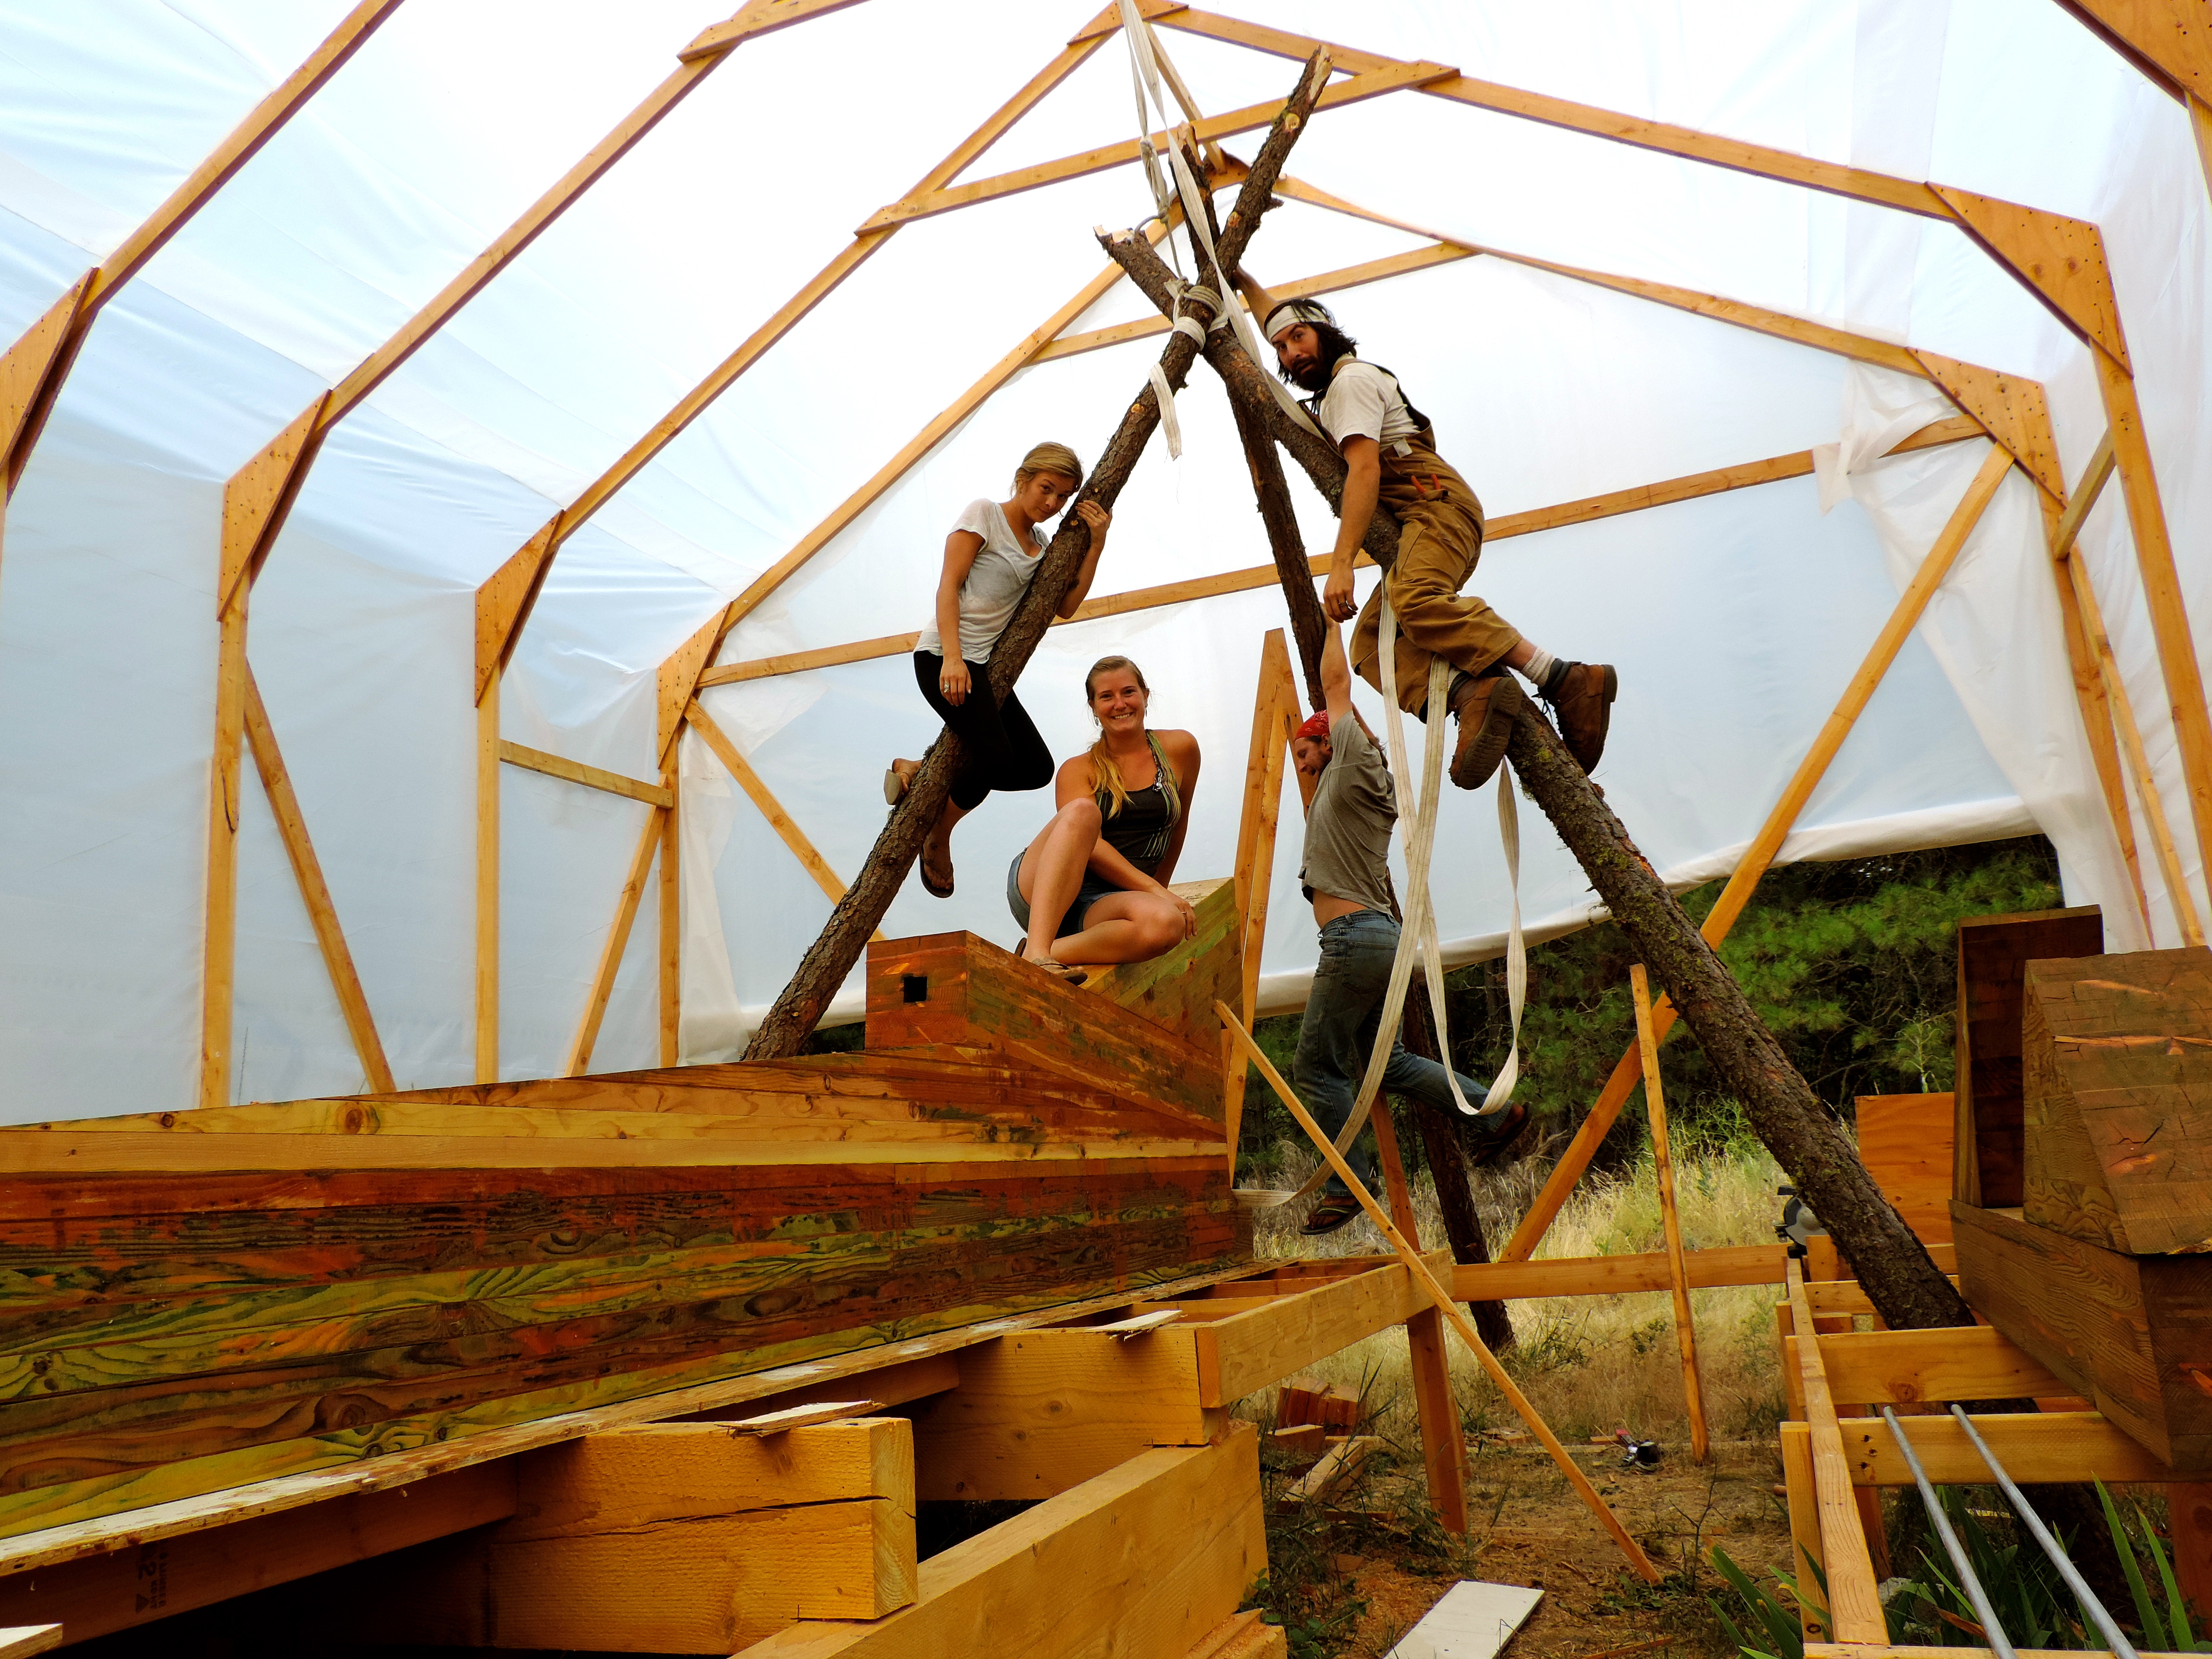
 Getting things into position. All four of us lifted the A frame into place. Then tied it up temporarily. next we all lifted the third log to complete the tripod.
 Who trusted DJ with the knots…
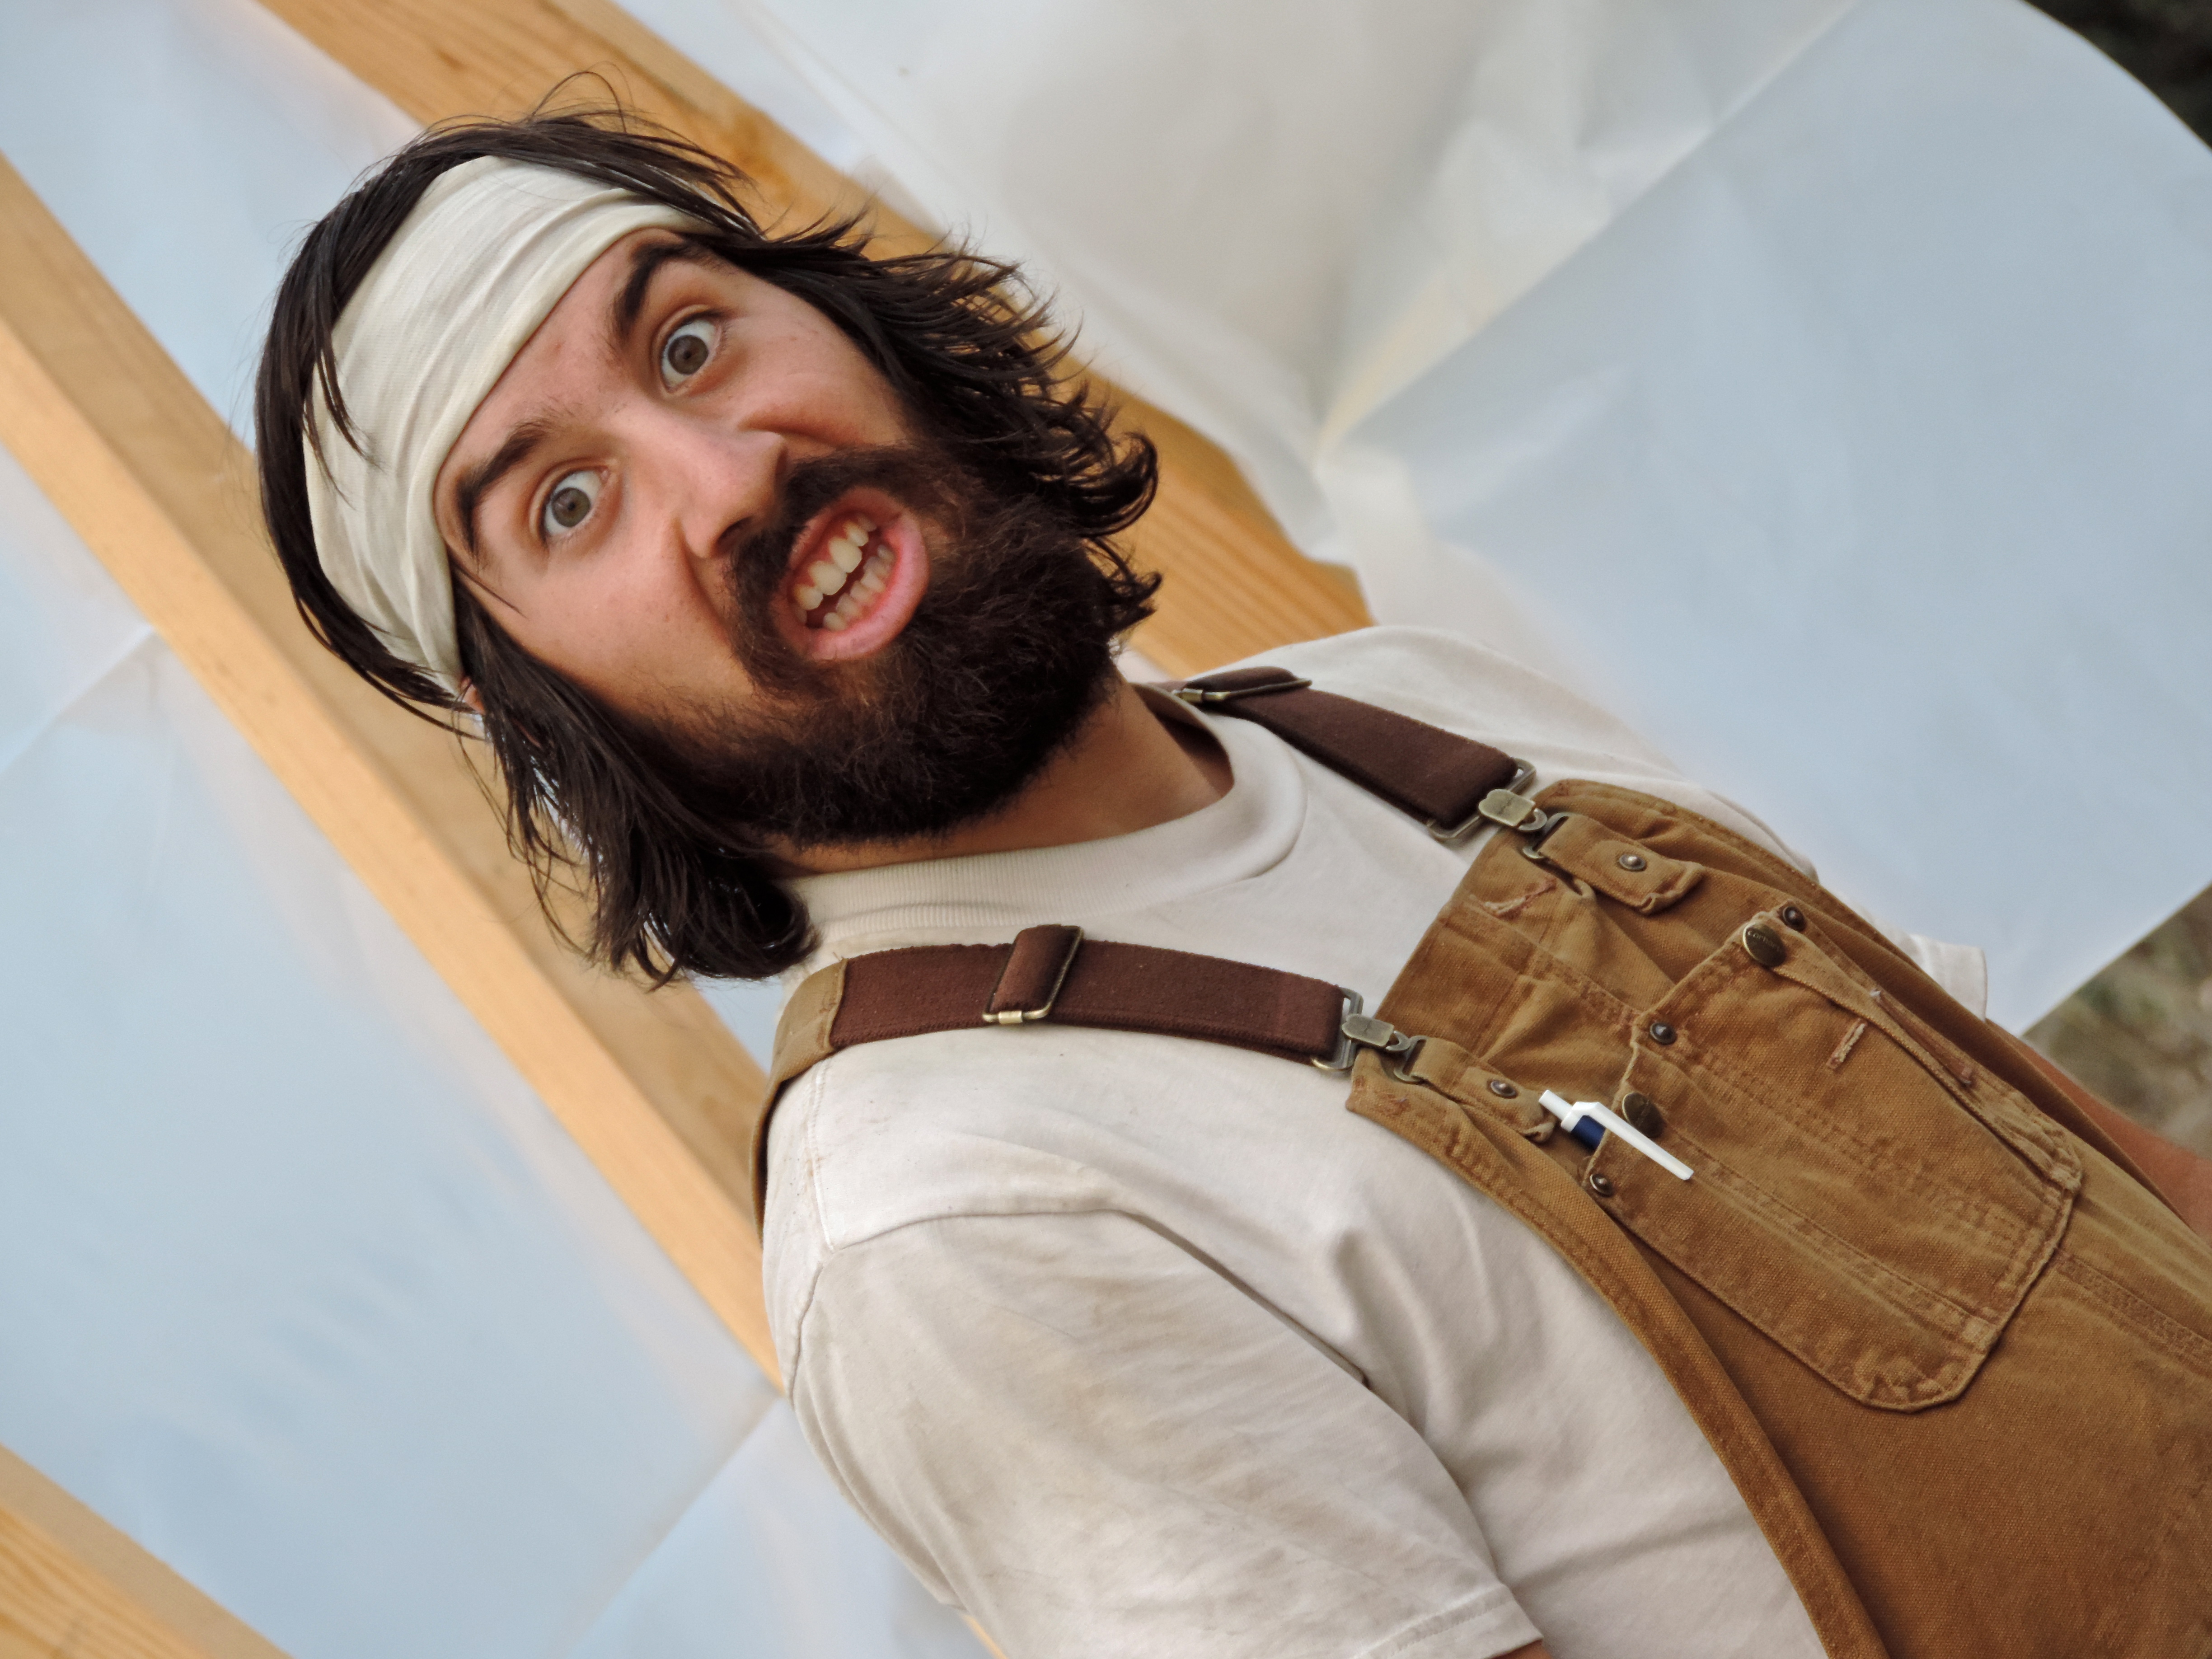
 Scientific method for determining structural integrity.
Hmmm i think we need more science…
 Thats better. Seems sturdy…
 Wait I don’t think this is very safe!
 it seems a little bit smaller on this end… I blame DJ.
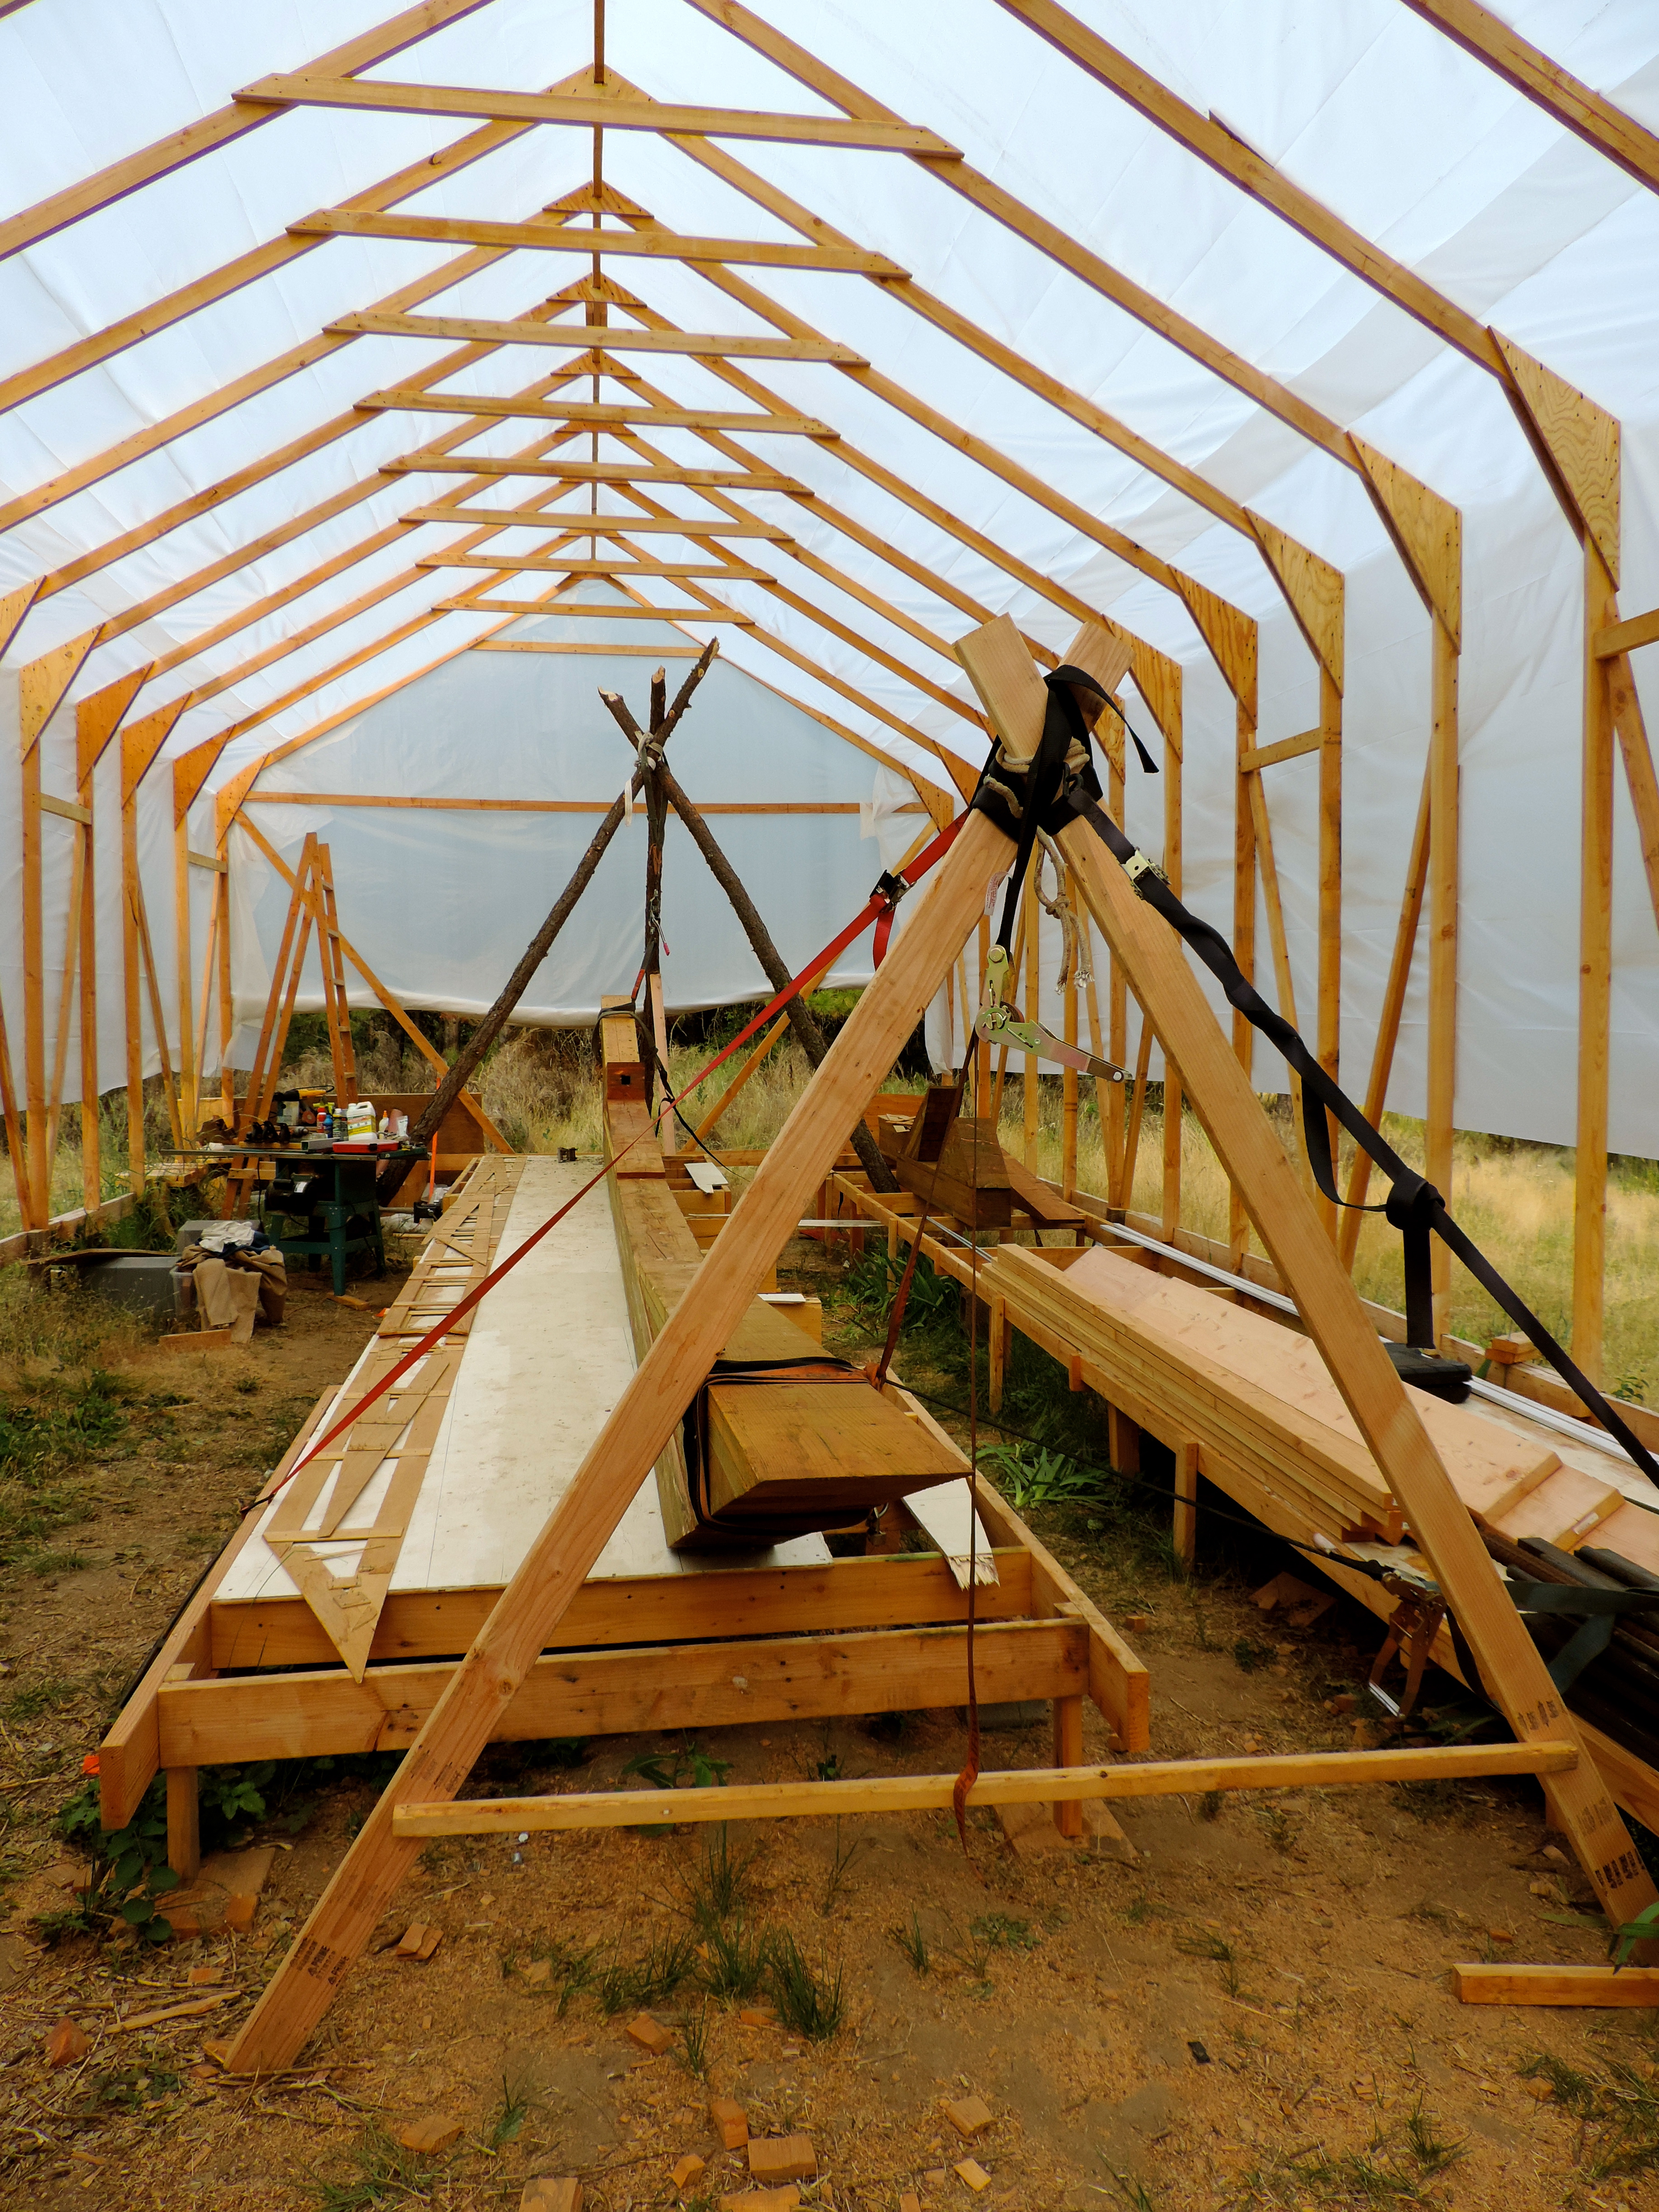 Setup complete time to drink a beer, and flip the keel in the morning!
more woodland shenanigans
Here are some more pictures of the mast acquiring expedition!
 From tree, to snatch block, to truck.
 Ruth behind the wheel!
 Me….. Supervising……
 Once we got it to the trail we just tied it right up to the truck and dragged it along. I felt as though a little tree surfing was necessary!
 Always keep it classy… Who needs a trailer when you have some sticks to throw under to keep from scraping everything up.
 yup…
yup…
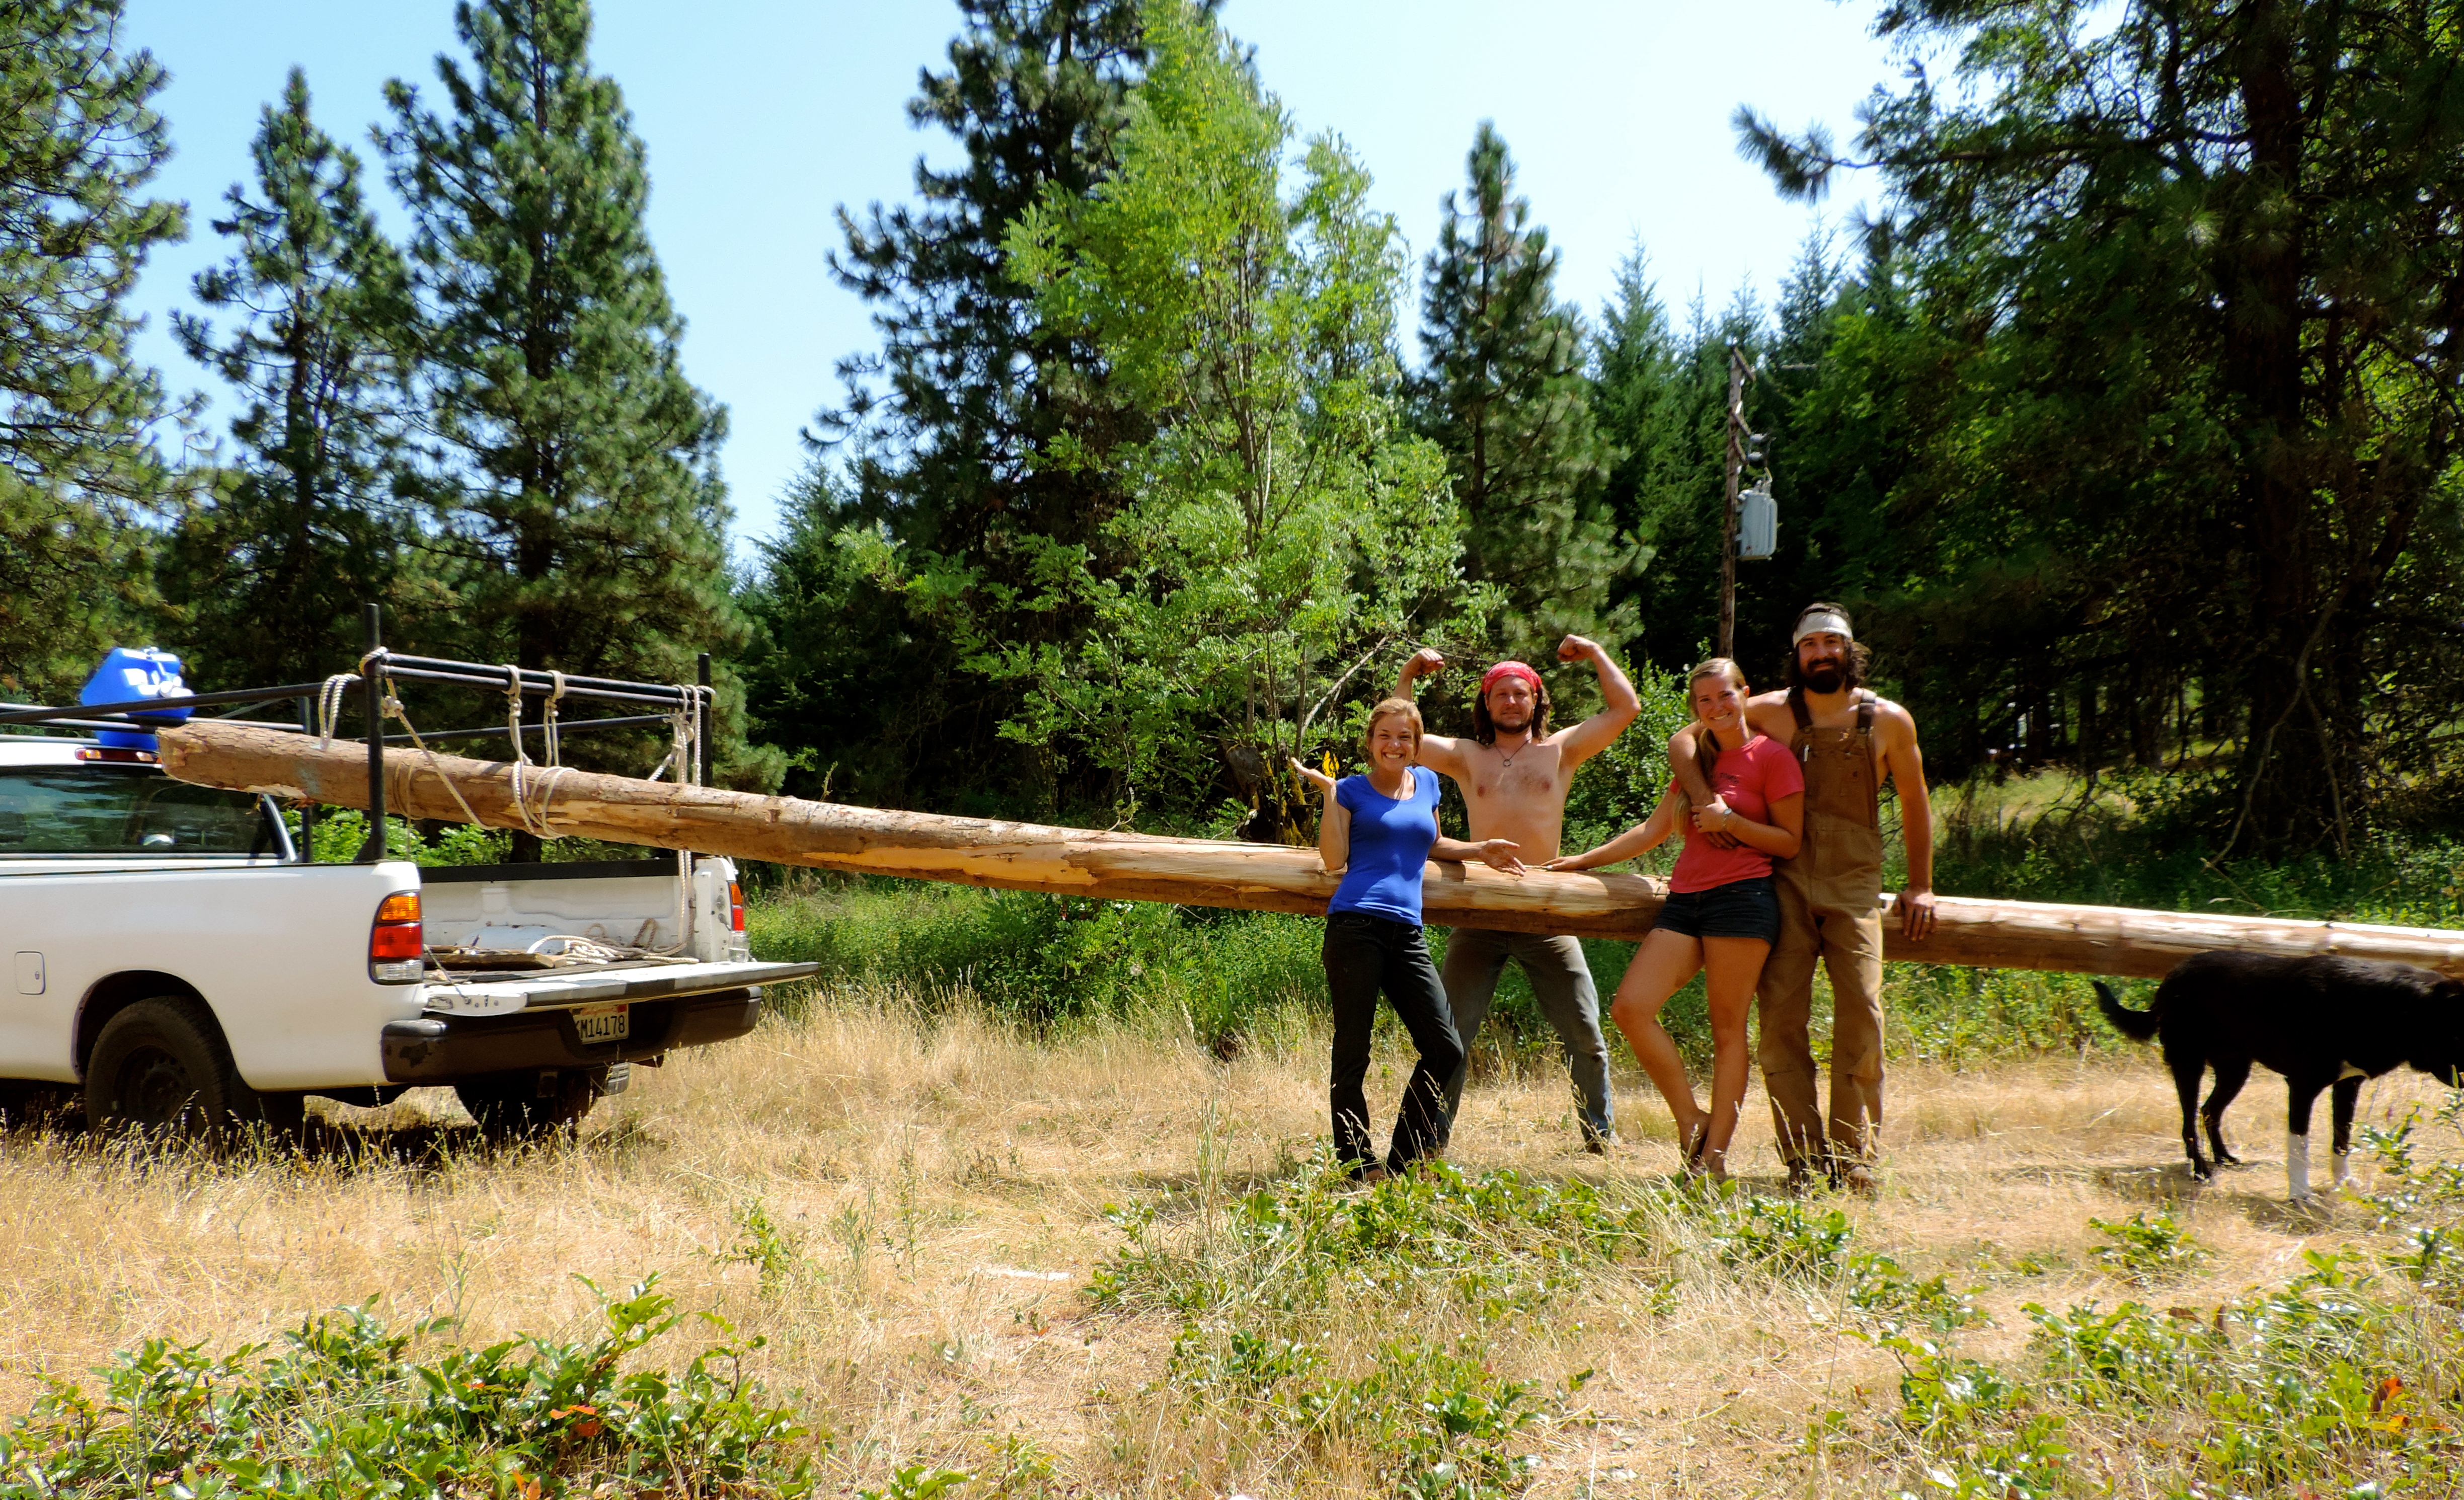 And cheesy group photo time!
 Perfectly straightish!
 A job well done now to celebrate!
All in all the whole thing went really well. It was two days of Hard work, but a fun experience to share with our friends. From complex problem solving, to inappropriate jokes about each others ”wood” we got it done, and had a great time doing it! Now onward to the keel flip!
