Hey everyone! We haven’t posted in a bit, and I happen to have internet right now. Unfortunately I don’t have our camera to upload pictures… Soon though. Anyway things are moving along. Winter and spring seem to be duking it out, and so far Im not sure who’s winning. It’s definitely warming up slowly, but we were quite surprised to wake up to snow this morning! It doesn’t look like it will last to long, but it’s been coming done pretty hard.
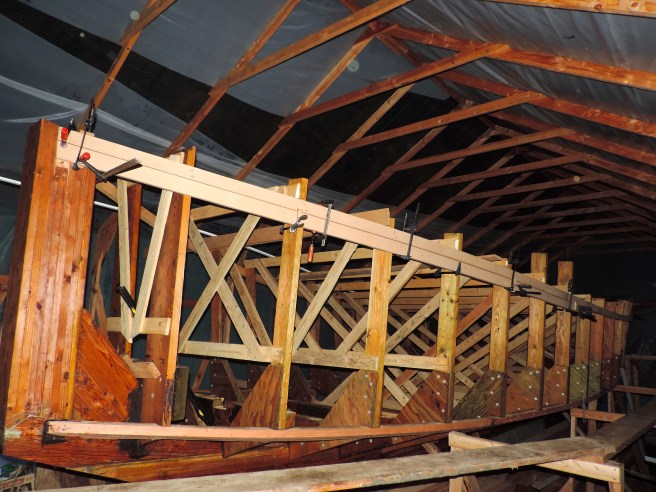
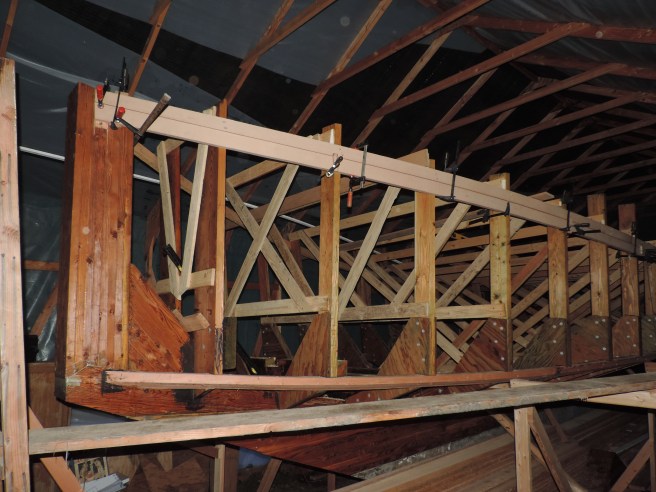
Planking is going swimingly although a bit slower than I would like due to all the rain we’ve been having. I am finally learning to accept these weather delays after a year of working on this project. There is always something else I can focus my energy on. For instance yesterday I finally got around to a job I had been neglecting since last summer. The said job being bolting the stem assembly together. Quite an important thing, but I got into the habit of saying “I’ll get around to it eventually” on account of it being firmly glued together with epoxy. I get into this obsessive need to progress sometimes that I put the little things on the back burner. Another valuable life lesson to be learned from this project! As much as I want to be done building, and start sailing again I value this experience more than I can describe. It has, and will continue to teach me so much. Not only about boat building, but about life, and the way I perceive it. I know I need to get through this in order to fully appreciate the freedom and bliss of sailing, and the cruising life I have been so fortunate to live.
Once again thank you to everyone, and a special thank you to all who have donated to help us achieve our dream!
 (thought this was cool!) Cheers!
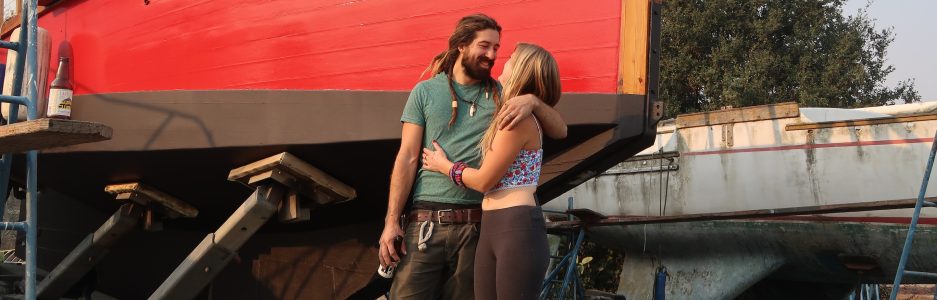
Garrett & Ruth (and swab)
s.v. Rediviva


 cutting the stem rabbet down for the fourth run.
 Fourth bow plank.
 This is where we are on both sides as of today. Lots of rain on the forecast so we’ll see what this week brings.
 We ran the motor for a good while before deciding to buy. It sounded great and didn’t smoke at all.
 I’ll probably clean her up and give her a fresh coat of paint as well as new hoses, belts,mounts, and fluids then she will be ready to drop in!
 The sheer is starting to show even more. I wish we could get a picture that really shows her curves.
 Ruth being cute
 Planks seated in the stem rabbet
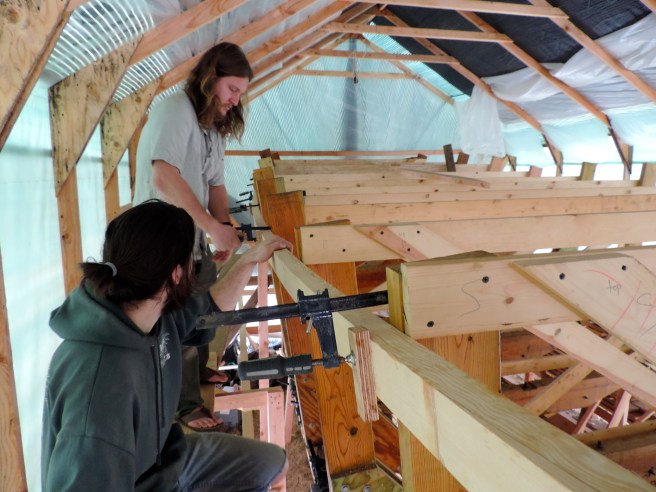
 If you want to build a wooden boat you will need to buy a butt load of clamps…
 getin everything lined up.
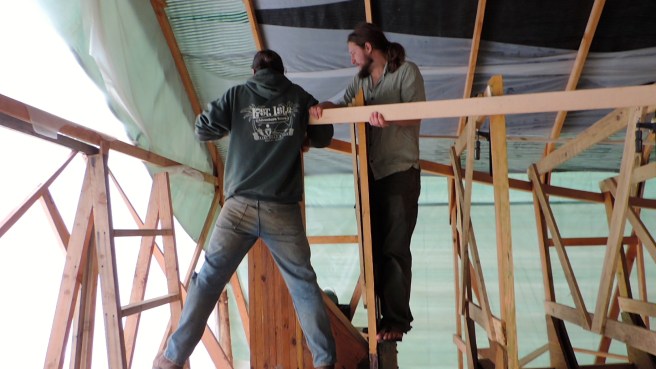
 You can see one of the scarfs at the bottom right of the last picture.
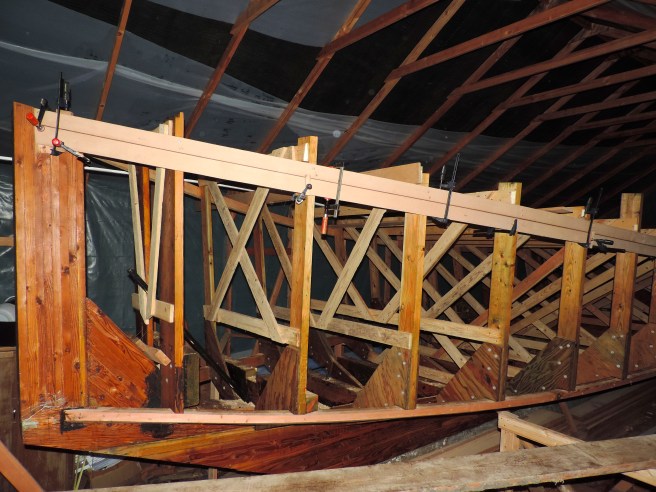
 They go on really easily now!


 Cutting planks down.
 Cutting the scarfs is actually super easy. I thought about making a jig, but I think I could cut all the scarfs by hand in the time it takes to build a good jig. I just draw some lines, run a bunch of saw cuts, knock the chunks out with a chisel, then hit it with and planer. It took about 45 minutes to do the very first one, but I think I can knock that down to 30 minutes. 18 inches would suffice for a 12-1 scarf, but I felt like 24 inches was more appropriate…