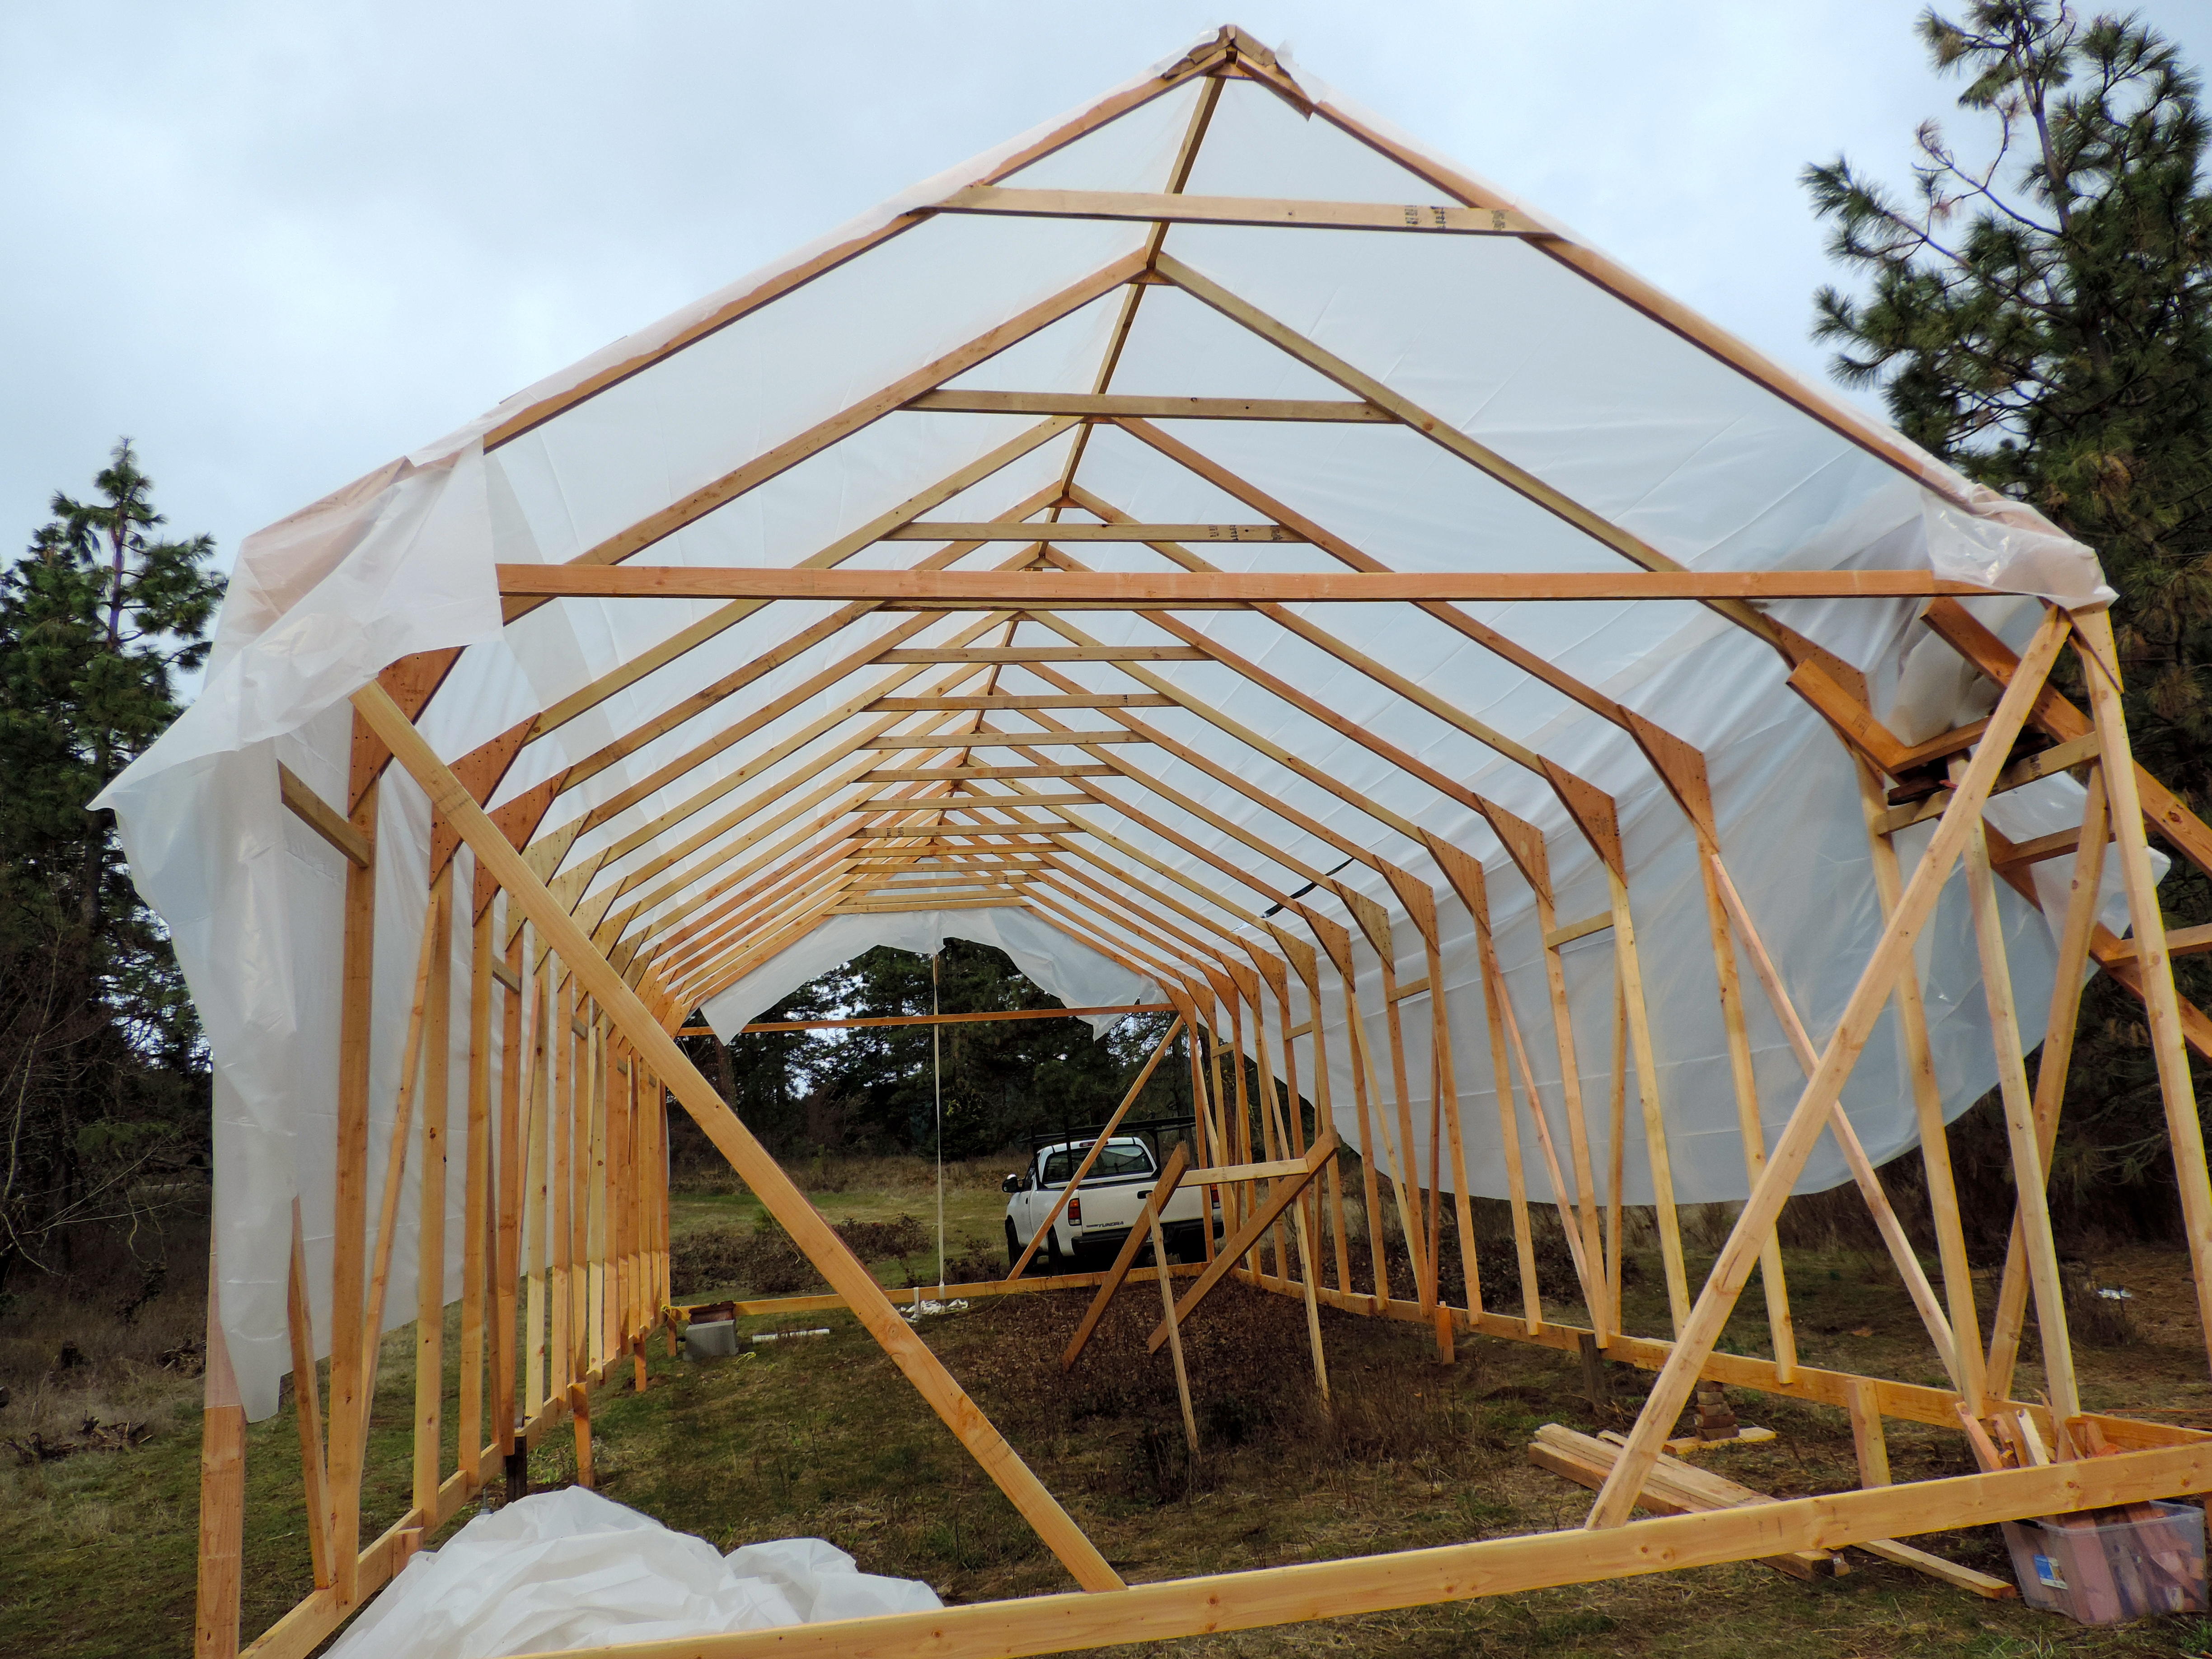
We have a keel!

Well at least a keelson… But still… It’s pretty rad. We have had some awesome weather and very productive days, and were able to knock out the keelson, keel patterns, buying all the rest of the lumber for the keel, and the half widths (i’ll explain later). We also got to check out the sexy black locust that our friends are milling up for us for frames.

DSCN4586 DSCN4584

I actually really hate epoxy, and have been planing since the beginning to try to stay   as traditional as possible with this build. After weeks of searching we were unable to find a solid timber big enough for our keelson, so we reluctantly ordered 9 gallons of toxic sticky gooey nasty epoxy…..

DSCN4580 This is how I feel about epoxy.

DSCN4568 Ruth is much less bothered by sticky…

Homemade Clamps

Ruth:

“What to do while we wait out the cold…..? I know, we can make all 24 clamps we need to laminate!

DSCN4555

Shopping list:

  • All-thread rod
  • 2×4’s
  • Wing-nuts and washers

DSCN4541

DSCN4533DSCN4534

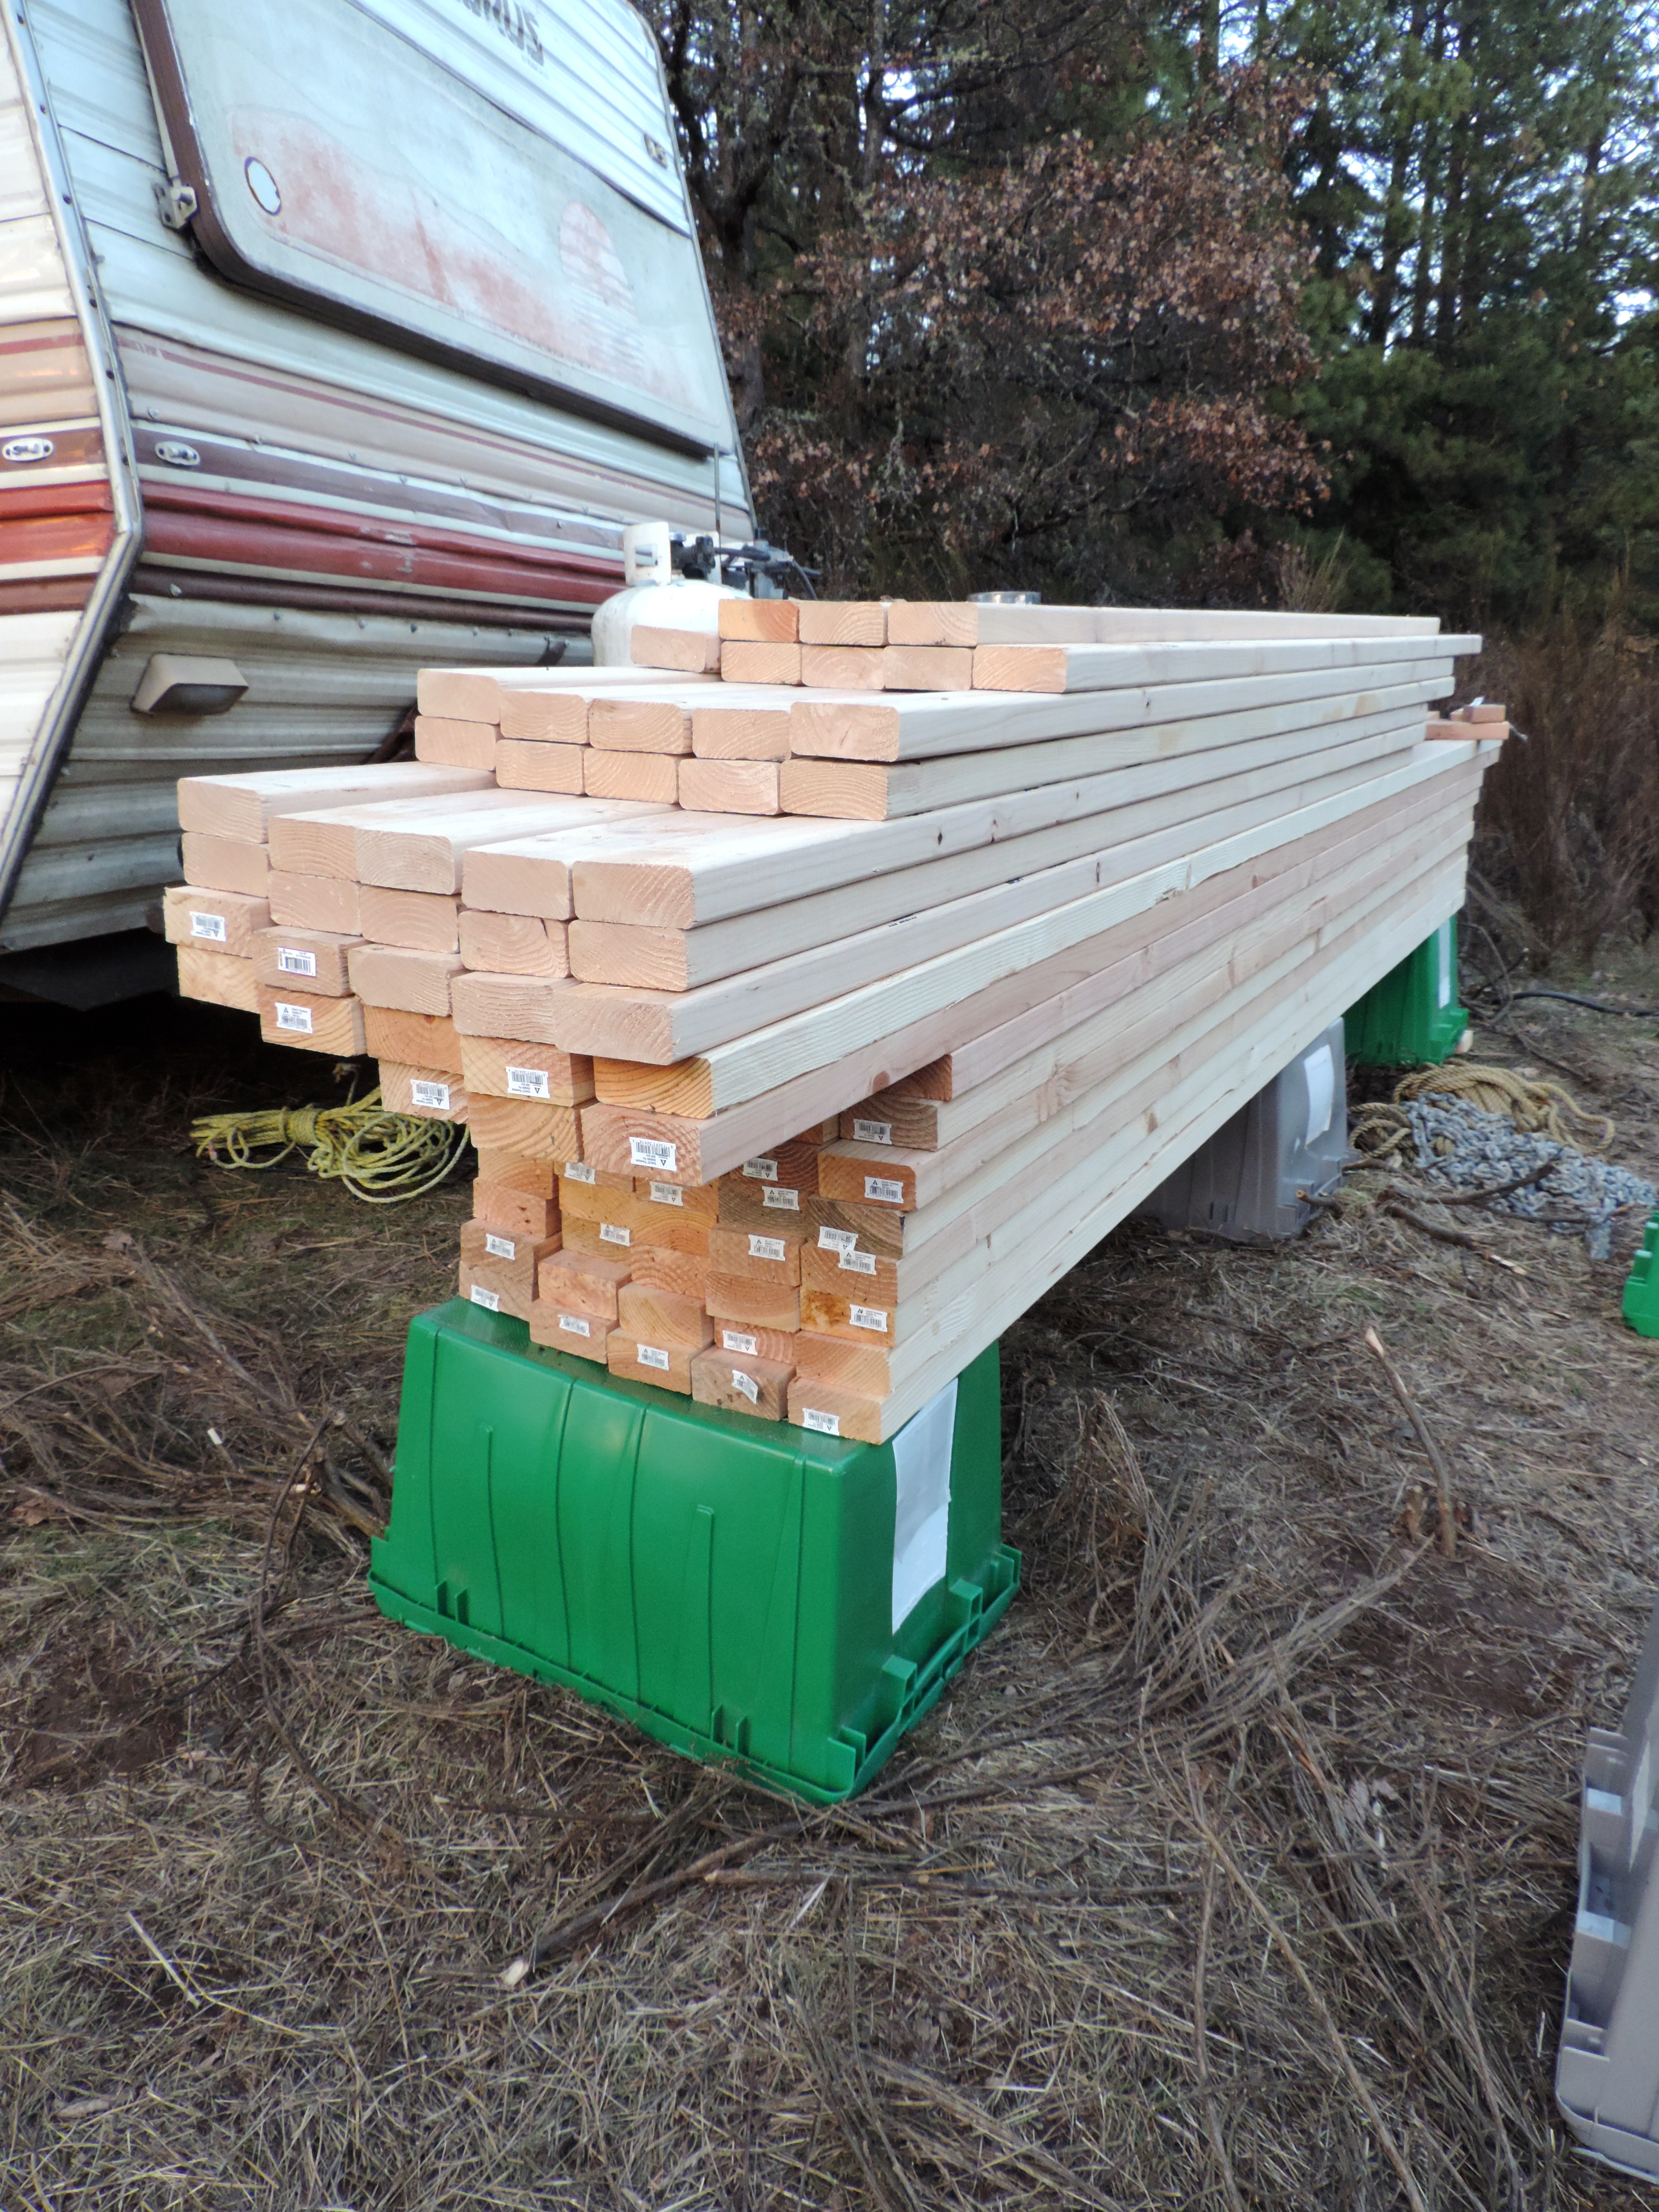
The all-thread rod we found at two different hardware stores and cleared out their stock. We wanted 1/4 all-thread and took all they had and also rid them of their 5/16 and 10/24 stock as well. We are scrapers. We took all the wing-nuts they had and resorted to just regular old nuts for the rest. Collected whatever washers would work. Loaded up with 11 2×4’s, 7 for the job 4 more for good luck. And then back up the hill.

First, tried to cut the all-thread with a dull oscillating saw then remembered we have a badass angle grinder which cut in a second where as the oscillating saw did nothing, at all. But with the angle grinder were left with one messed up end which we could not thread a nut onto…. Grabbed the drill and locked in the all thread and held the nut as the rod spun to the appropriate end. While I did this Garrett drilled the holes needed in the wood pieces, securing the rods, and making sure this will all work for the task we need it to.

DSCN4549

We ask ourselves if this was all worth it. To go through all this time to make the clamps versus just buying fabricated clamps we needed….. Yes. Cost of a single clamp large enough for the job=$45. We built 24 heavy duty clamps for about that same cost. It just took a hell of a lot more time….. but the experience ….. priceless”

DSCN4553

The Keel

We have finally started to build a boat! We bought all the lumber for our keel yesterday. The keel is made up of 10 or so large timbers. The biggest of which is called the keelson. Our keelson is 10″x12″x30′ made up of 20 pieces of douglas fir laminated together with epoxy. I set up a laminating area on the lofting floor and dry fit all the pieces. We were all set to start gluing today, and make the most of Ruth’s three days off. Unfortunately the weather didn’t like that plan. It will be cold and rainy for the next couple days, and we need at least 60 degrees for the epoxy to set, so looks like we will be waiting until sunday.

DSCN4538 DSCN4536DSCN4540 DSCN4565

Back to work!

We got our modified plans in and set back to work. We didn’t know that George Buehler was going far beyond what we expected when we asked him modify the plans for us. We discussed changes in the rig, cabin, and deck. George continued until he basically re-engineered the entire boat! He simplified much of the construction details, gave her more sheer, longer waterline, and a deeper chine/rabbet. We are pretty stoked with the new plans, and feel we got quite a bang for our buck. However this also means we have to erase all our lofting, and start over….. Again….. O well third times the charm so they say.

DSCN4521 DSCN4518 DSCN4517

Passing time

We have about a week to wait for our modified plans to arrive. Which means I can’t do anything on the boat… I have been trying to keep busy with little projects around the property, But There never seems to be enough keep me busy. It makes it even harder with Ruth goin to work bringin in the bacon while I sit on my thumb… Fortunately we are very good at keeping each other upbeat, and on Ruth’s day off we took a totally random awesome trip up mt. Hood. It was a welcome break for both of us.

DSCN4474 DSCN4477 DSCN4488 DSCN4497 DSCN4512

Some people paint the lofting floor and draw directly on top. Other people lay down builders paper to draw on. The point behind the builders paper is that you can roll it up and keep it stashed away incase you need to look at the lofting once you get rid of your floor.I had always planed on painting and drawing directly on the floor, but it seems like everyone was using the paper so I figured I would give it a try

DSCN4439

Well…. It worked great… At first…

We laid down the paper without a hitch, and started lofting. we were so excited to actually be working on the boat we got the whole boat drawn out in the first day. We sat back admiring  her sweet sheer, and massive scantlings before turning in for the night. The next day brought us very indecisive weather. Hot and sunny, cold and rainy, and everything in between. Within three or four hours the temperature changes wreaked havoc as we watched the paper streatch 3/4” out then slack up to a wrinkly mess. After trying to kid myself for an hour or so it was obvious this would not work for precise measurements. Reluctantly Ruth and I tore up all our work and set ourselves back to the starting point….. you live and you learn…

DSCN4454 DSCN4458

Lofting

So all this work so far and we haven’t done a single bit of boat building…. Fortunately now that the shed is done it’s time to start lofting! Lofting is basically the process of taking a bunch of measurements from our plans and transferring them onto a full scale grid to draw the lines of the boat in real size. A few things are required for lofting, but most important is a large flat level floor a few feet longer than the length of your boat, and a few feet wider than the height from keel to sheer. Since we didn’t happen to have a 16×40 flat surface laying around I wen’t about building it

DSCN4299DSCN4300 DSCN4313 DSCN4309

Unfortunately building a boat where we are requires a rather elaborate shelter. The first order of business was designing and building a boat shed that is both cheap and strong, so we overloaded our trusty toyota with lumber and set to work.

DSCN4197 DSCN4202
Raising the frames, and setting the ridge pole required some imagination with just the two of us
DSCN4221
swab didn’t help at all…
DSCN4201
The shed is 20ft by 44ft The plastic should work fine for the summer, but we will have to come up with something more substantial come winter. The shed is complete now, but these are the most recent pictures we have so far.

DSCN4237DSCN4271

After many months of searching we finally decided on the hull of a 35 ft George Buehler design called Button. We love the salty lines of the Button’s hull, but the deck, cabin, and rig were not right for us. luckily George Buehler is awesome, and is doing a bunch of custom work on the plans so she will be exactly what we want. She will be a 35 ft gaff rigged ketch. Complete with rat lines, baggy wrinkles, and top mast. Wildly impractical, but dreams aren’t alway’s practical so salty she will be! –

DSCN4611This is a sketch I made of the finished product.

Well we finally decided to start a blog and document the process of our yacht building escapades. We are about a month into the build, but we will do some back tracking to start from day one.