
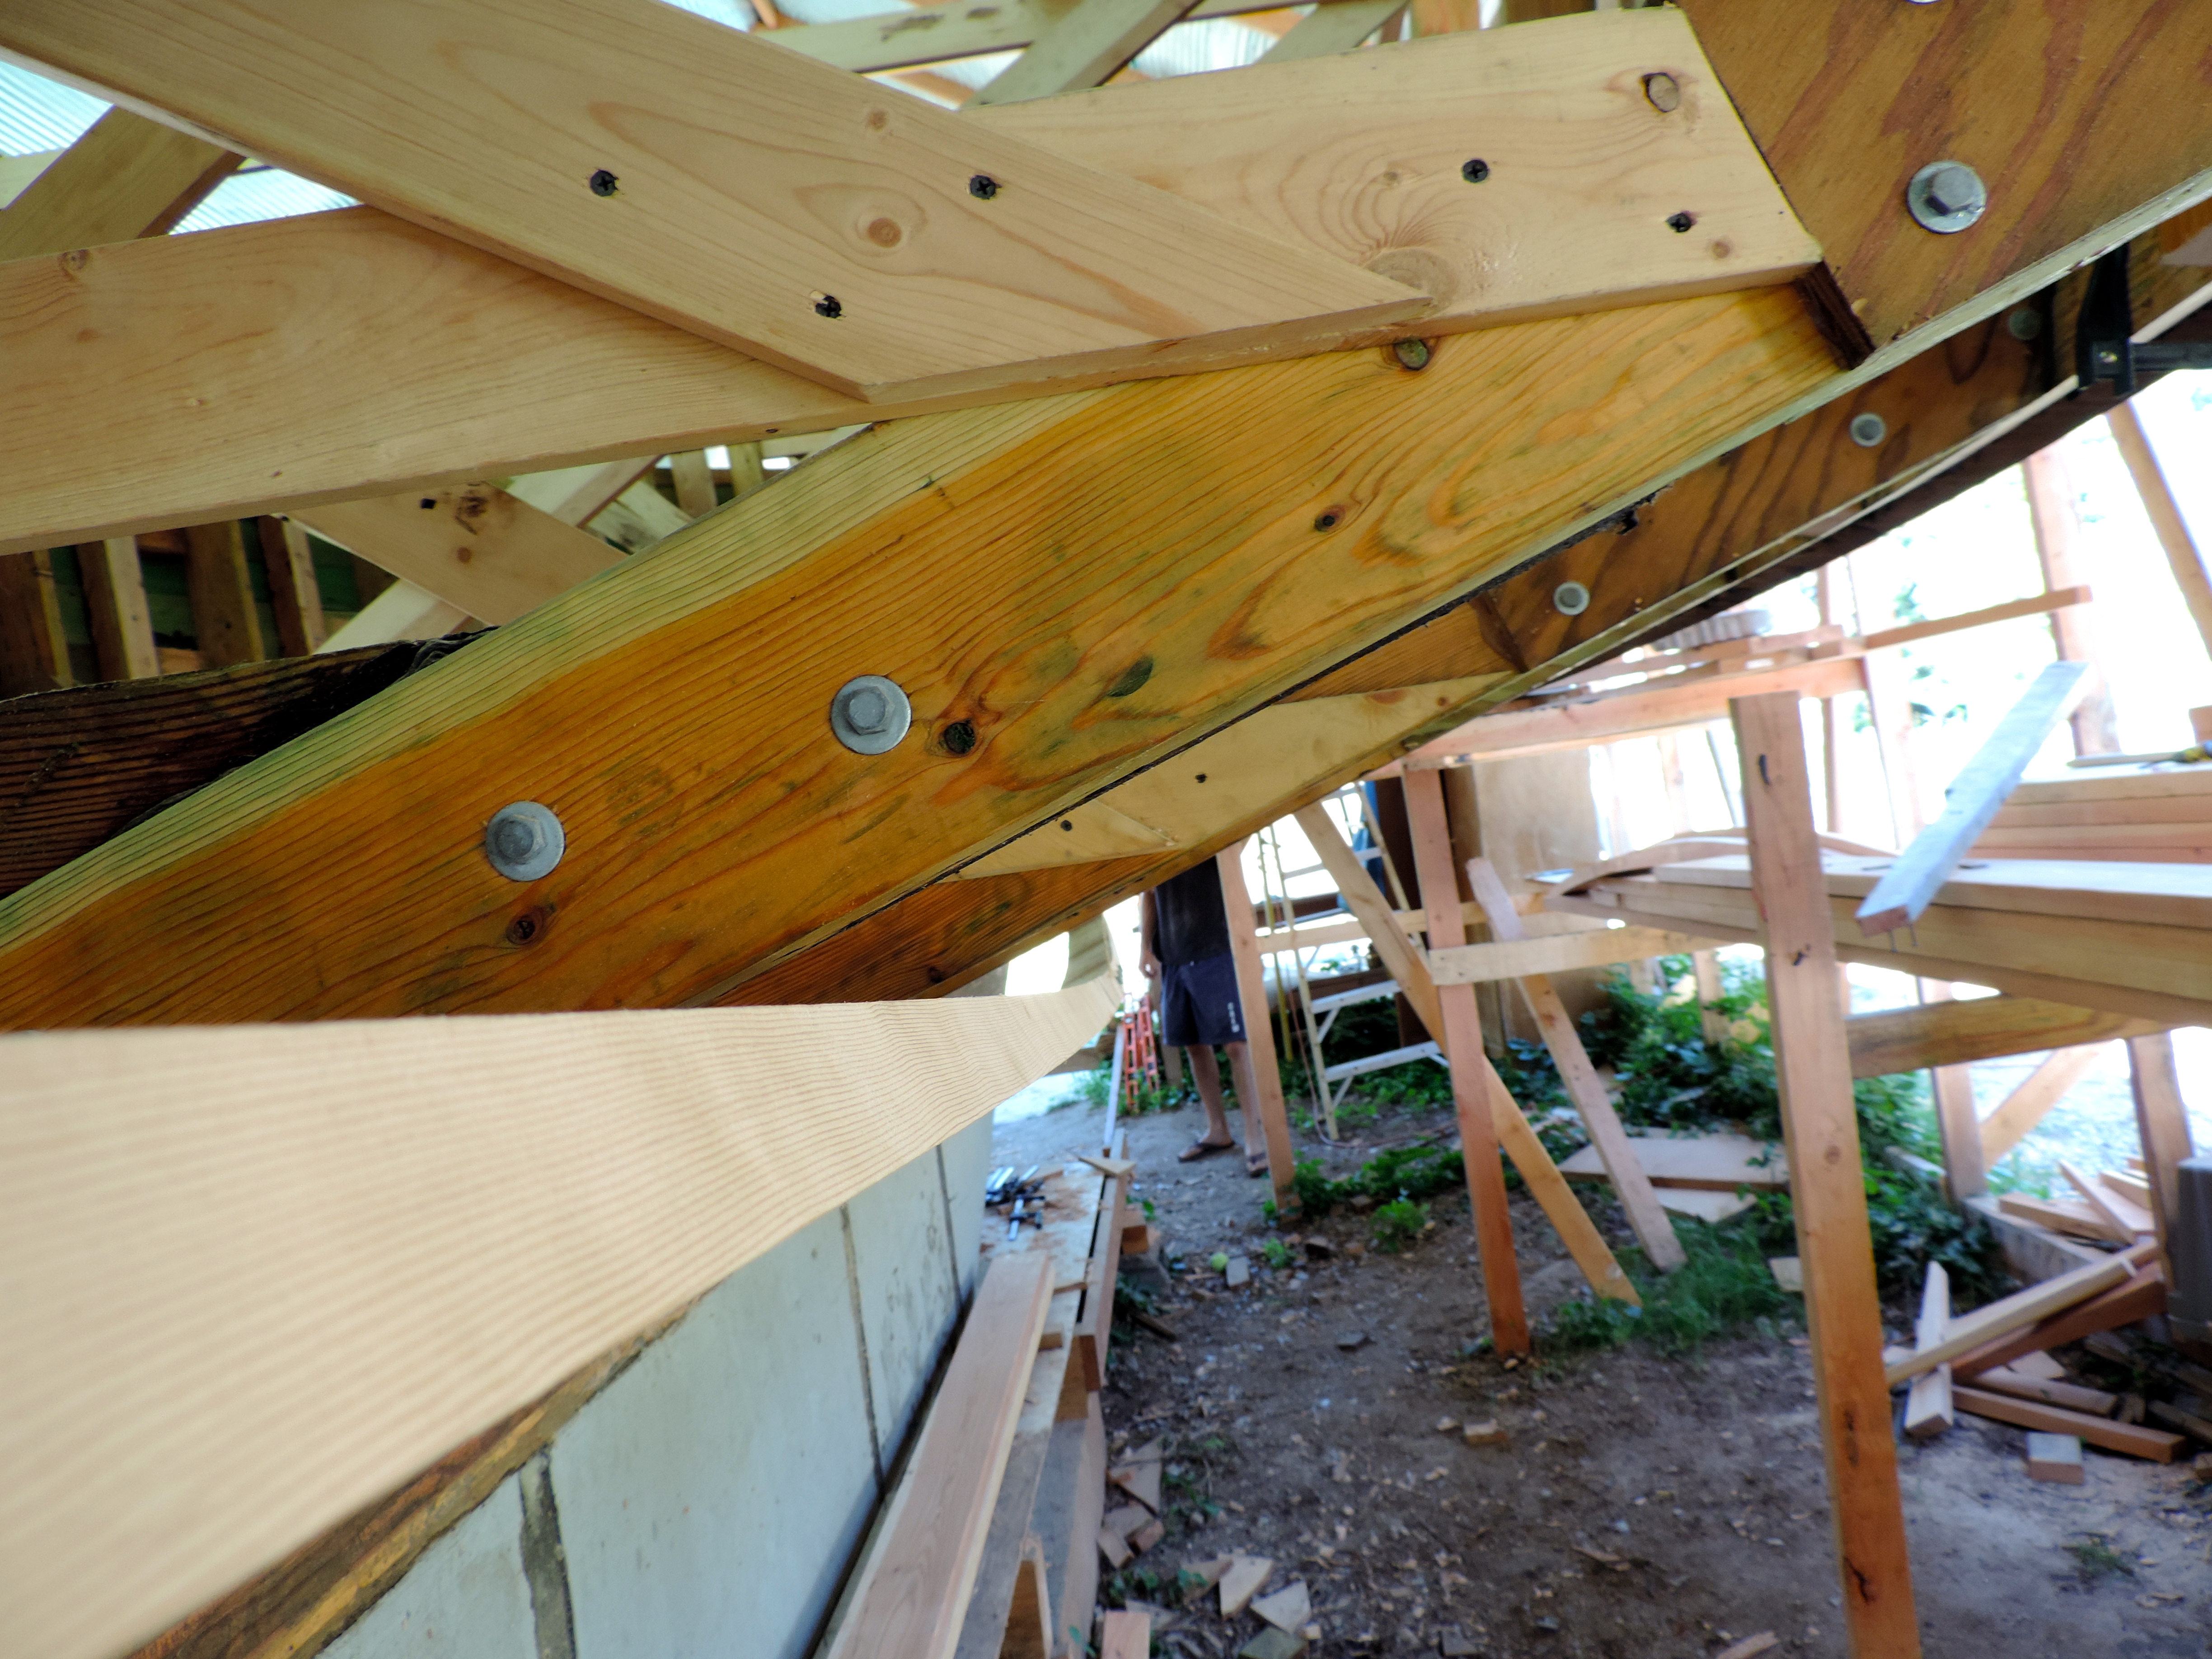
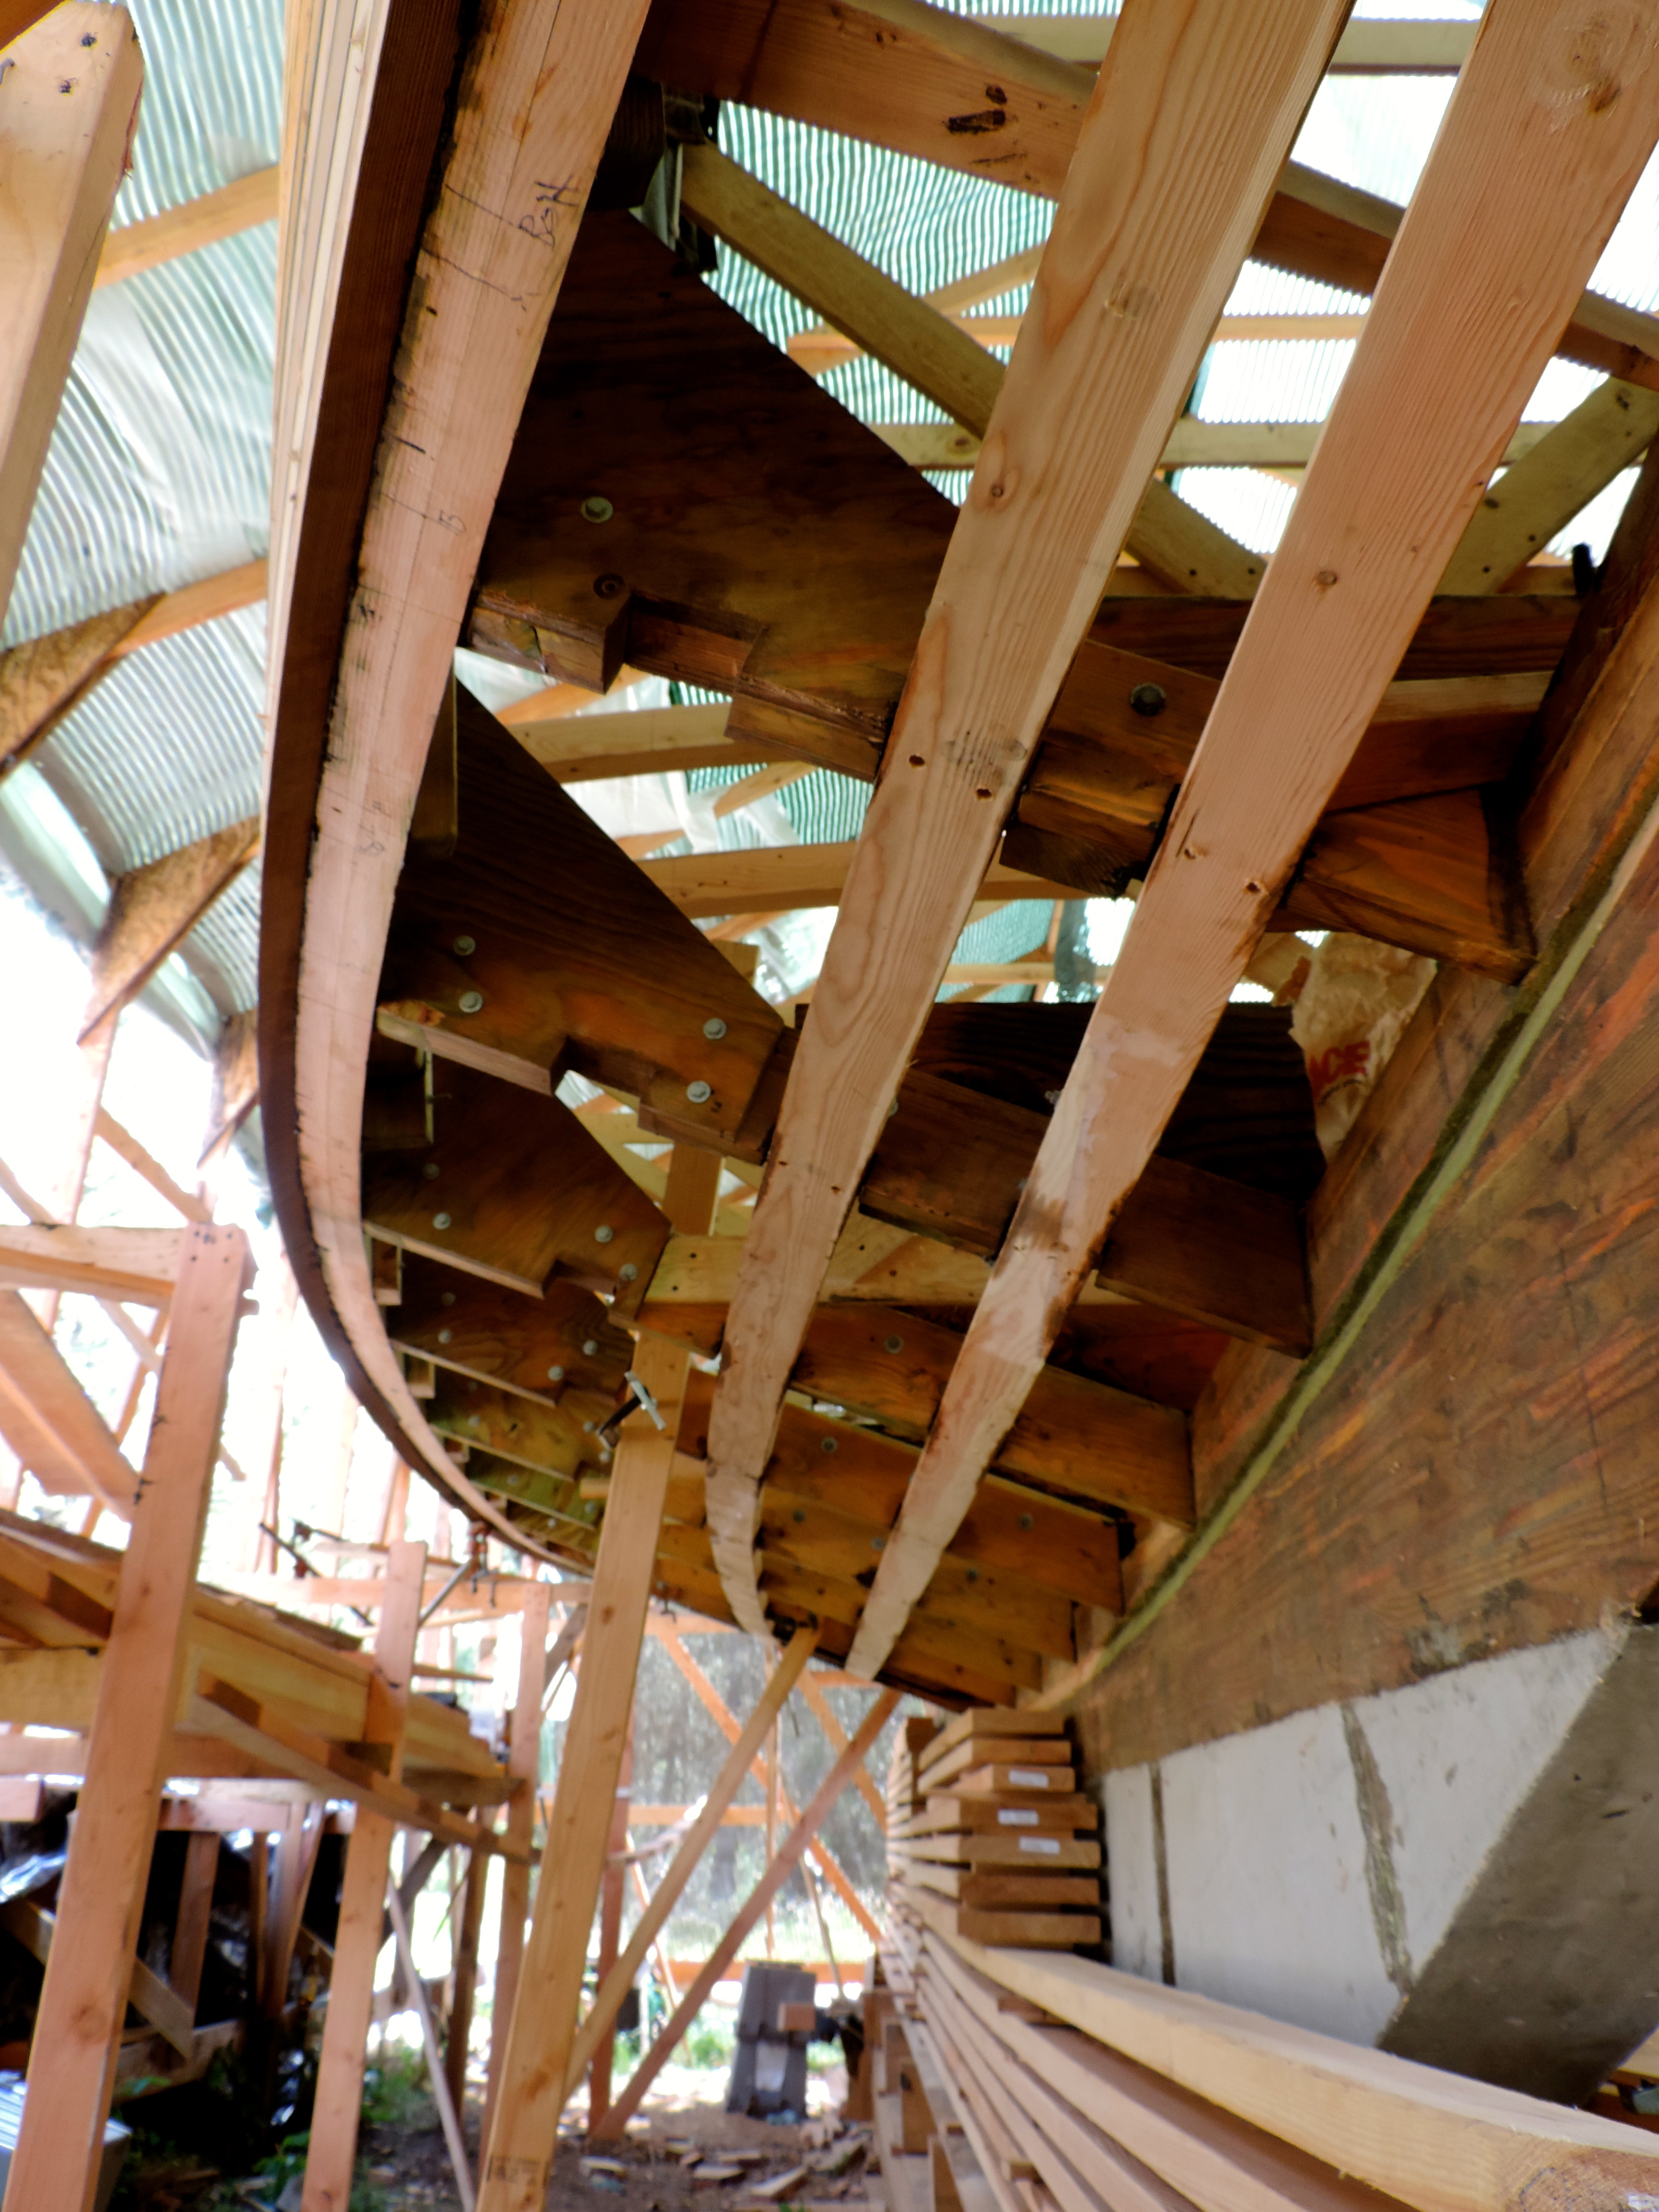
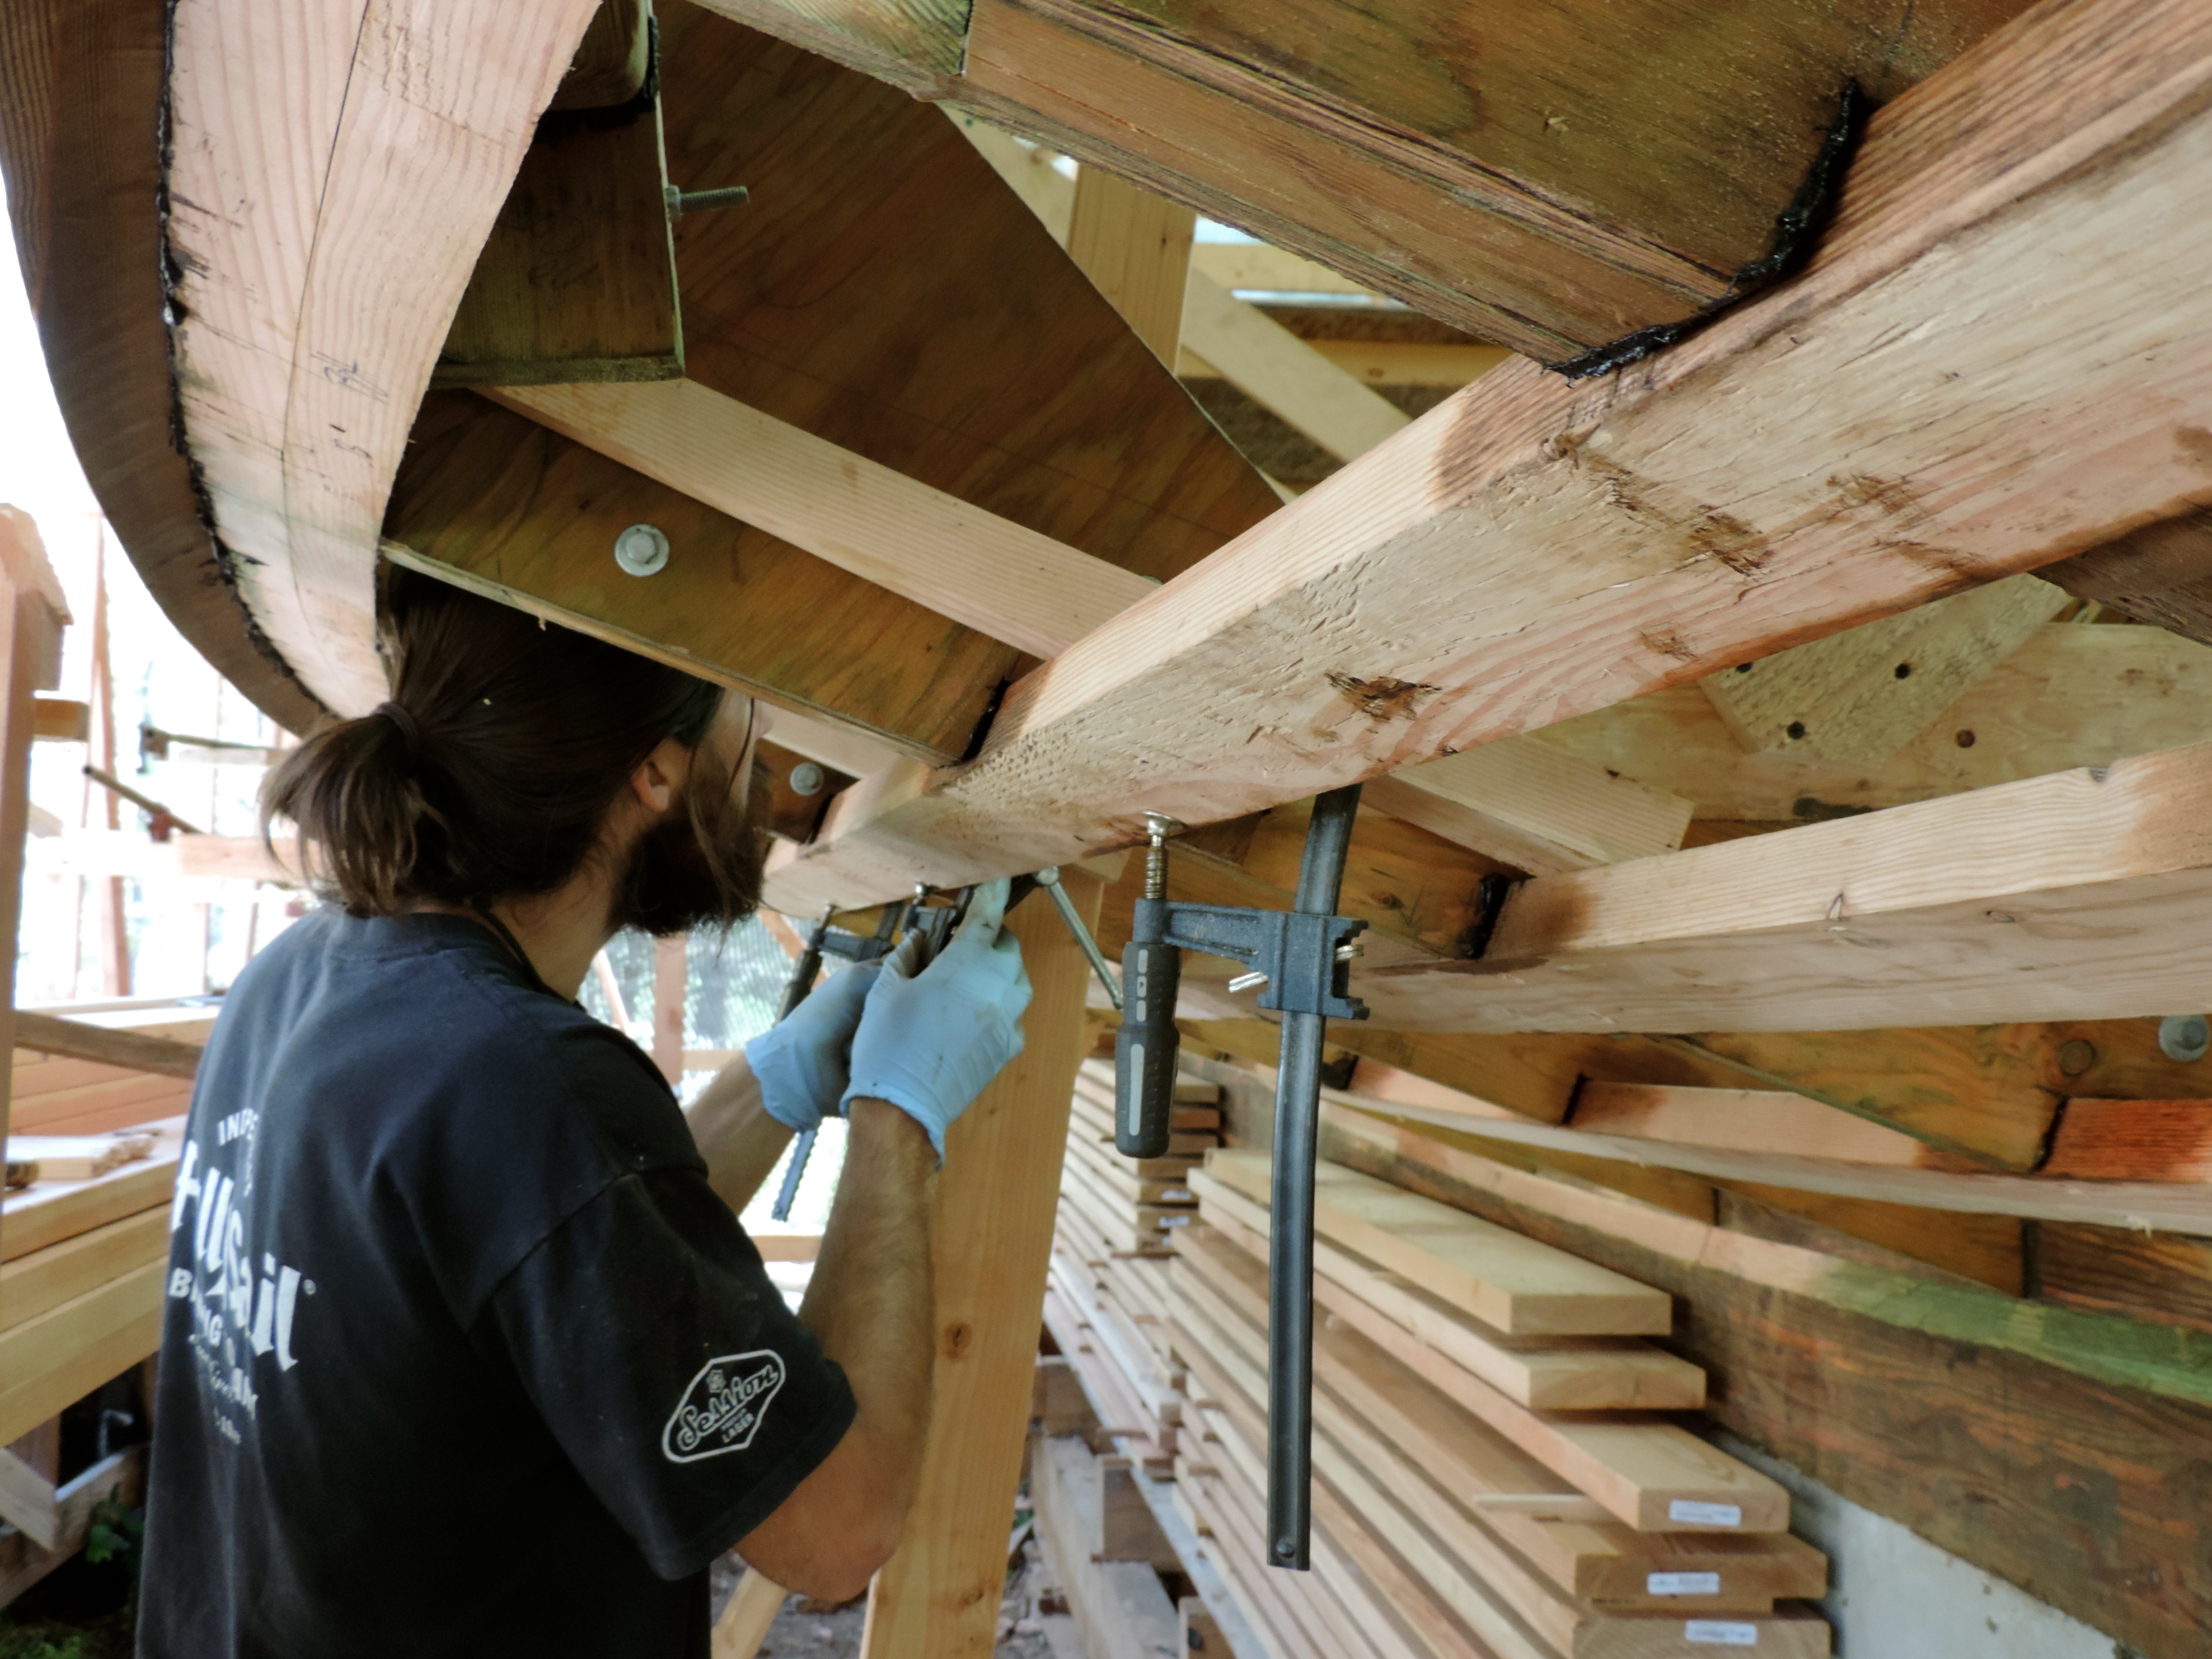
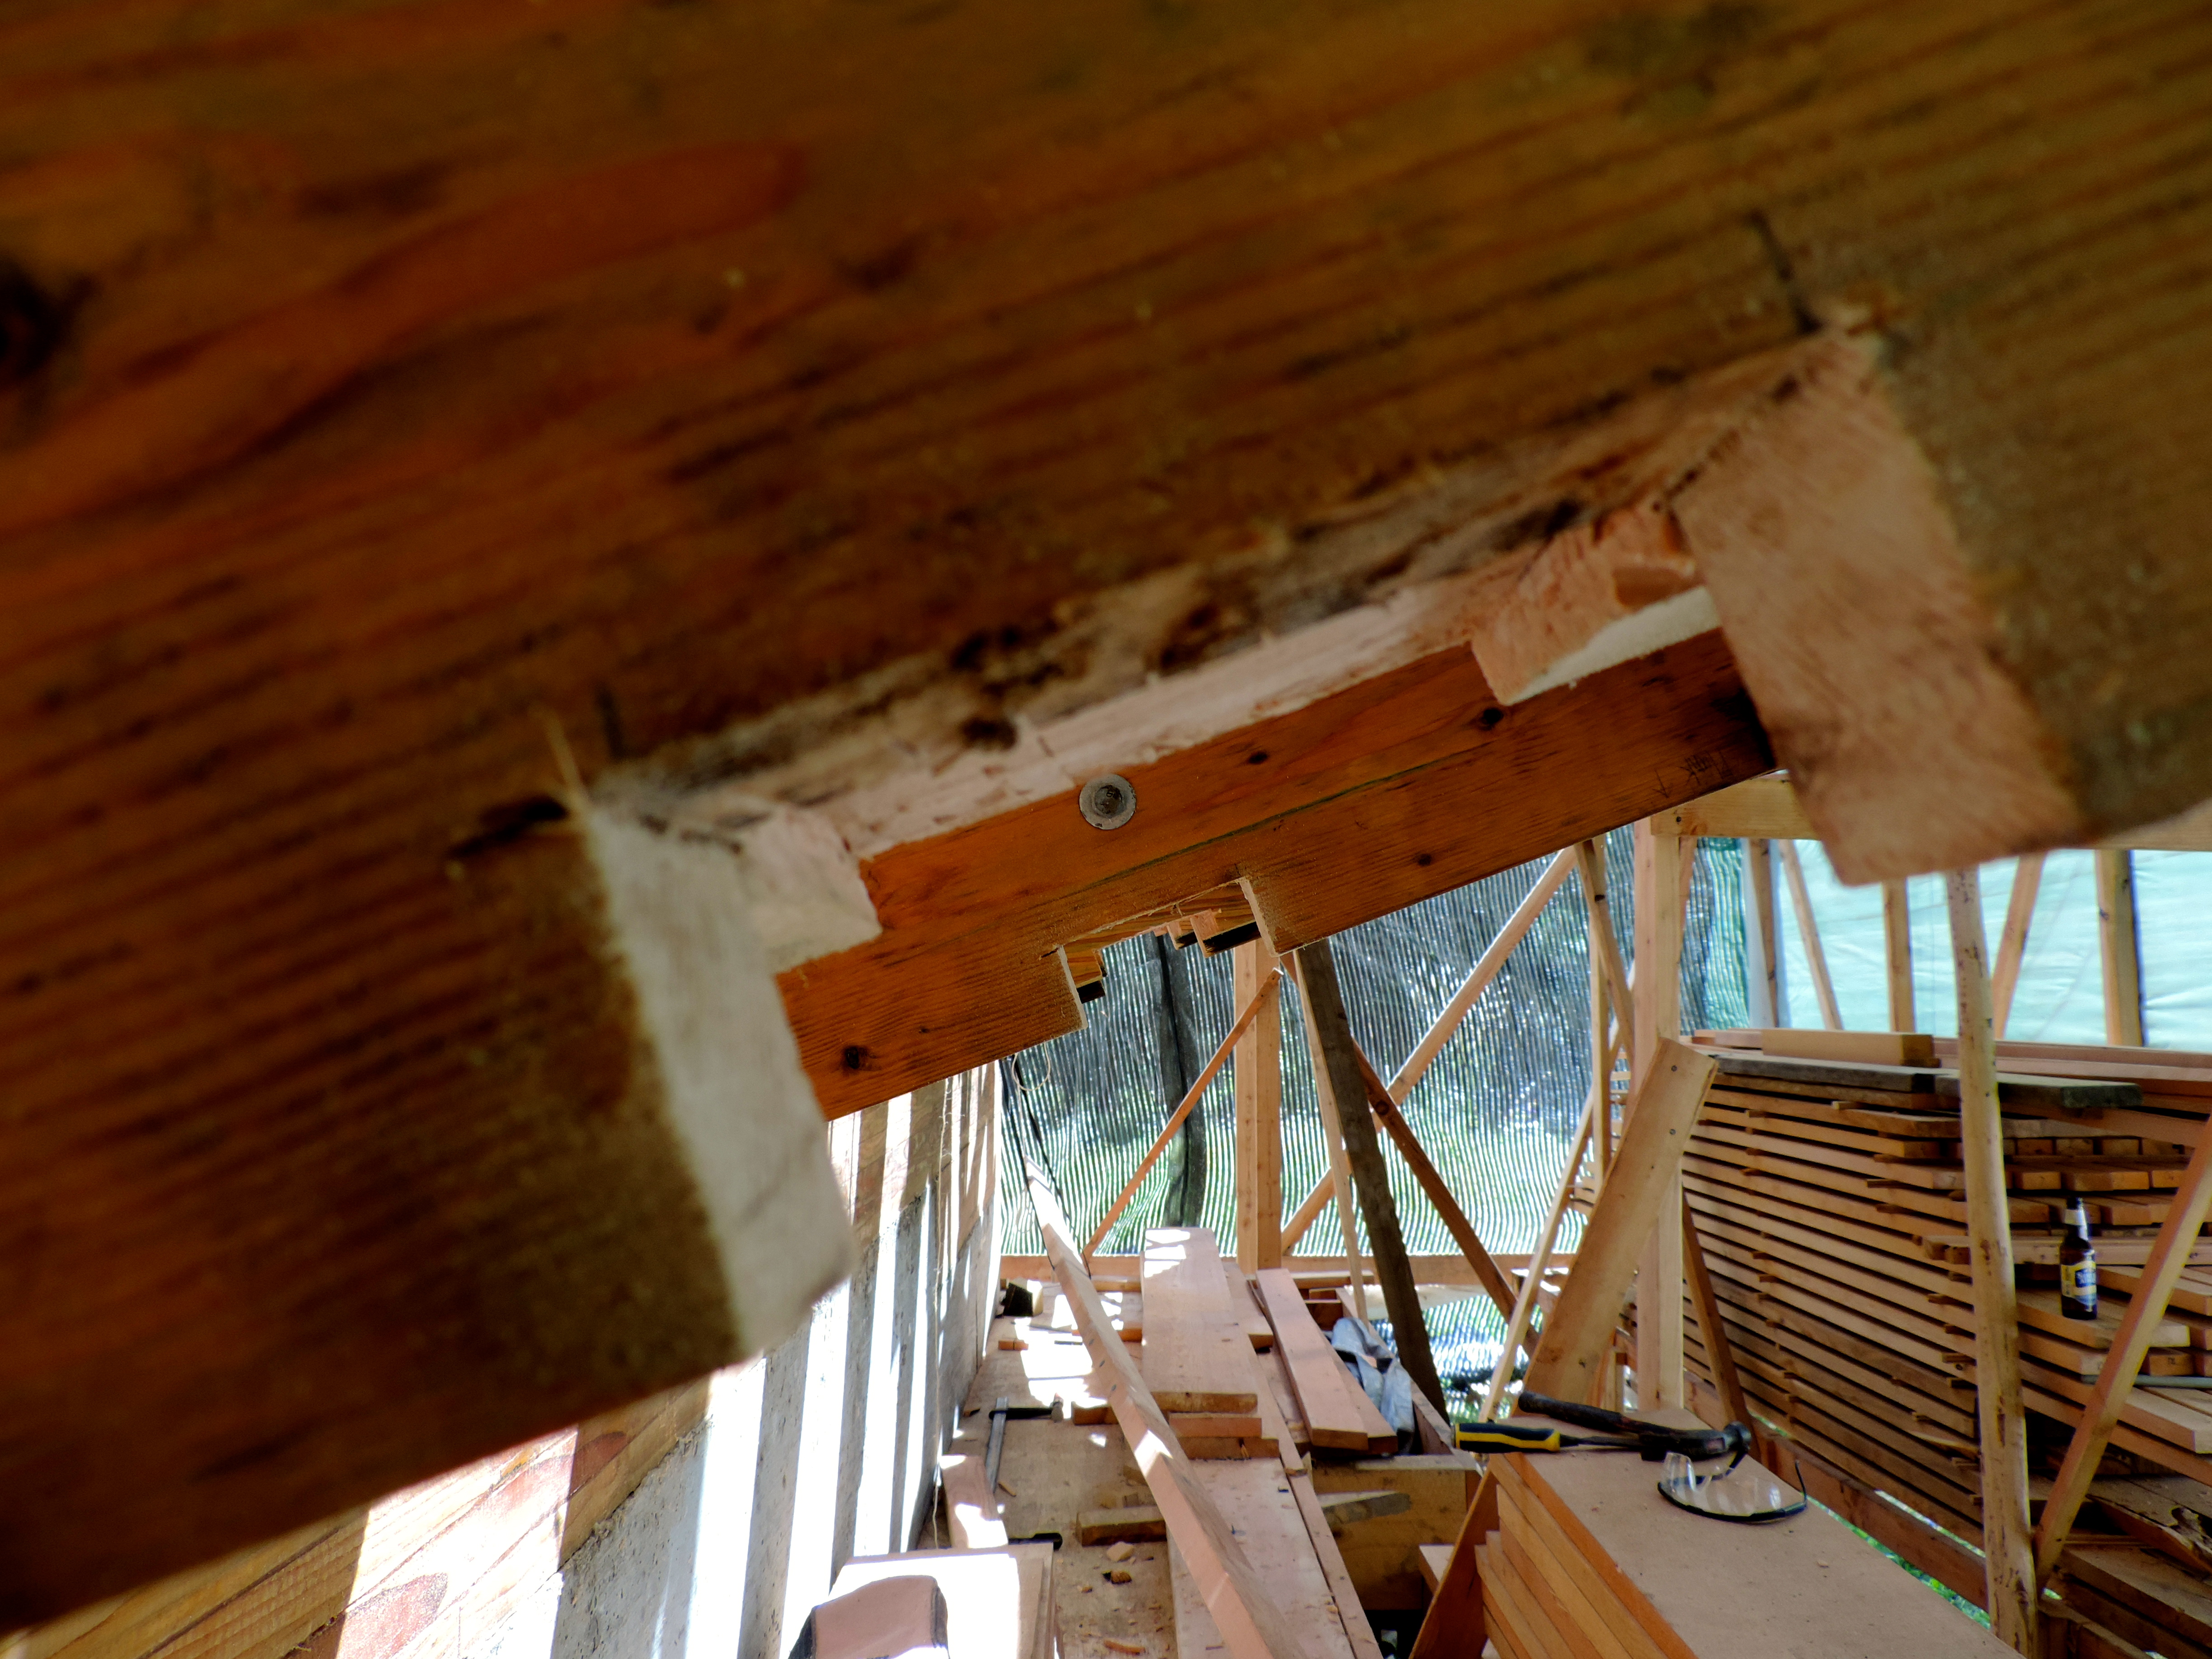
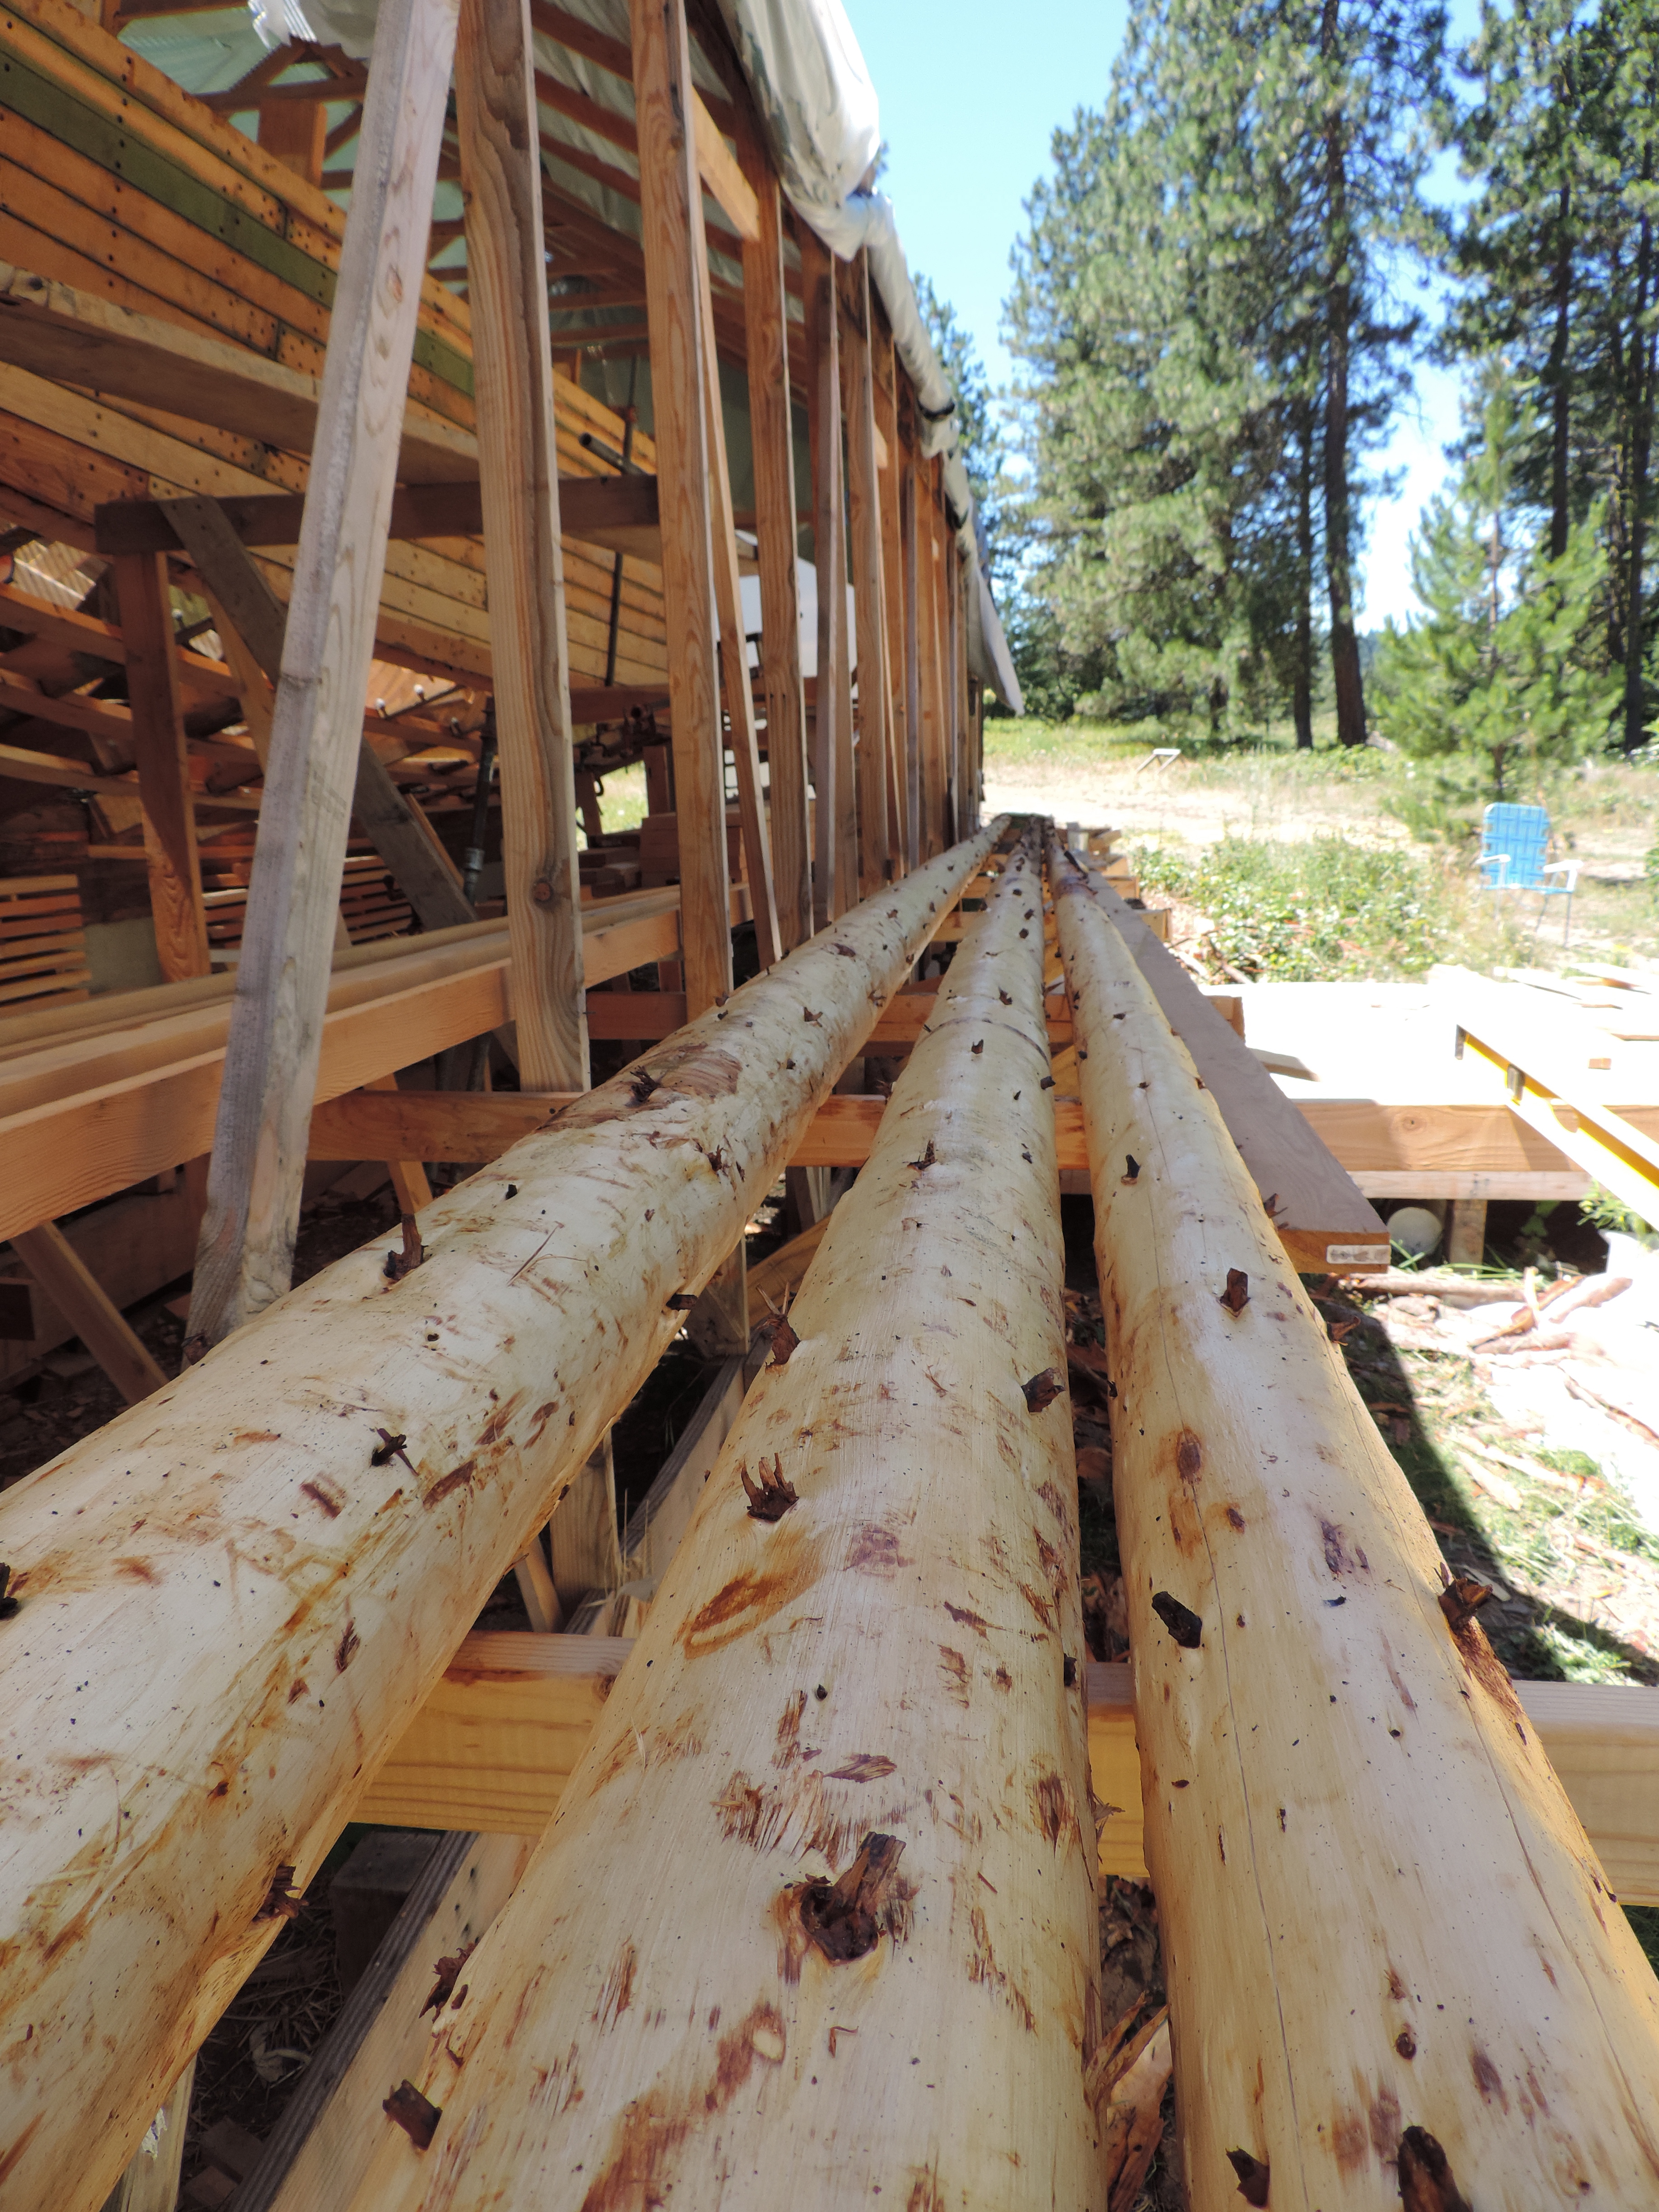
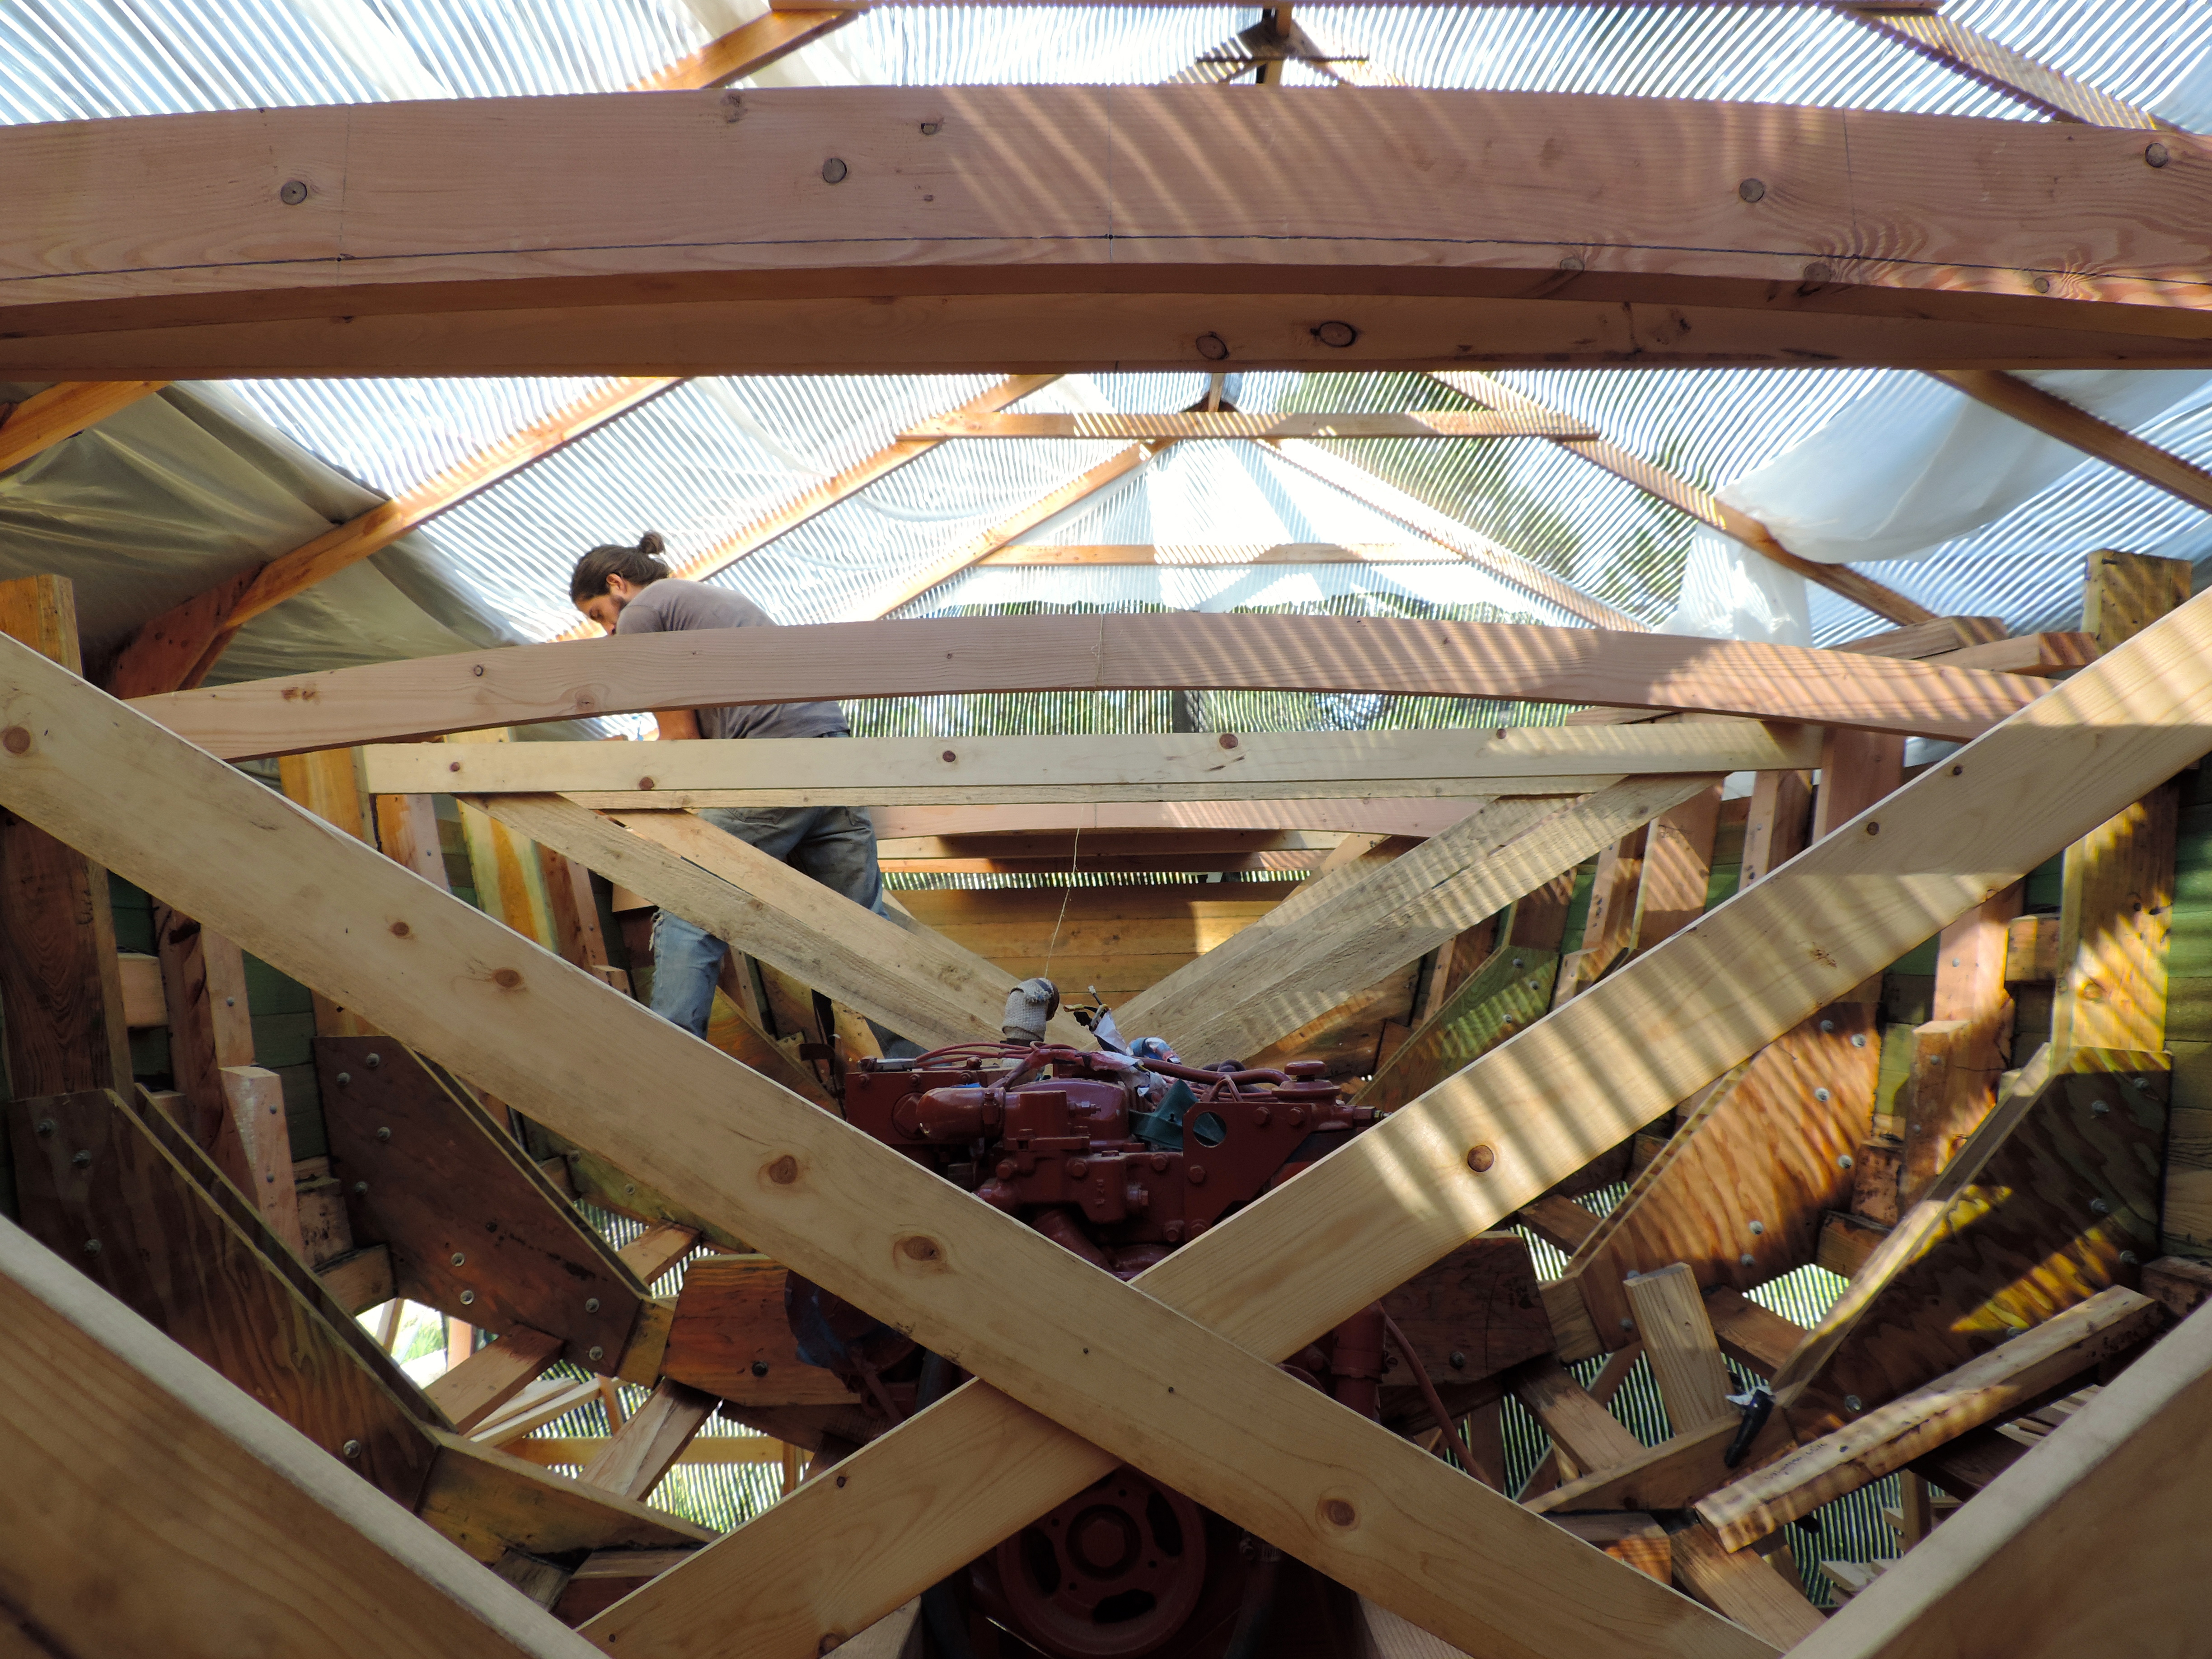
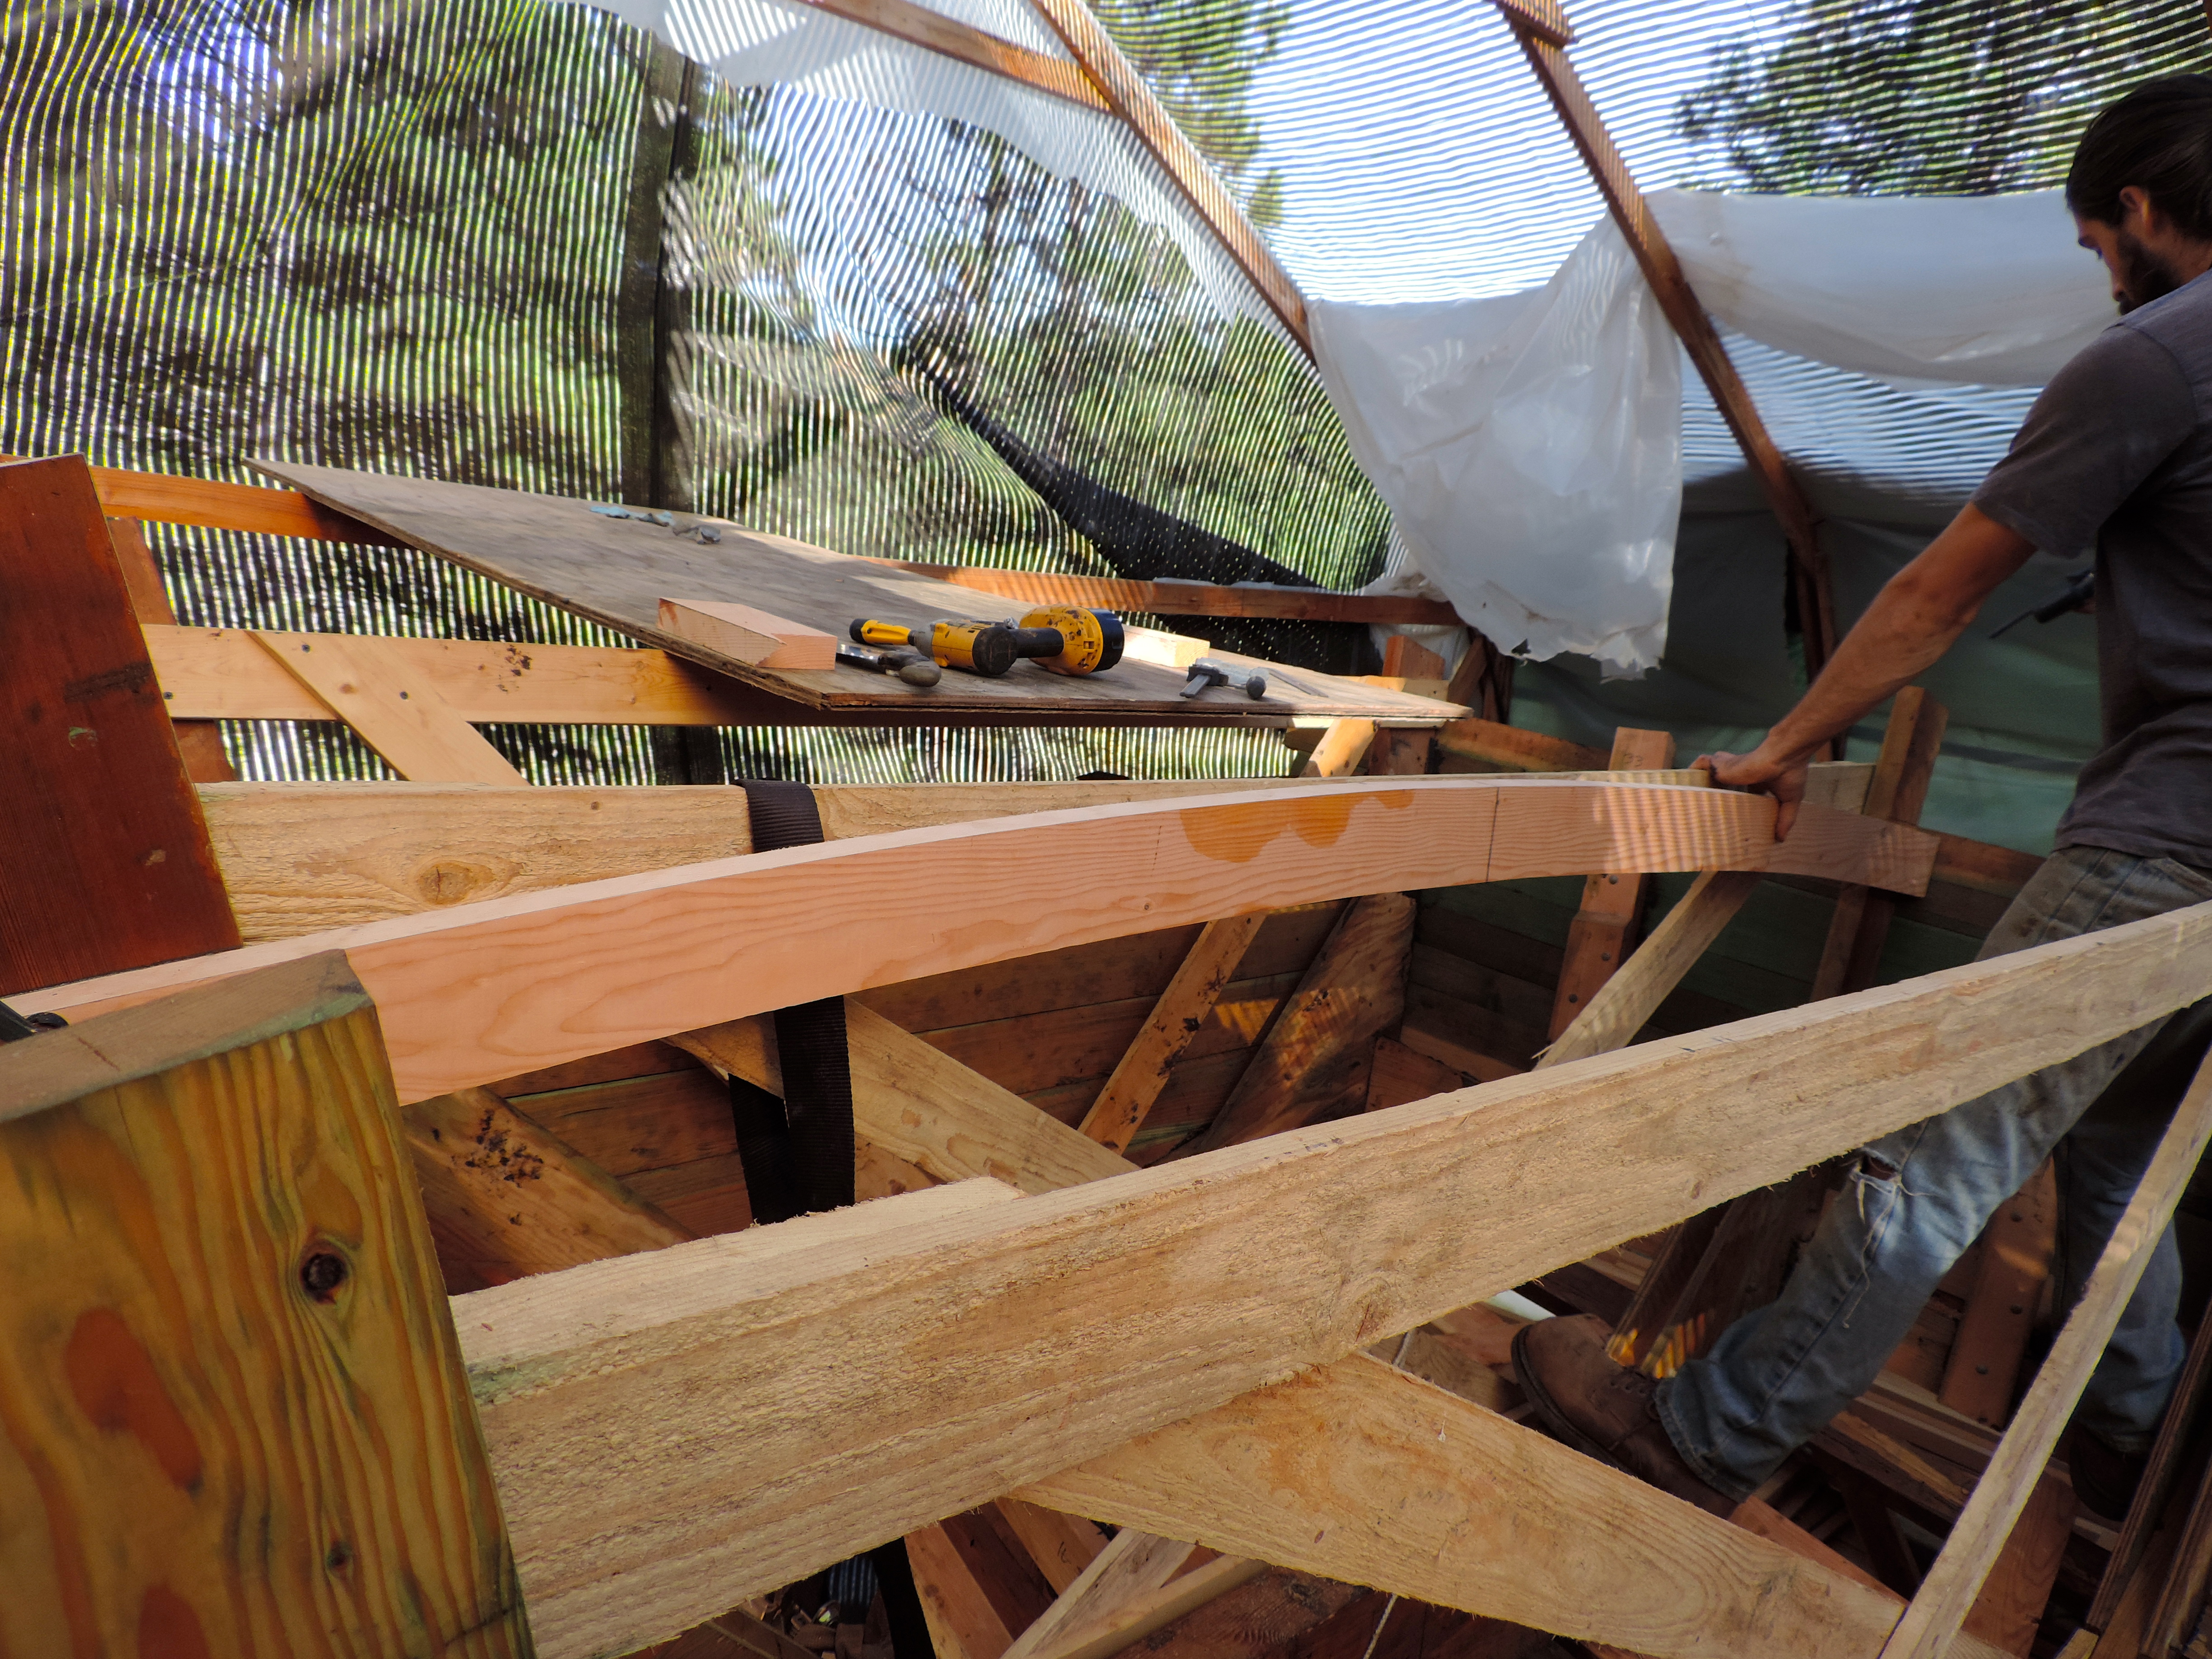
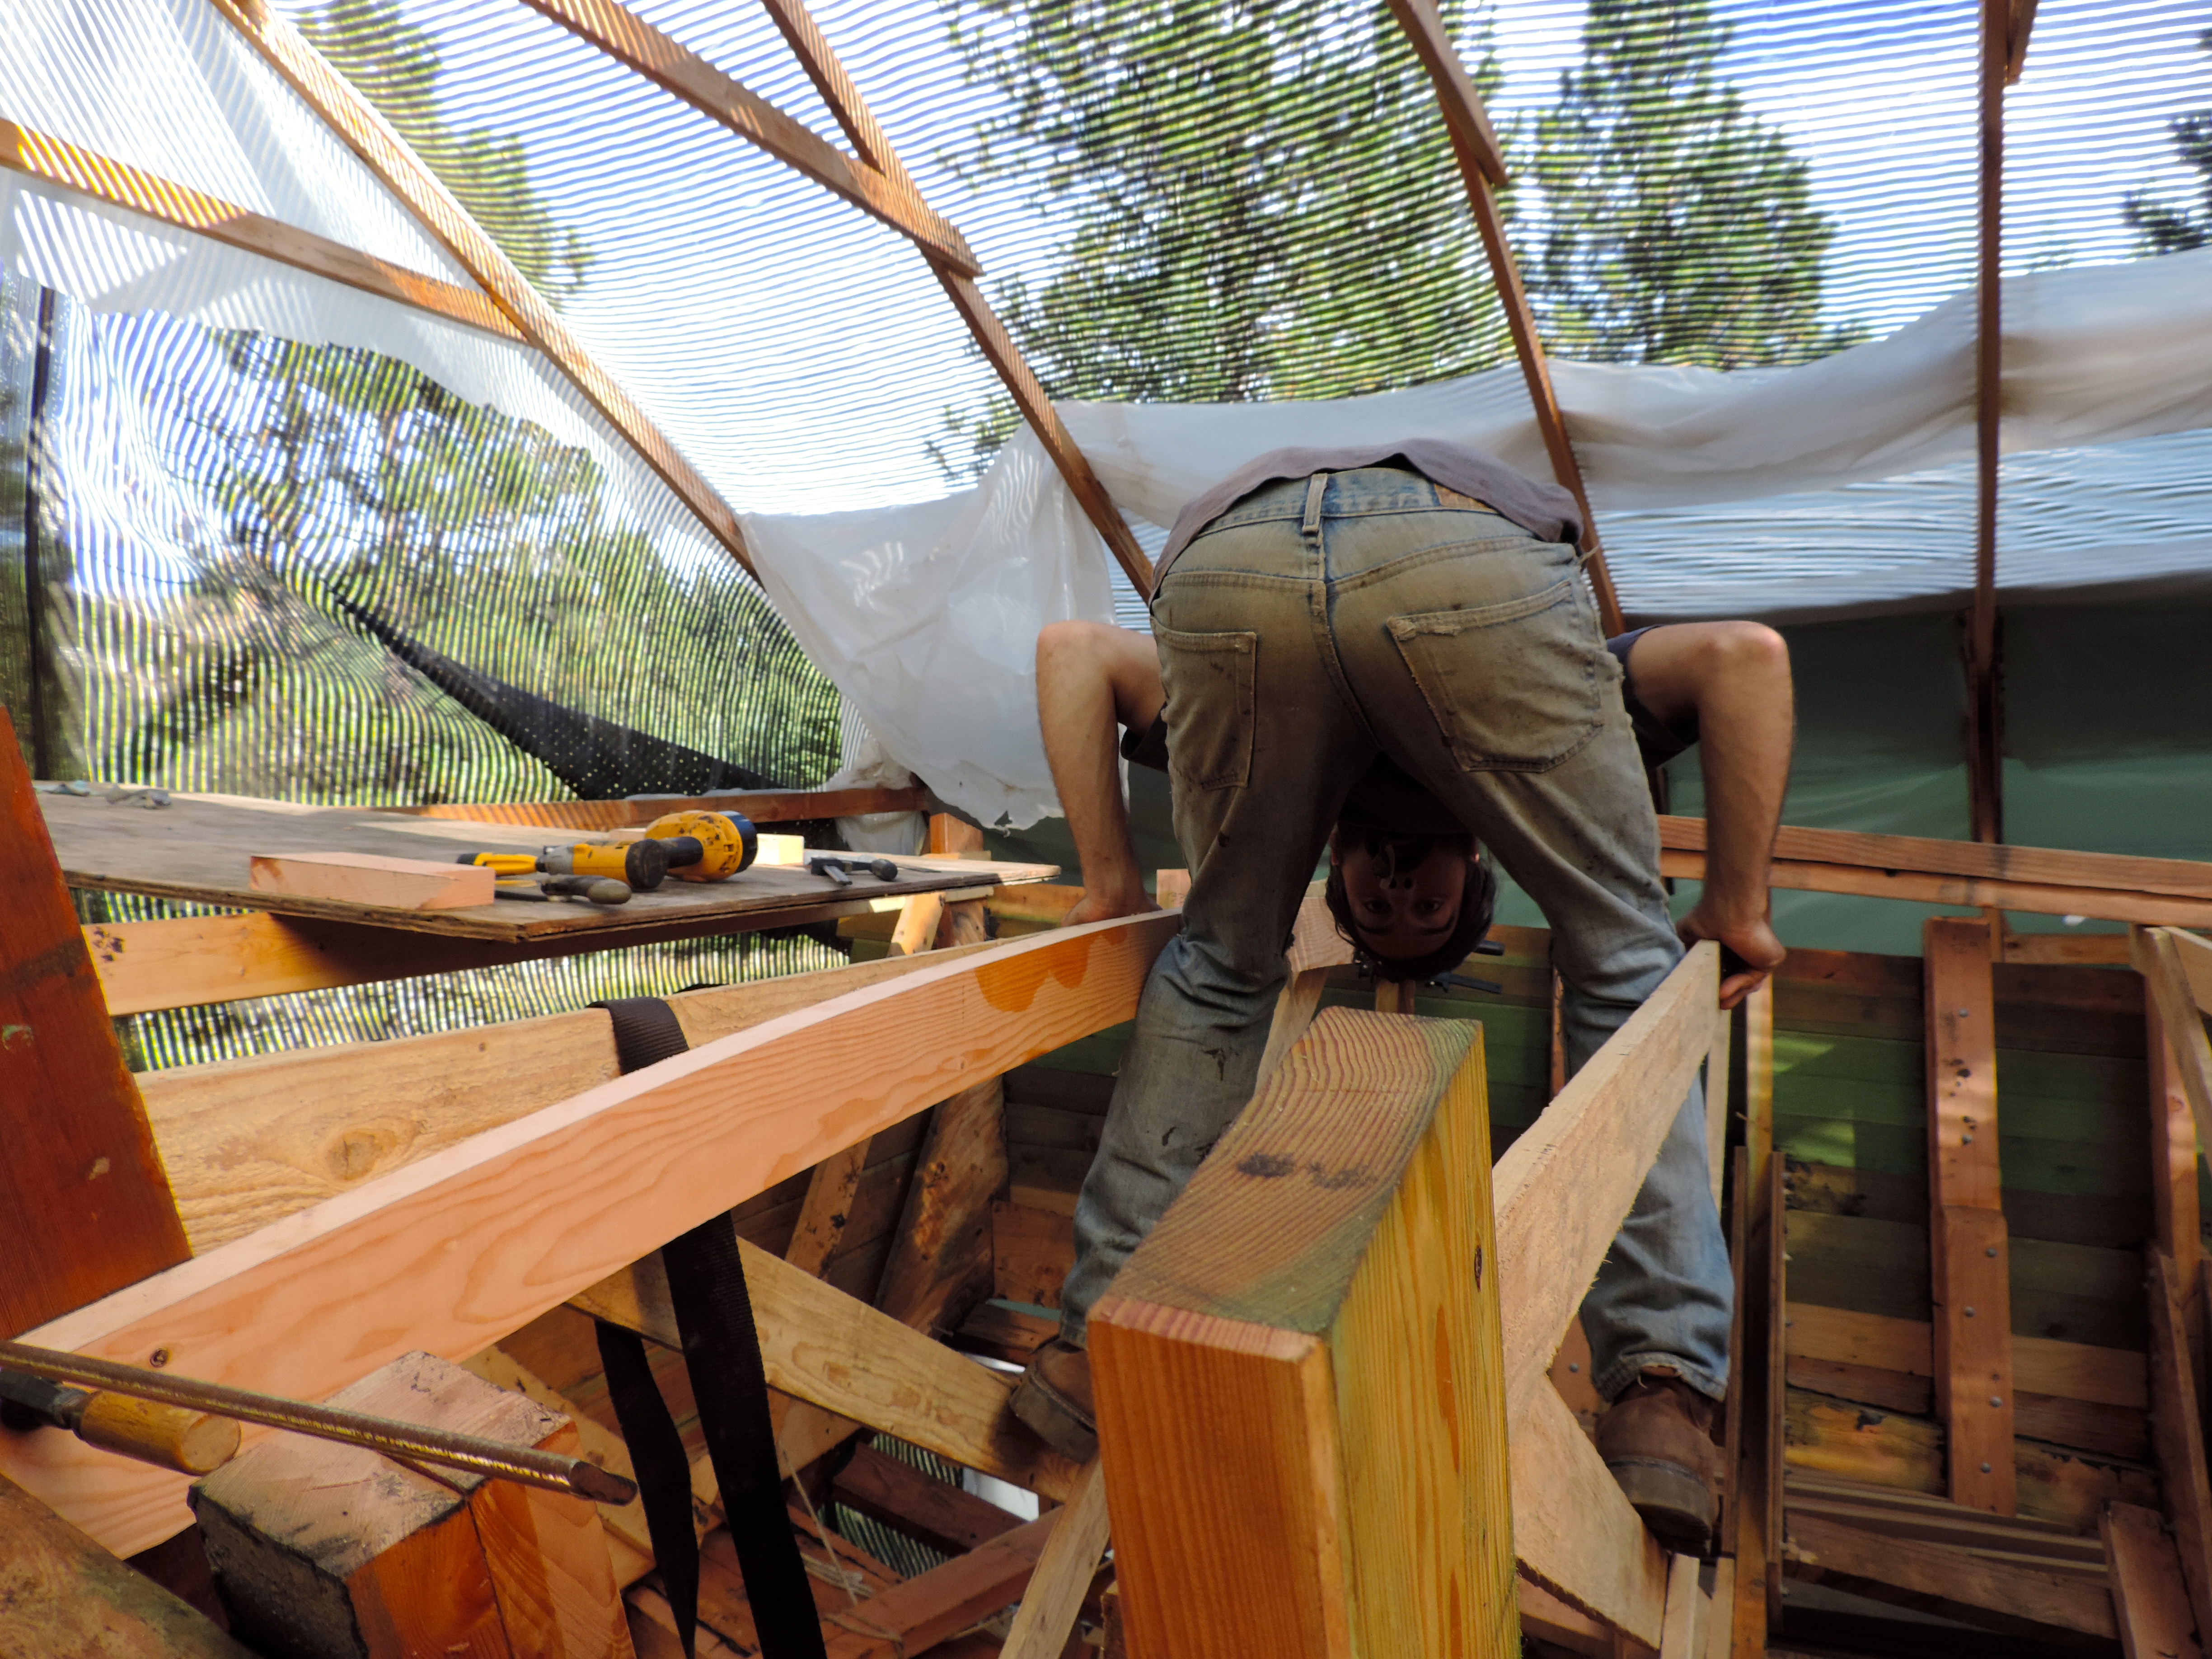
Stringer #1, bending her into place to dry fit. Starboard side.

Stringer #1 and 2 installed. #1 (the middle stringer) we thought would be the easiest but we were way off. It set the position for the other two stringers so it had to be perfect and with it being our first attempt at bending a 40ft scarfed piece of wood over our heads it was a learning exercise!
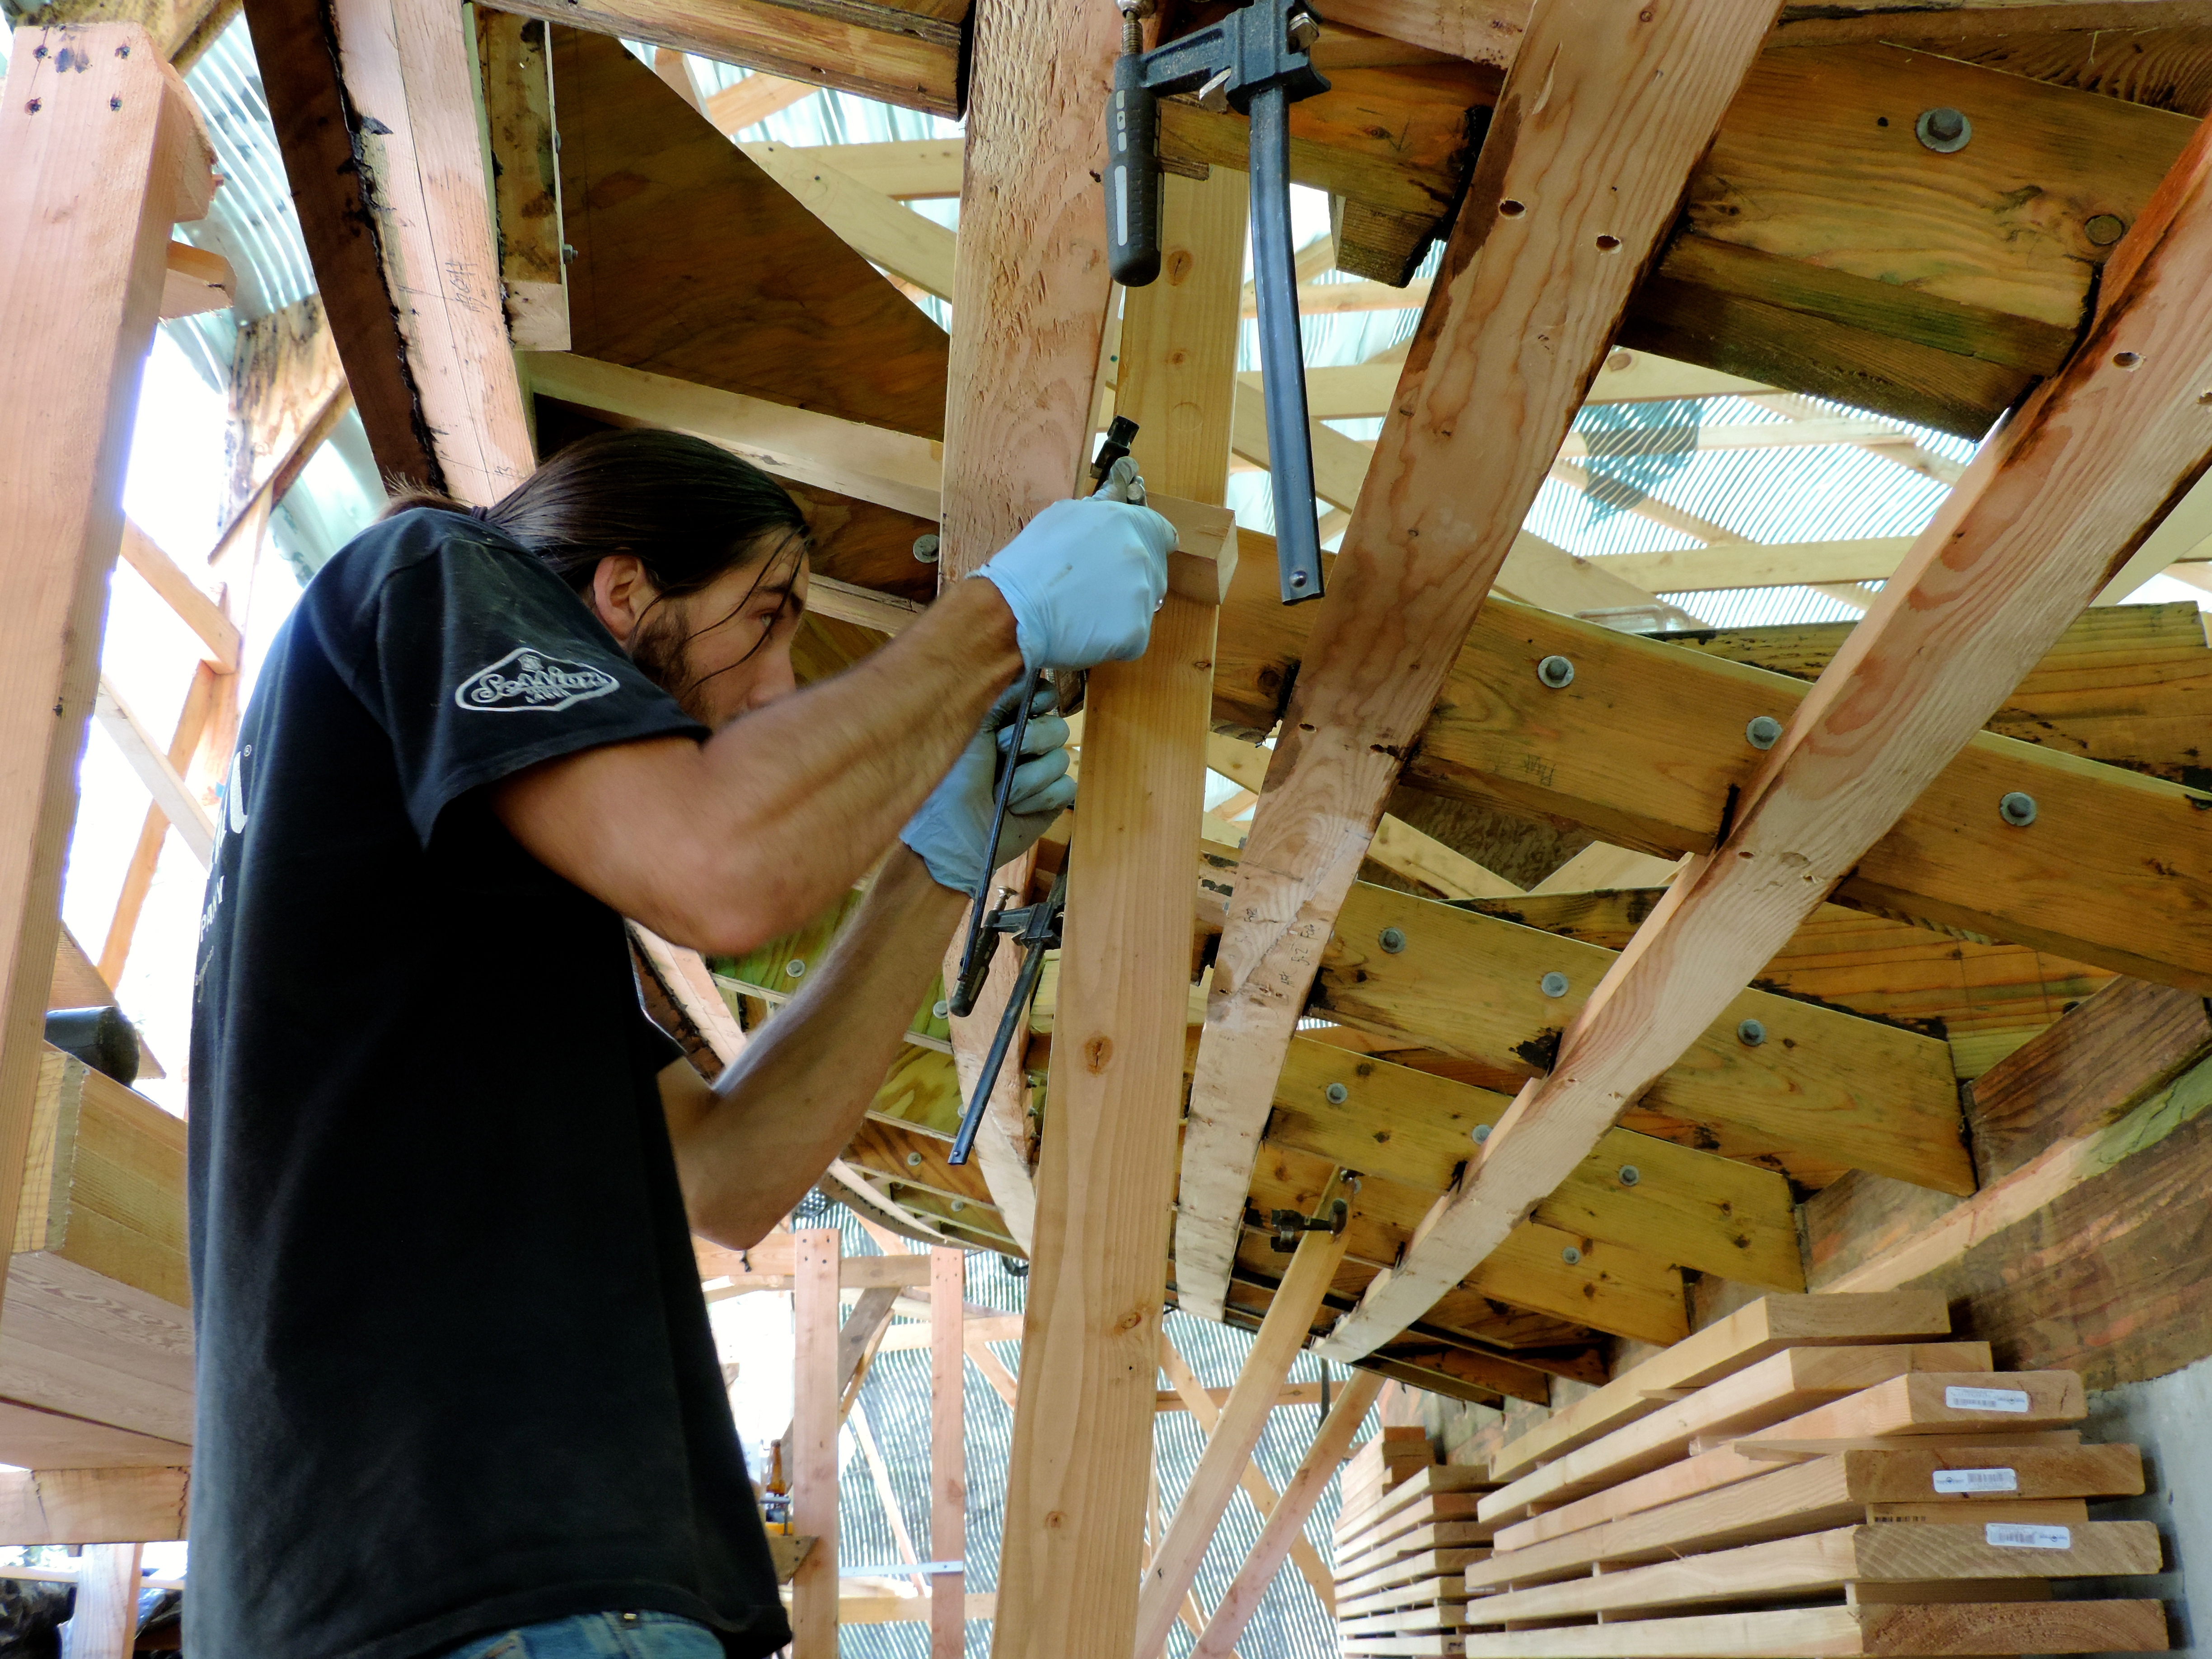
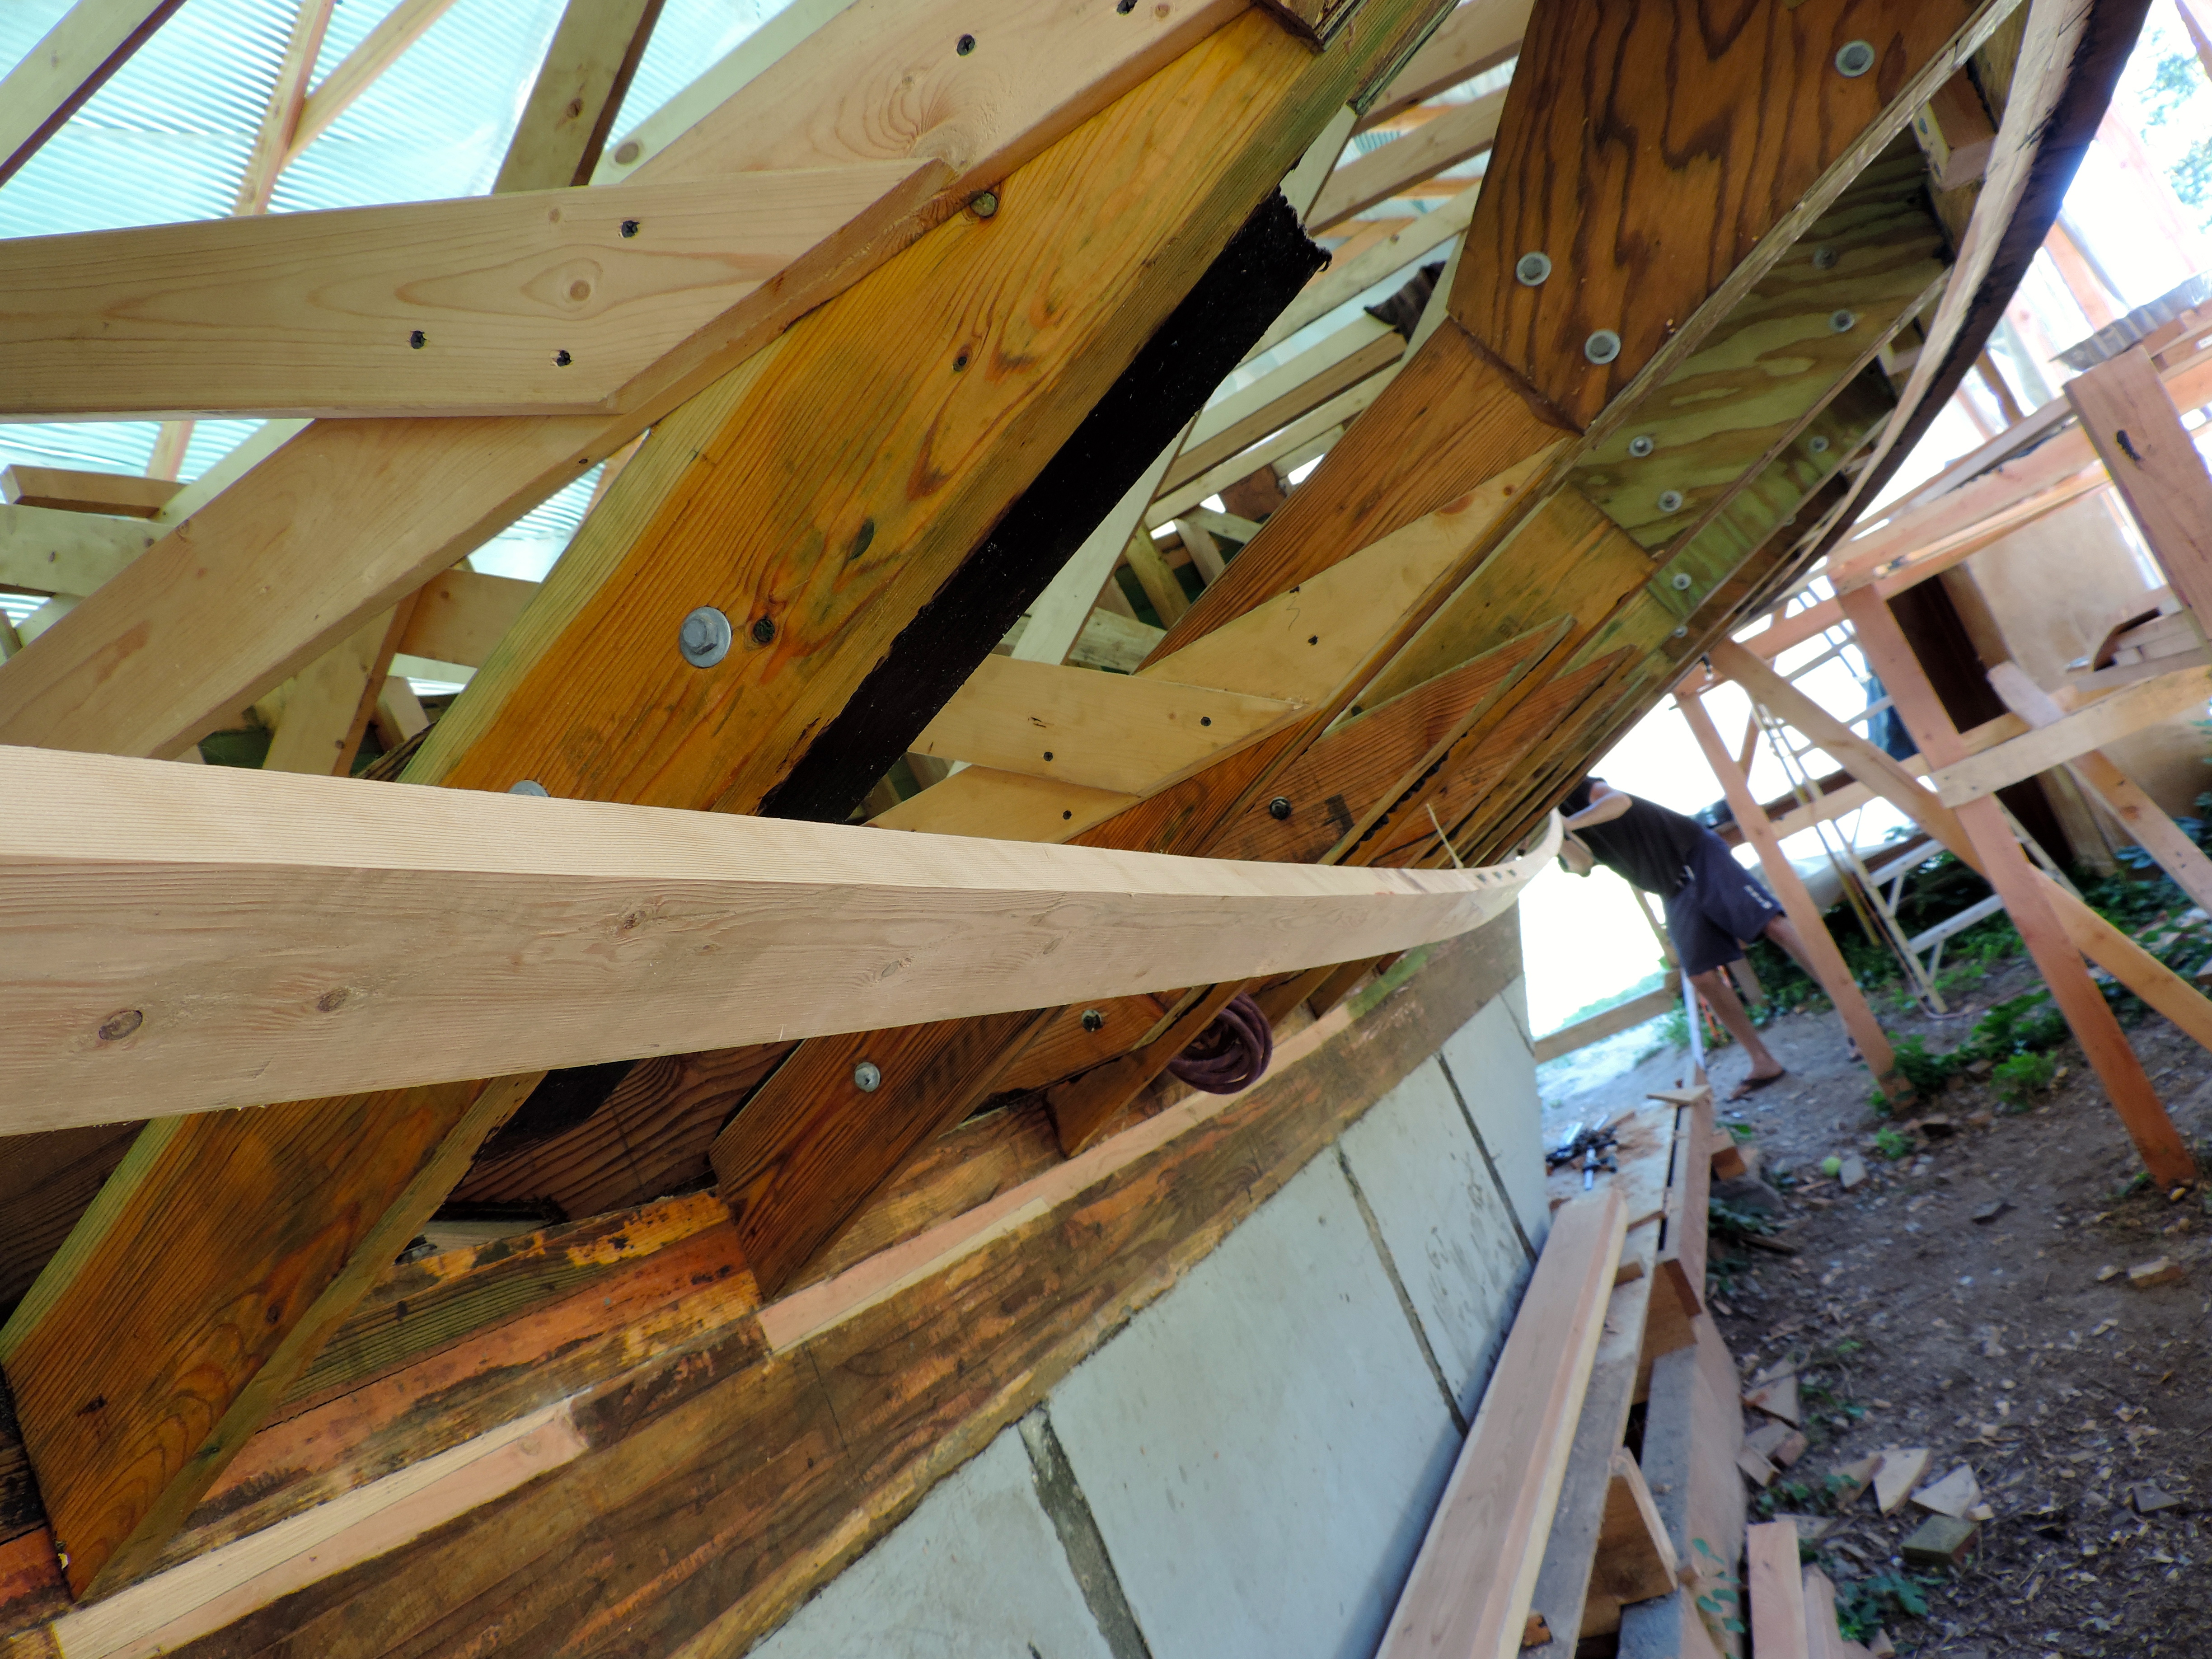
Getting #3 into her notches. Completing the Starboard side.
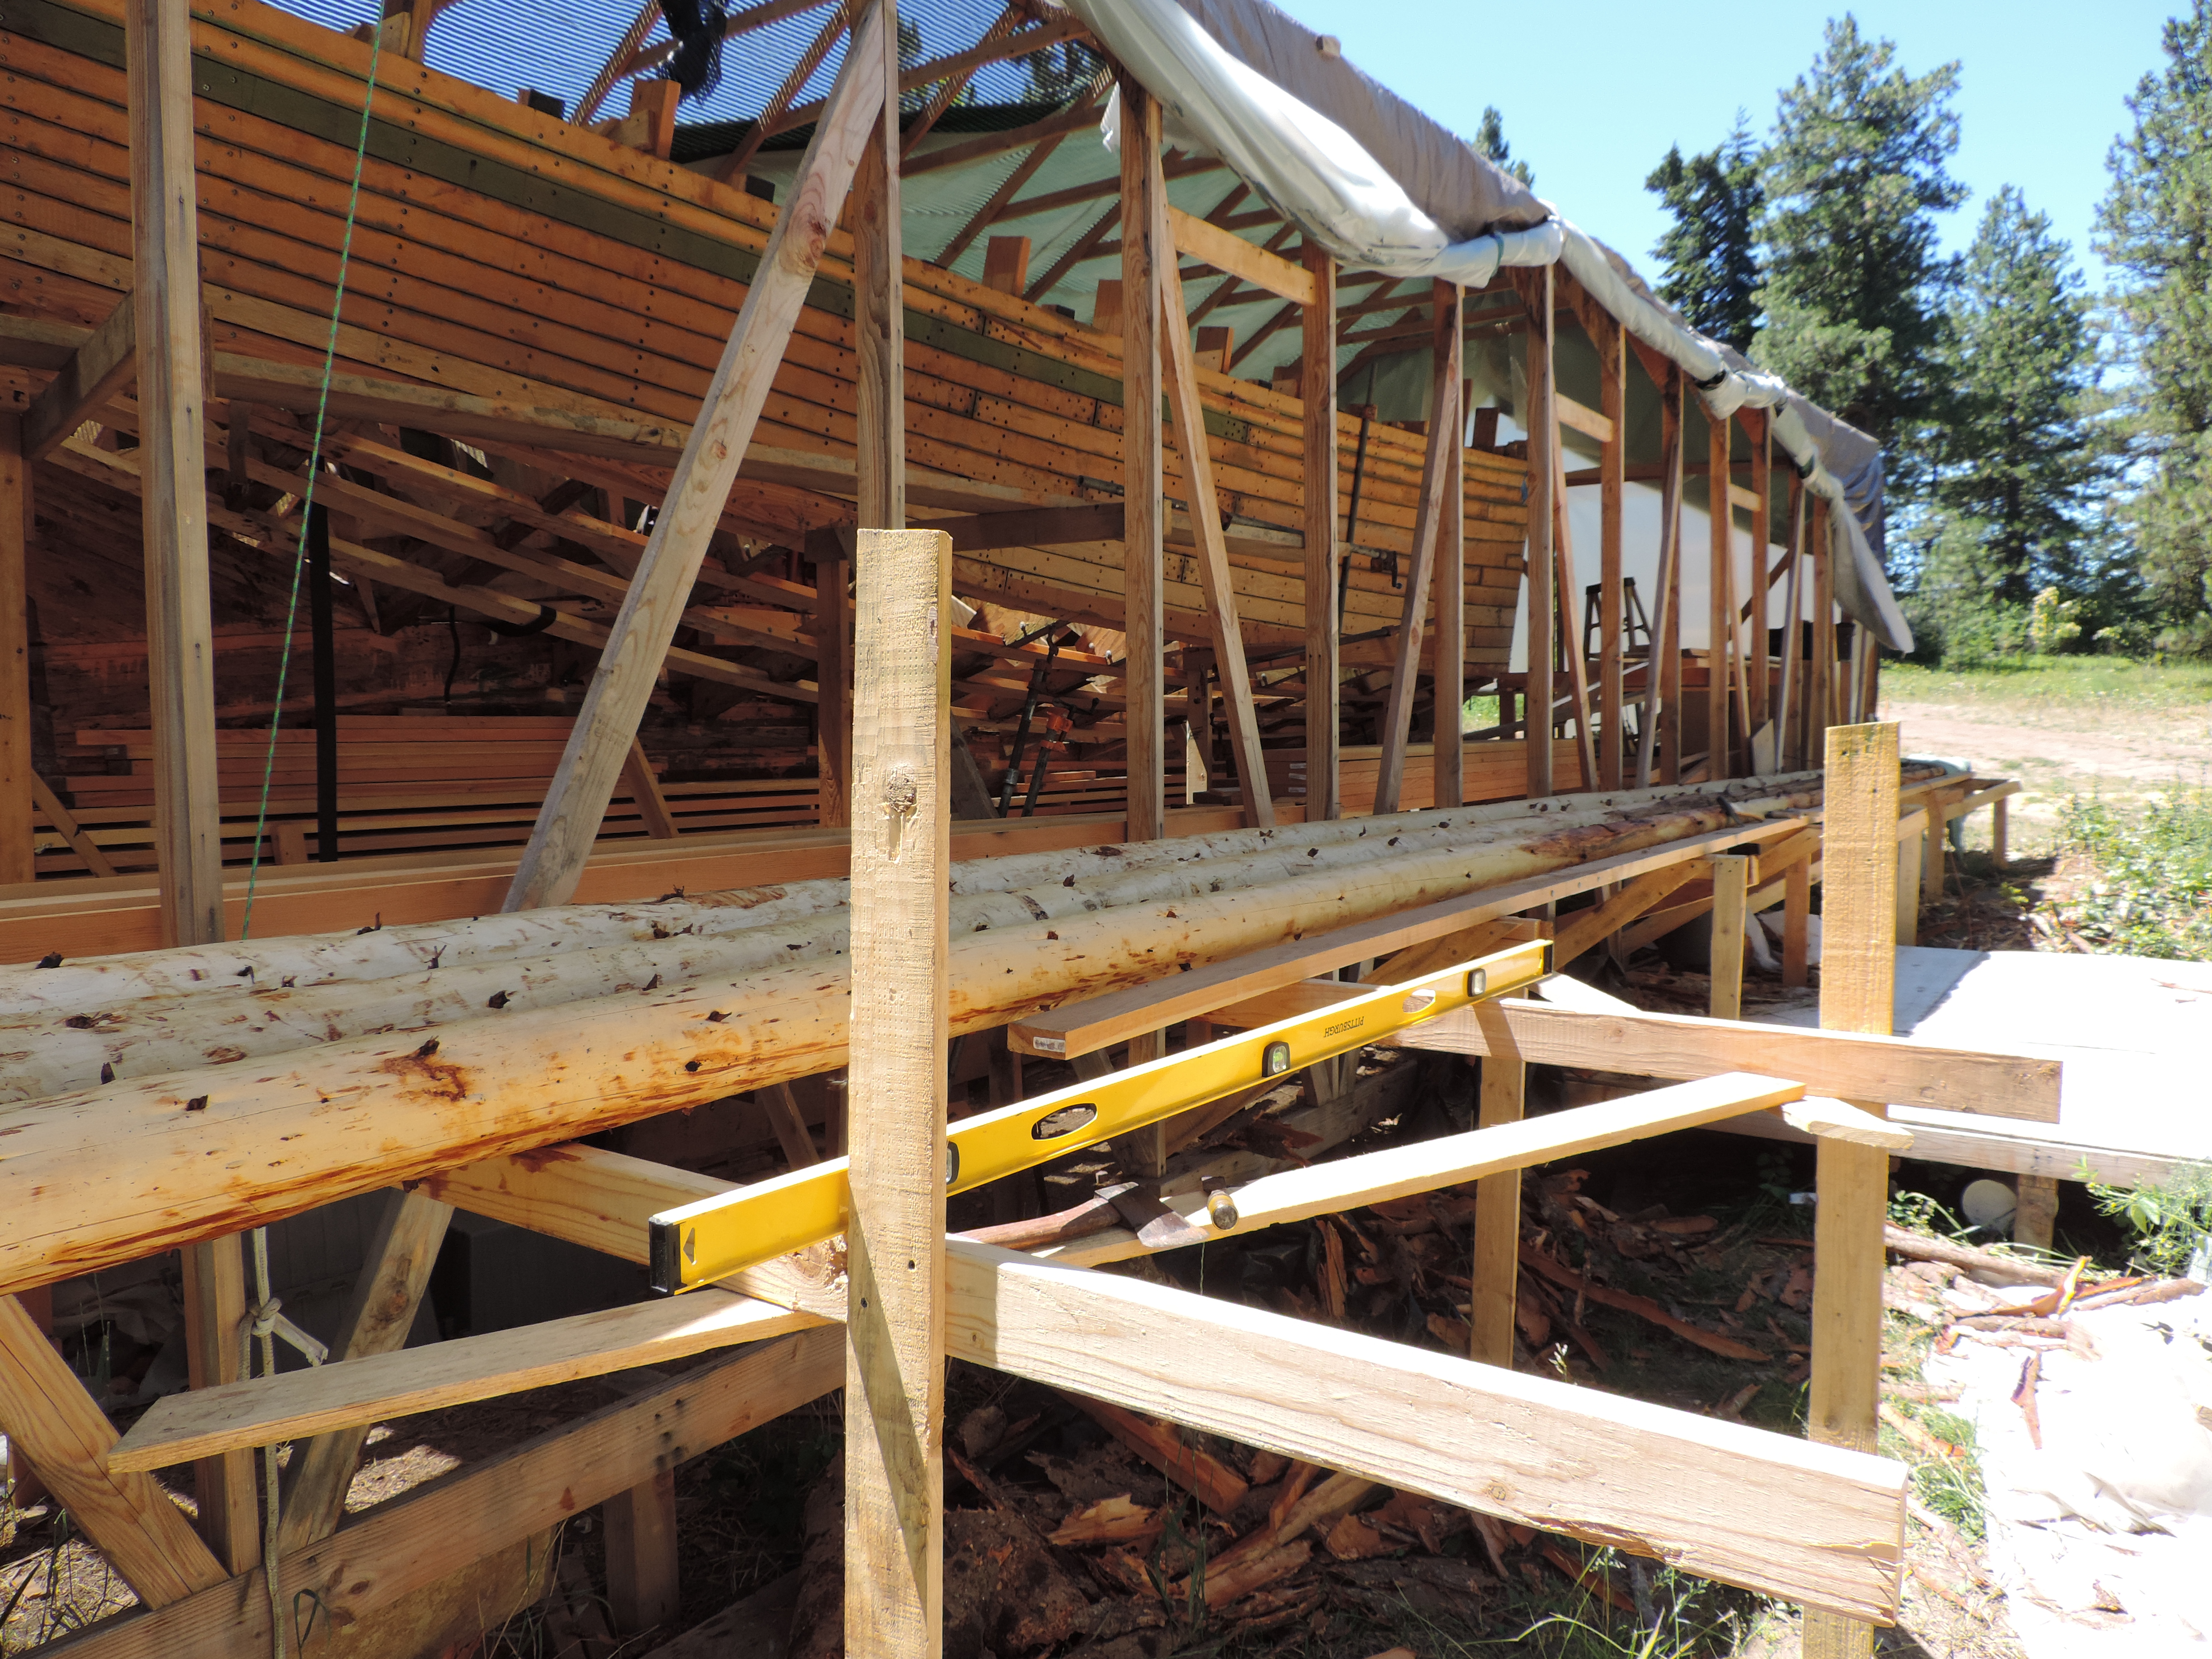
Stringer #4, first one on the Port side and the middle stringer. Didn’t take as long as Starboard but still the middle stringer setting the alignment for the others means more care and finesse are needed.

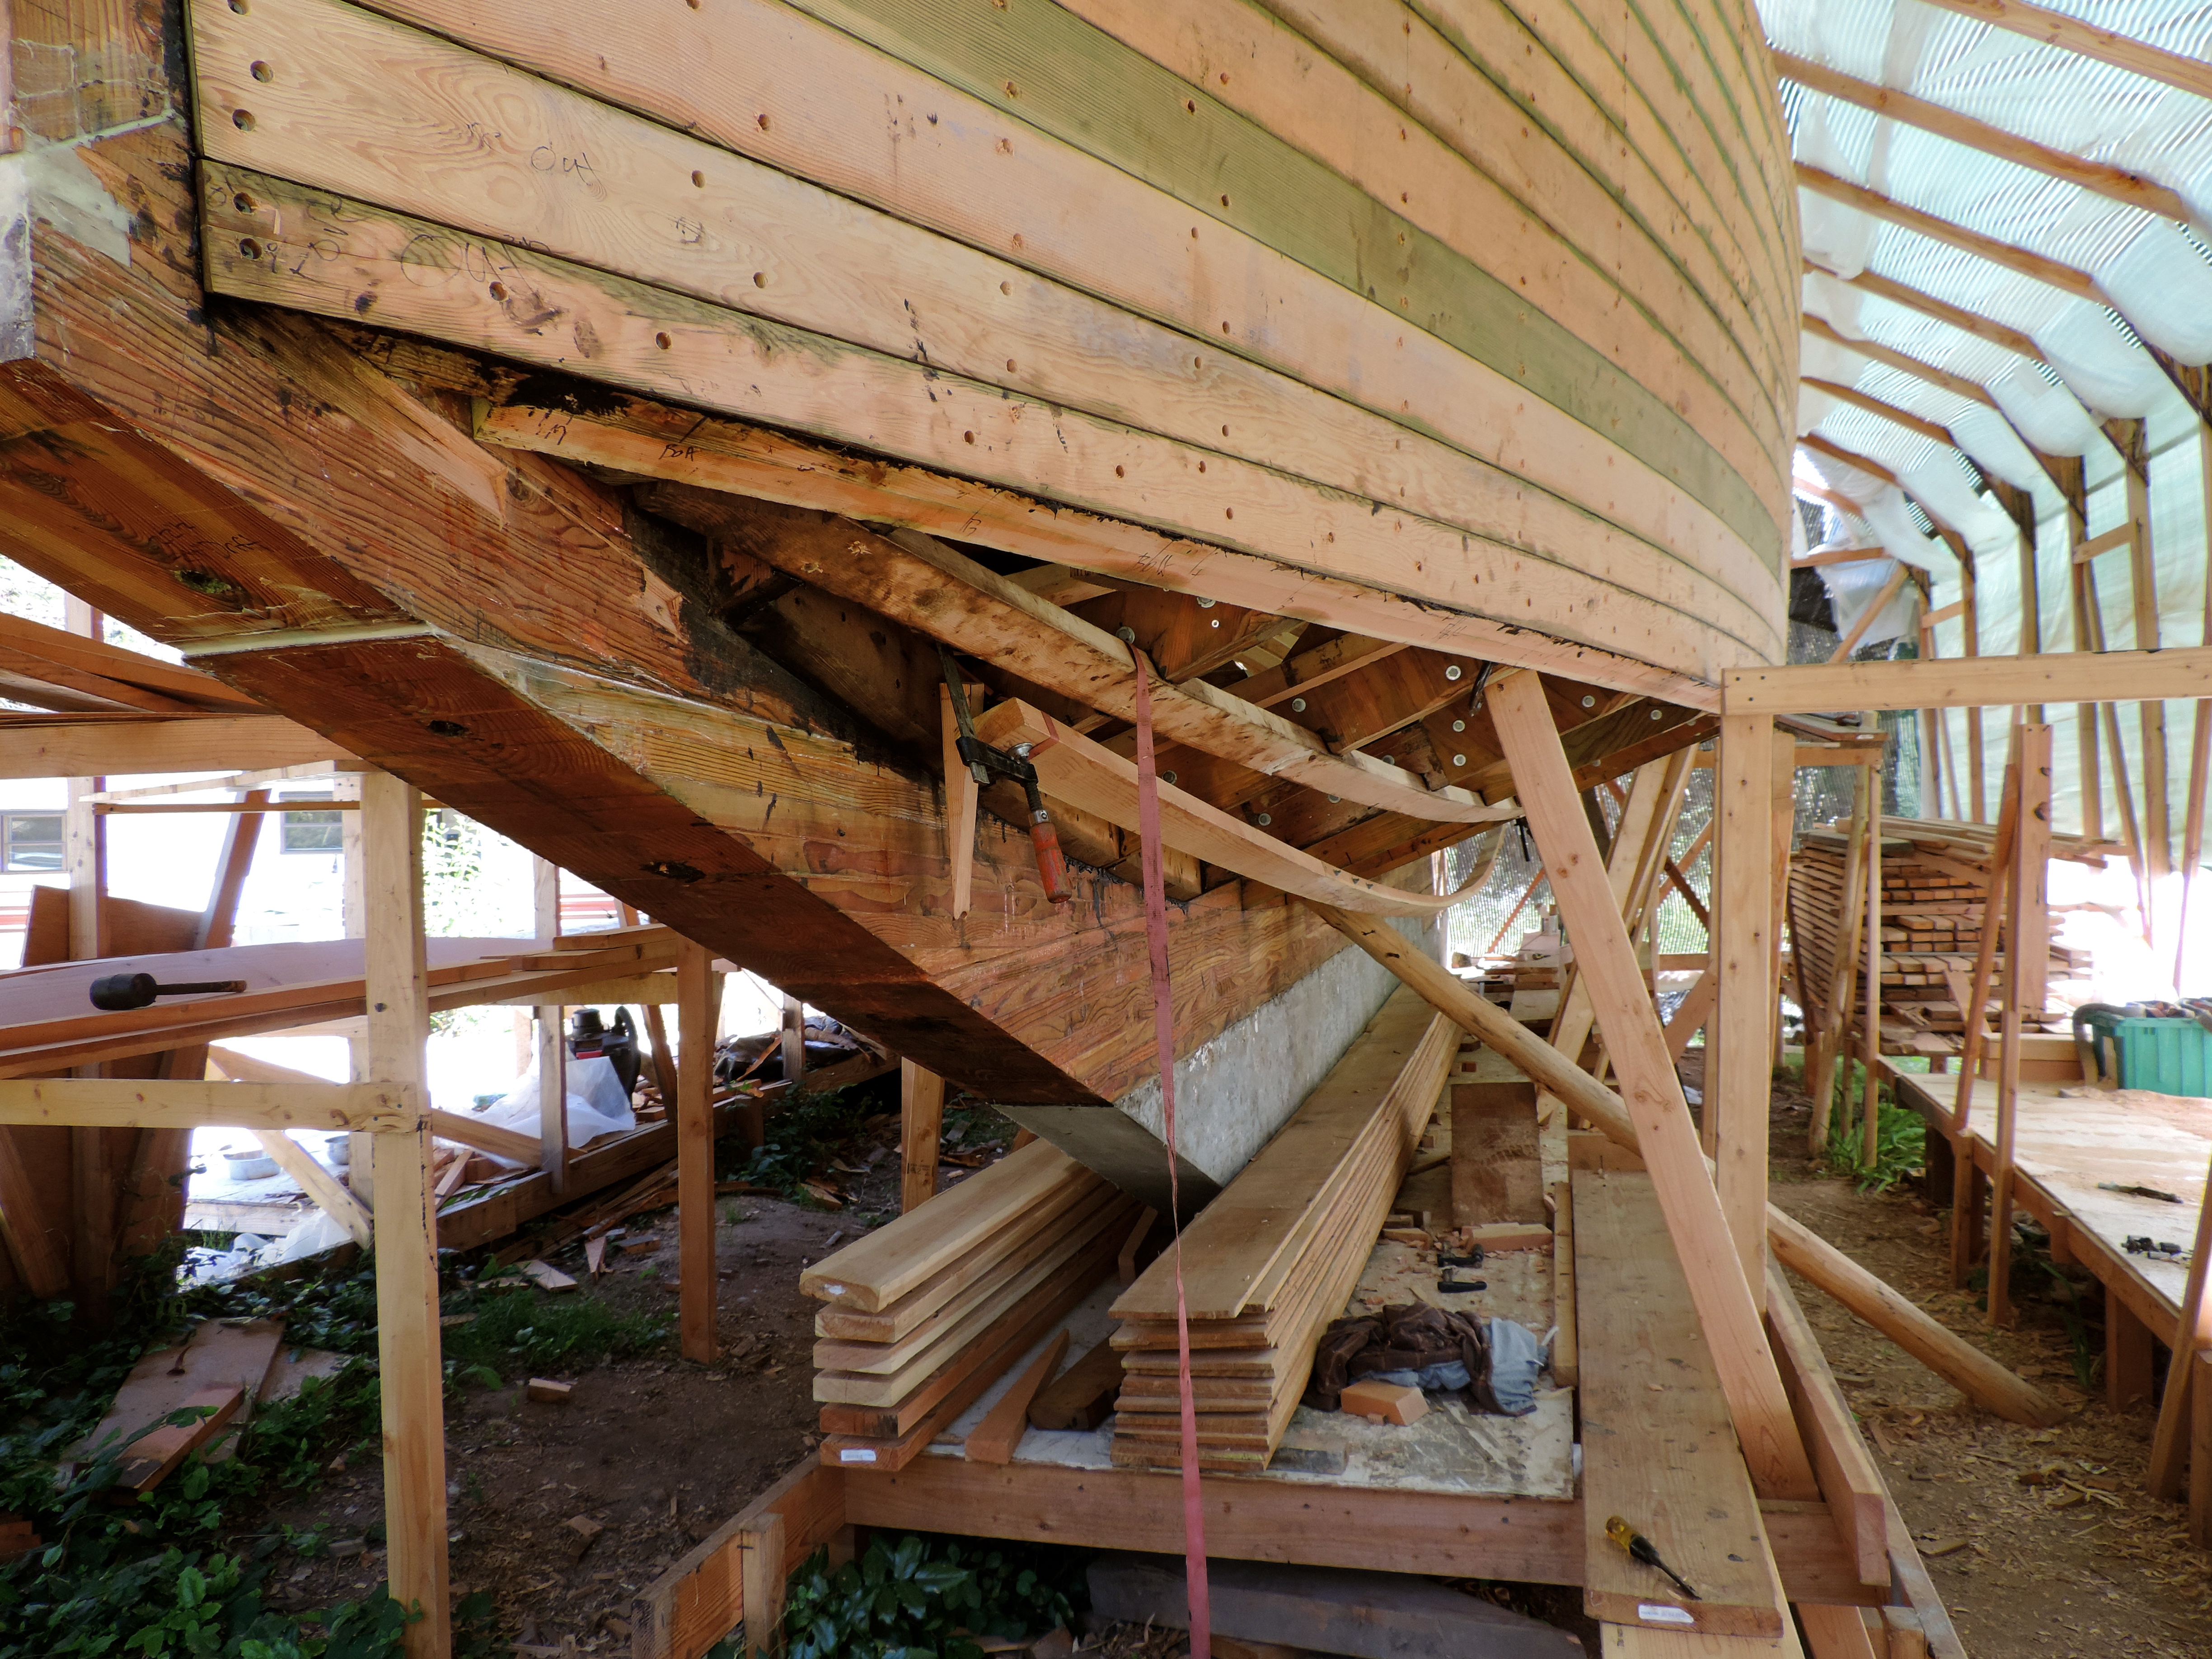
#5 out of 6. (Left) Dry fitting. (Right) Notches cut.
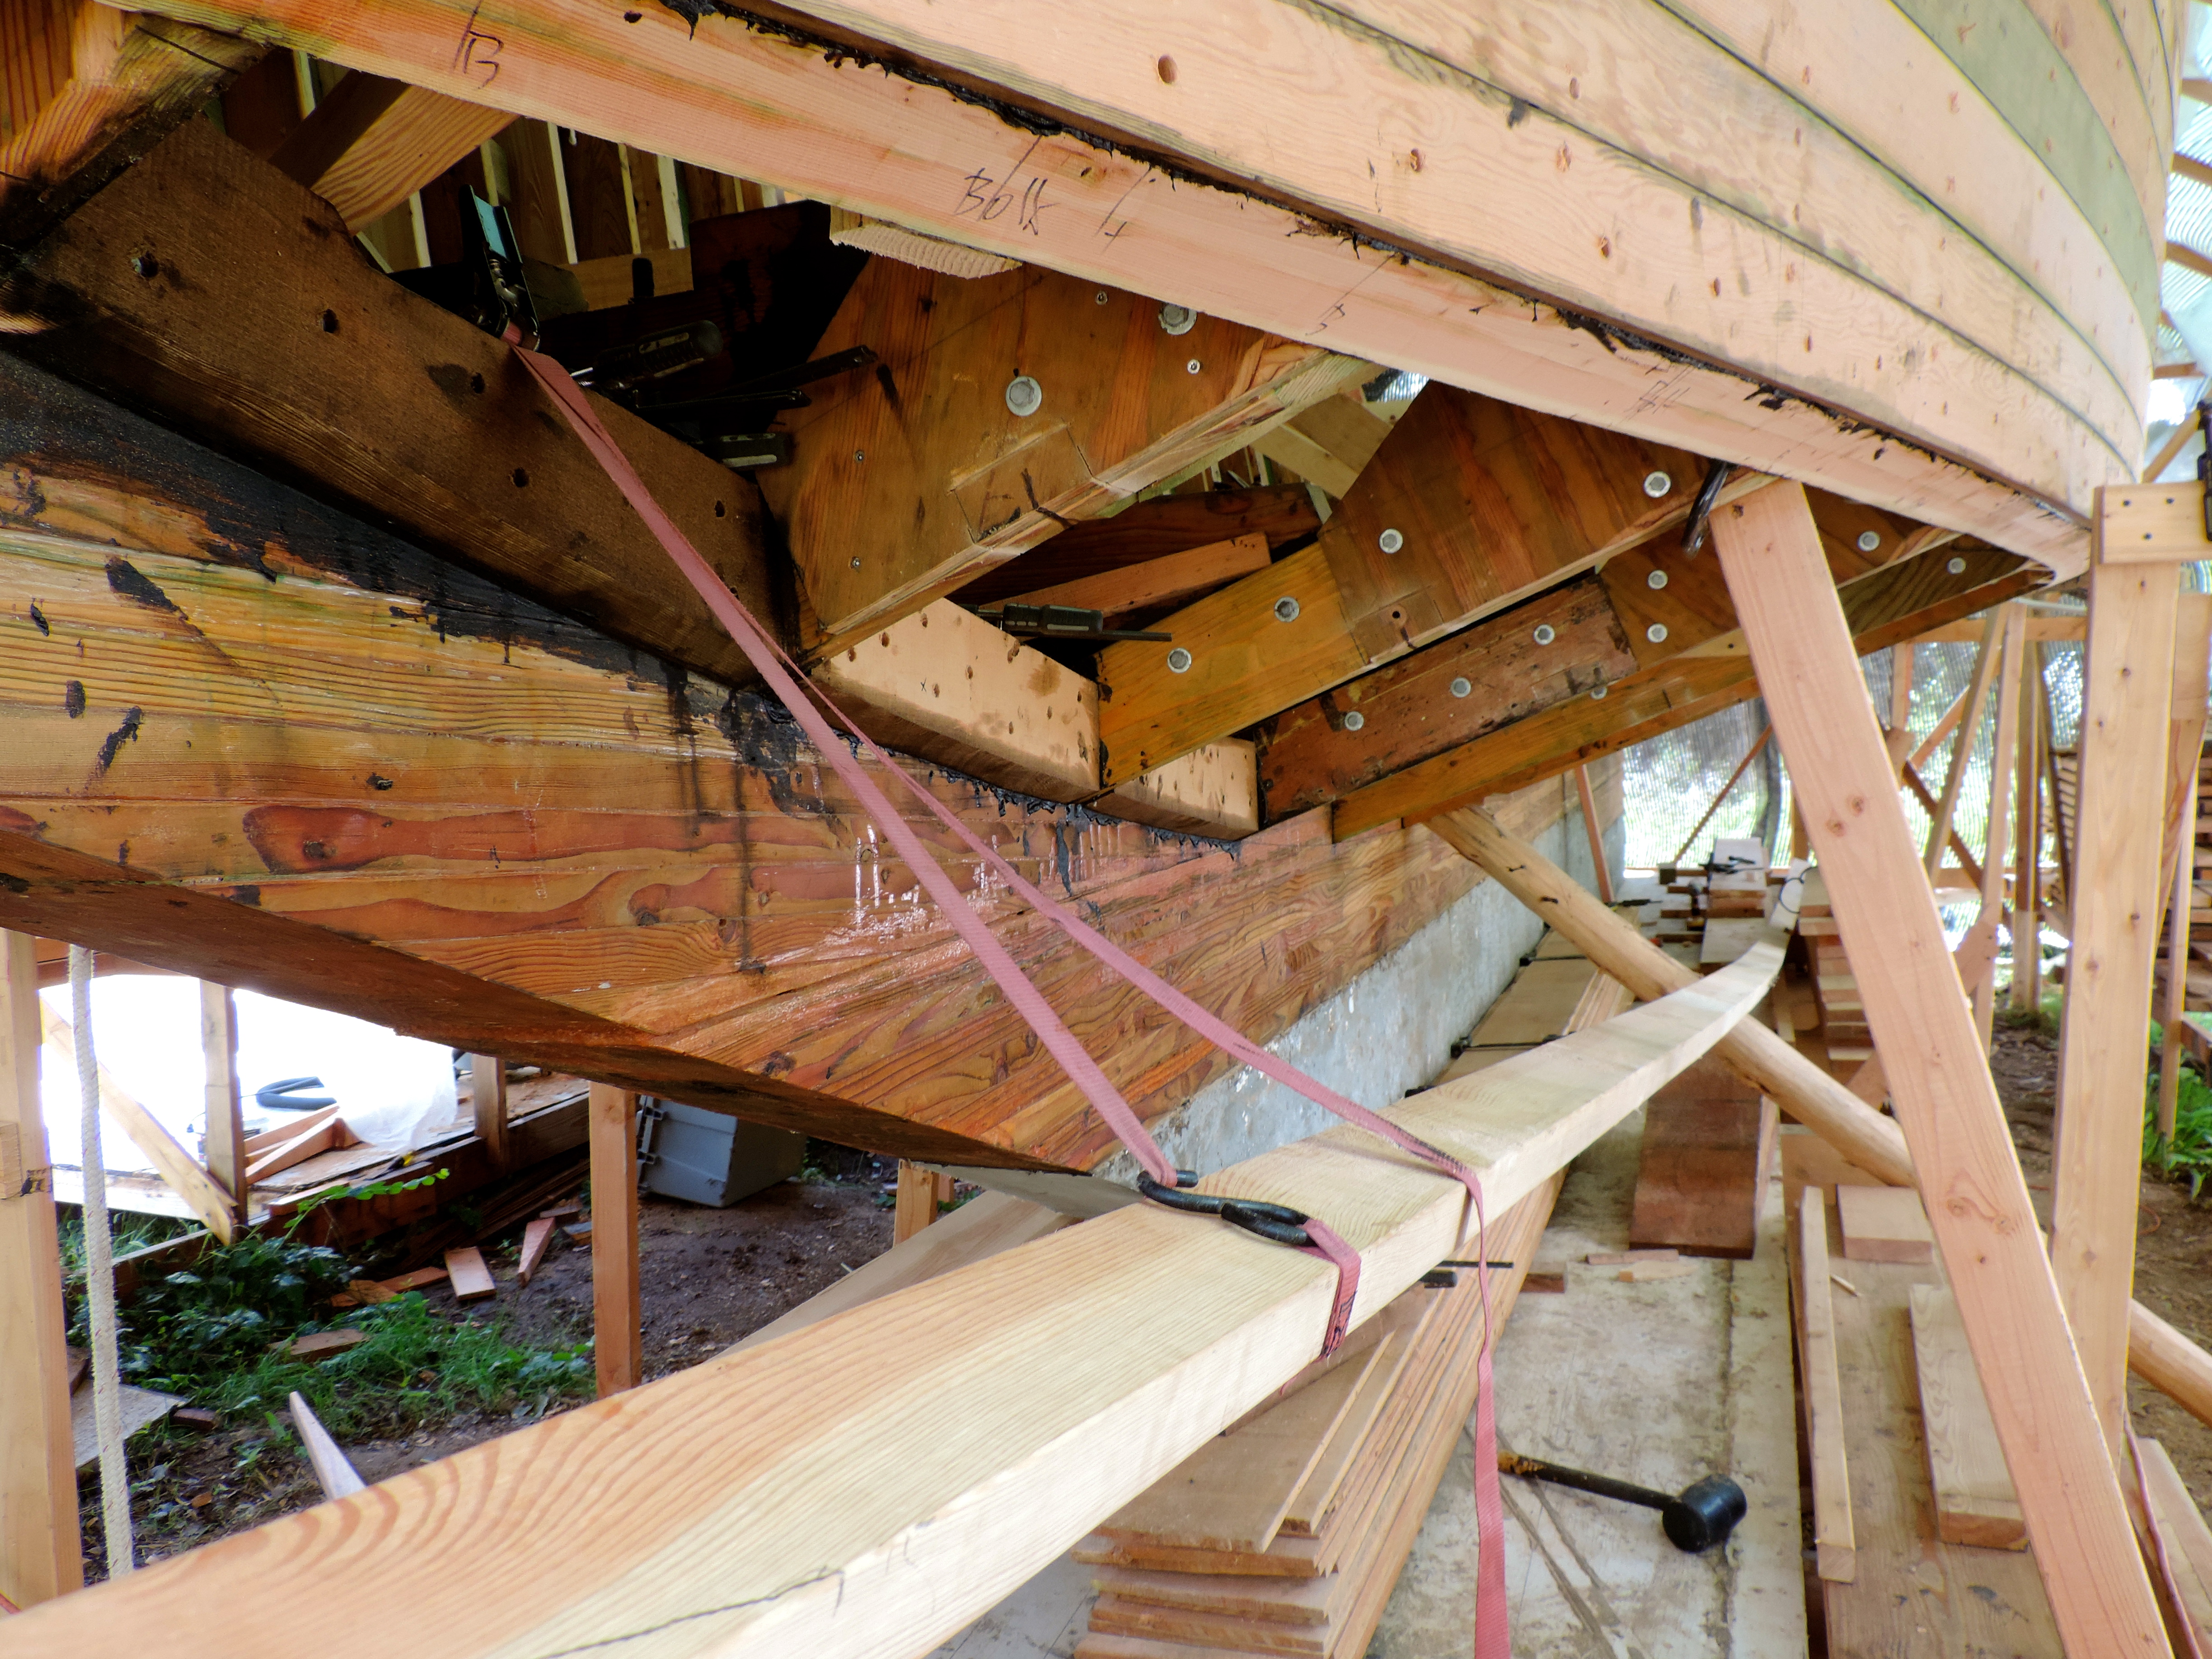
Notches for #5 ready for Preservative and Tar
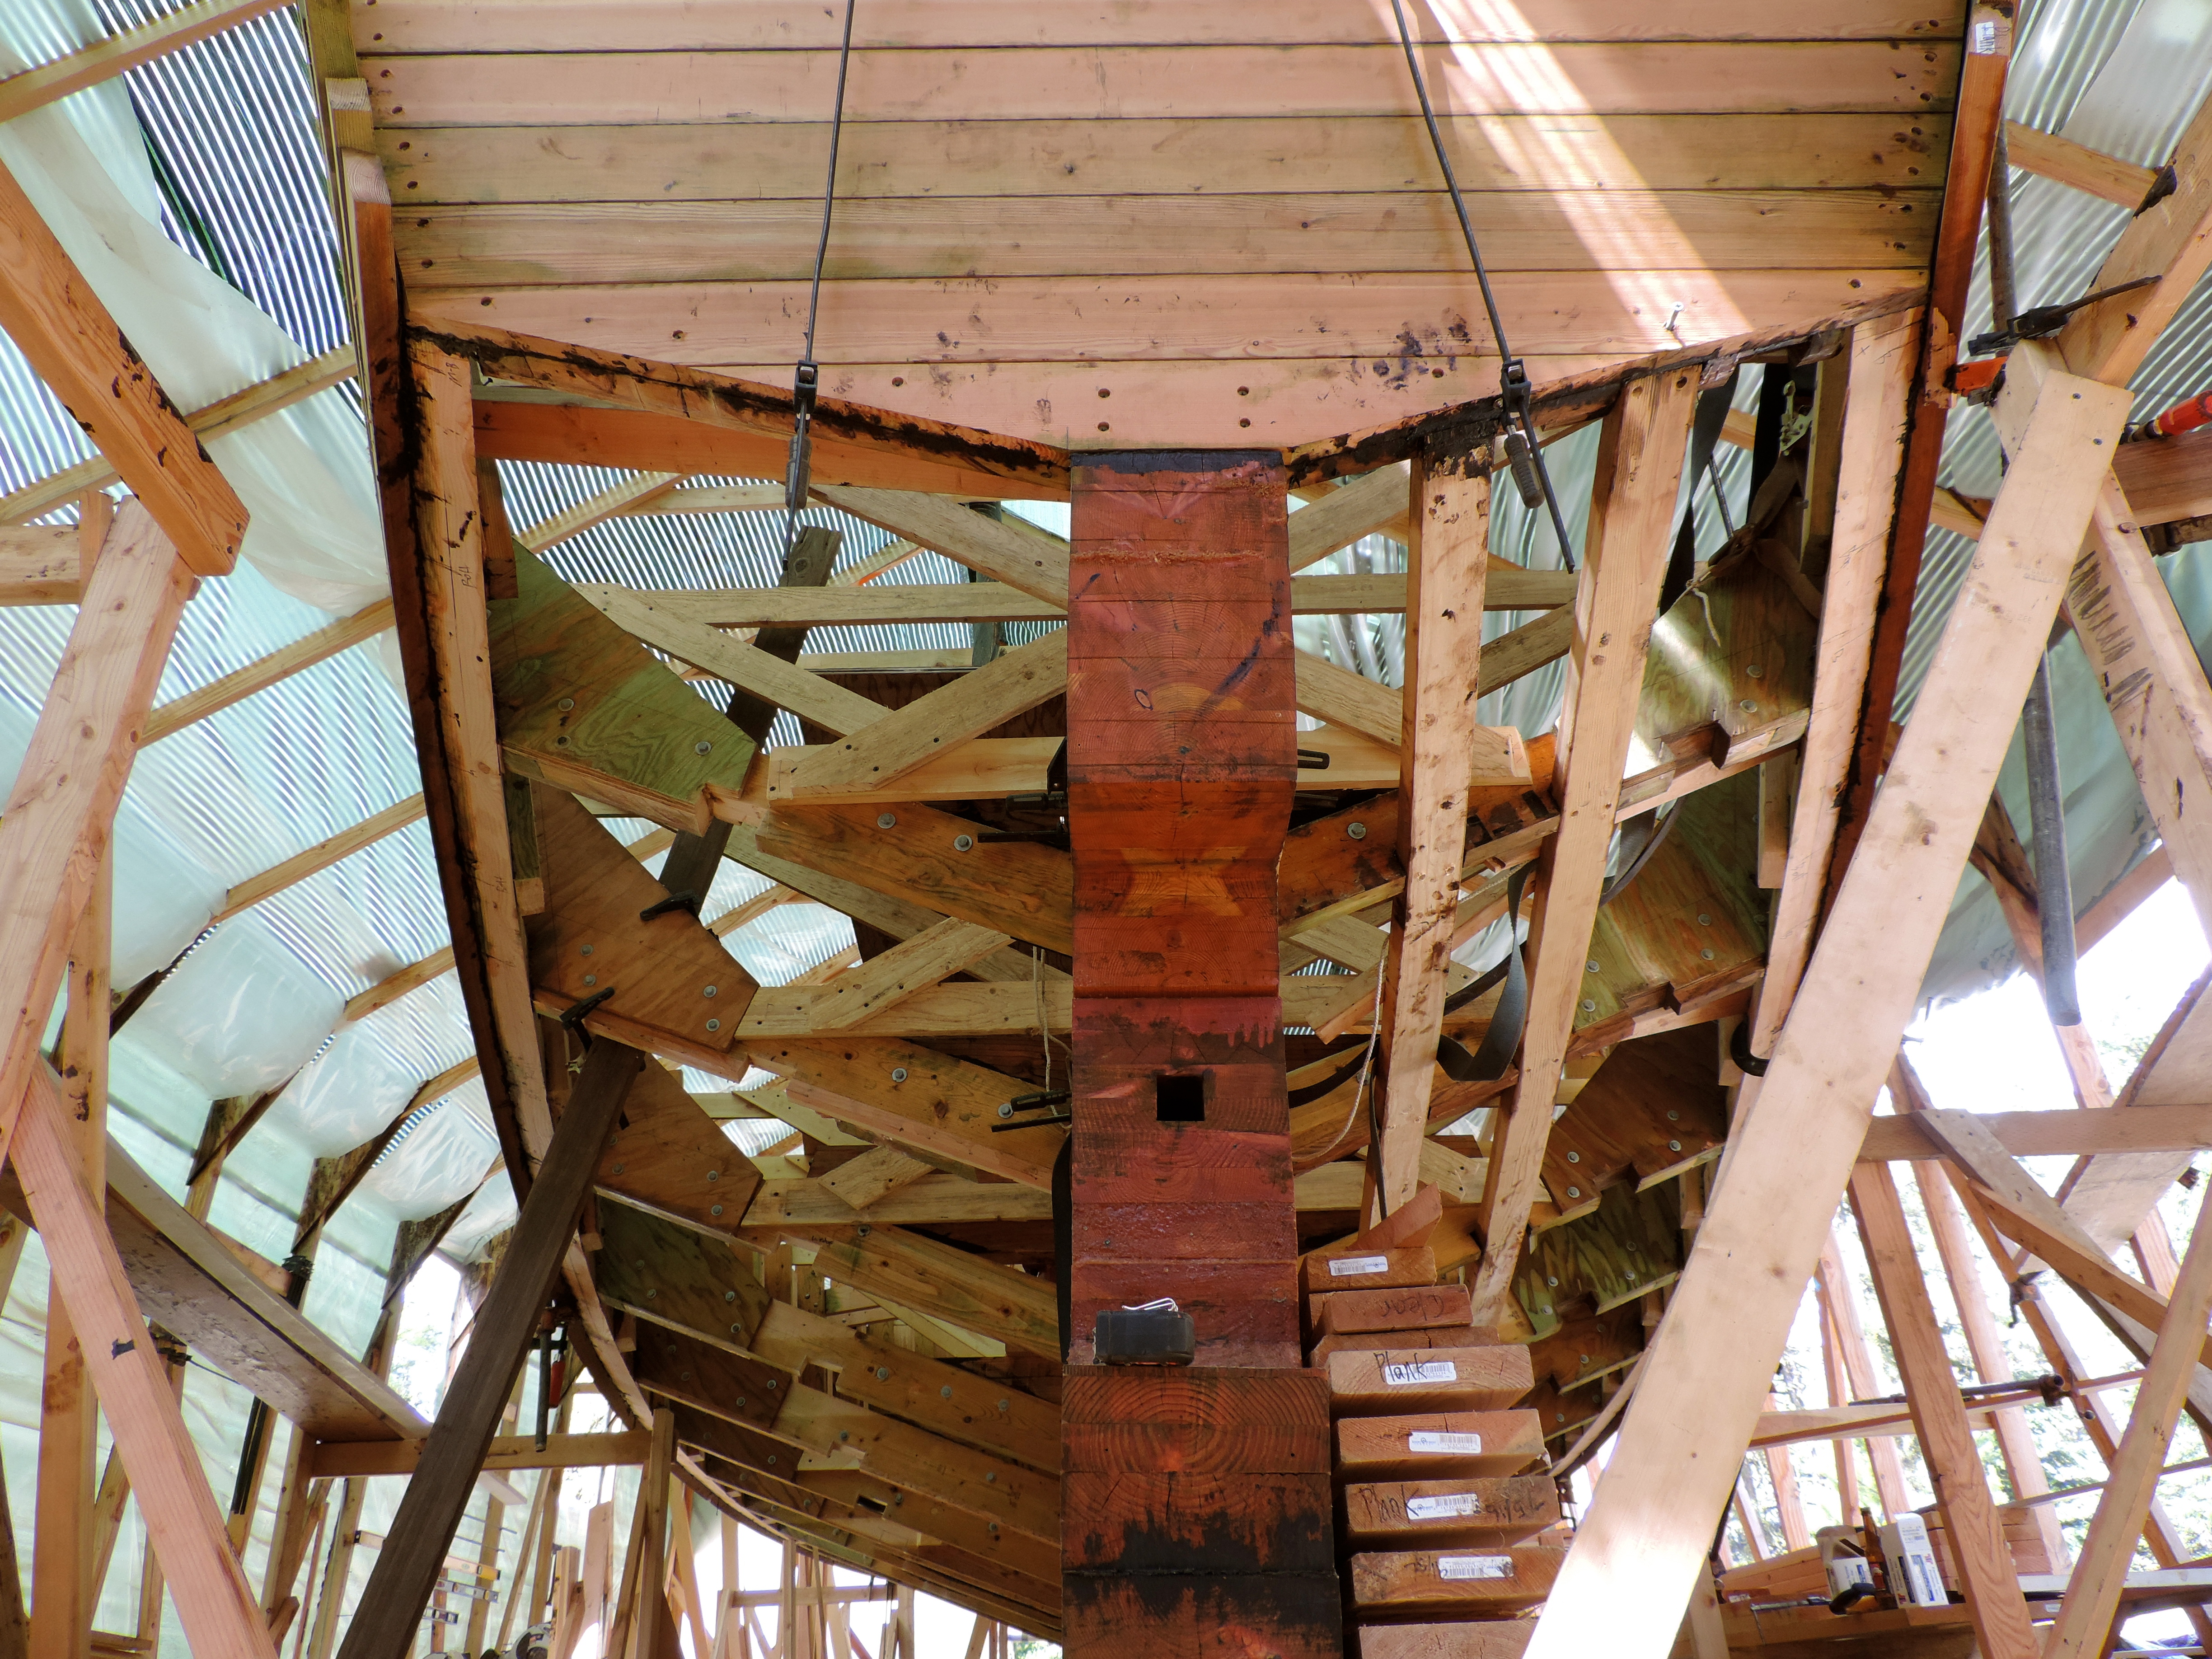
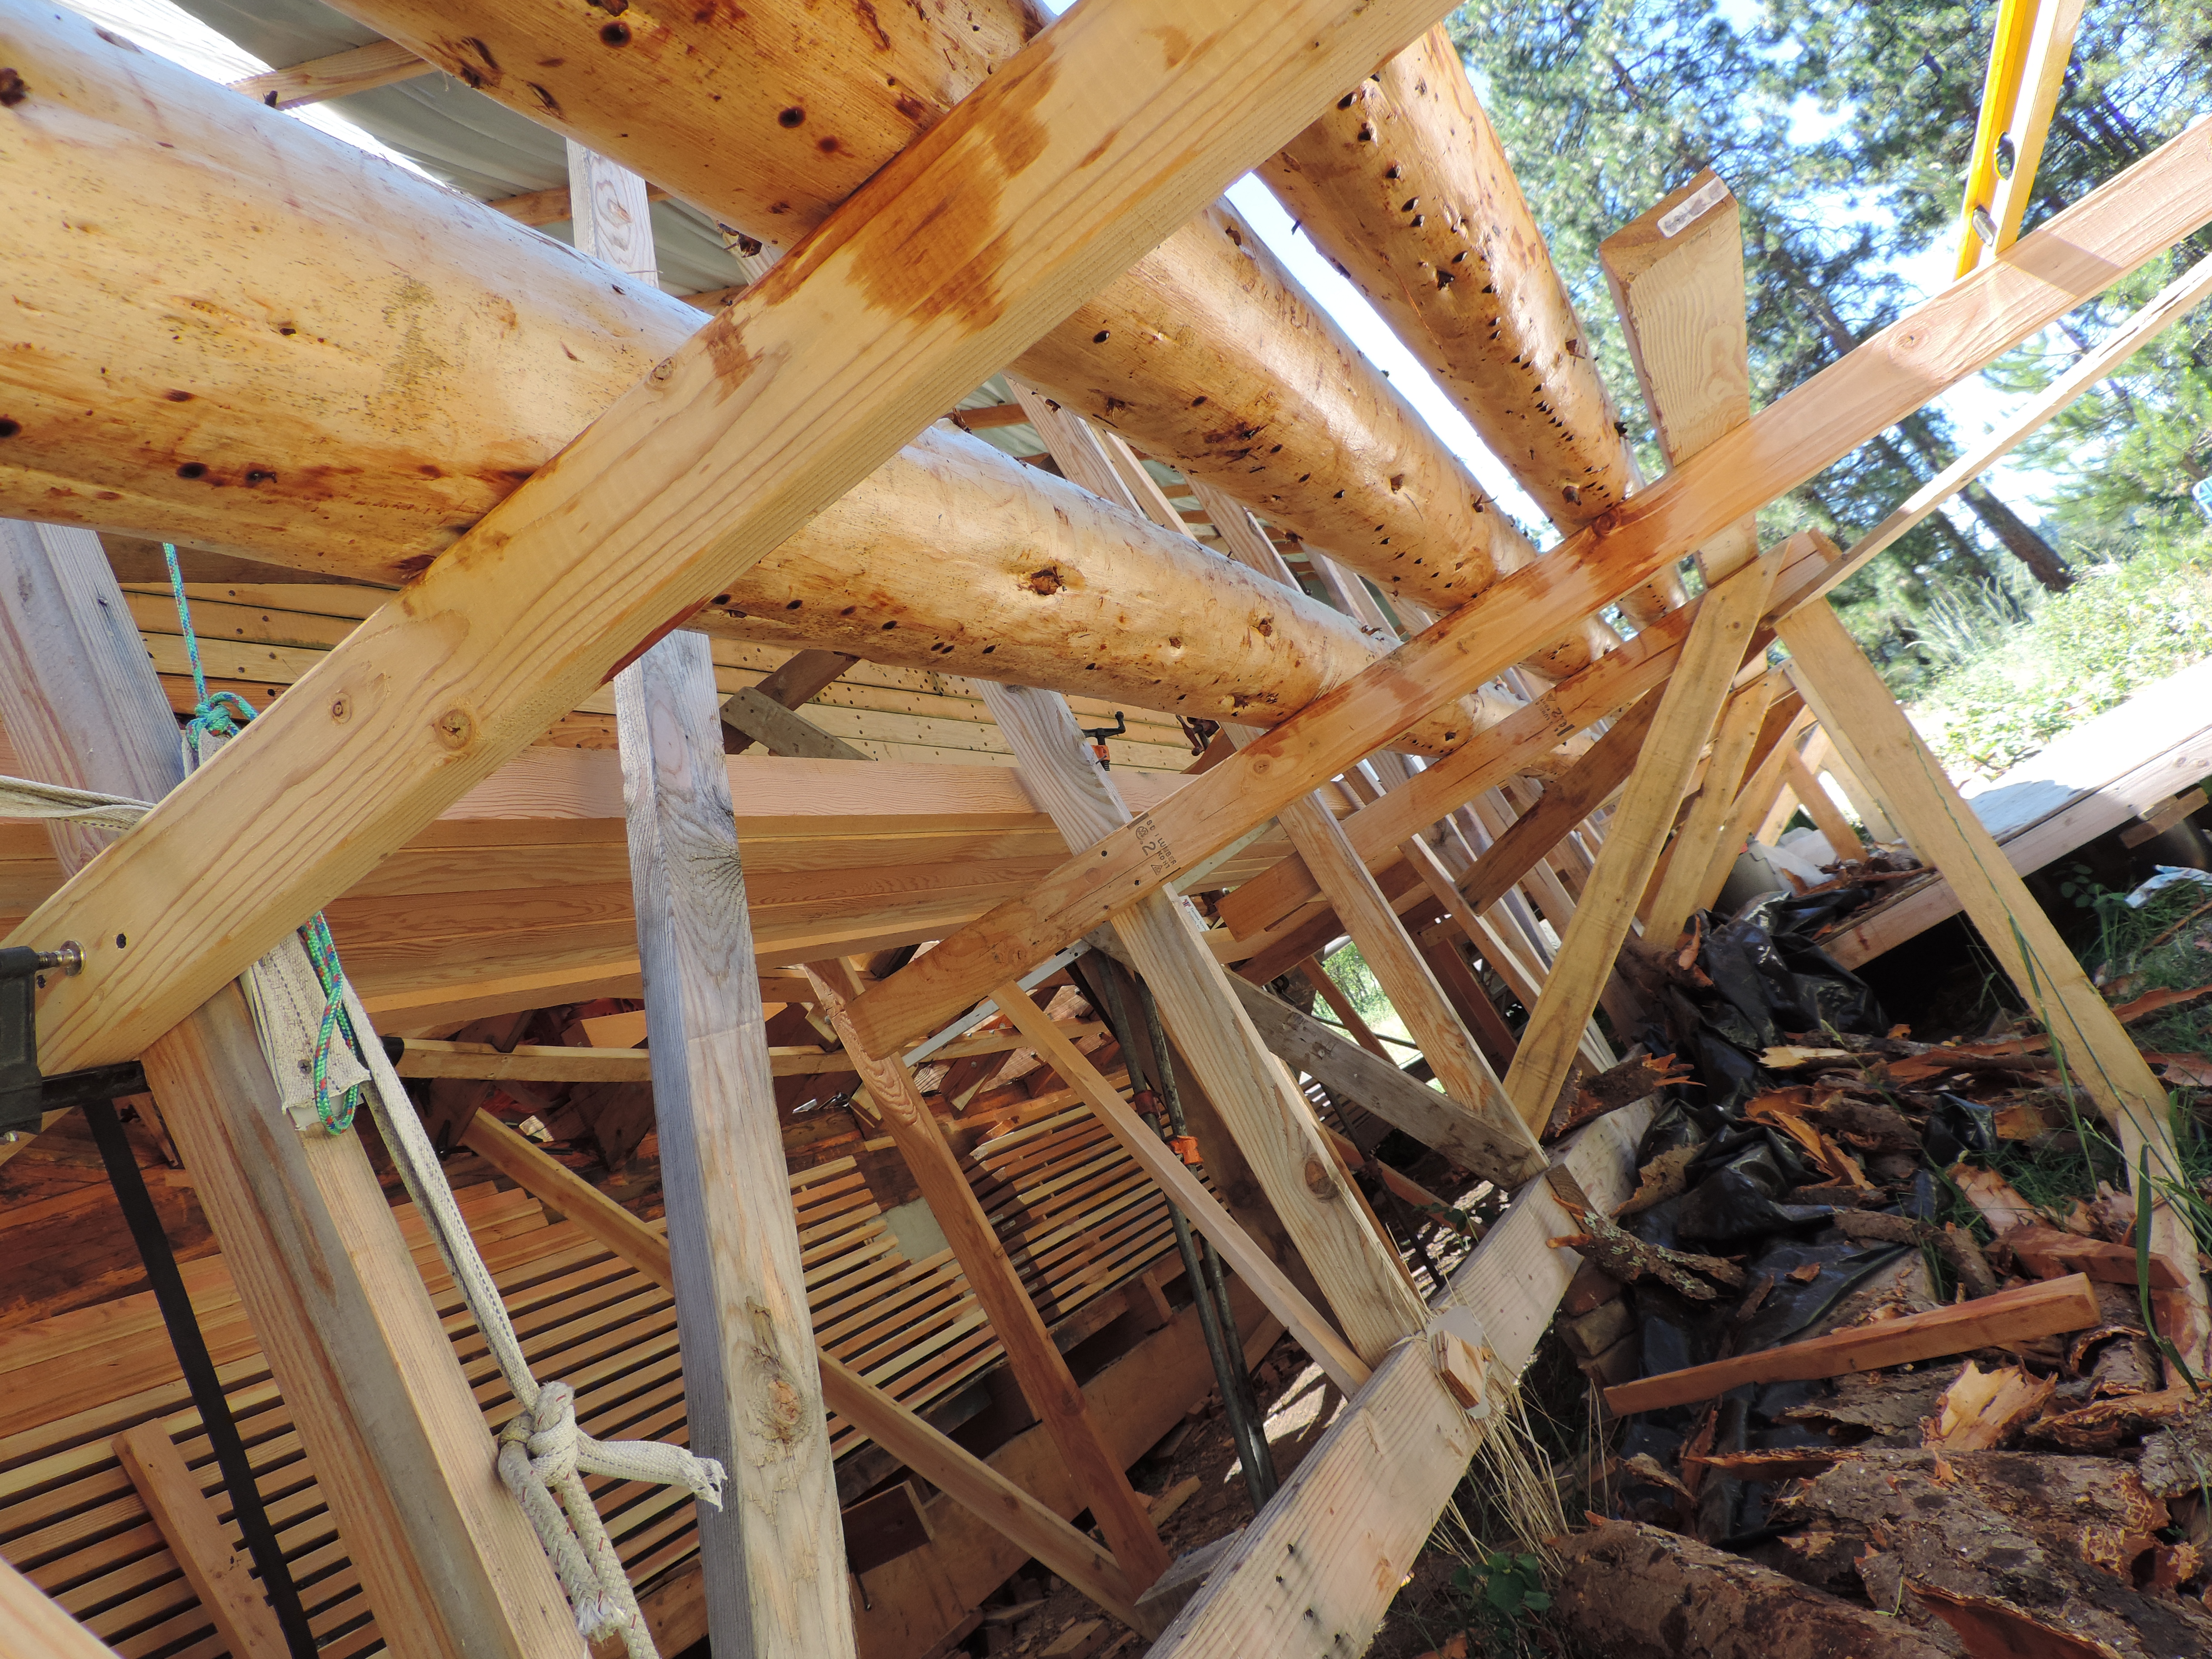
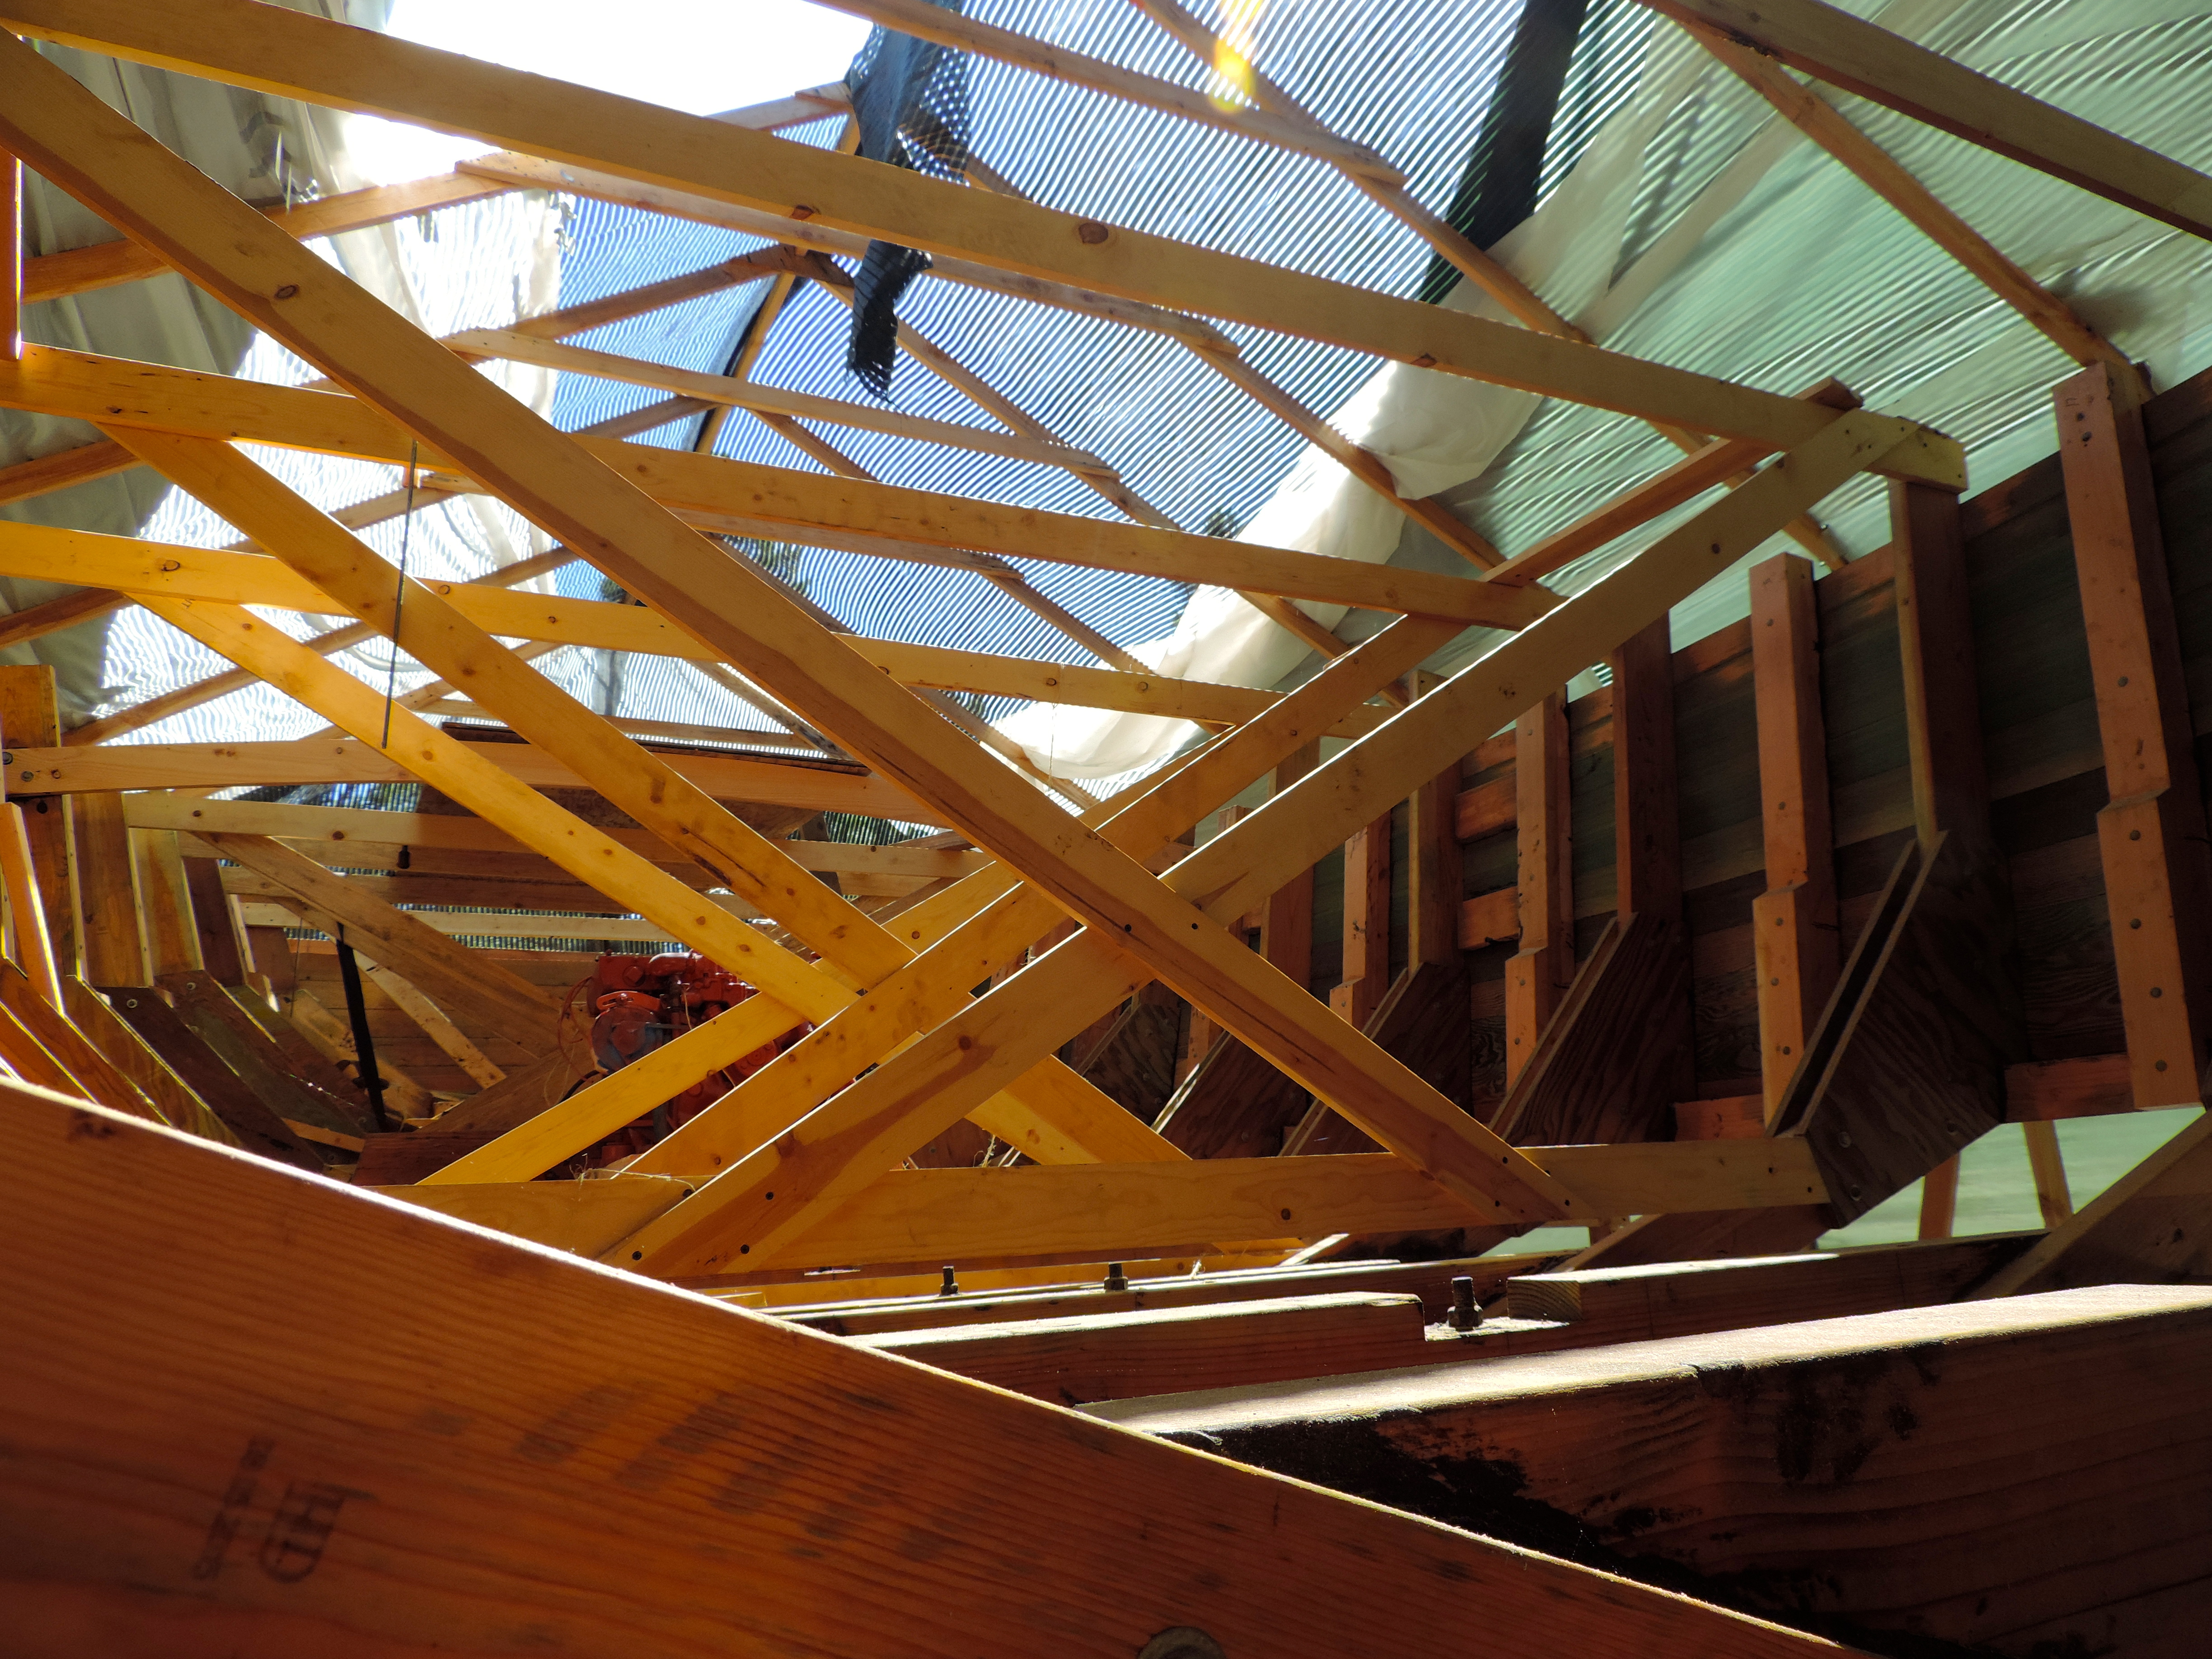
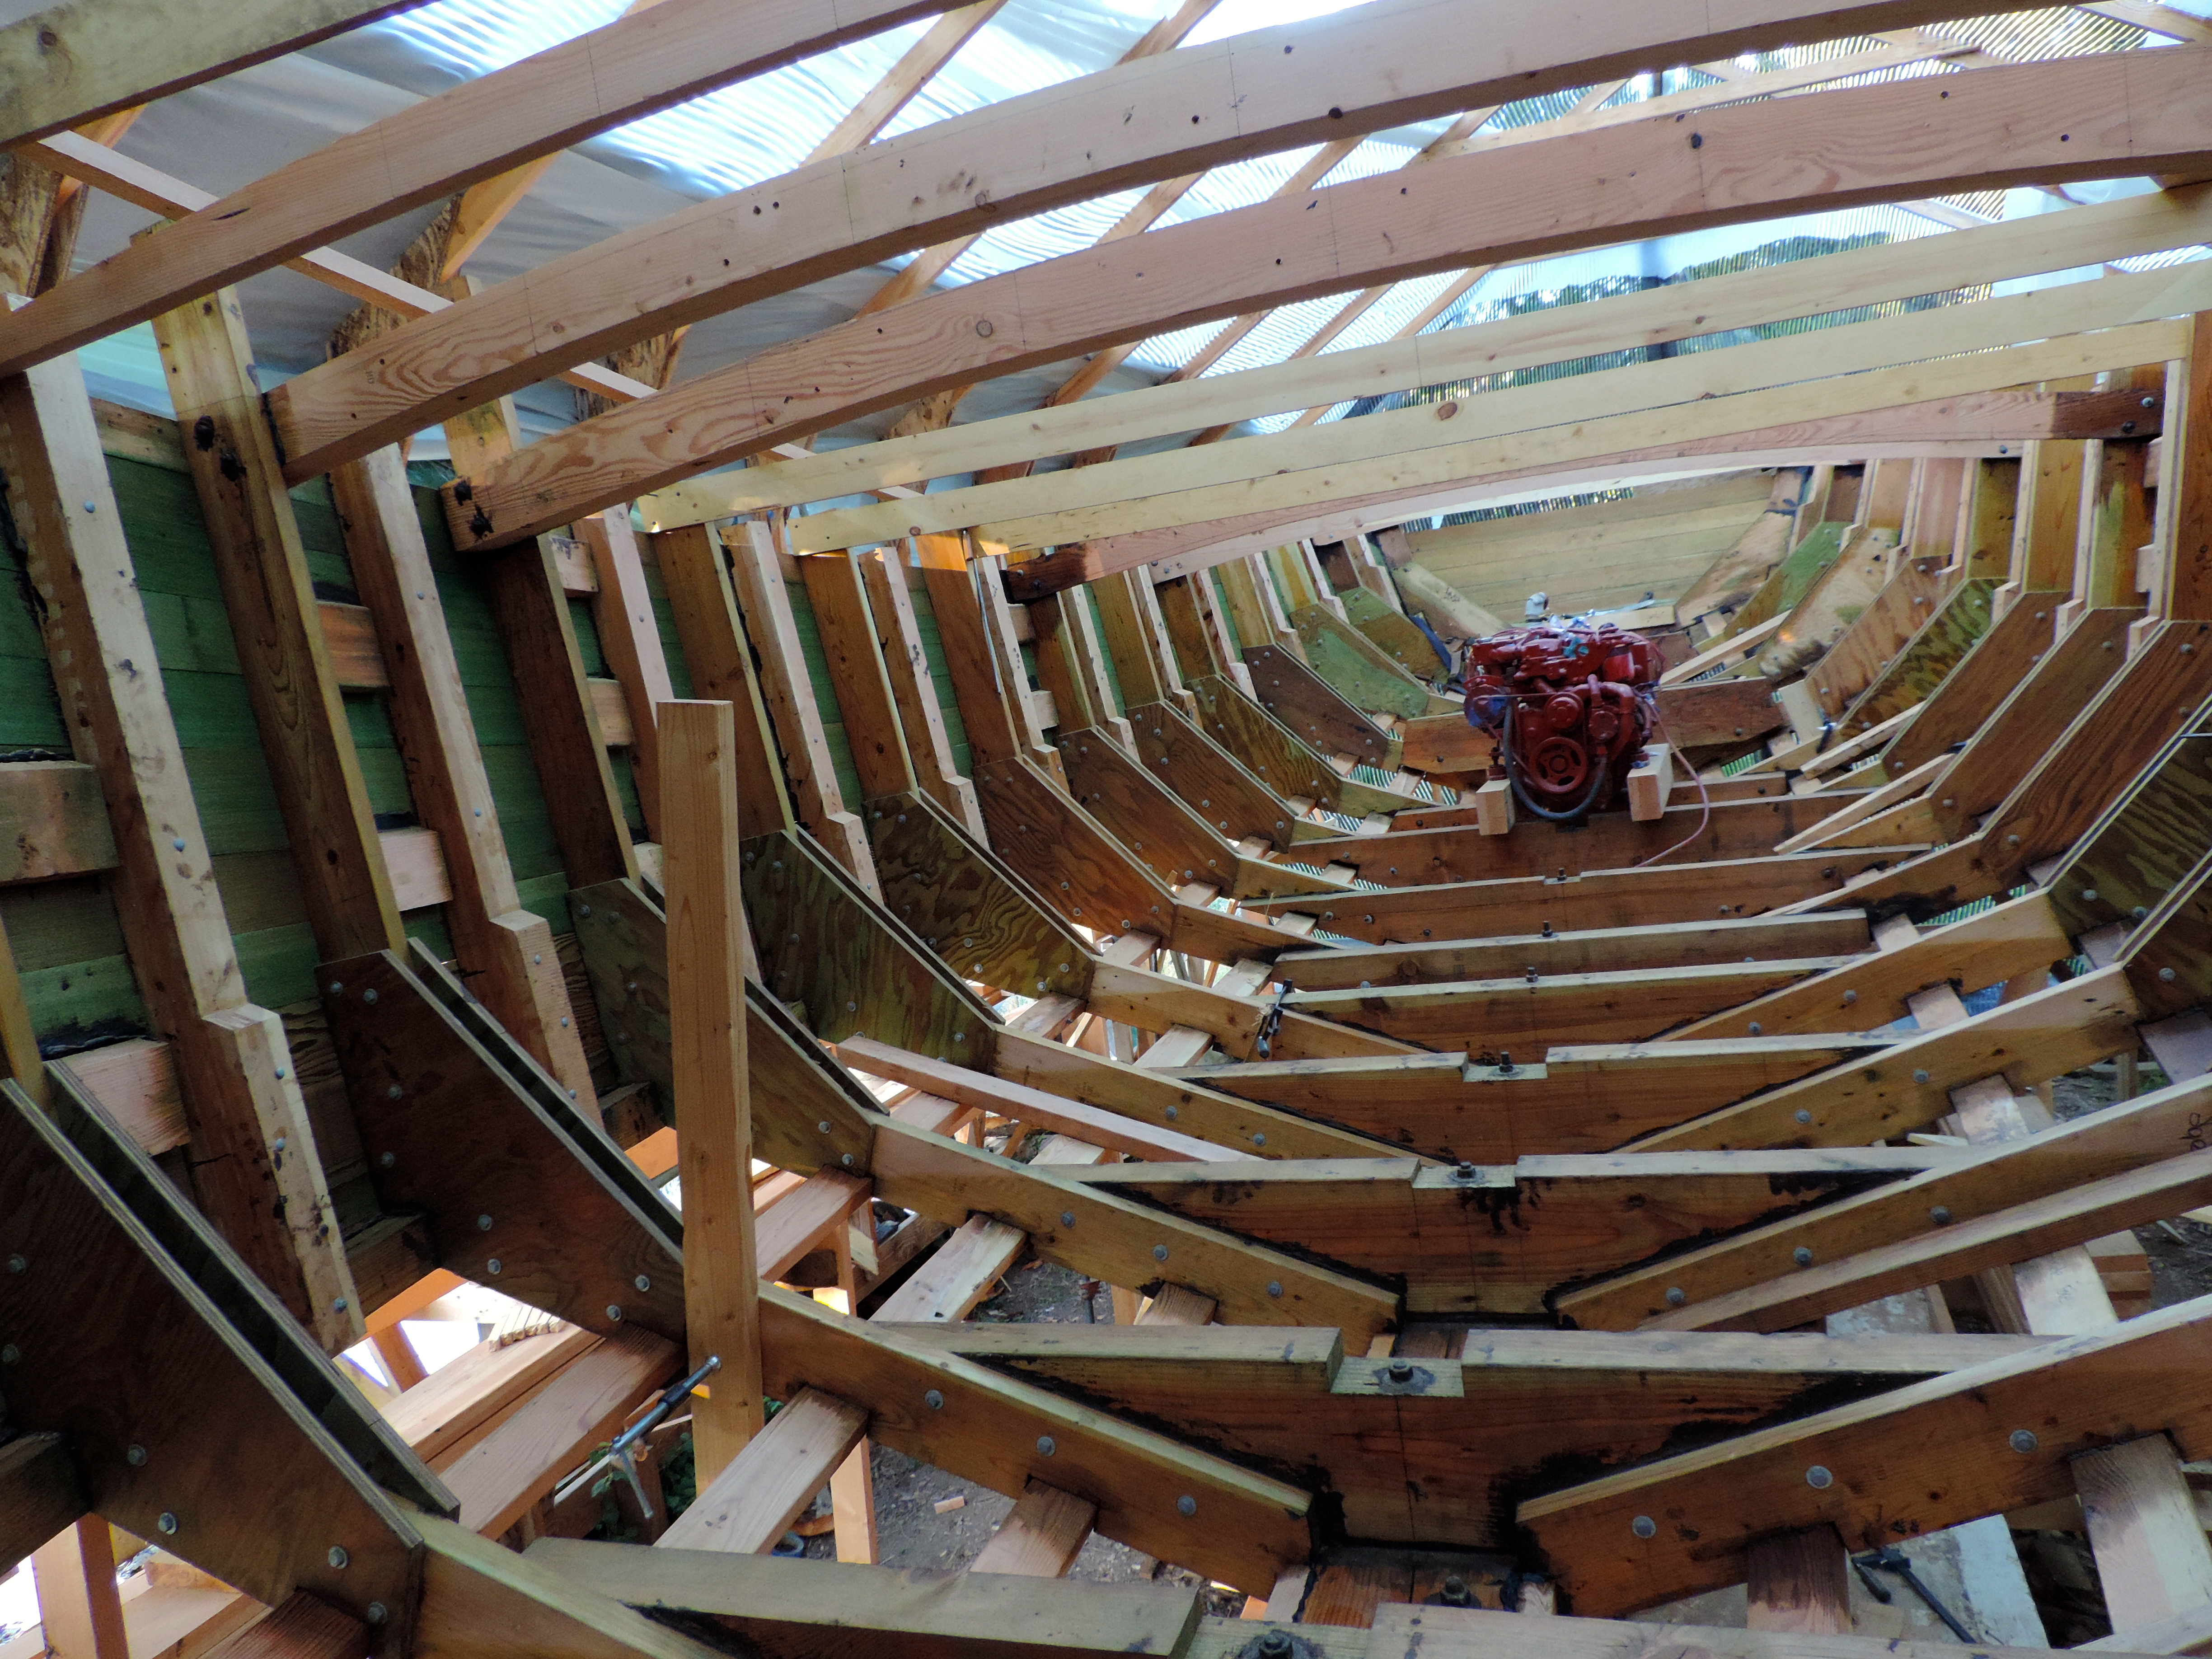
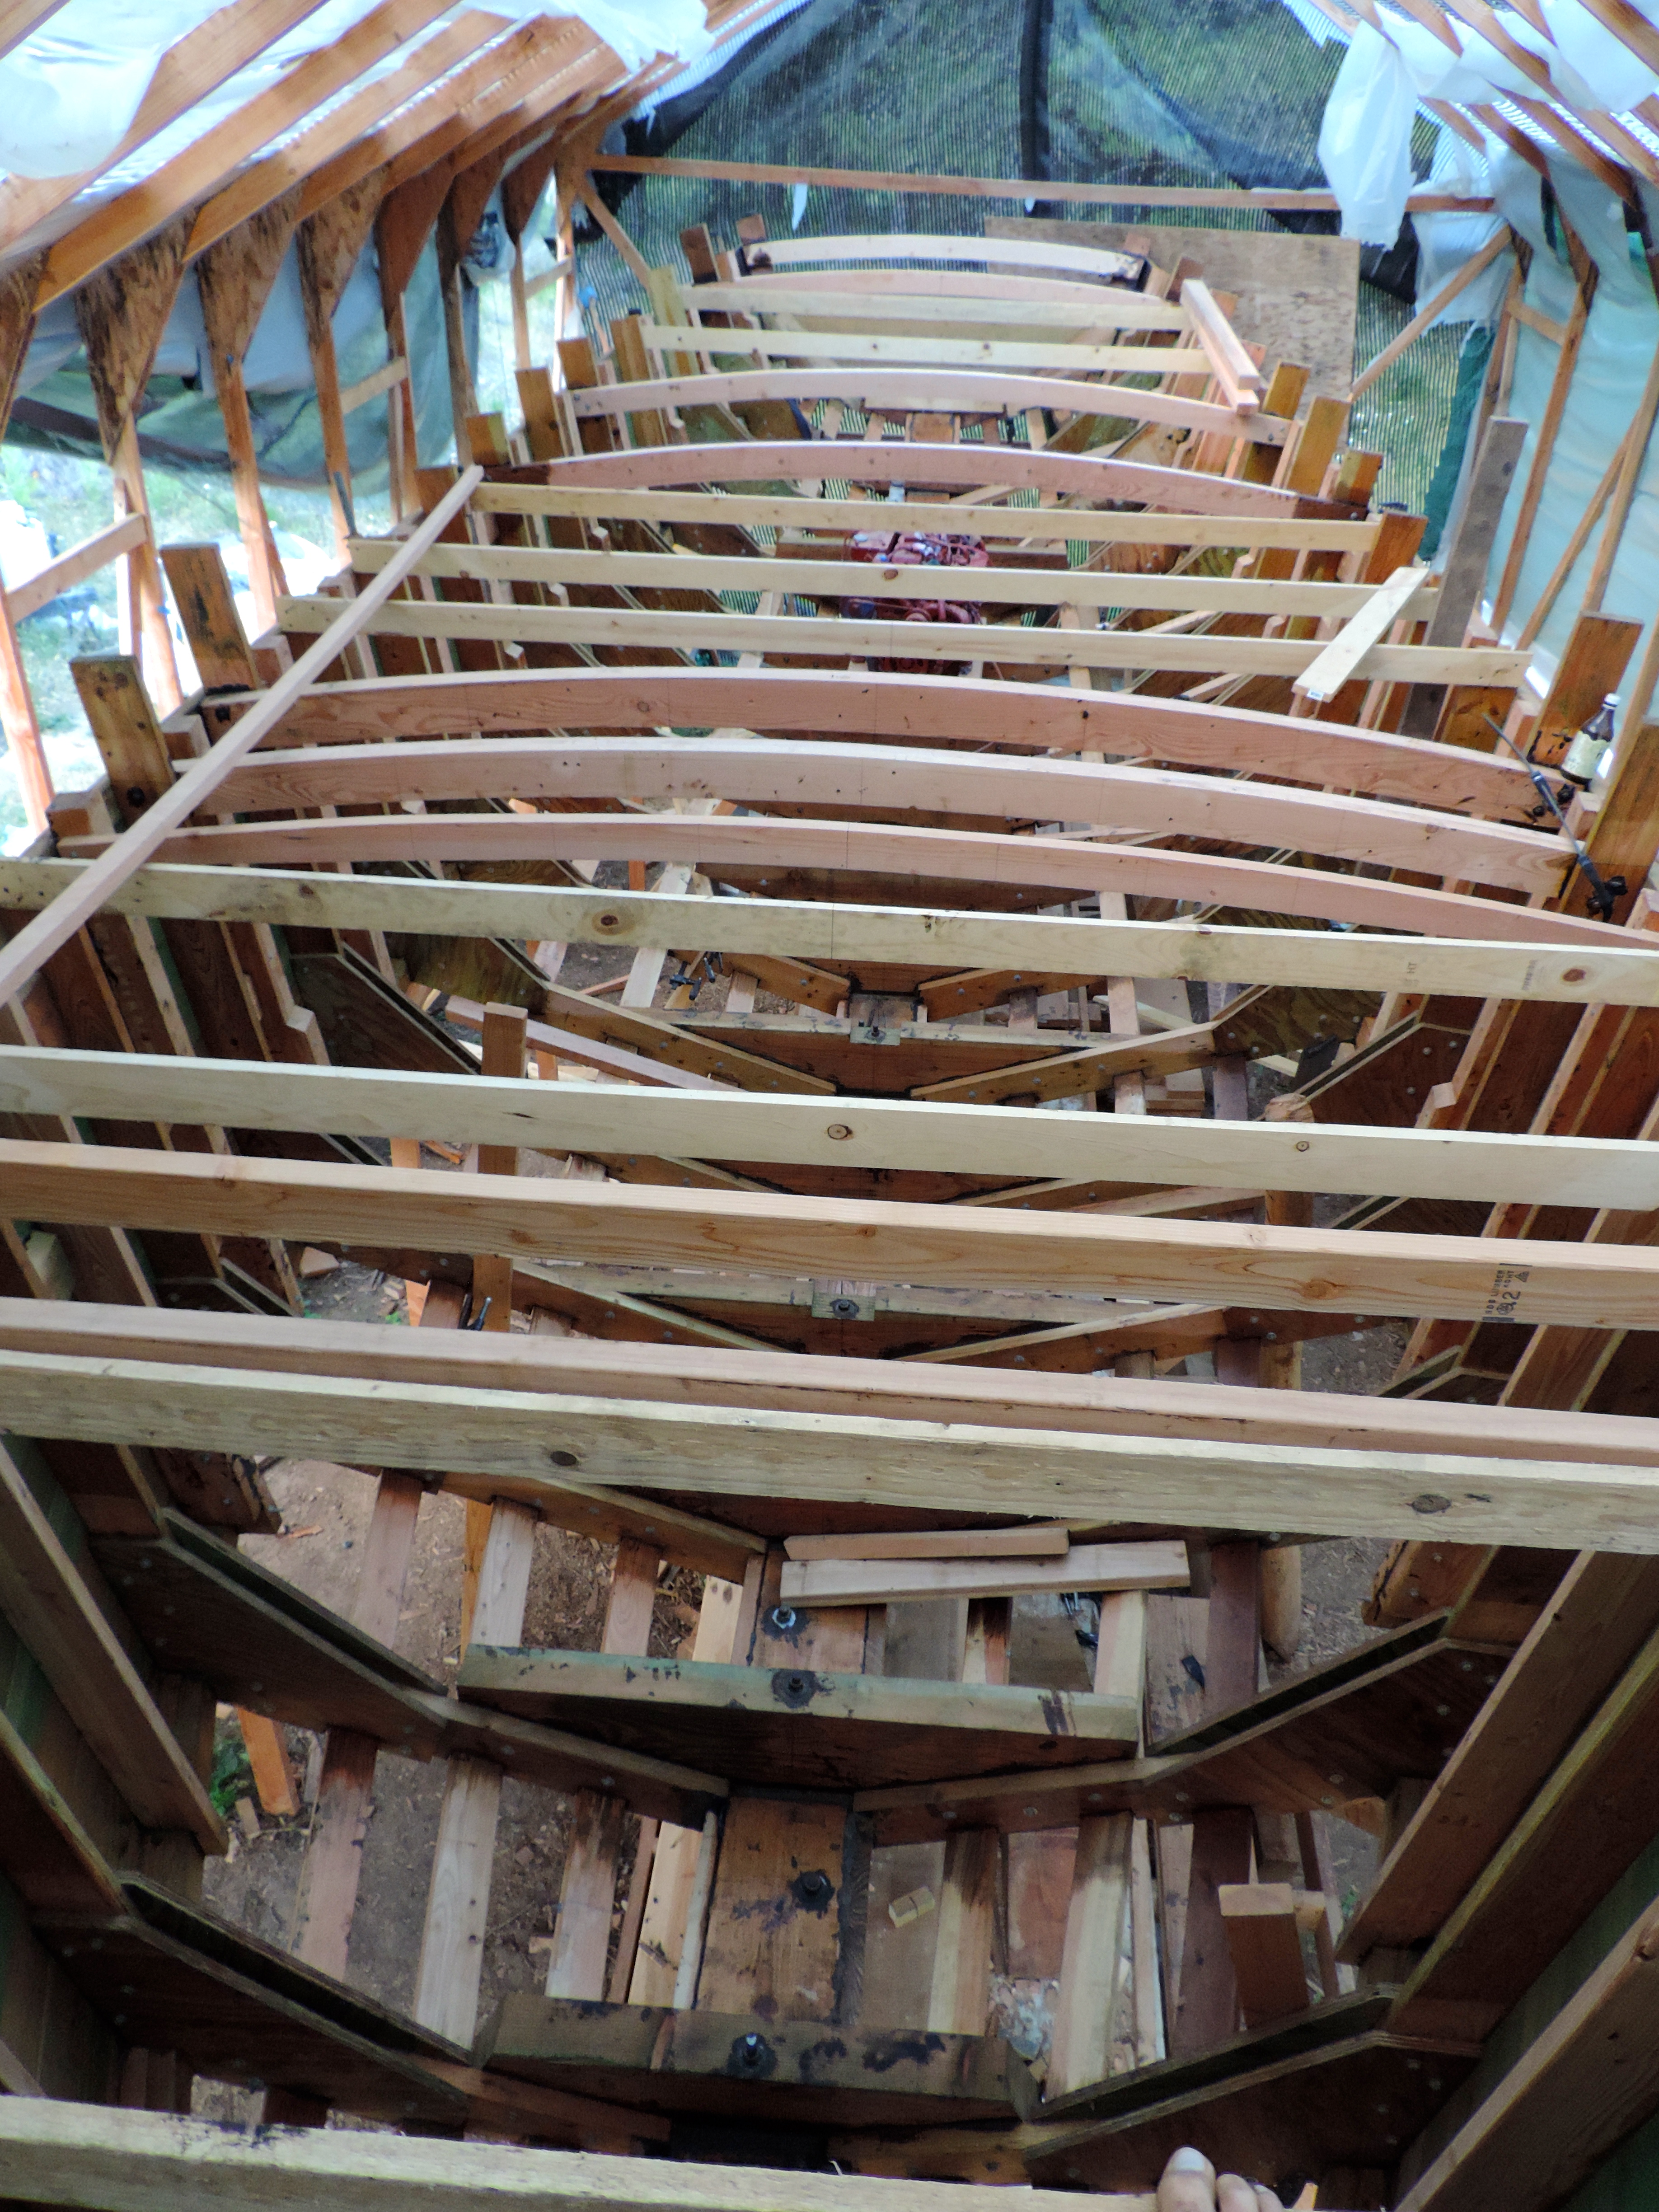
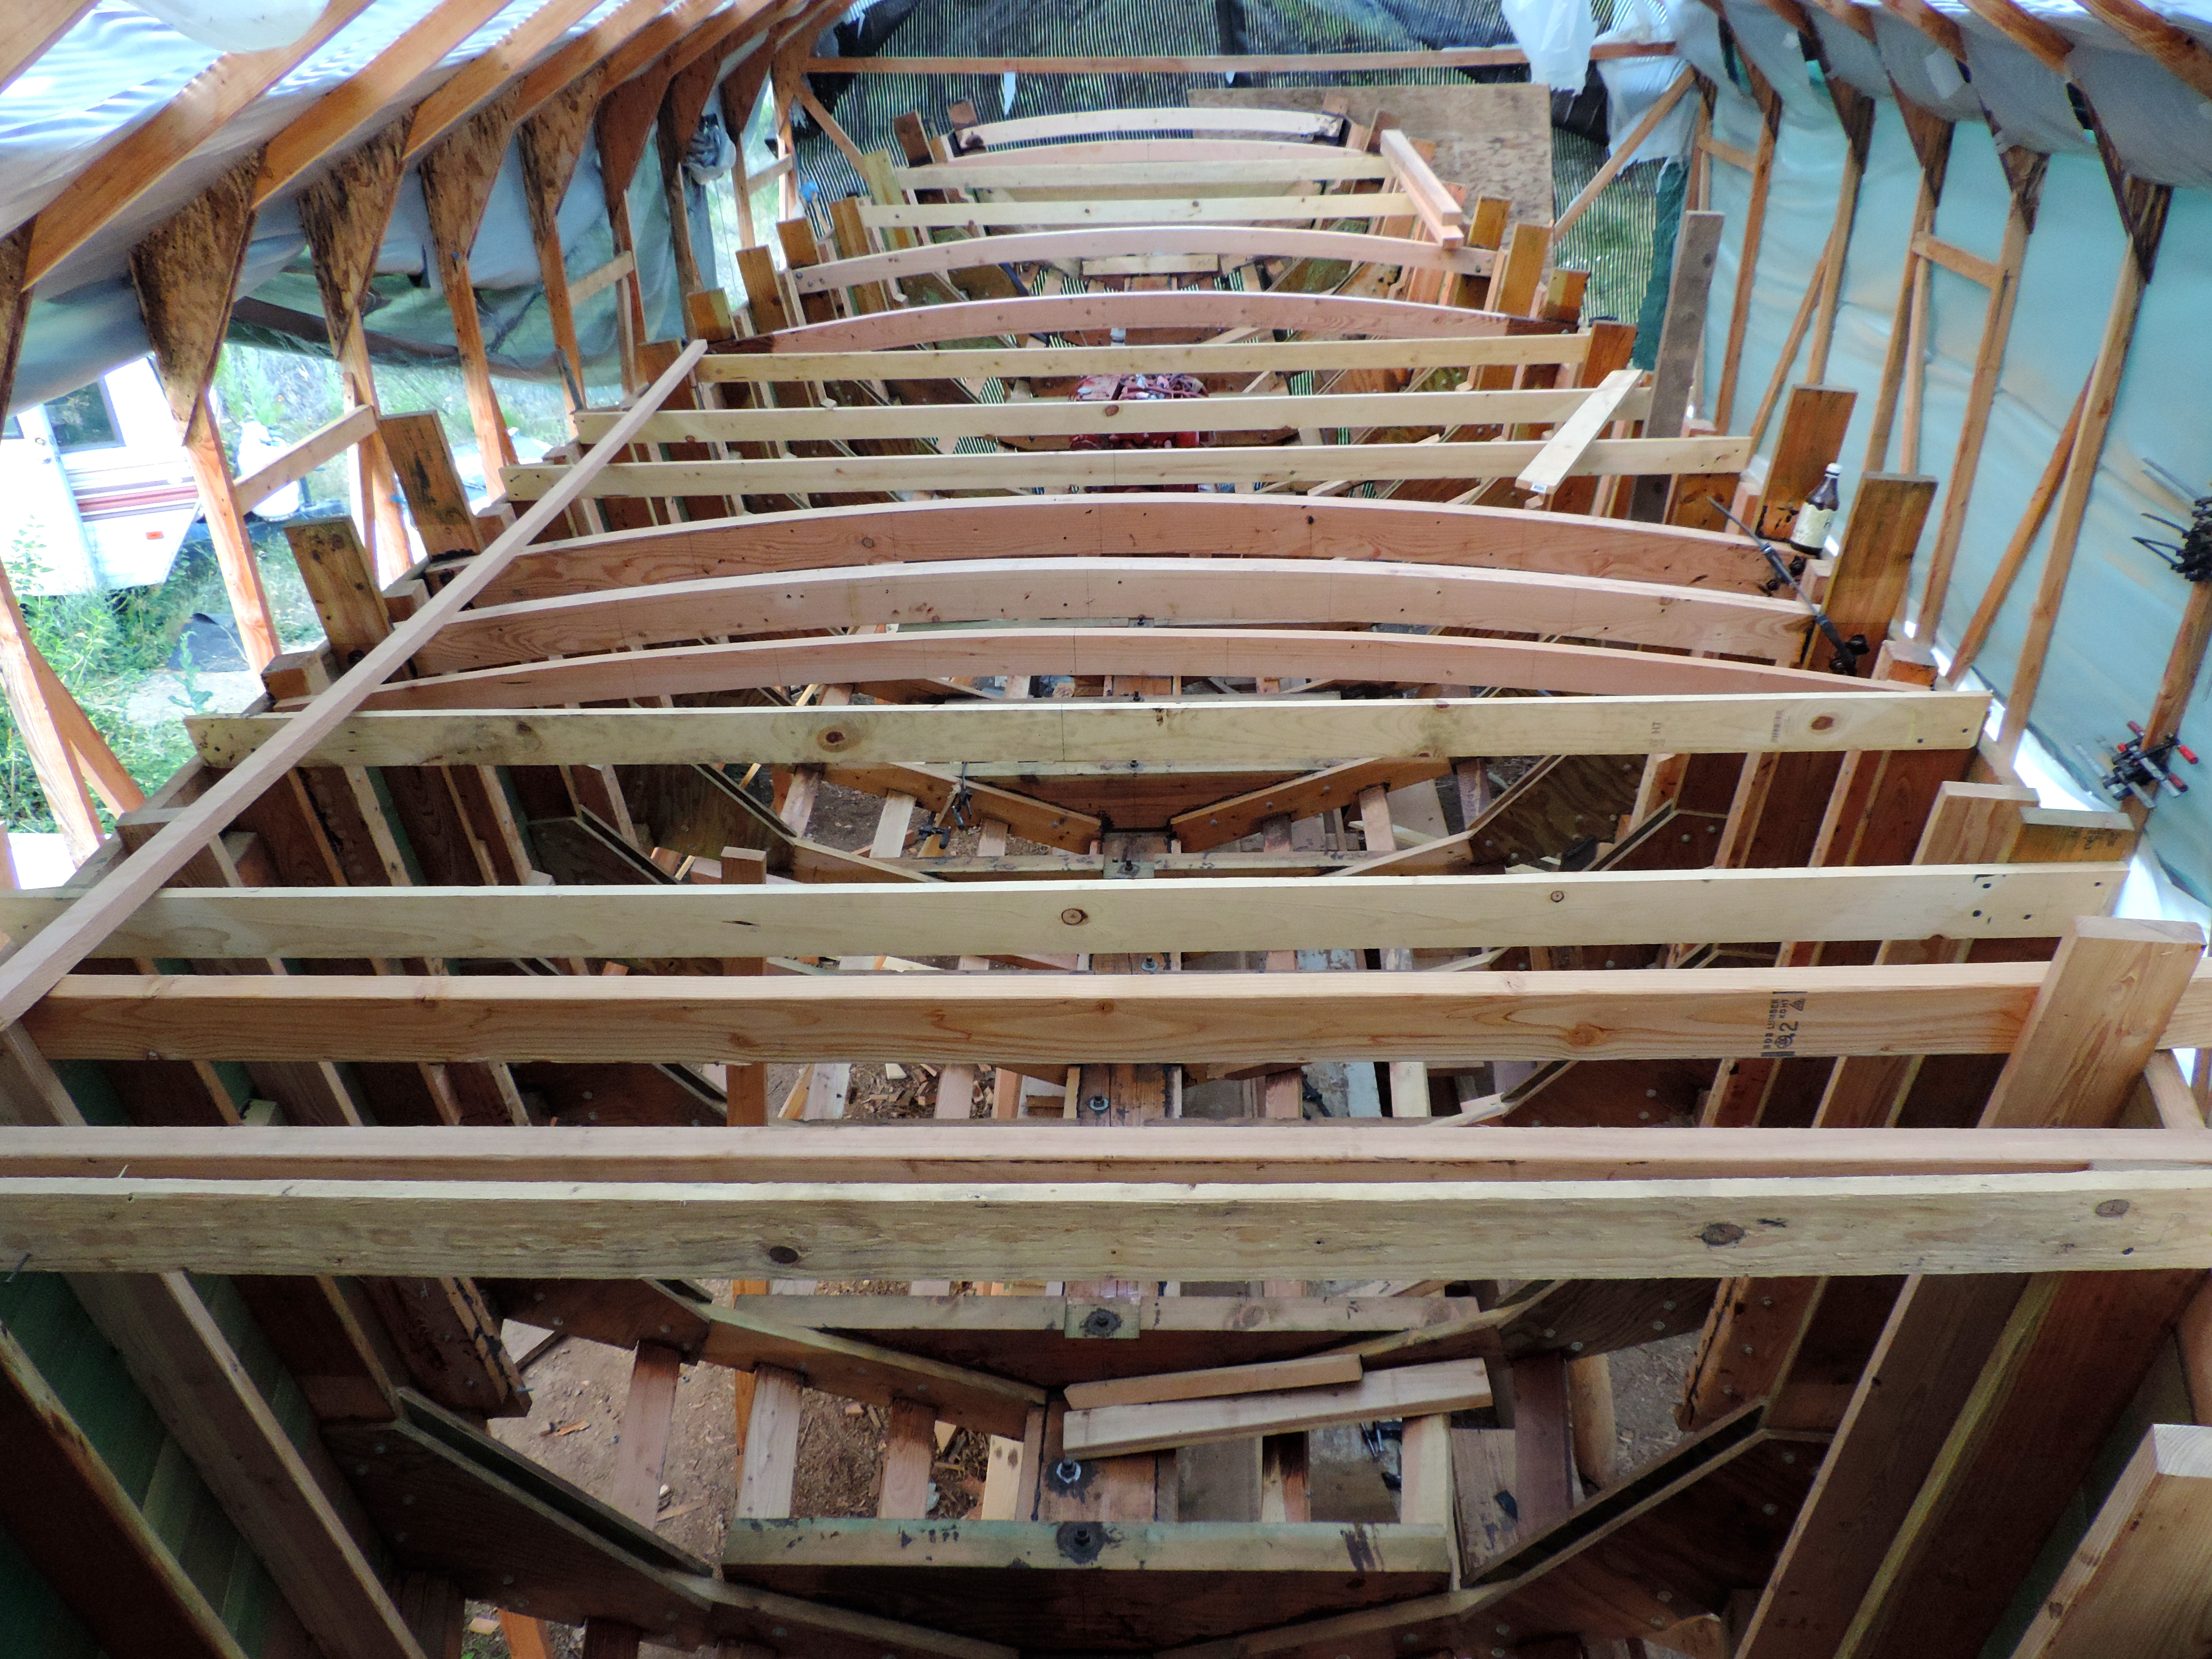
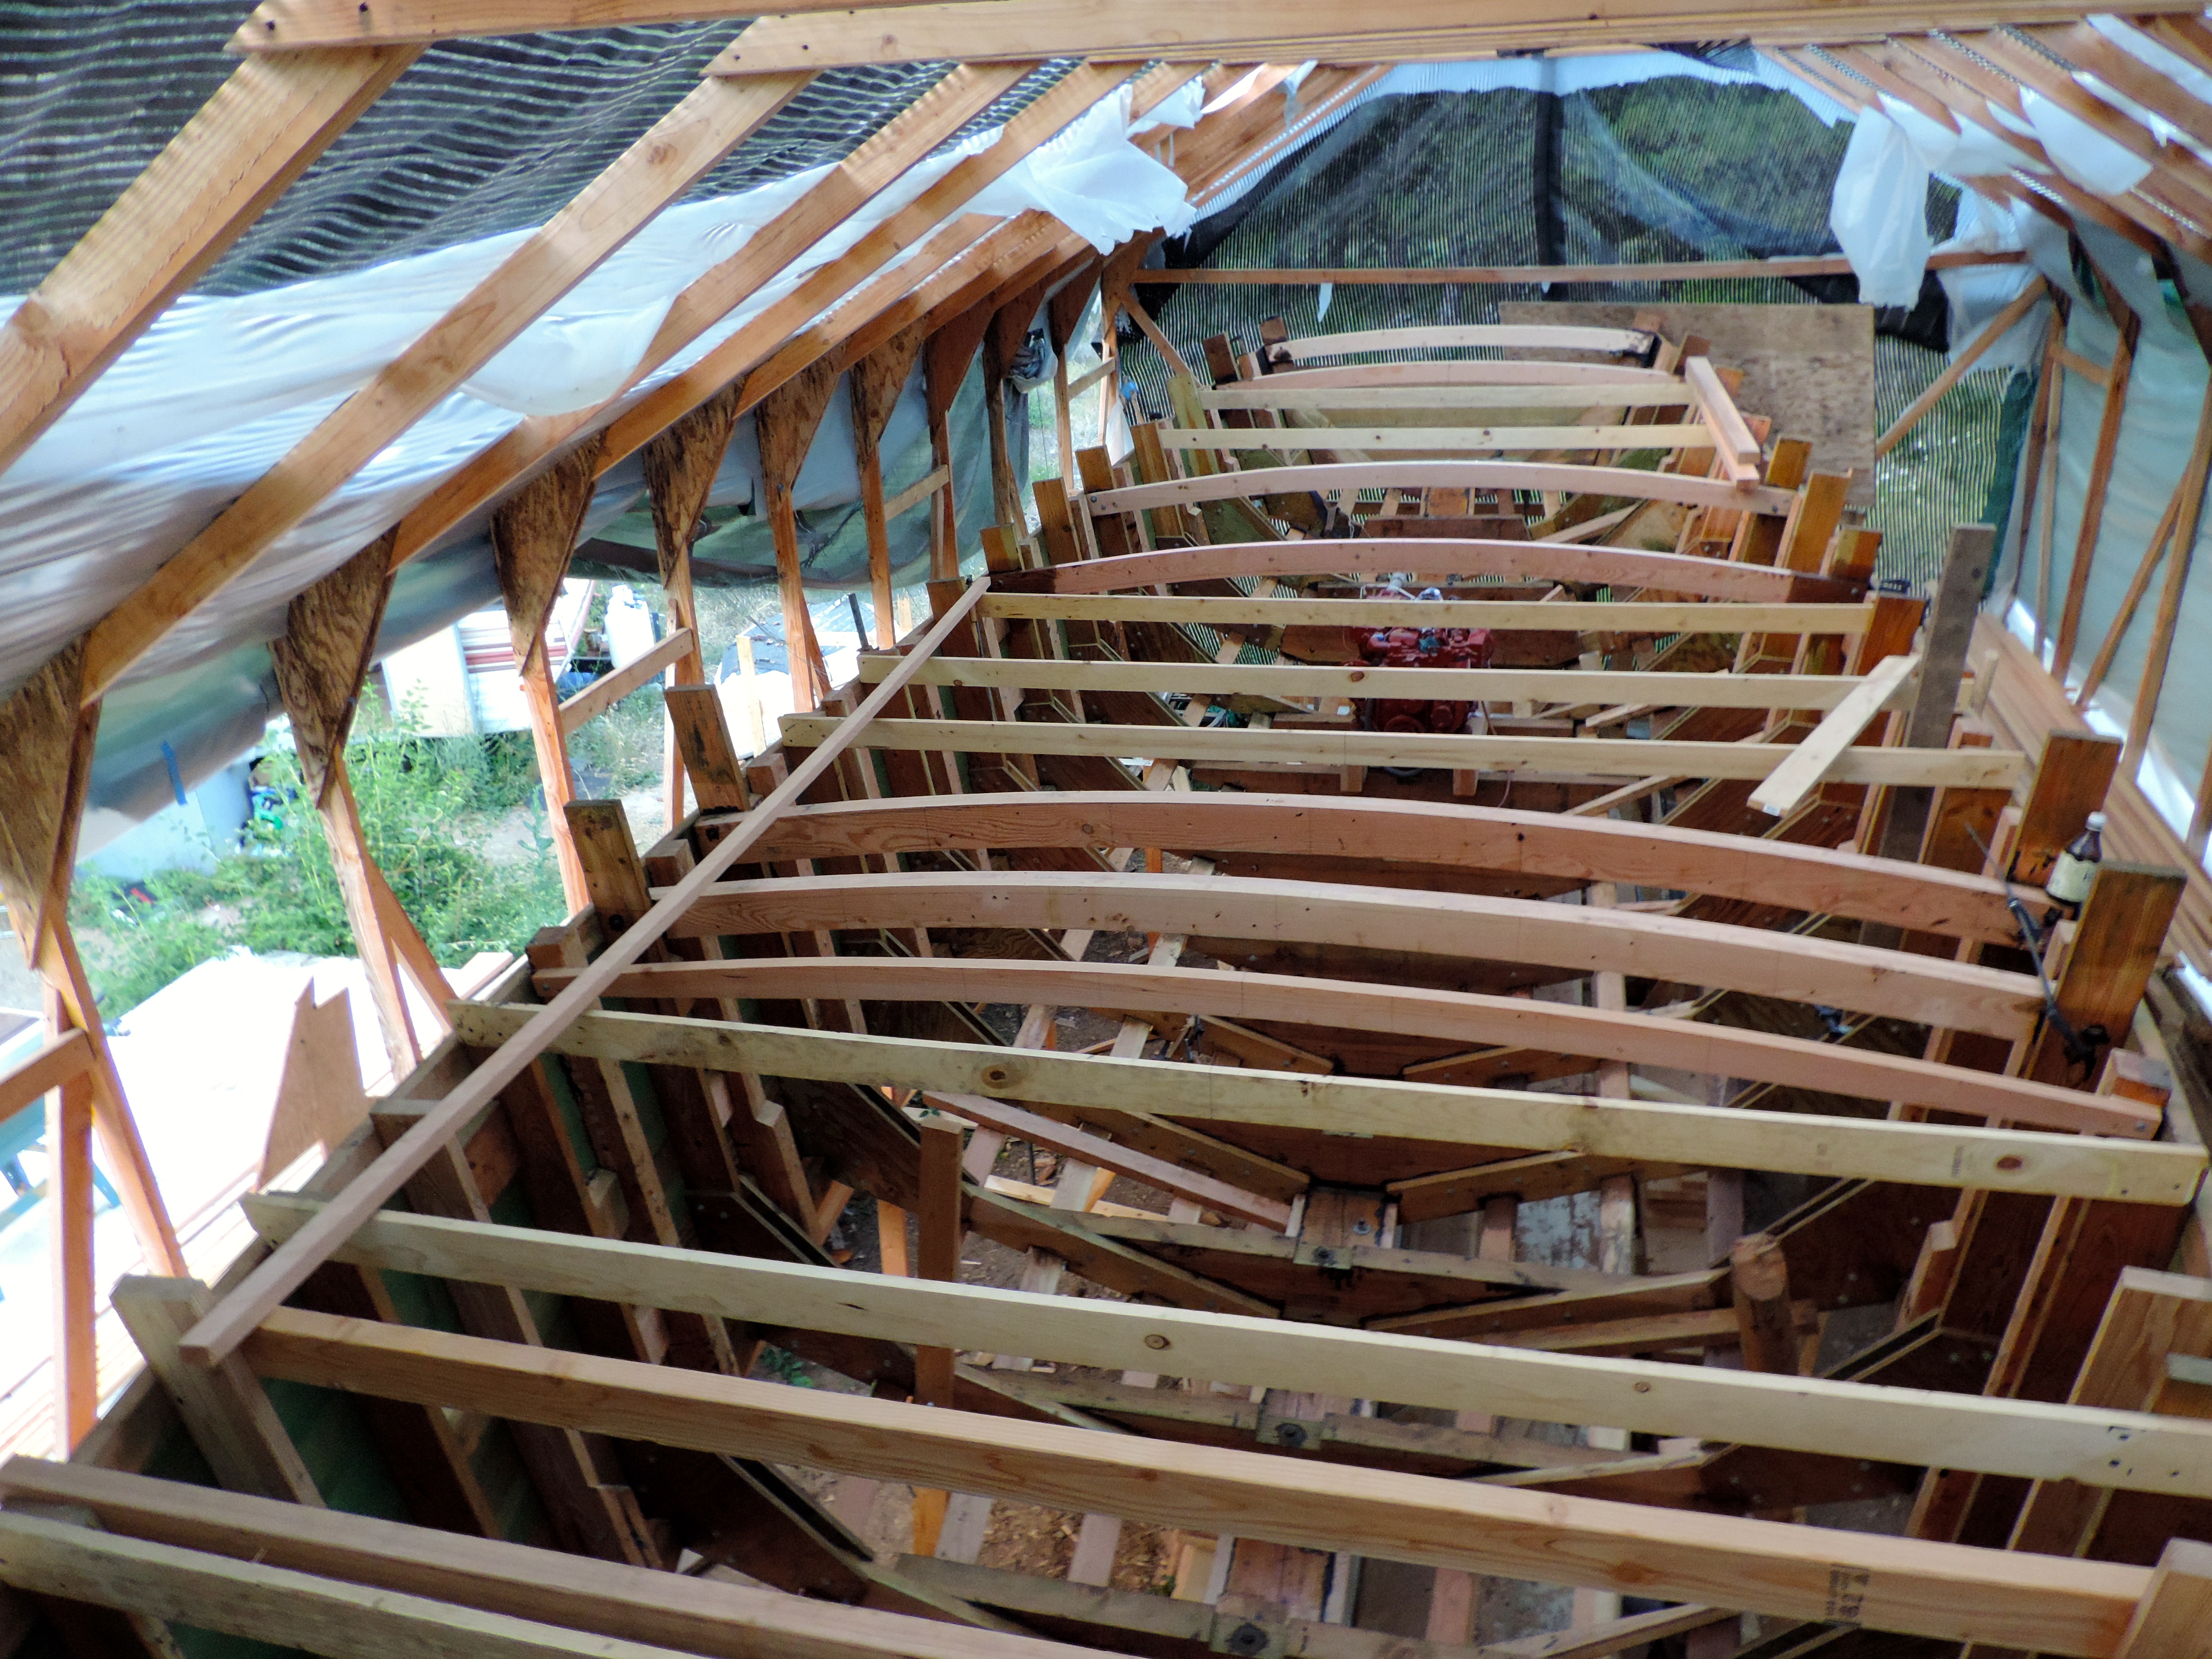
All 6 stringers installed!
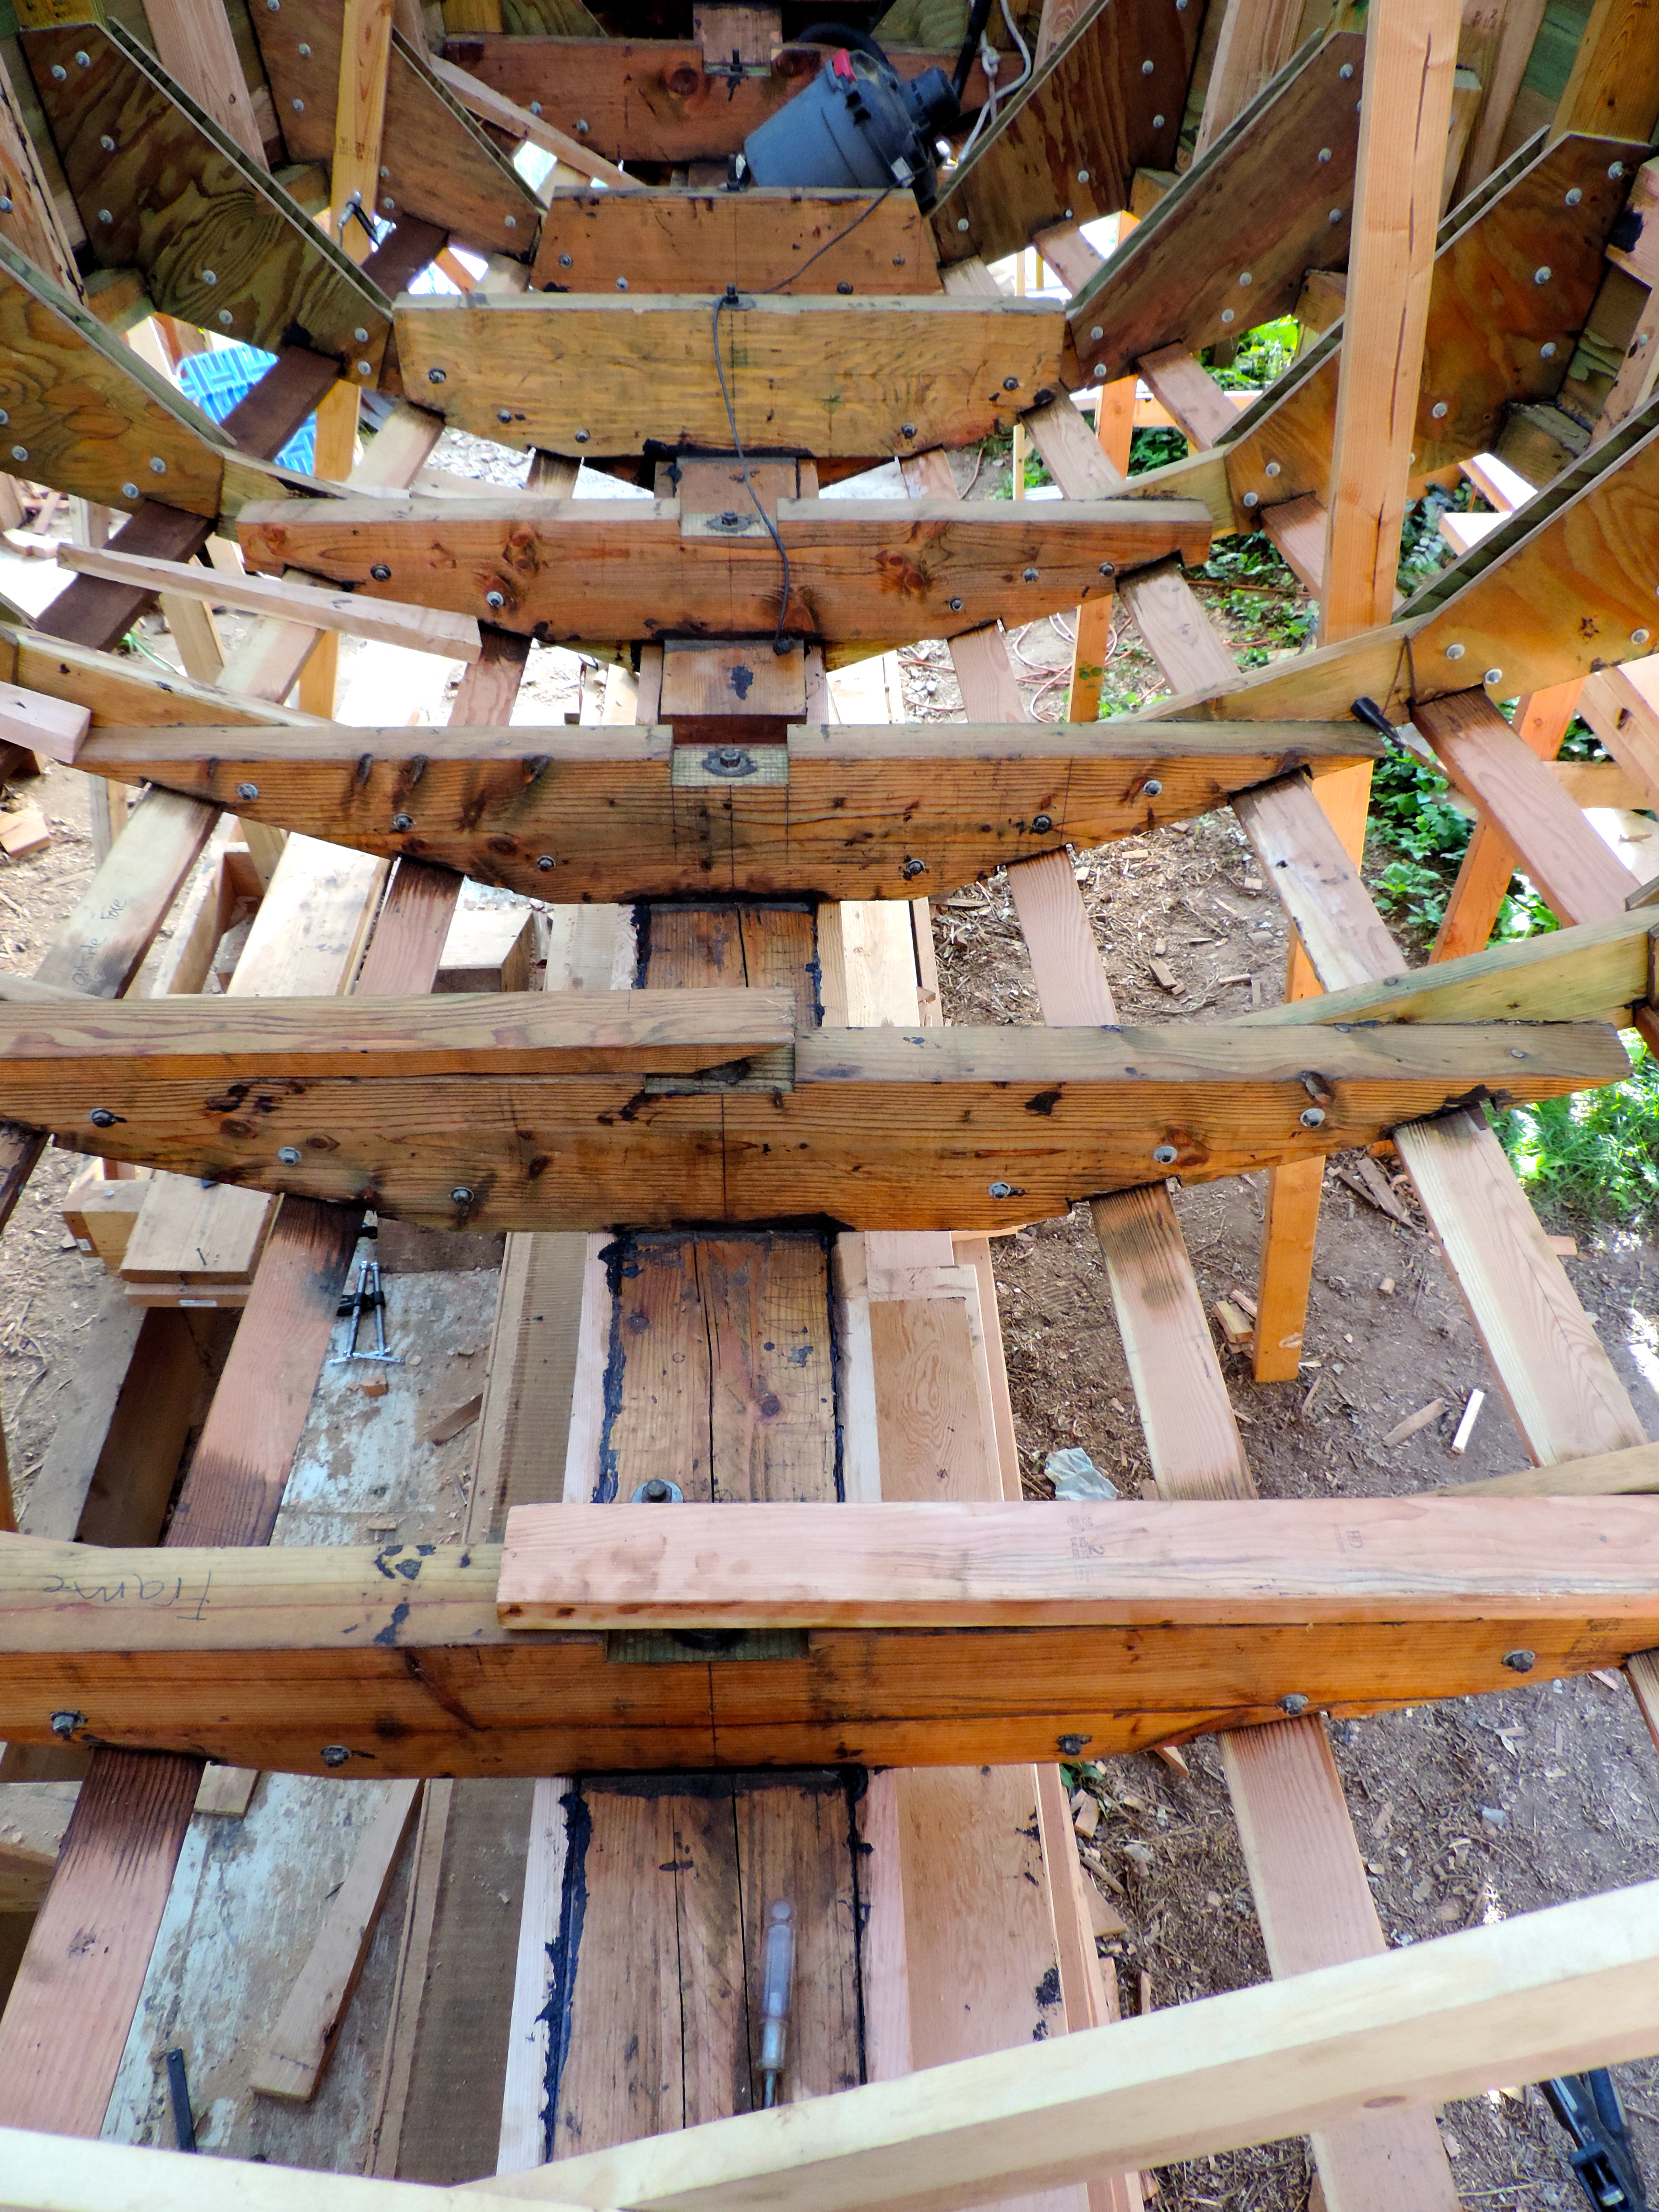
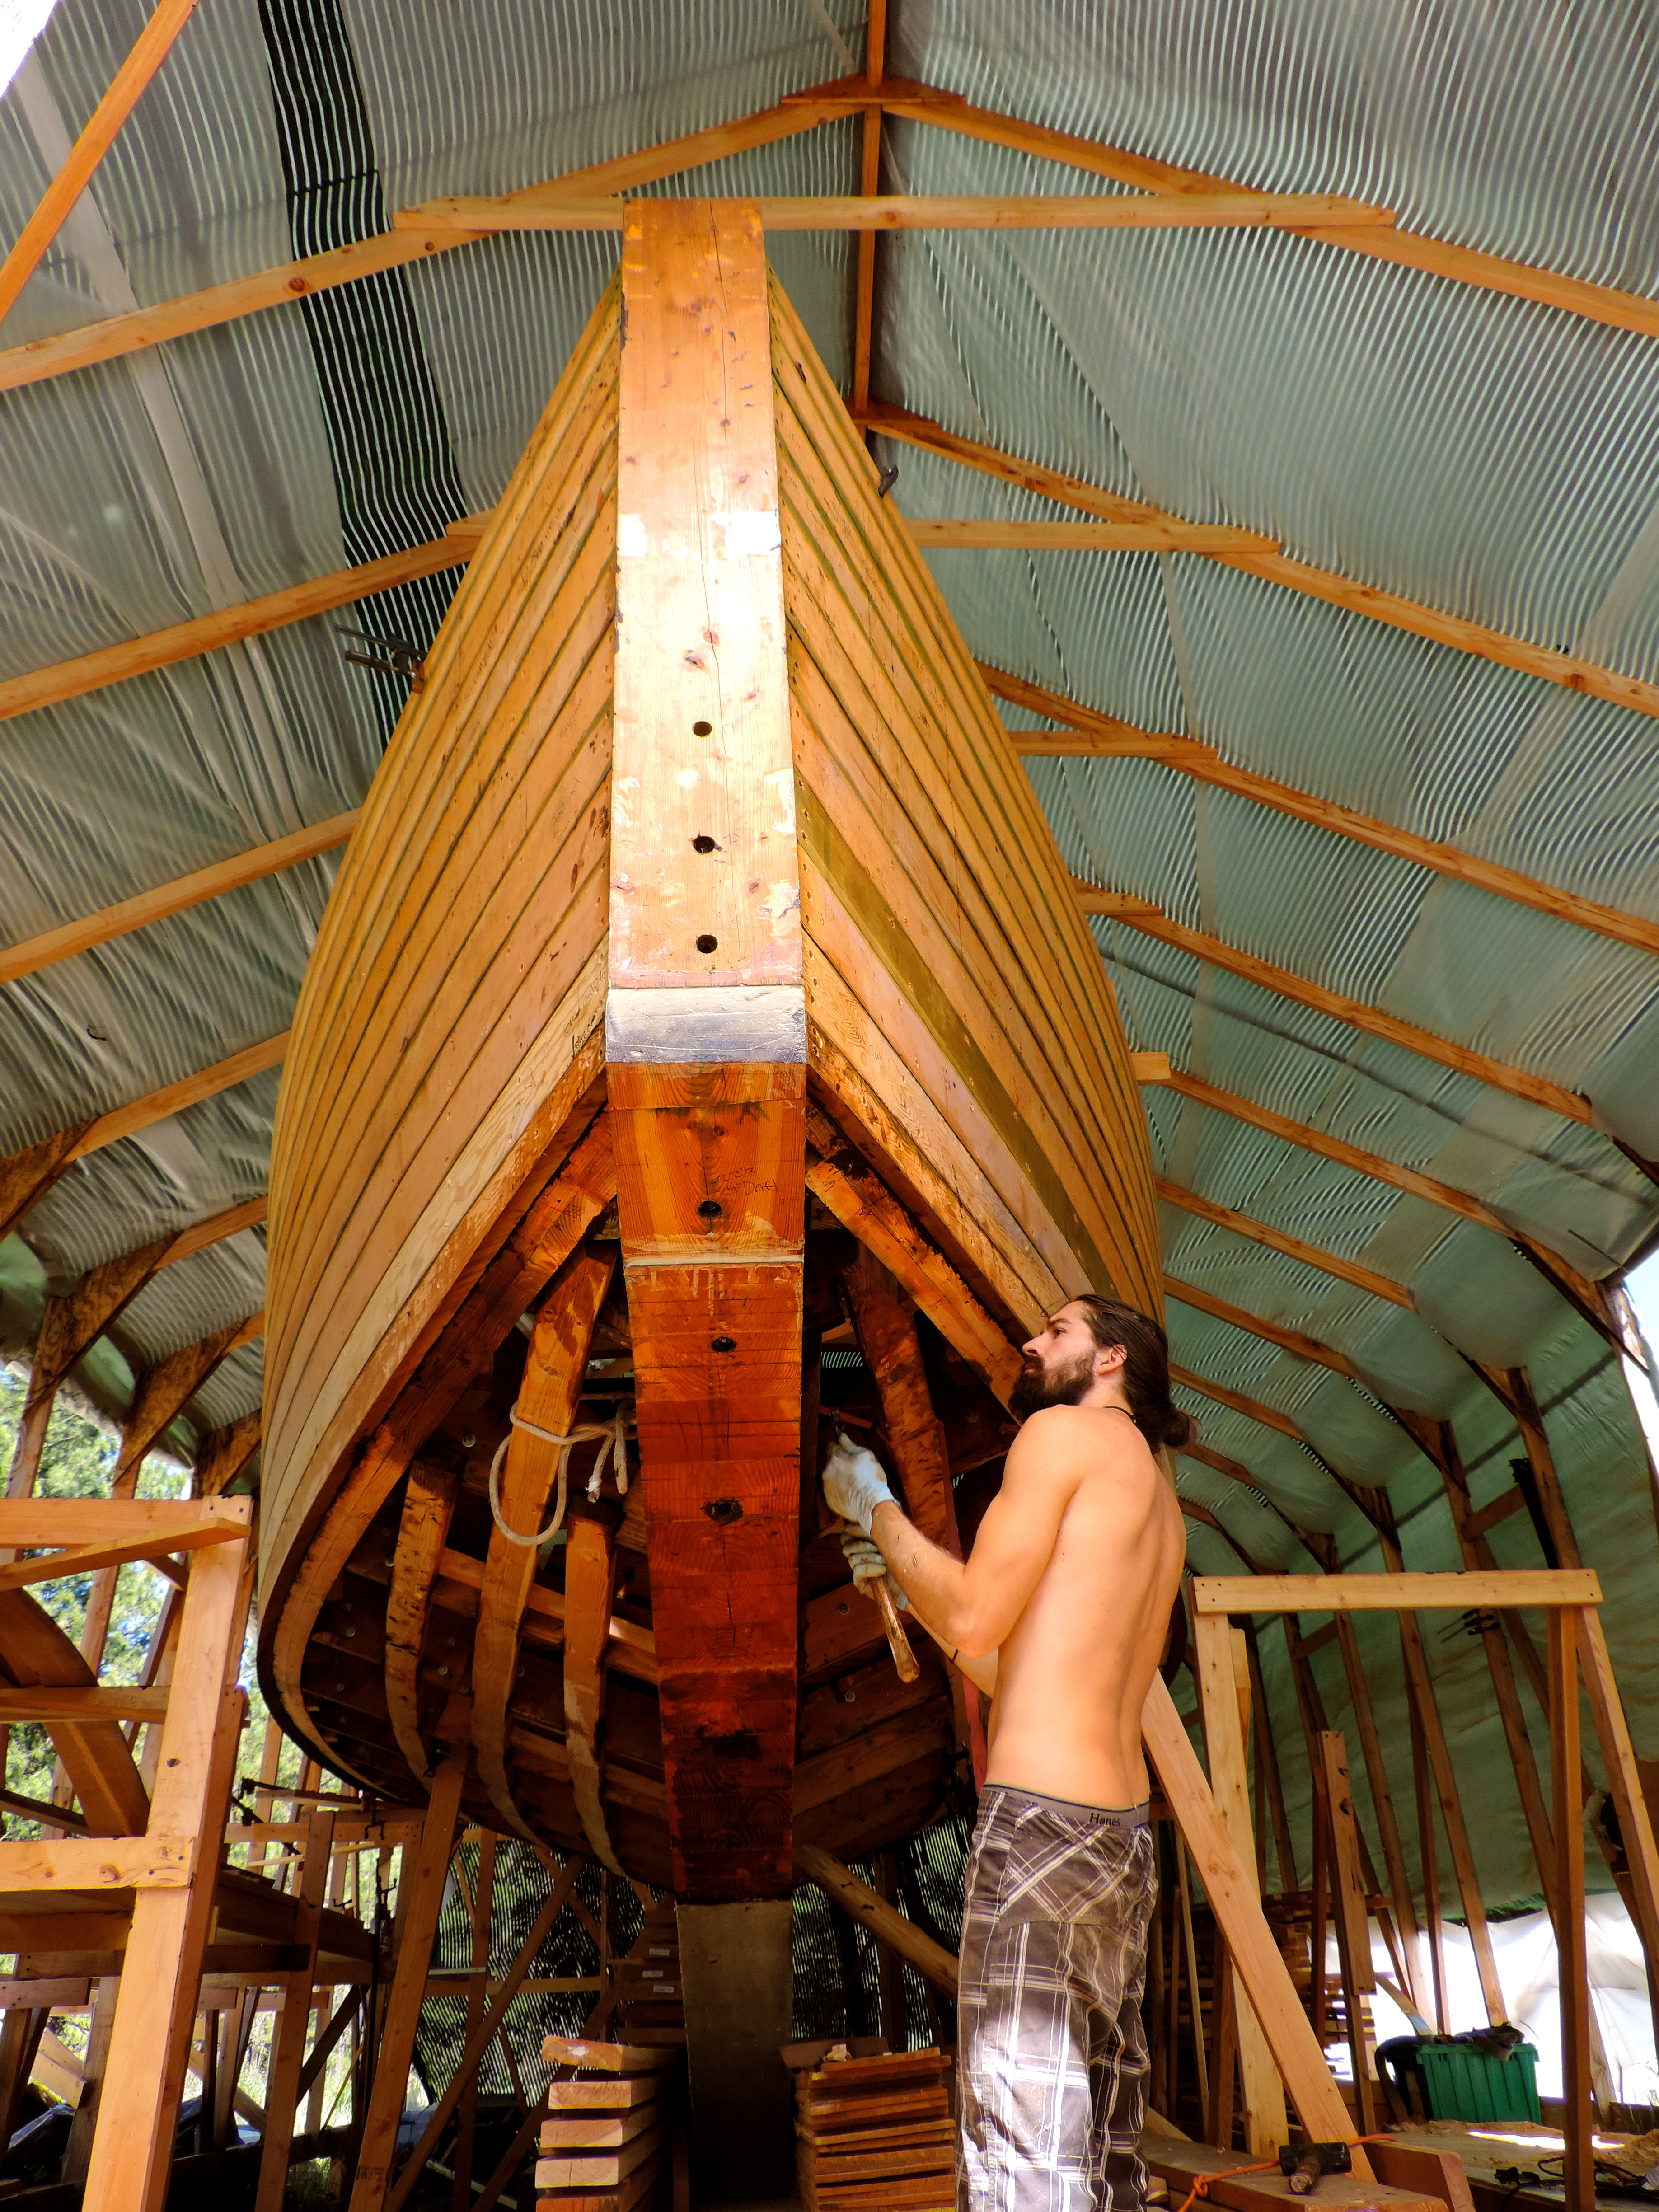
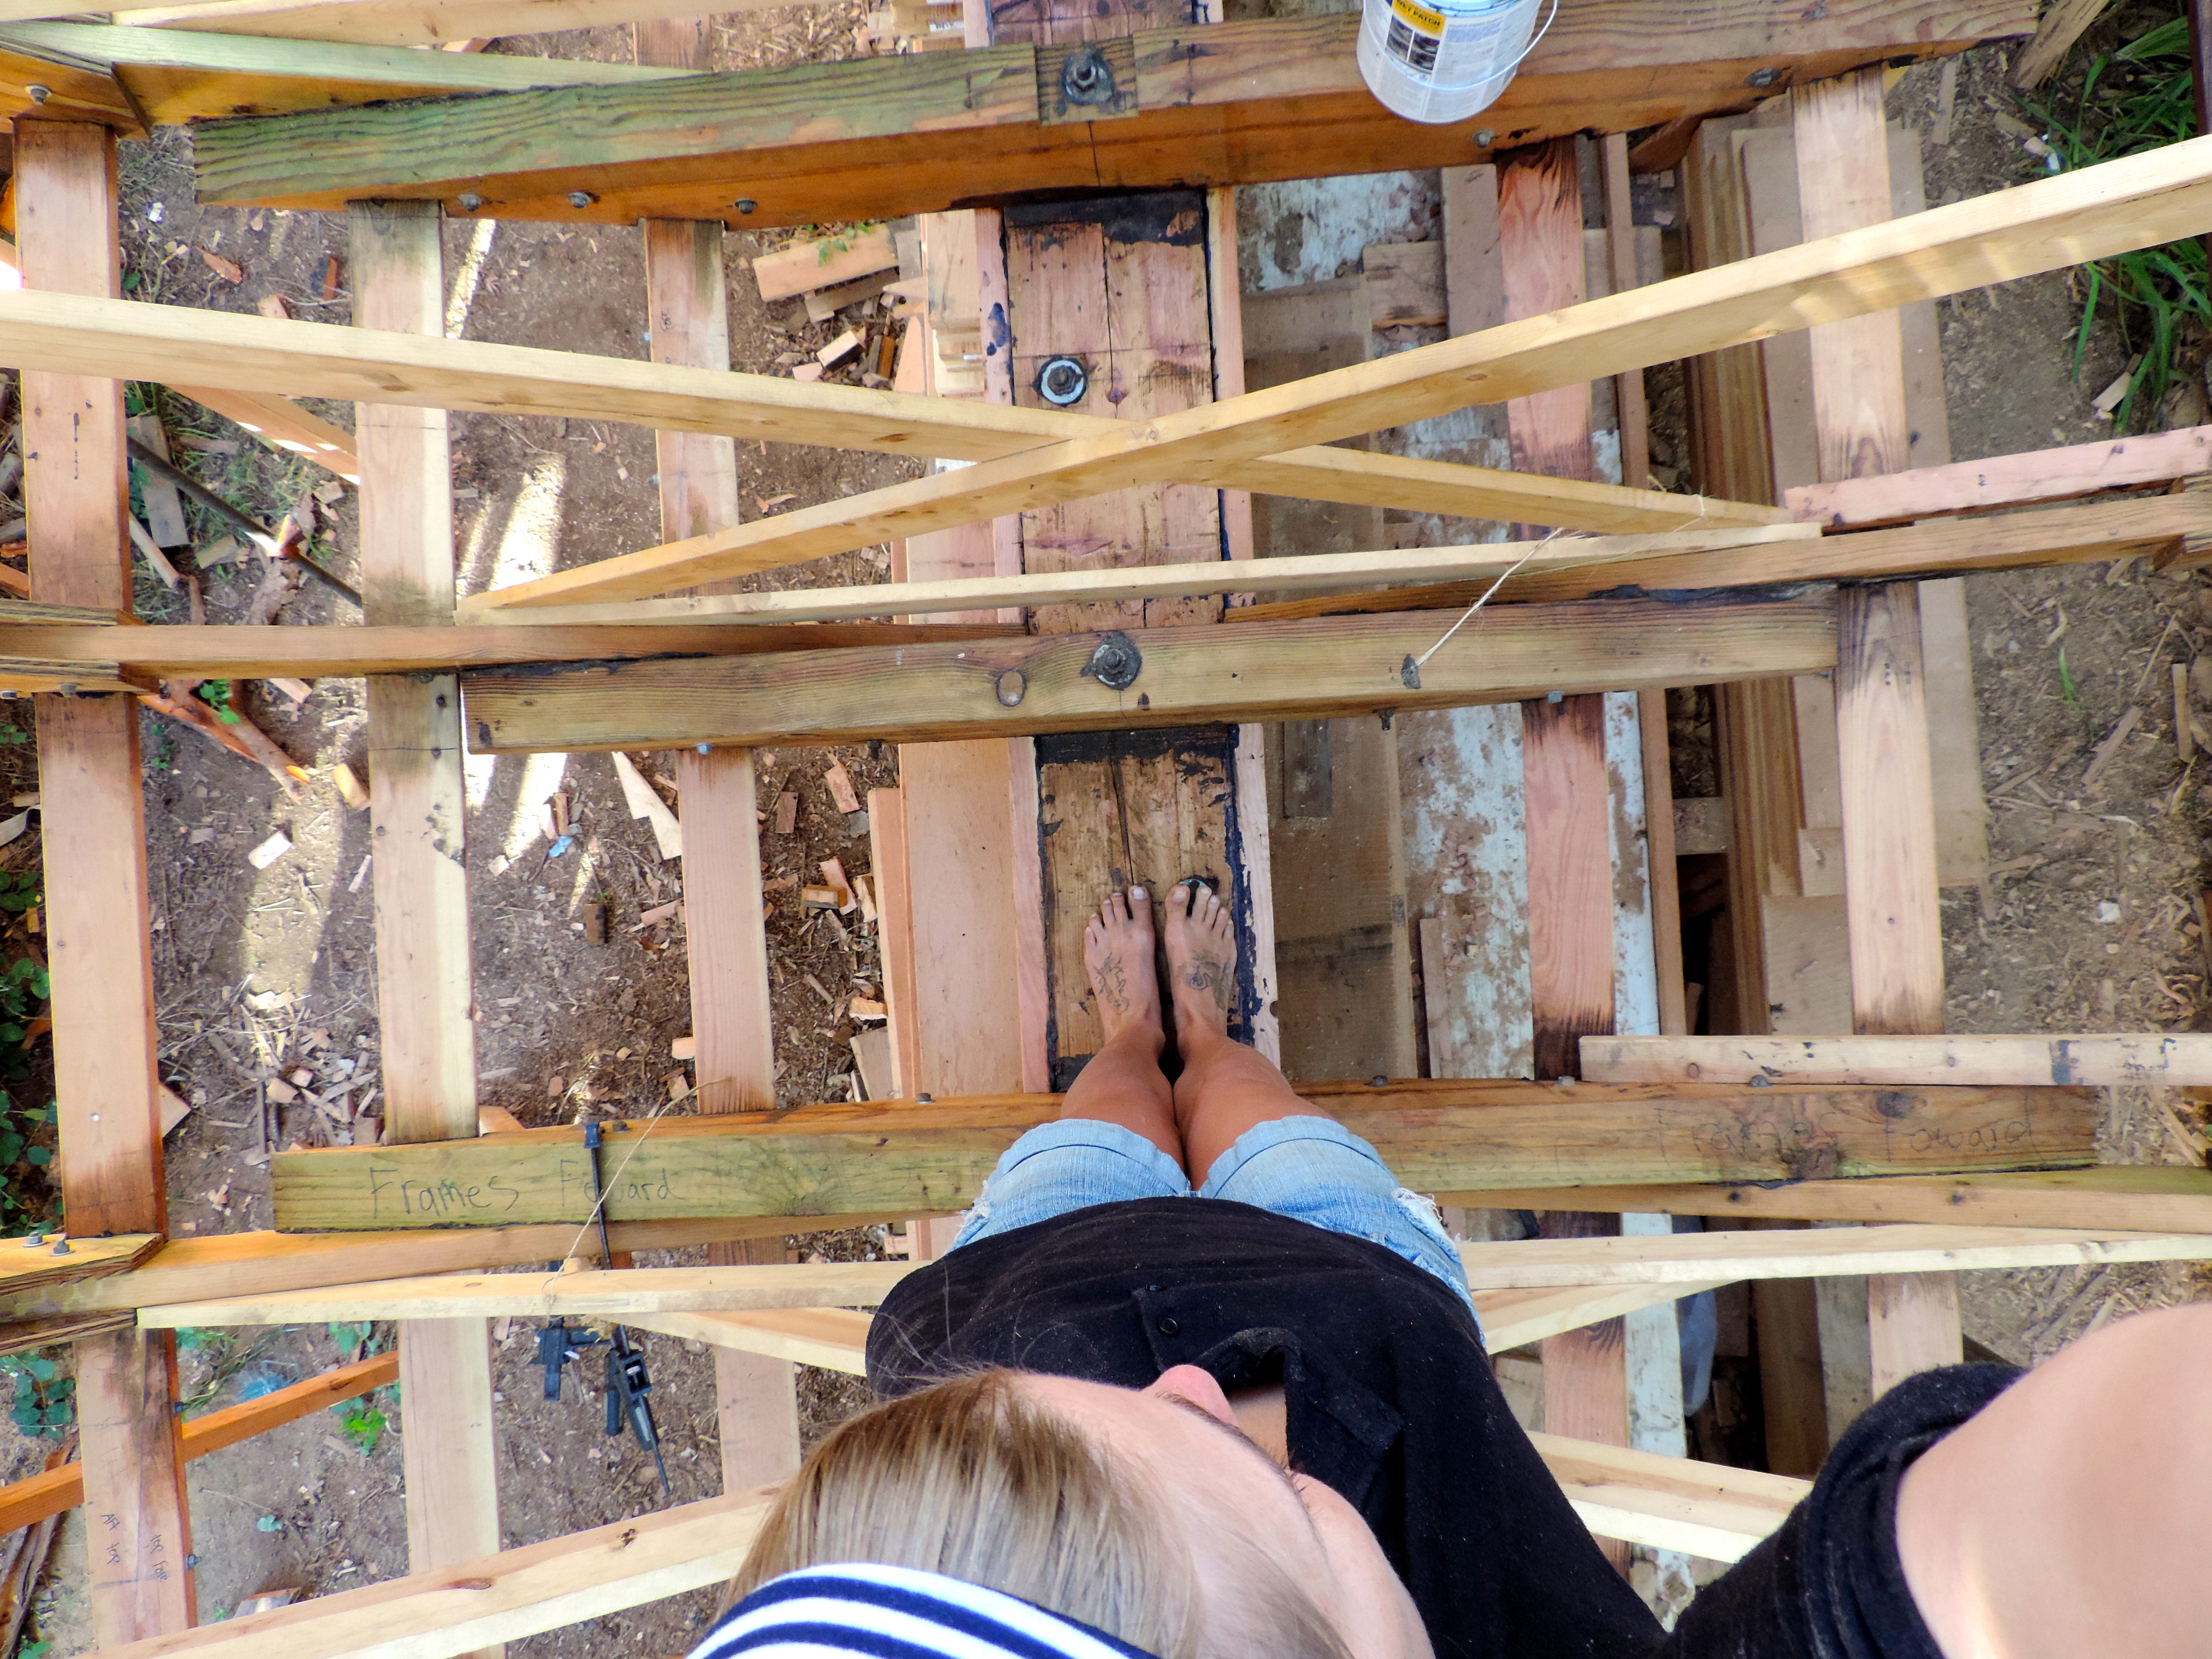
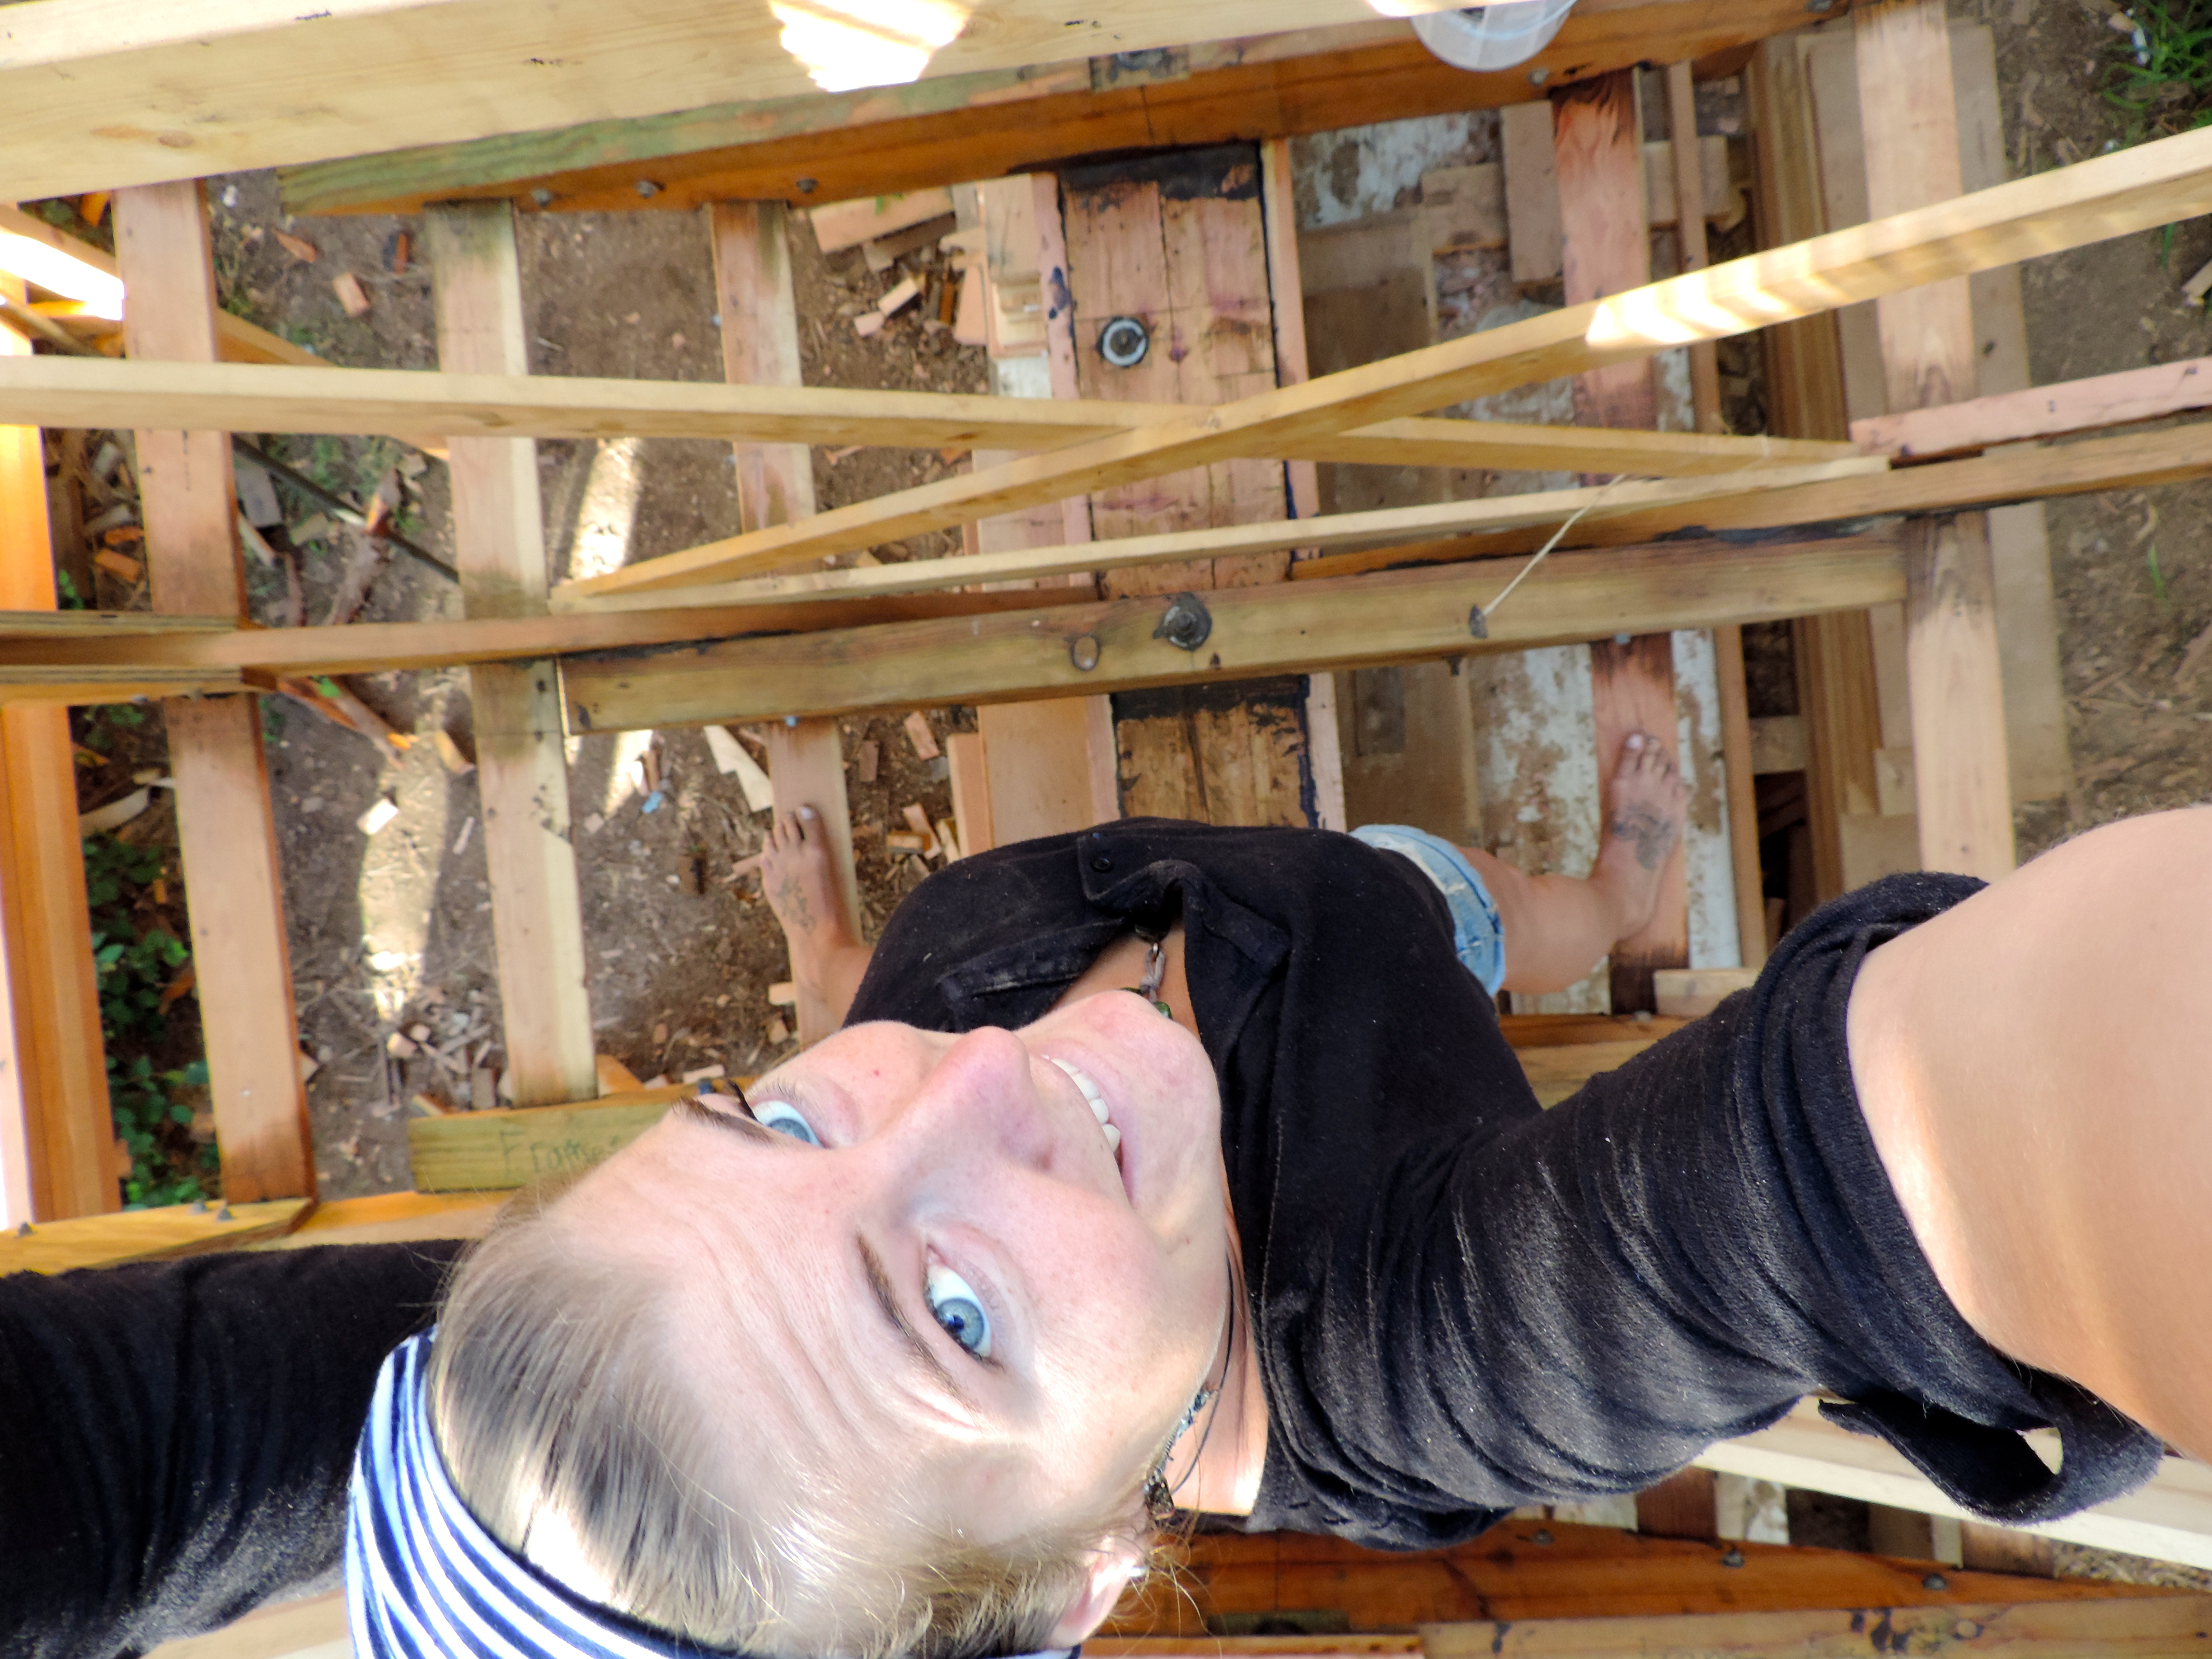
From inside the boat
All that is left now is to install the Cheeks and cut the Rabbet!
Garrett finished installing the Cheeks the other day (pictures to come) and has decided to cut the Rabbet as we go on with bottom planking in order to get planking sooner!
Going back up the hill now where Garrett should be putting the first planks on the bottom!!!!!! We thought this day would never come haha
-Ruthie


 Pulling the 20ft bow plank into position.
 Pipe clamps were a must for these planks. (thanks Jim!)
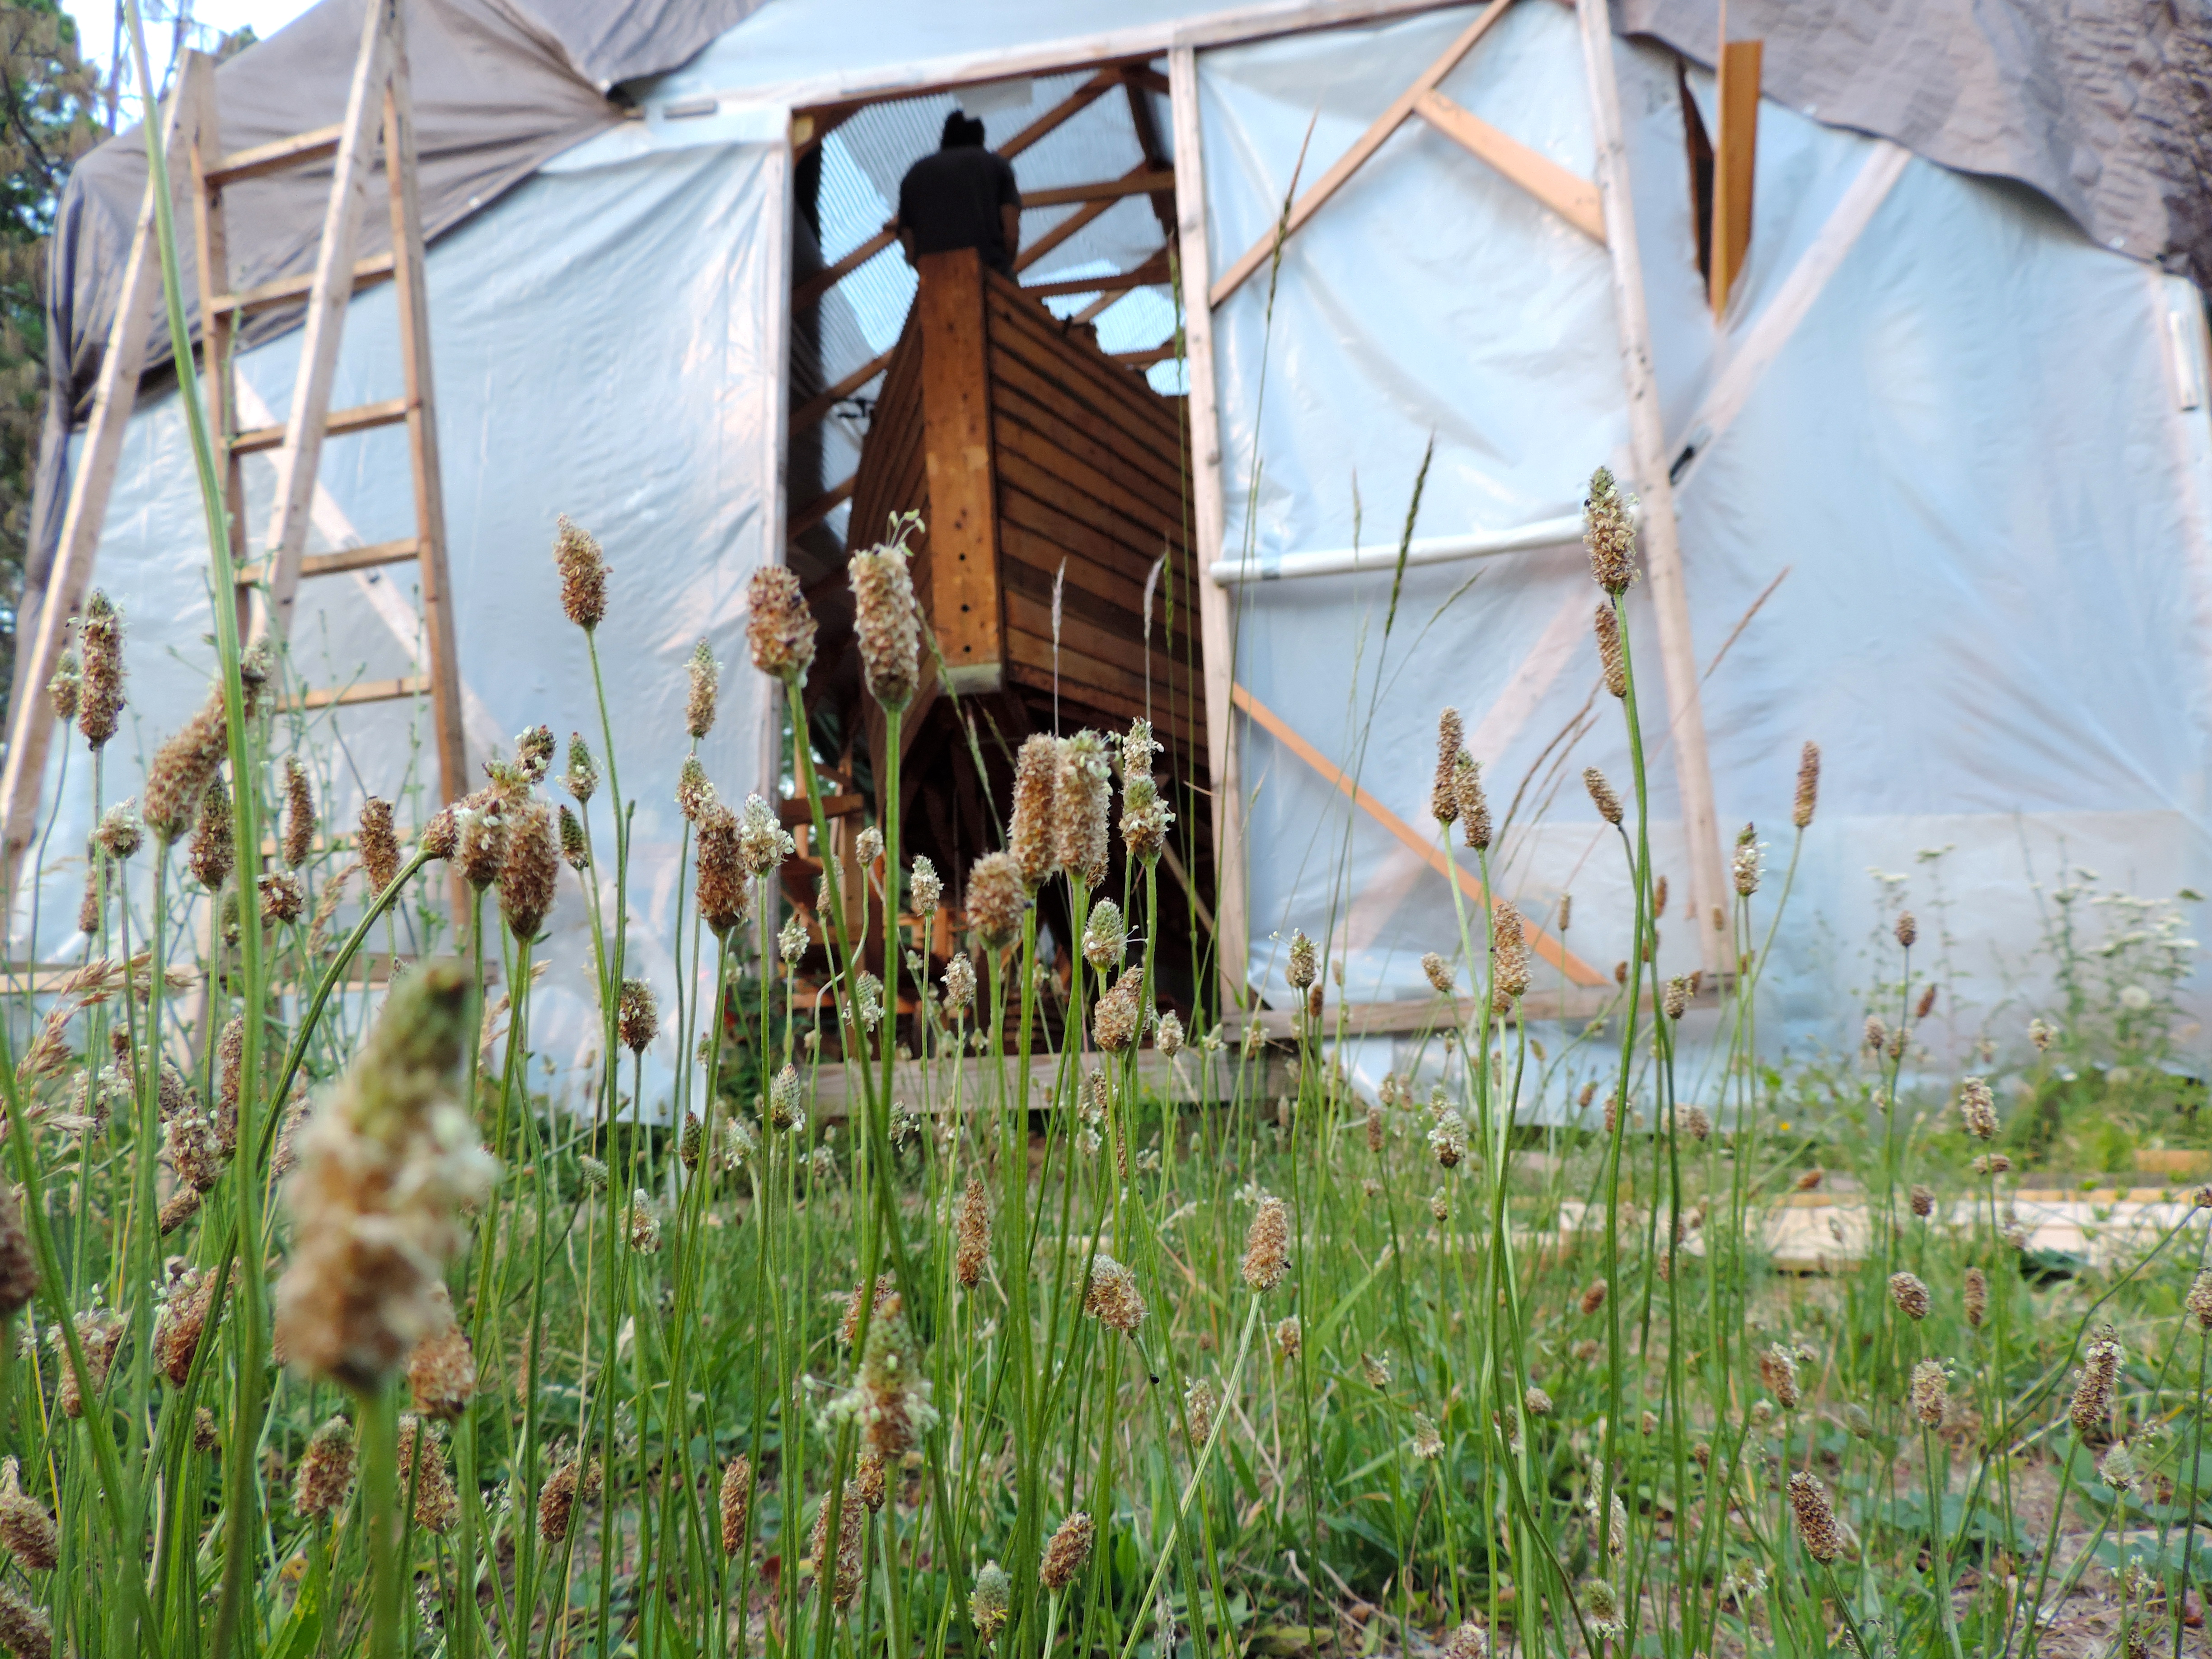
 Kind of an awkward angle, but it’s the only picture we have so far of the topsides completed.
 So I was envisioning a regular sized truck with a little boom crane on it…. Not so much!
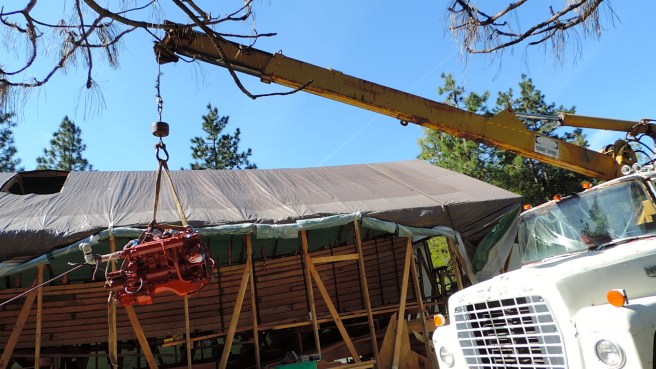 The engine was like a a pebble to this thing.
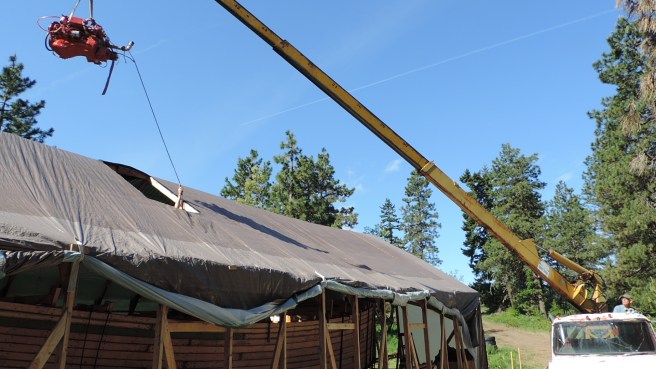 A couple slices with a knife… Sun roof! How quaint…
 Stoked!
 Now back to business.
 and she’s in!! Just blocked in place for now. I’ll make permanent mounts later.

 Lookin sexy!
 some of the beautiful fir from sustainable northwest woods fresh from the planer!
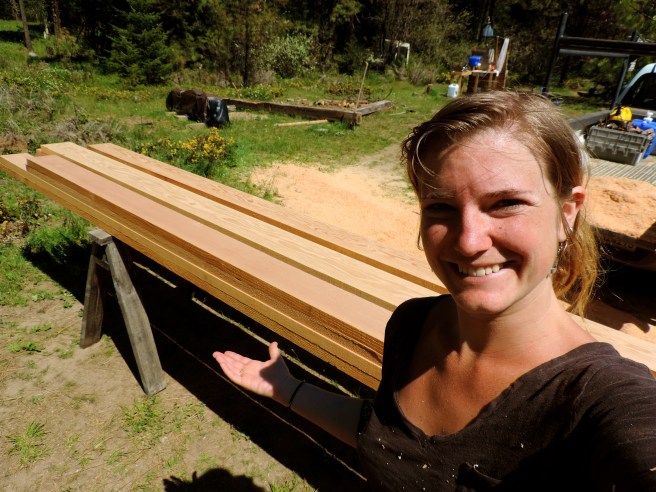 planed down to planking thickness. Note all the saw dust!