Chine

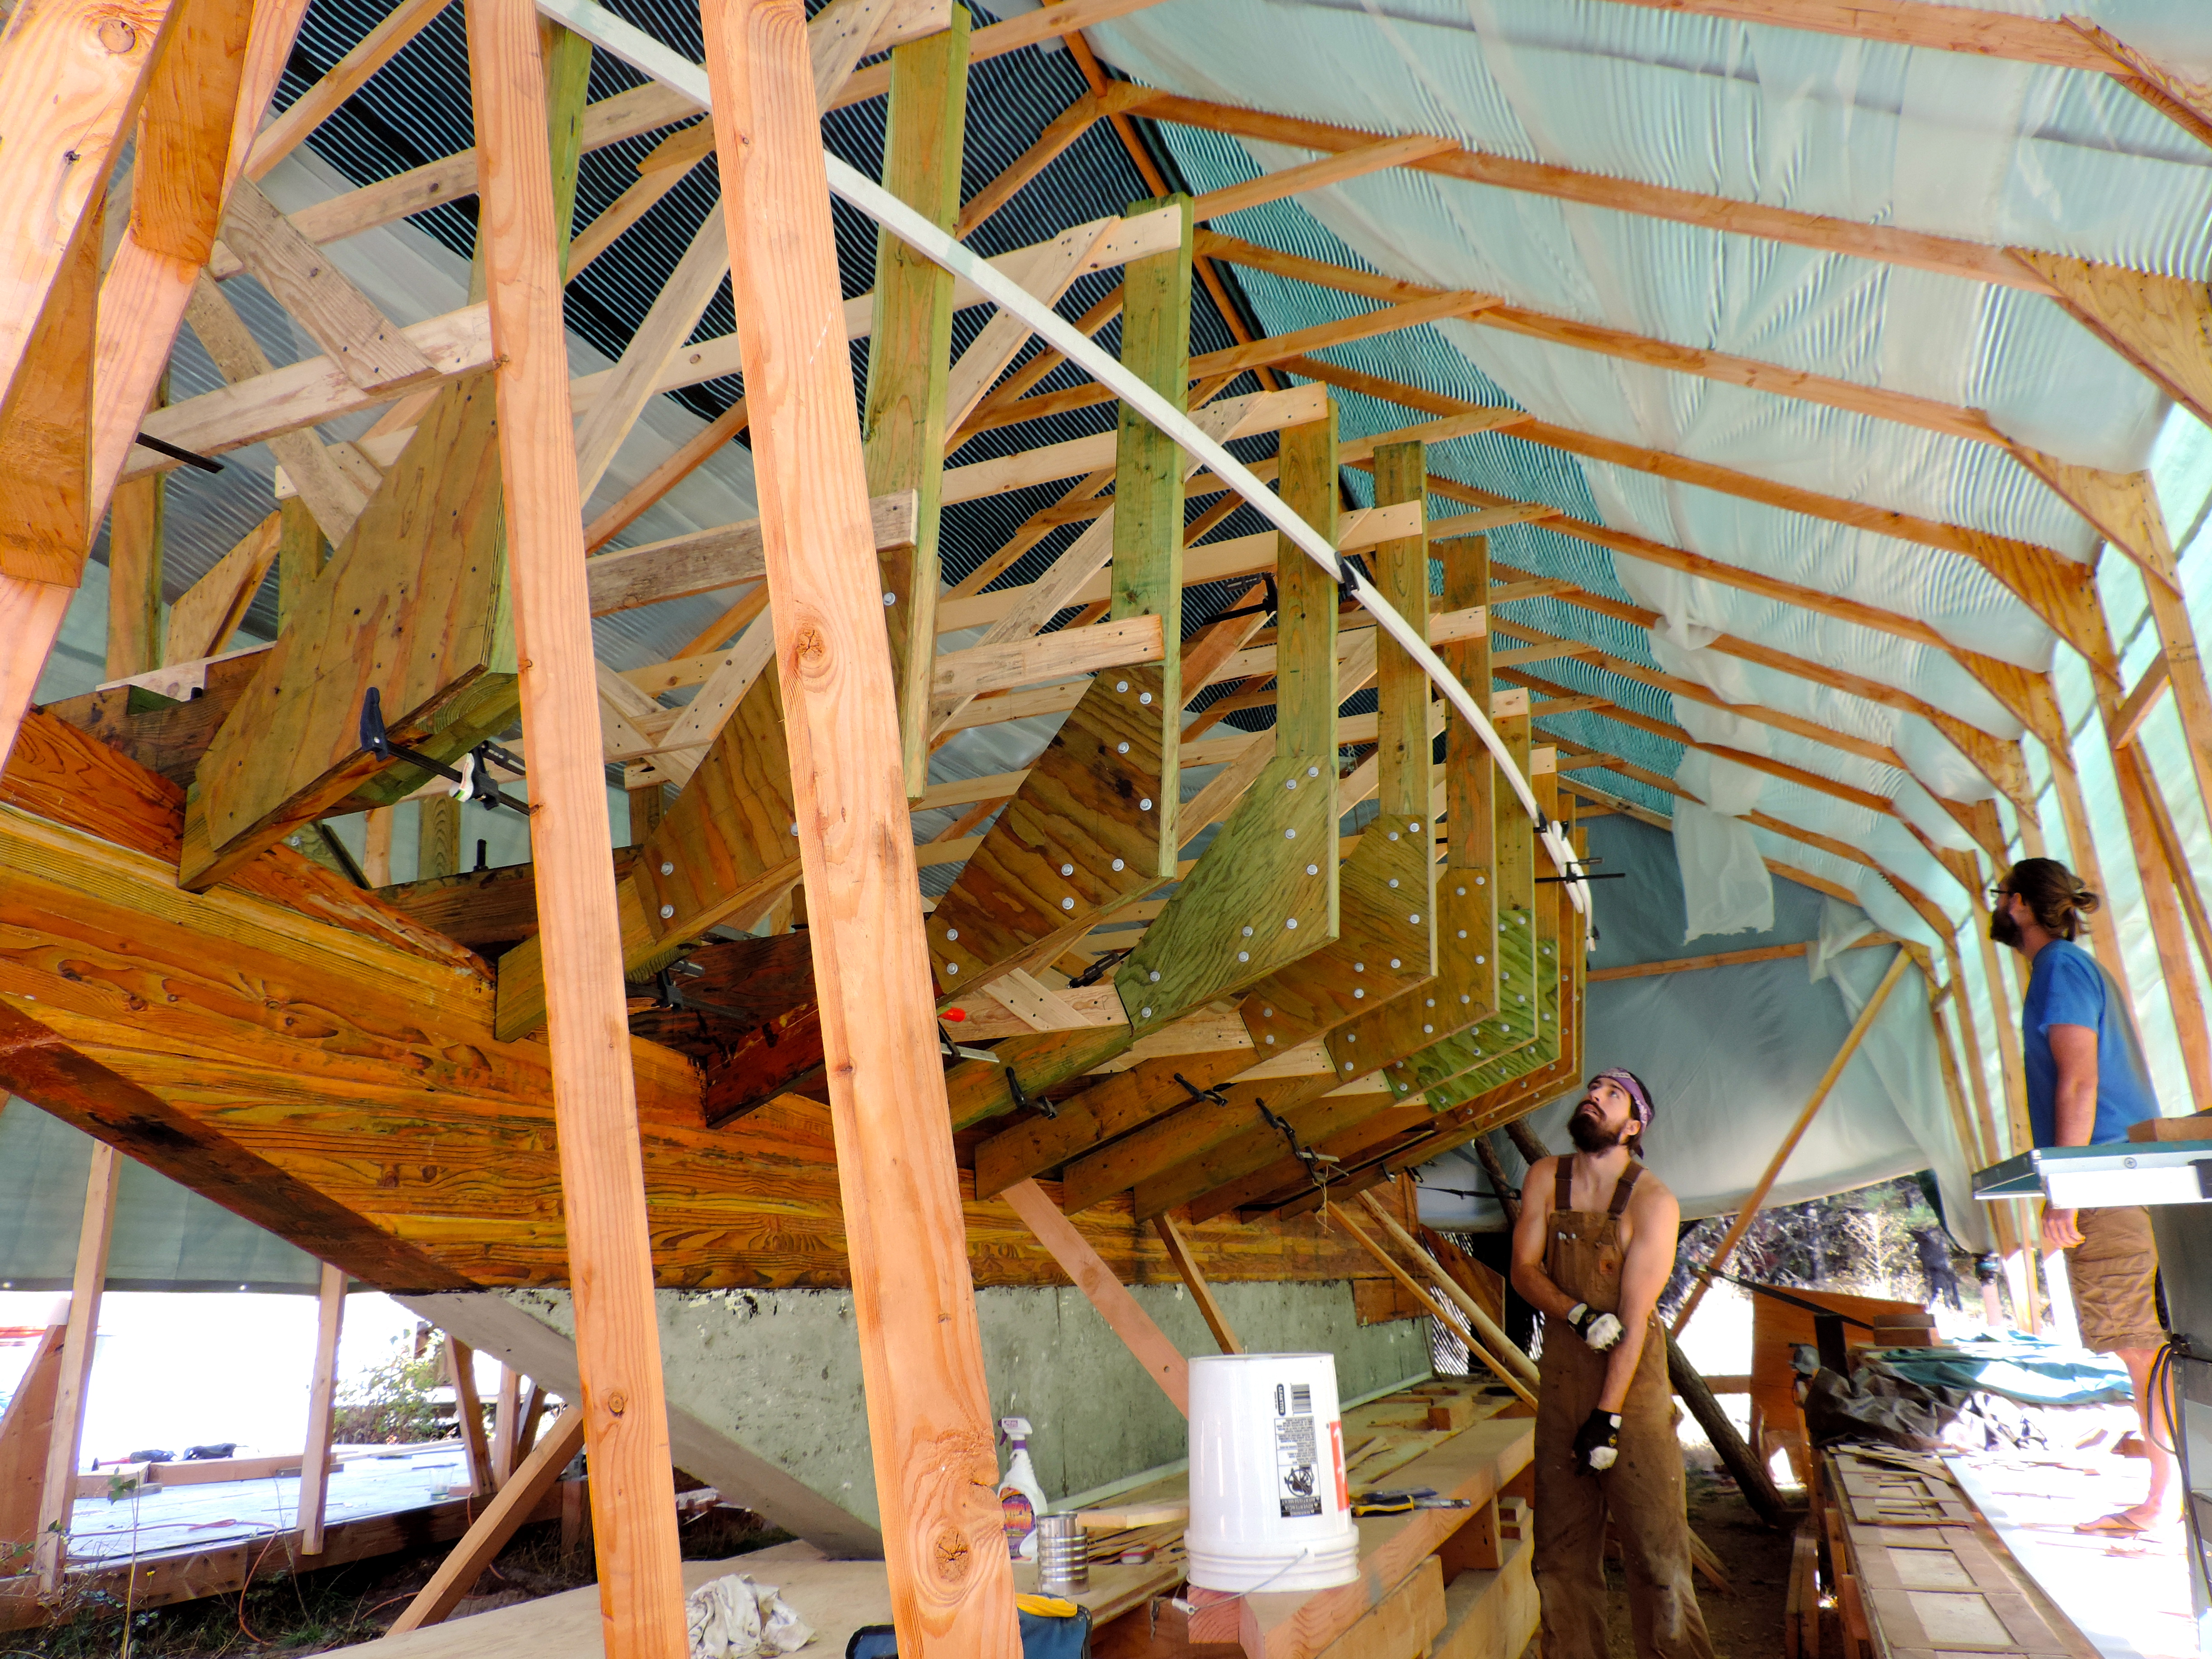
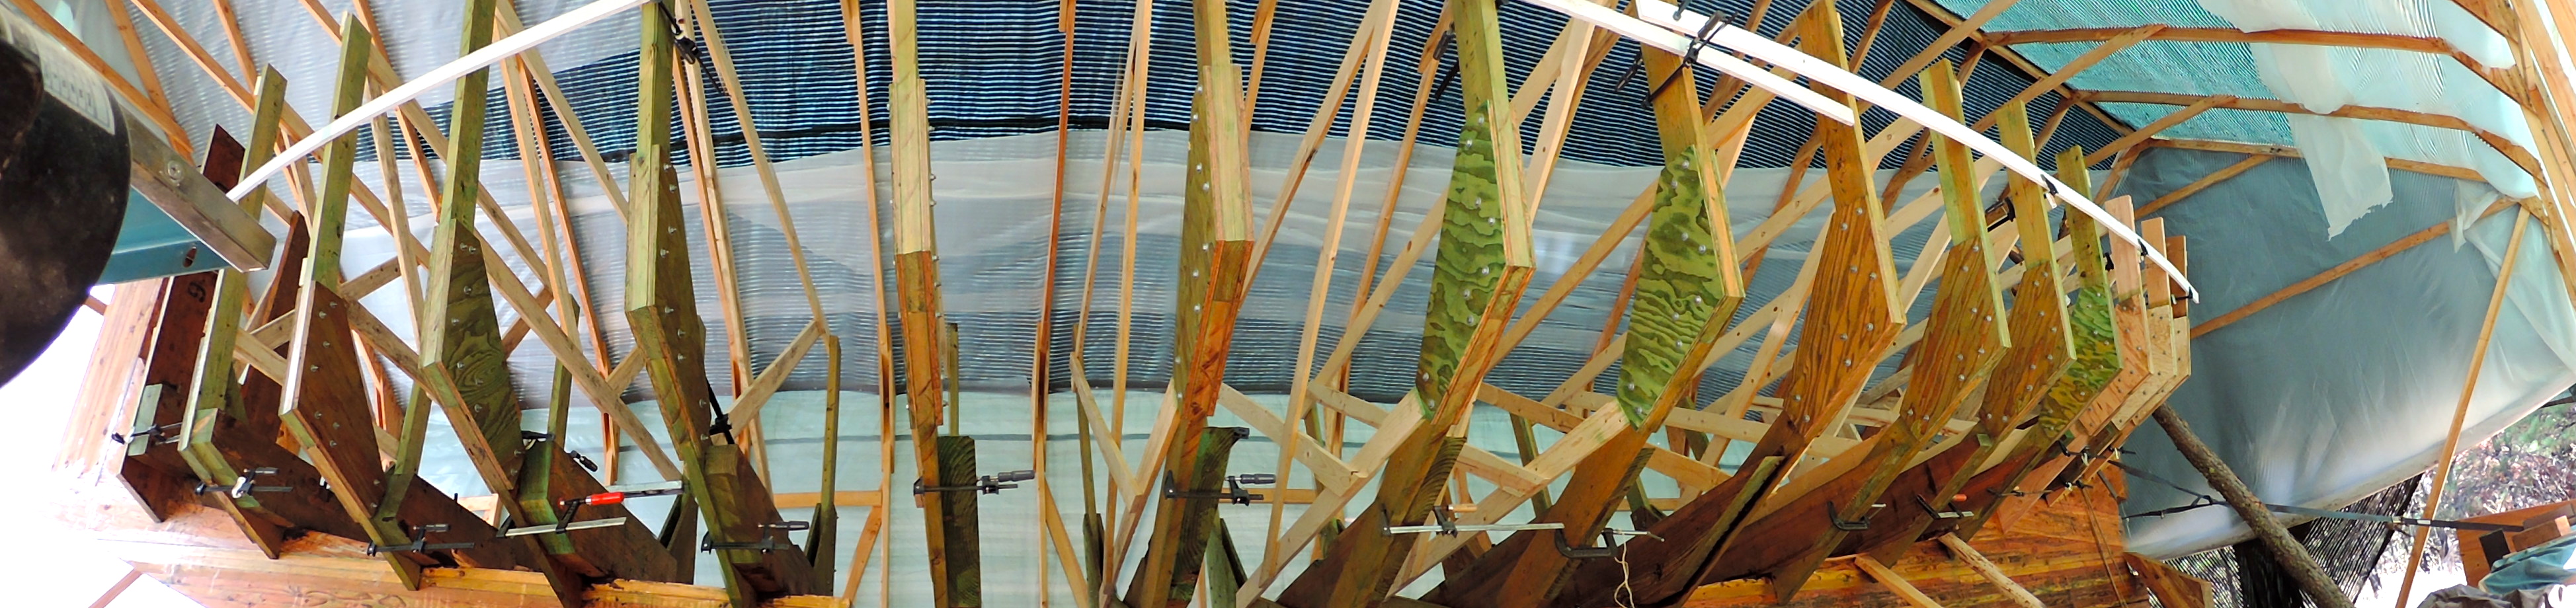
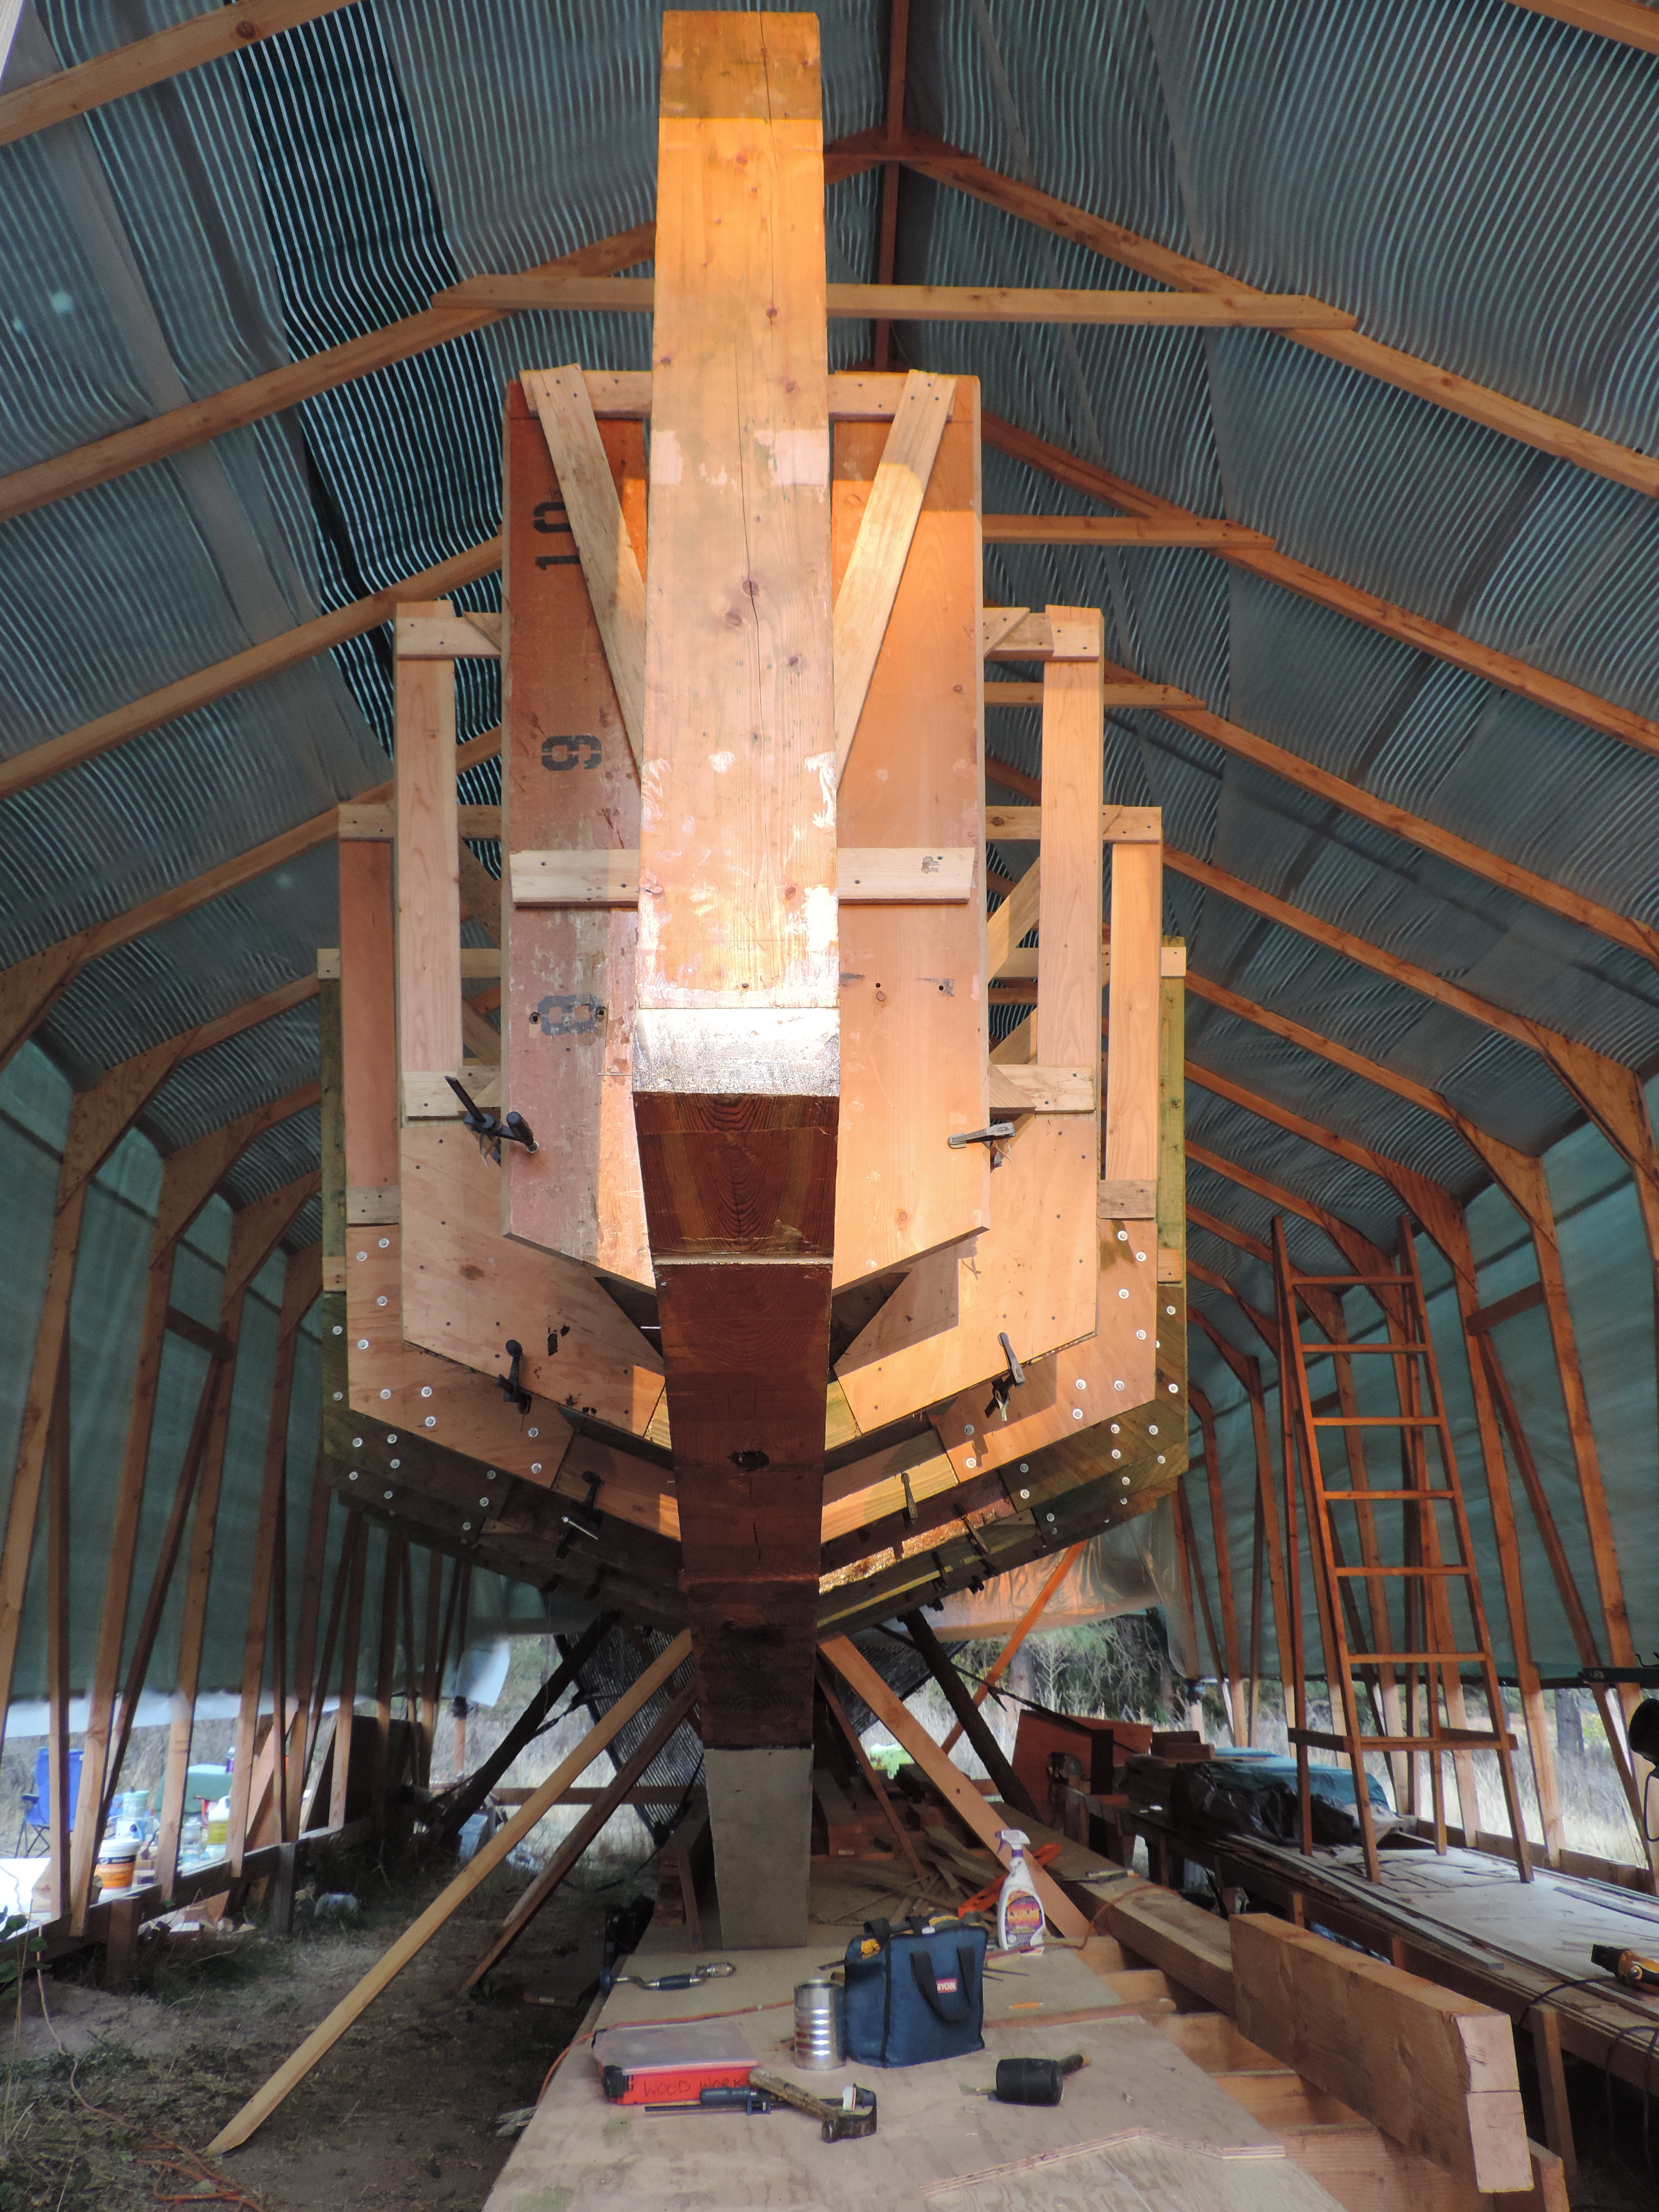
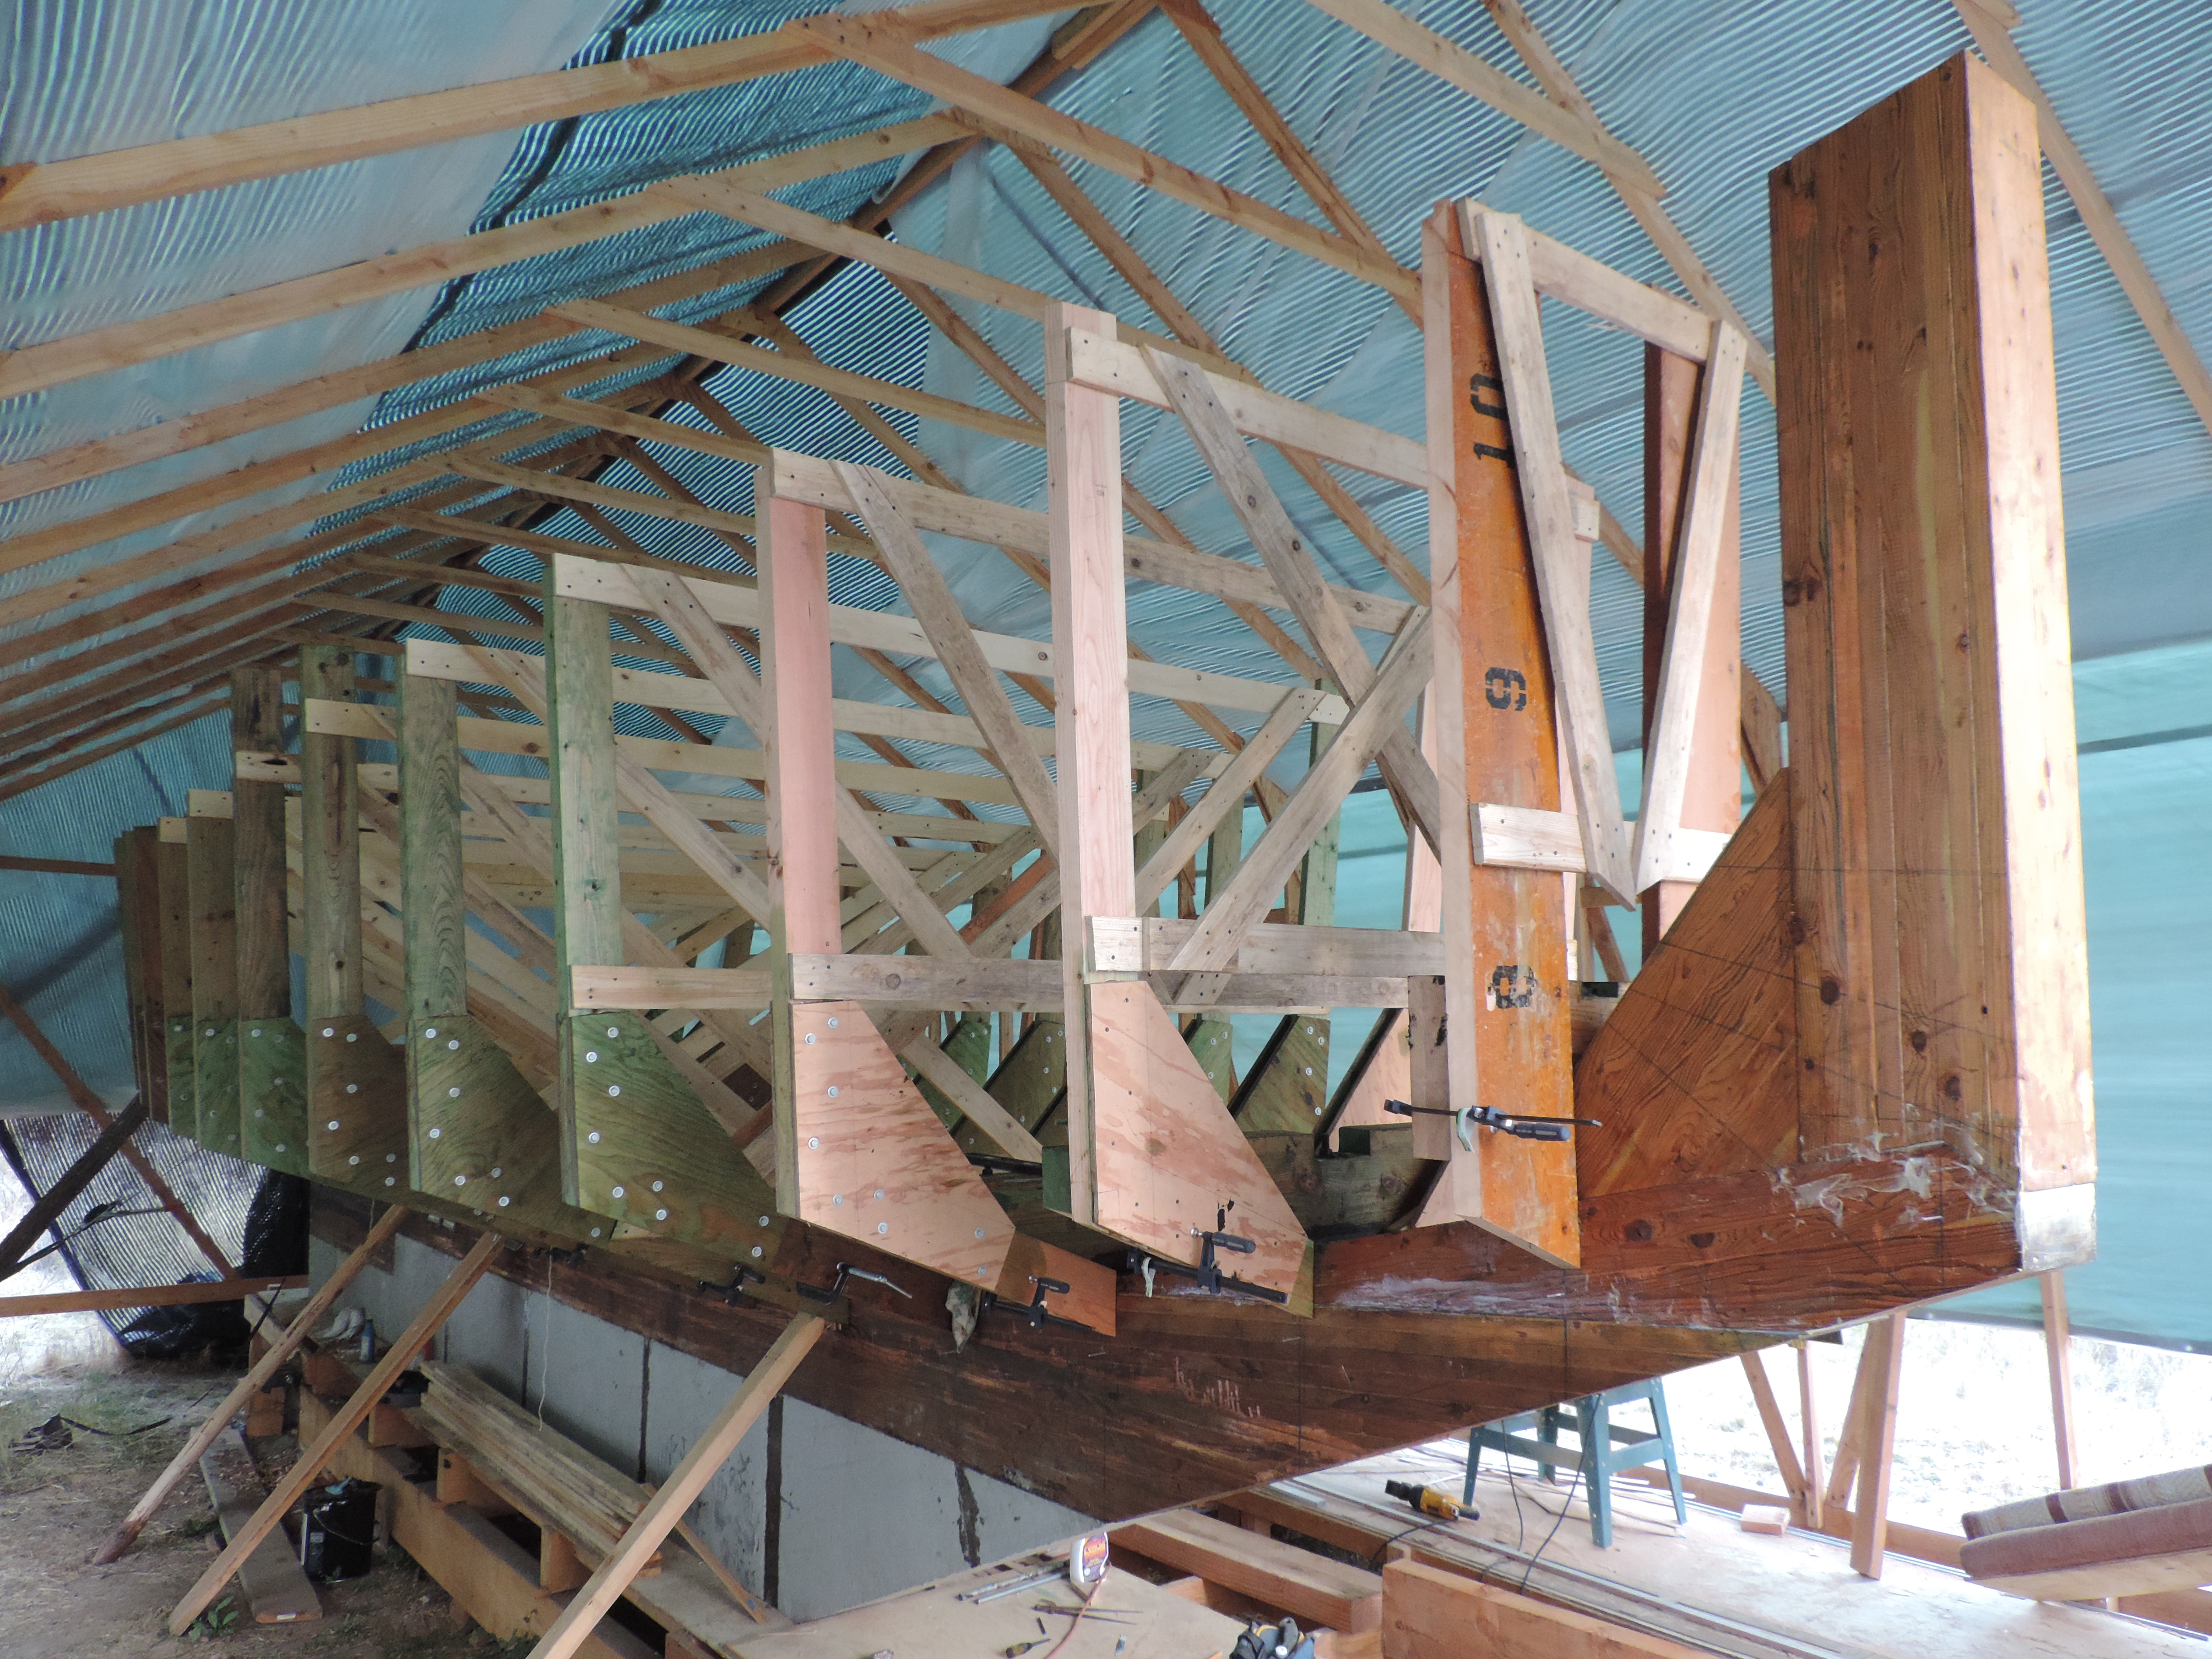
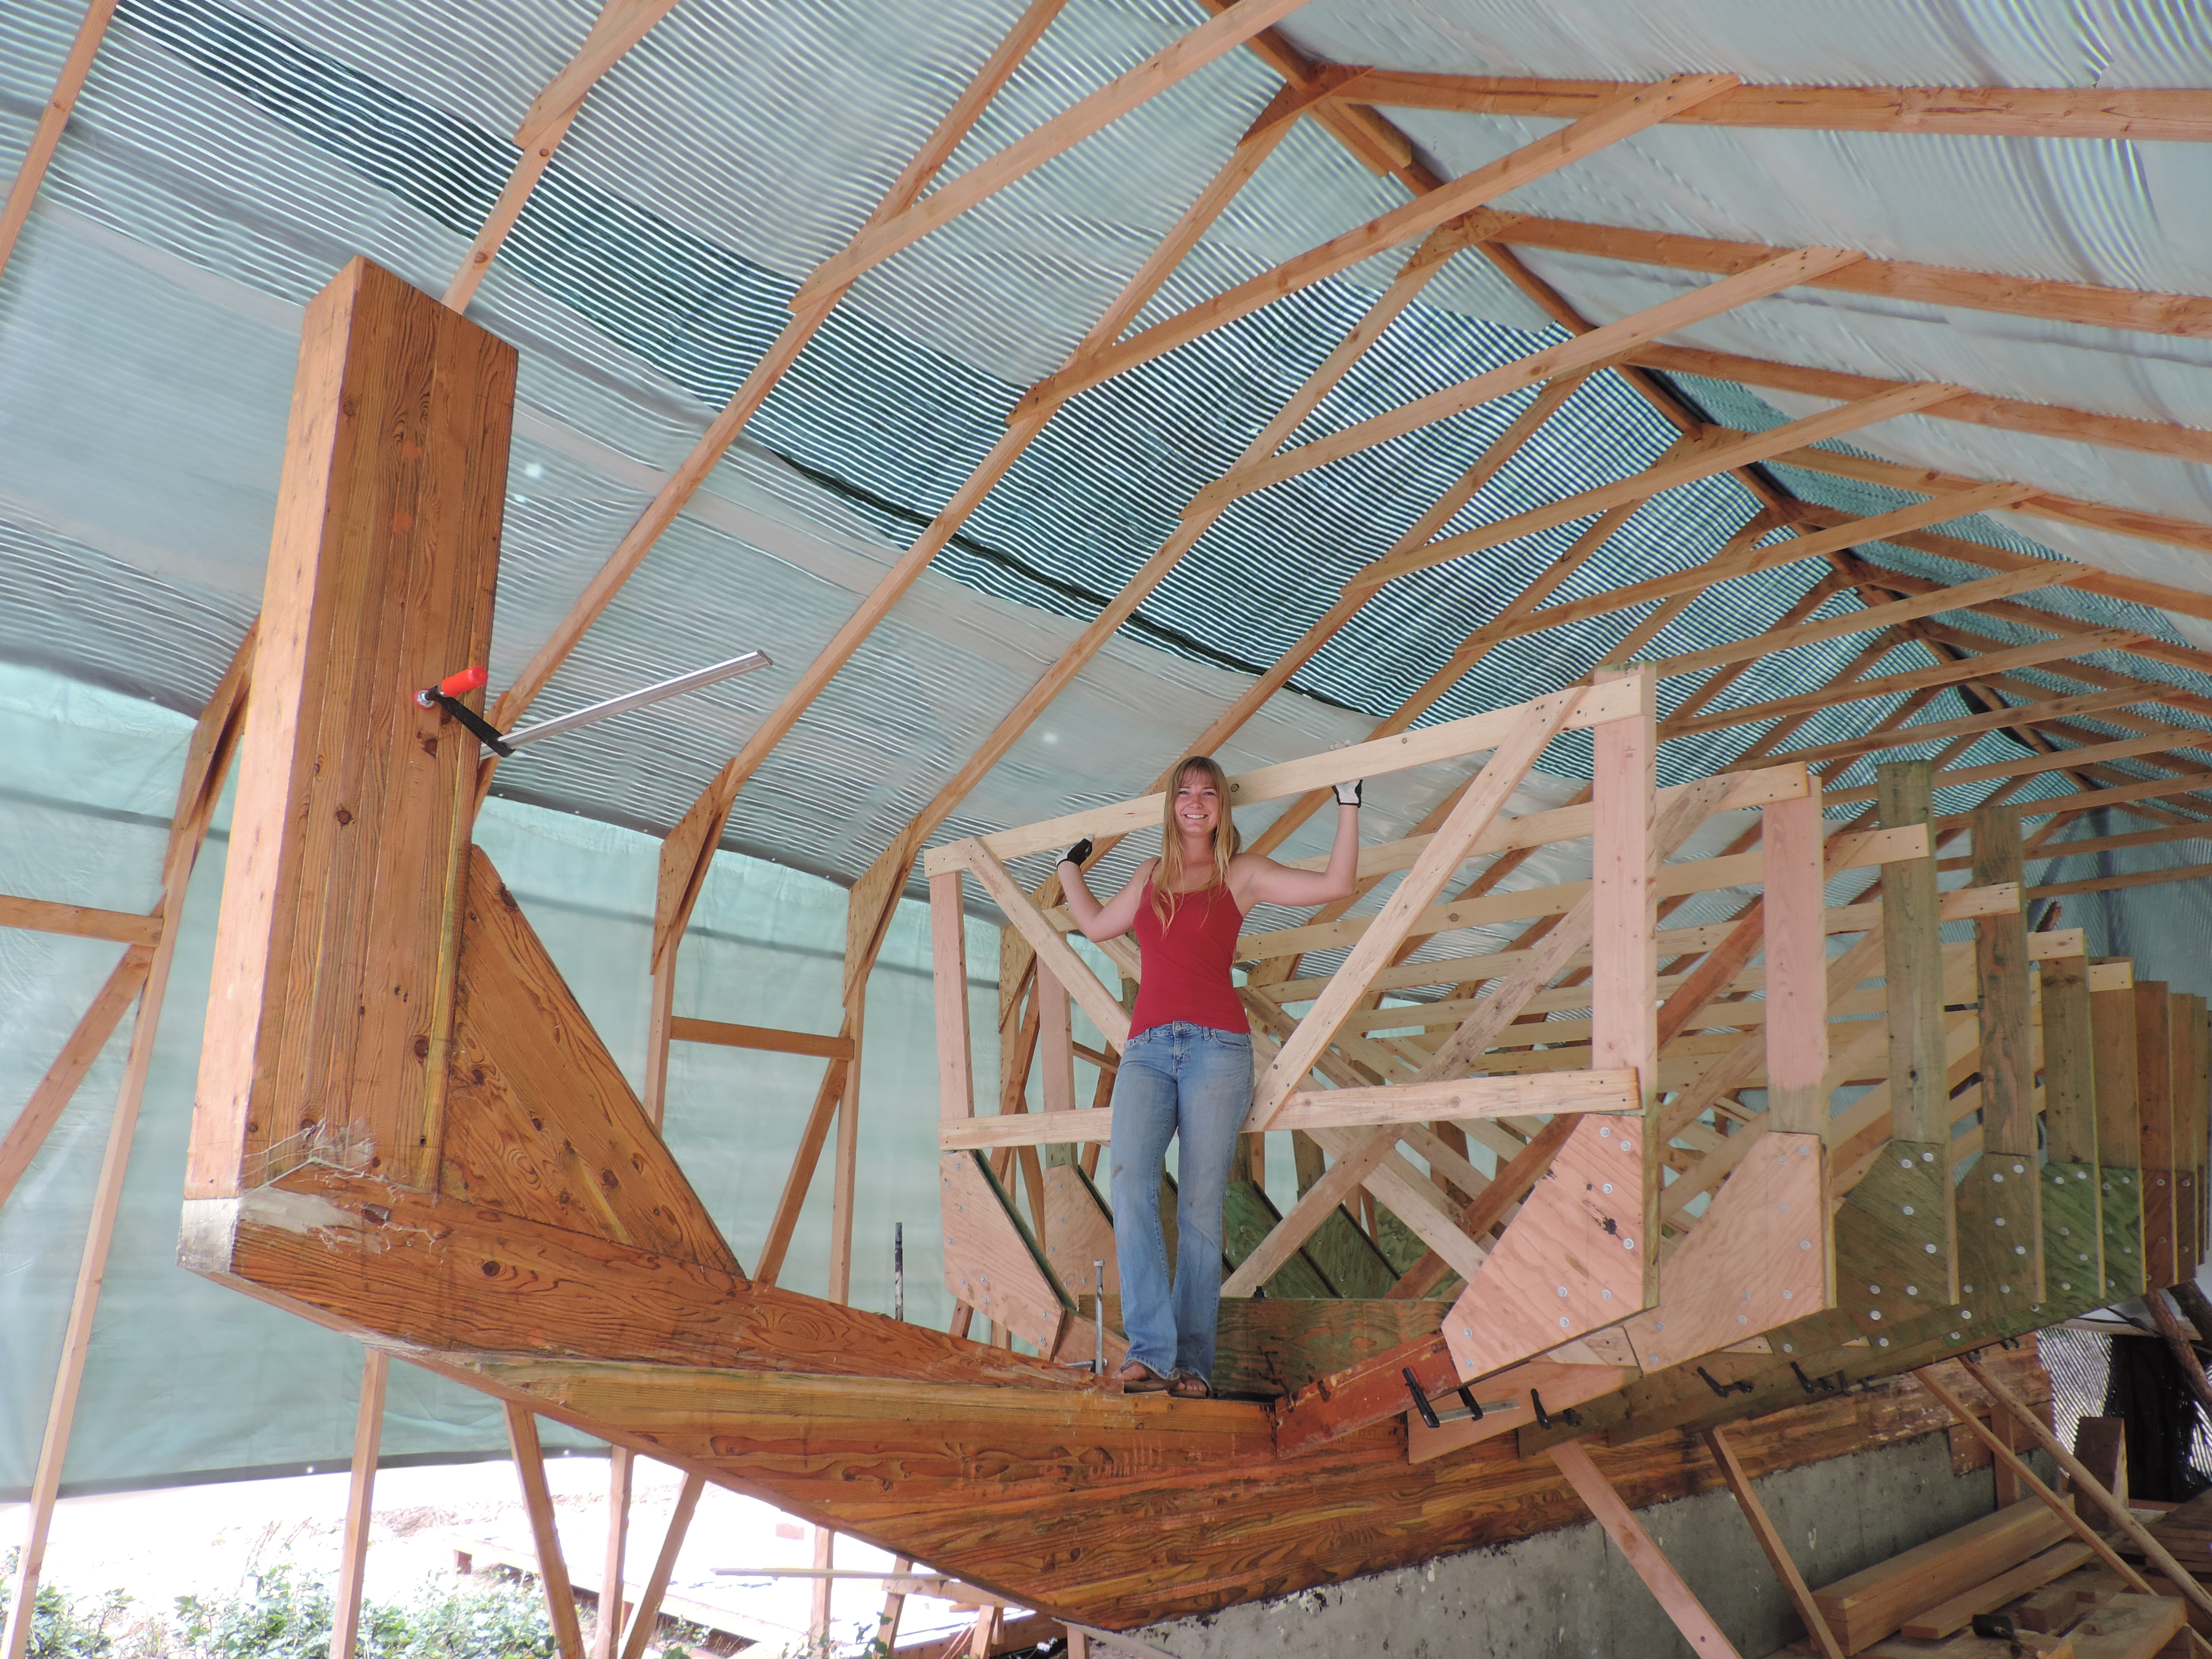
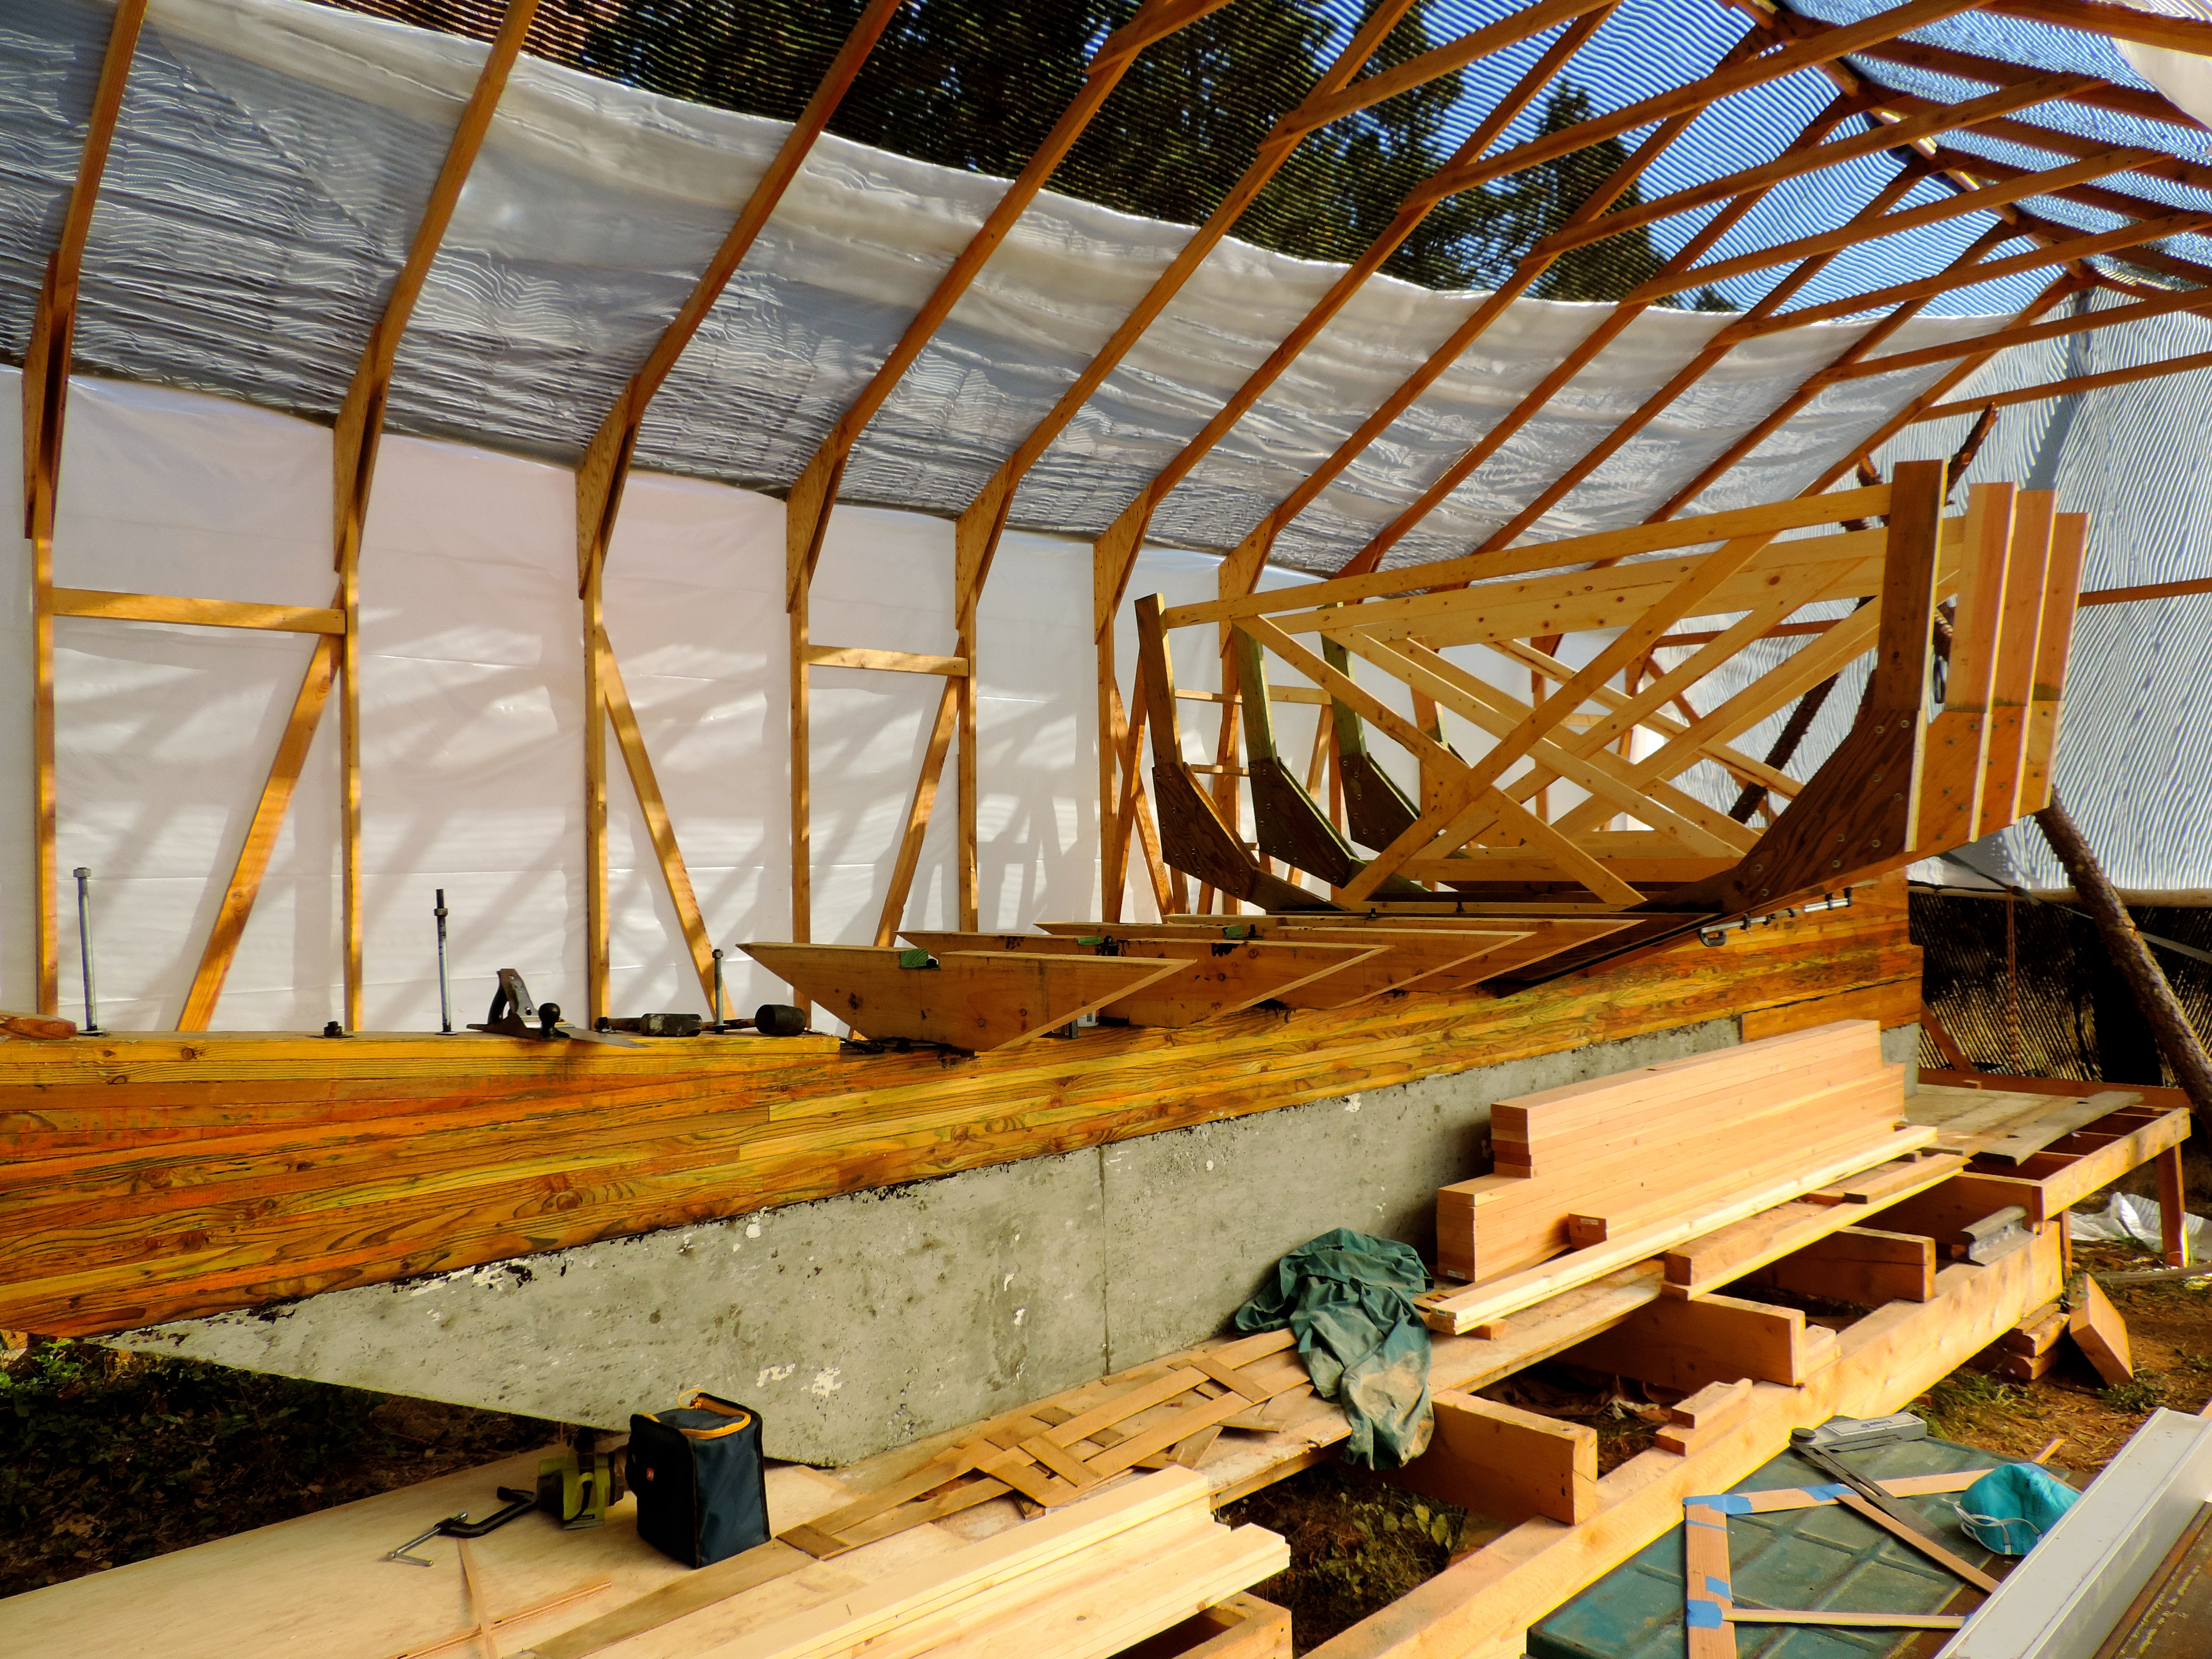
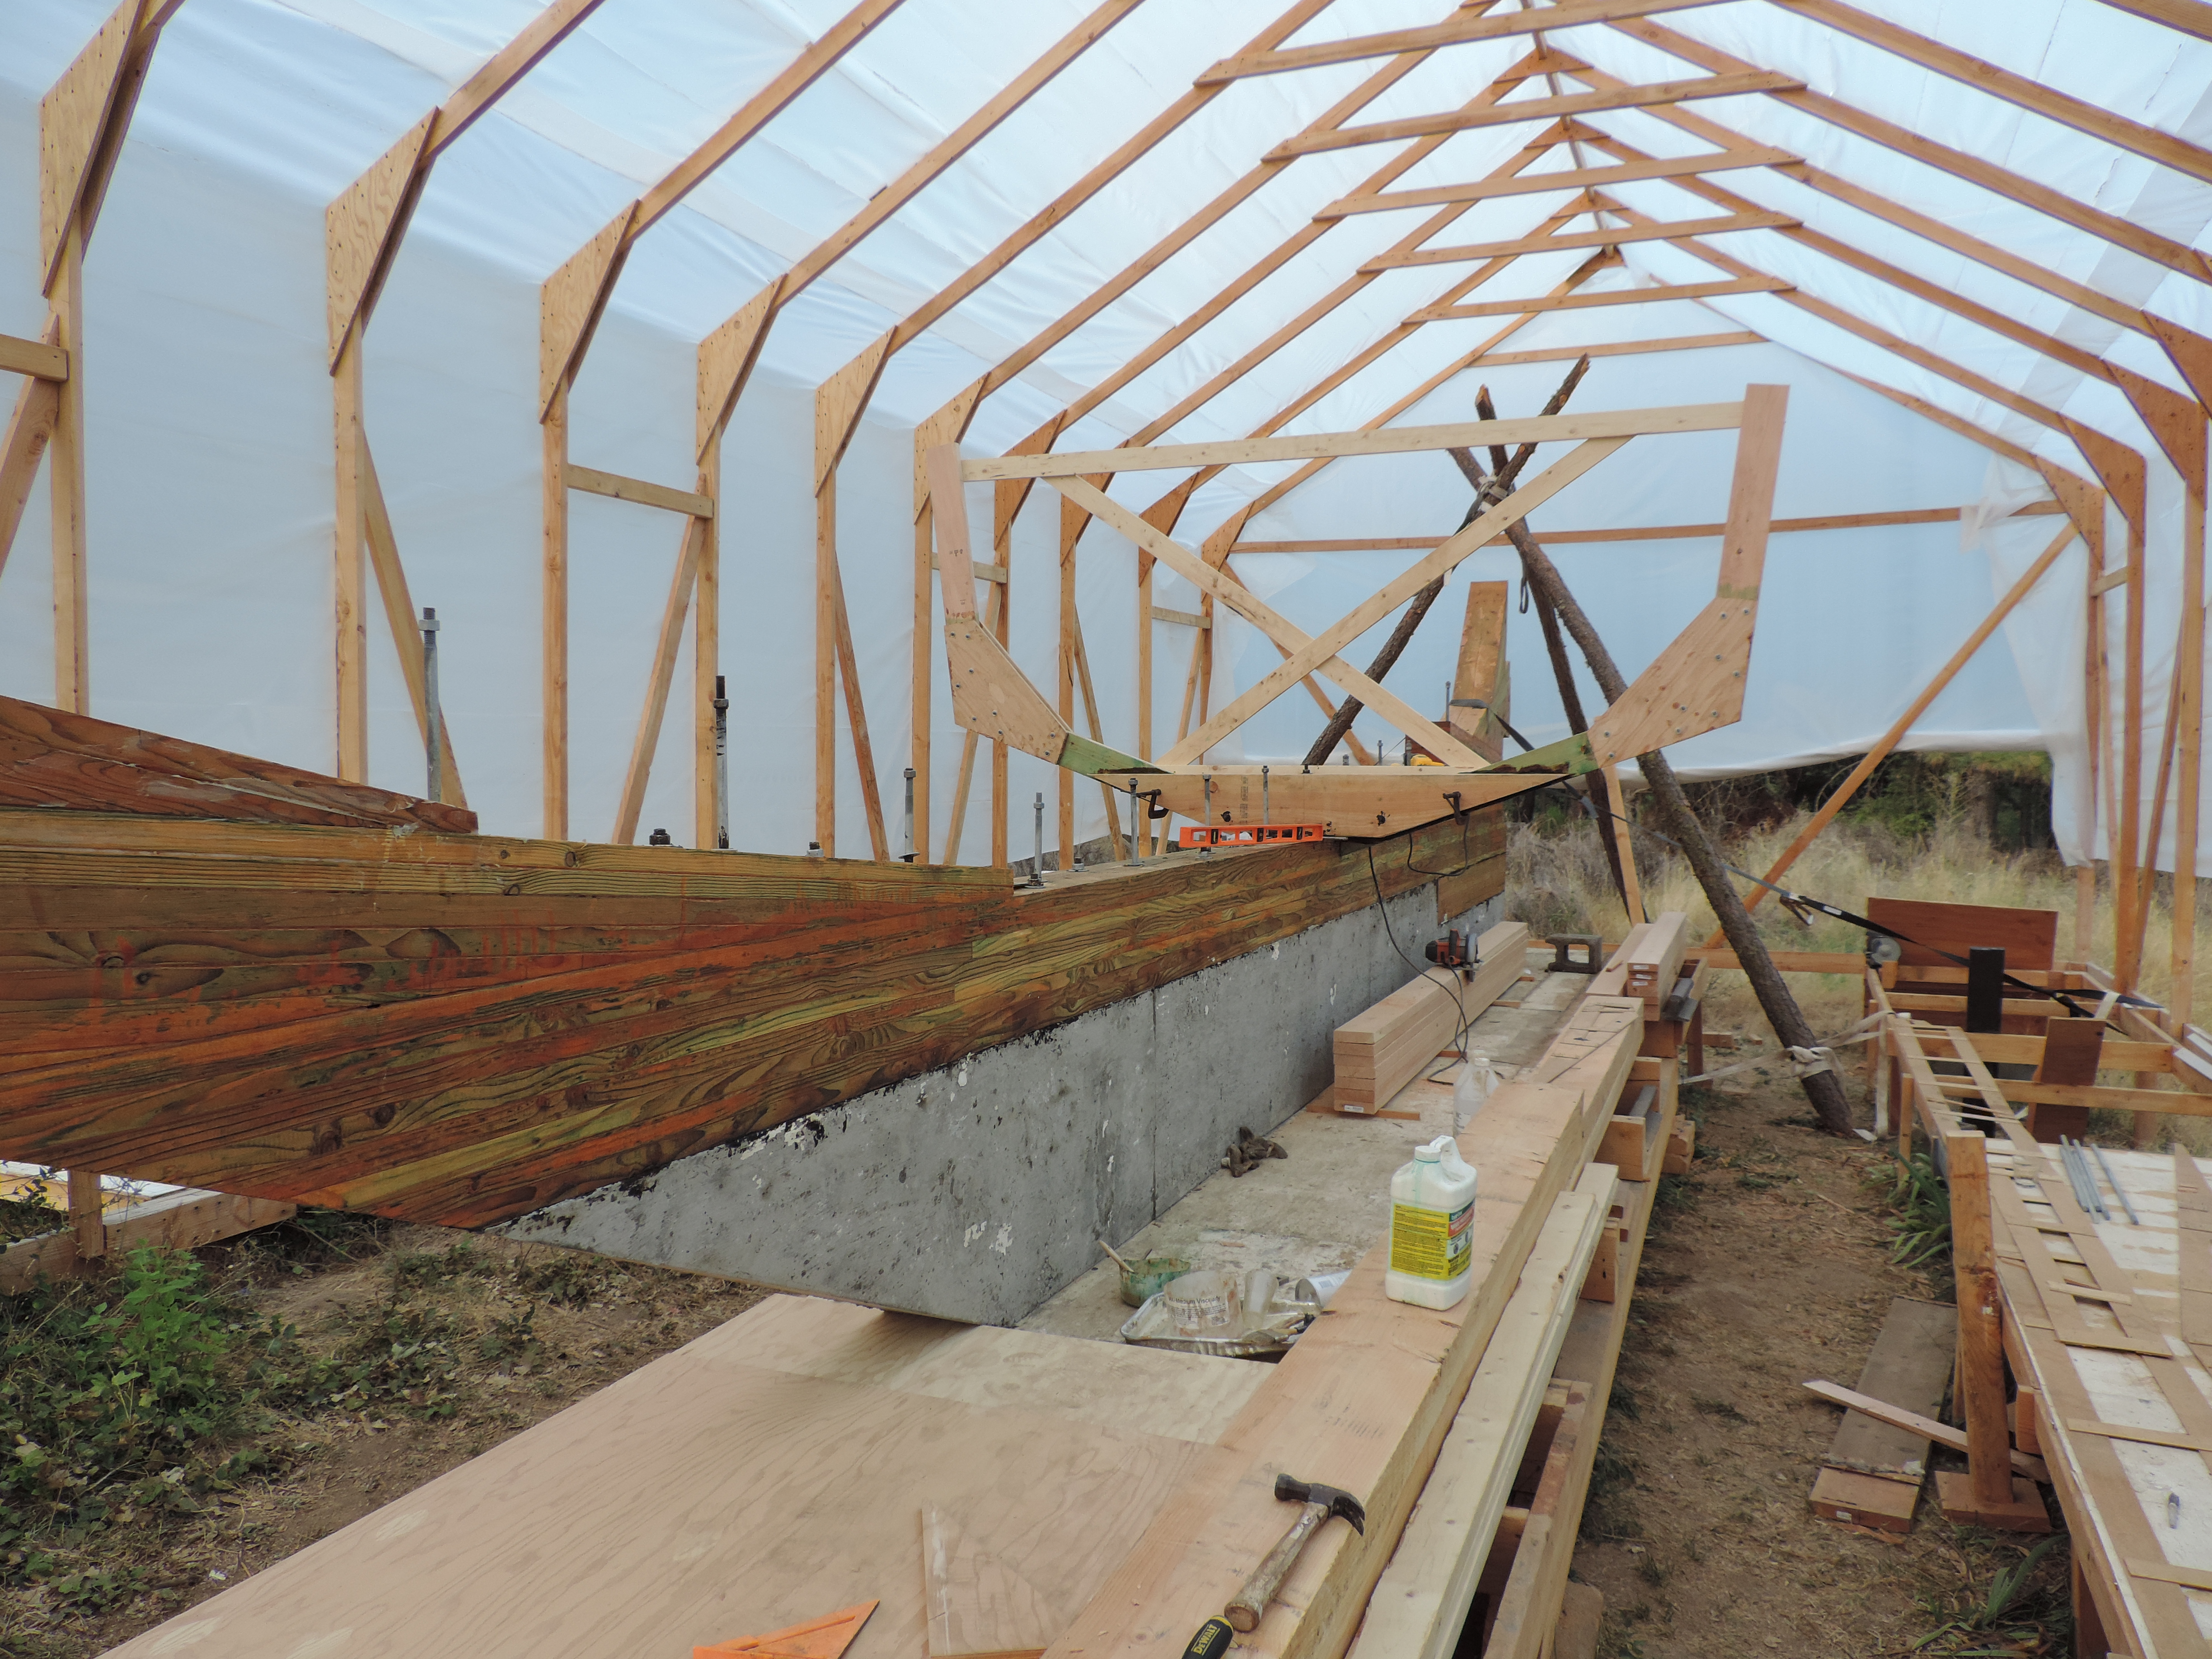
We have started installing the chine! So far we have the first two pieces. Unfortunately we don’t have pictures of everything, but we do have a few from the start of the chine process.

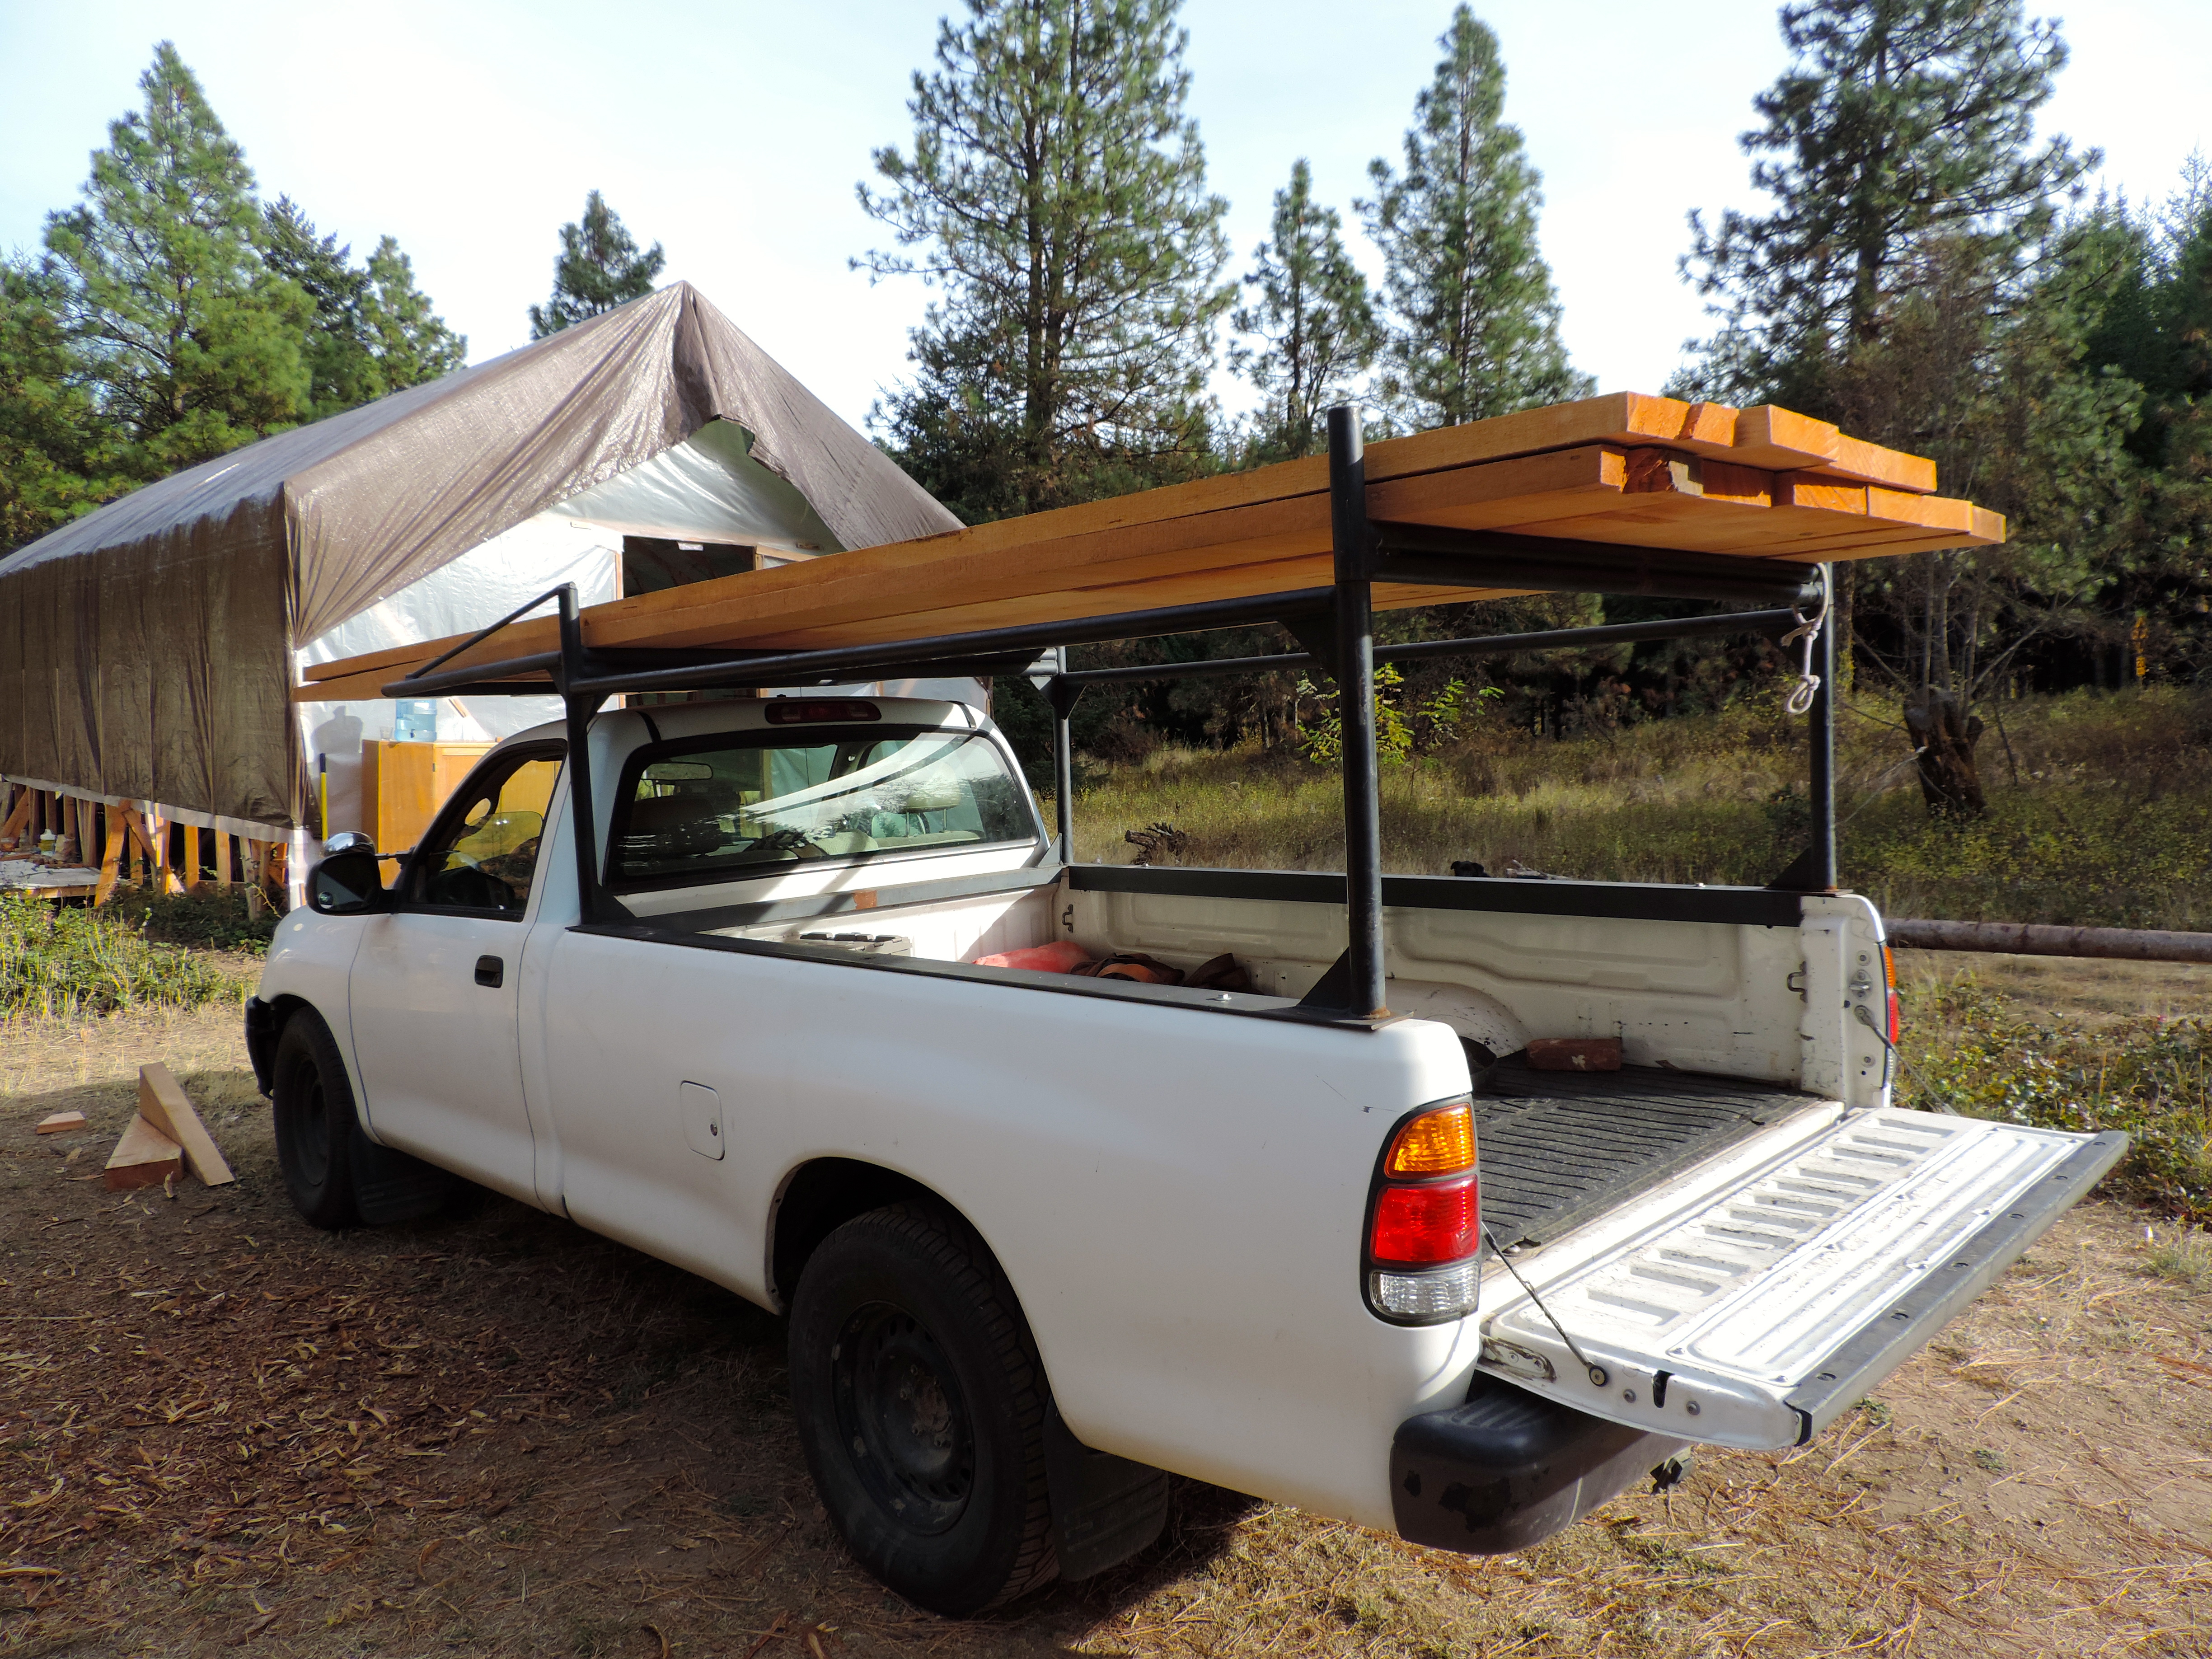
We have spent a lot of time recently either finding internet somewhere to look for lumber, or driving hours to look at said lumber… It’s definitely been difficult finding good quality wood at a decent price, but we’ve had some luck. The doug fir we mentioned on the last post is awesome and should cover the topsides no problem. We keep a sharp eye on craigslist for deals, and we made out pretty good a few days ago. We were fortunate enough to find over 700ft of clear port orford cedar for a sweet deal, so we wasted no time and snatched it up while we still could. This will become our bottom planking.

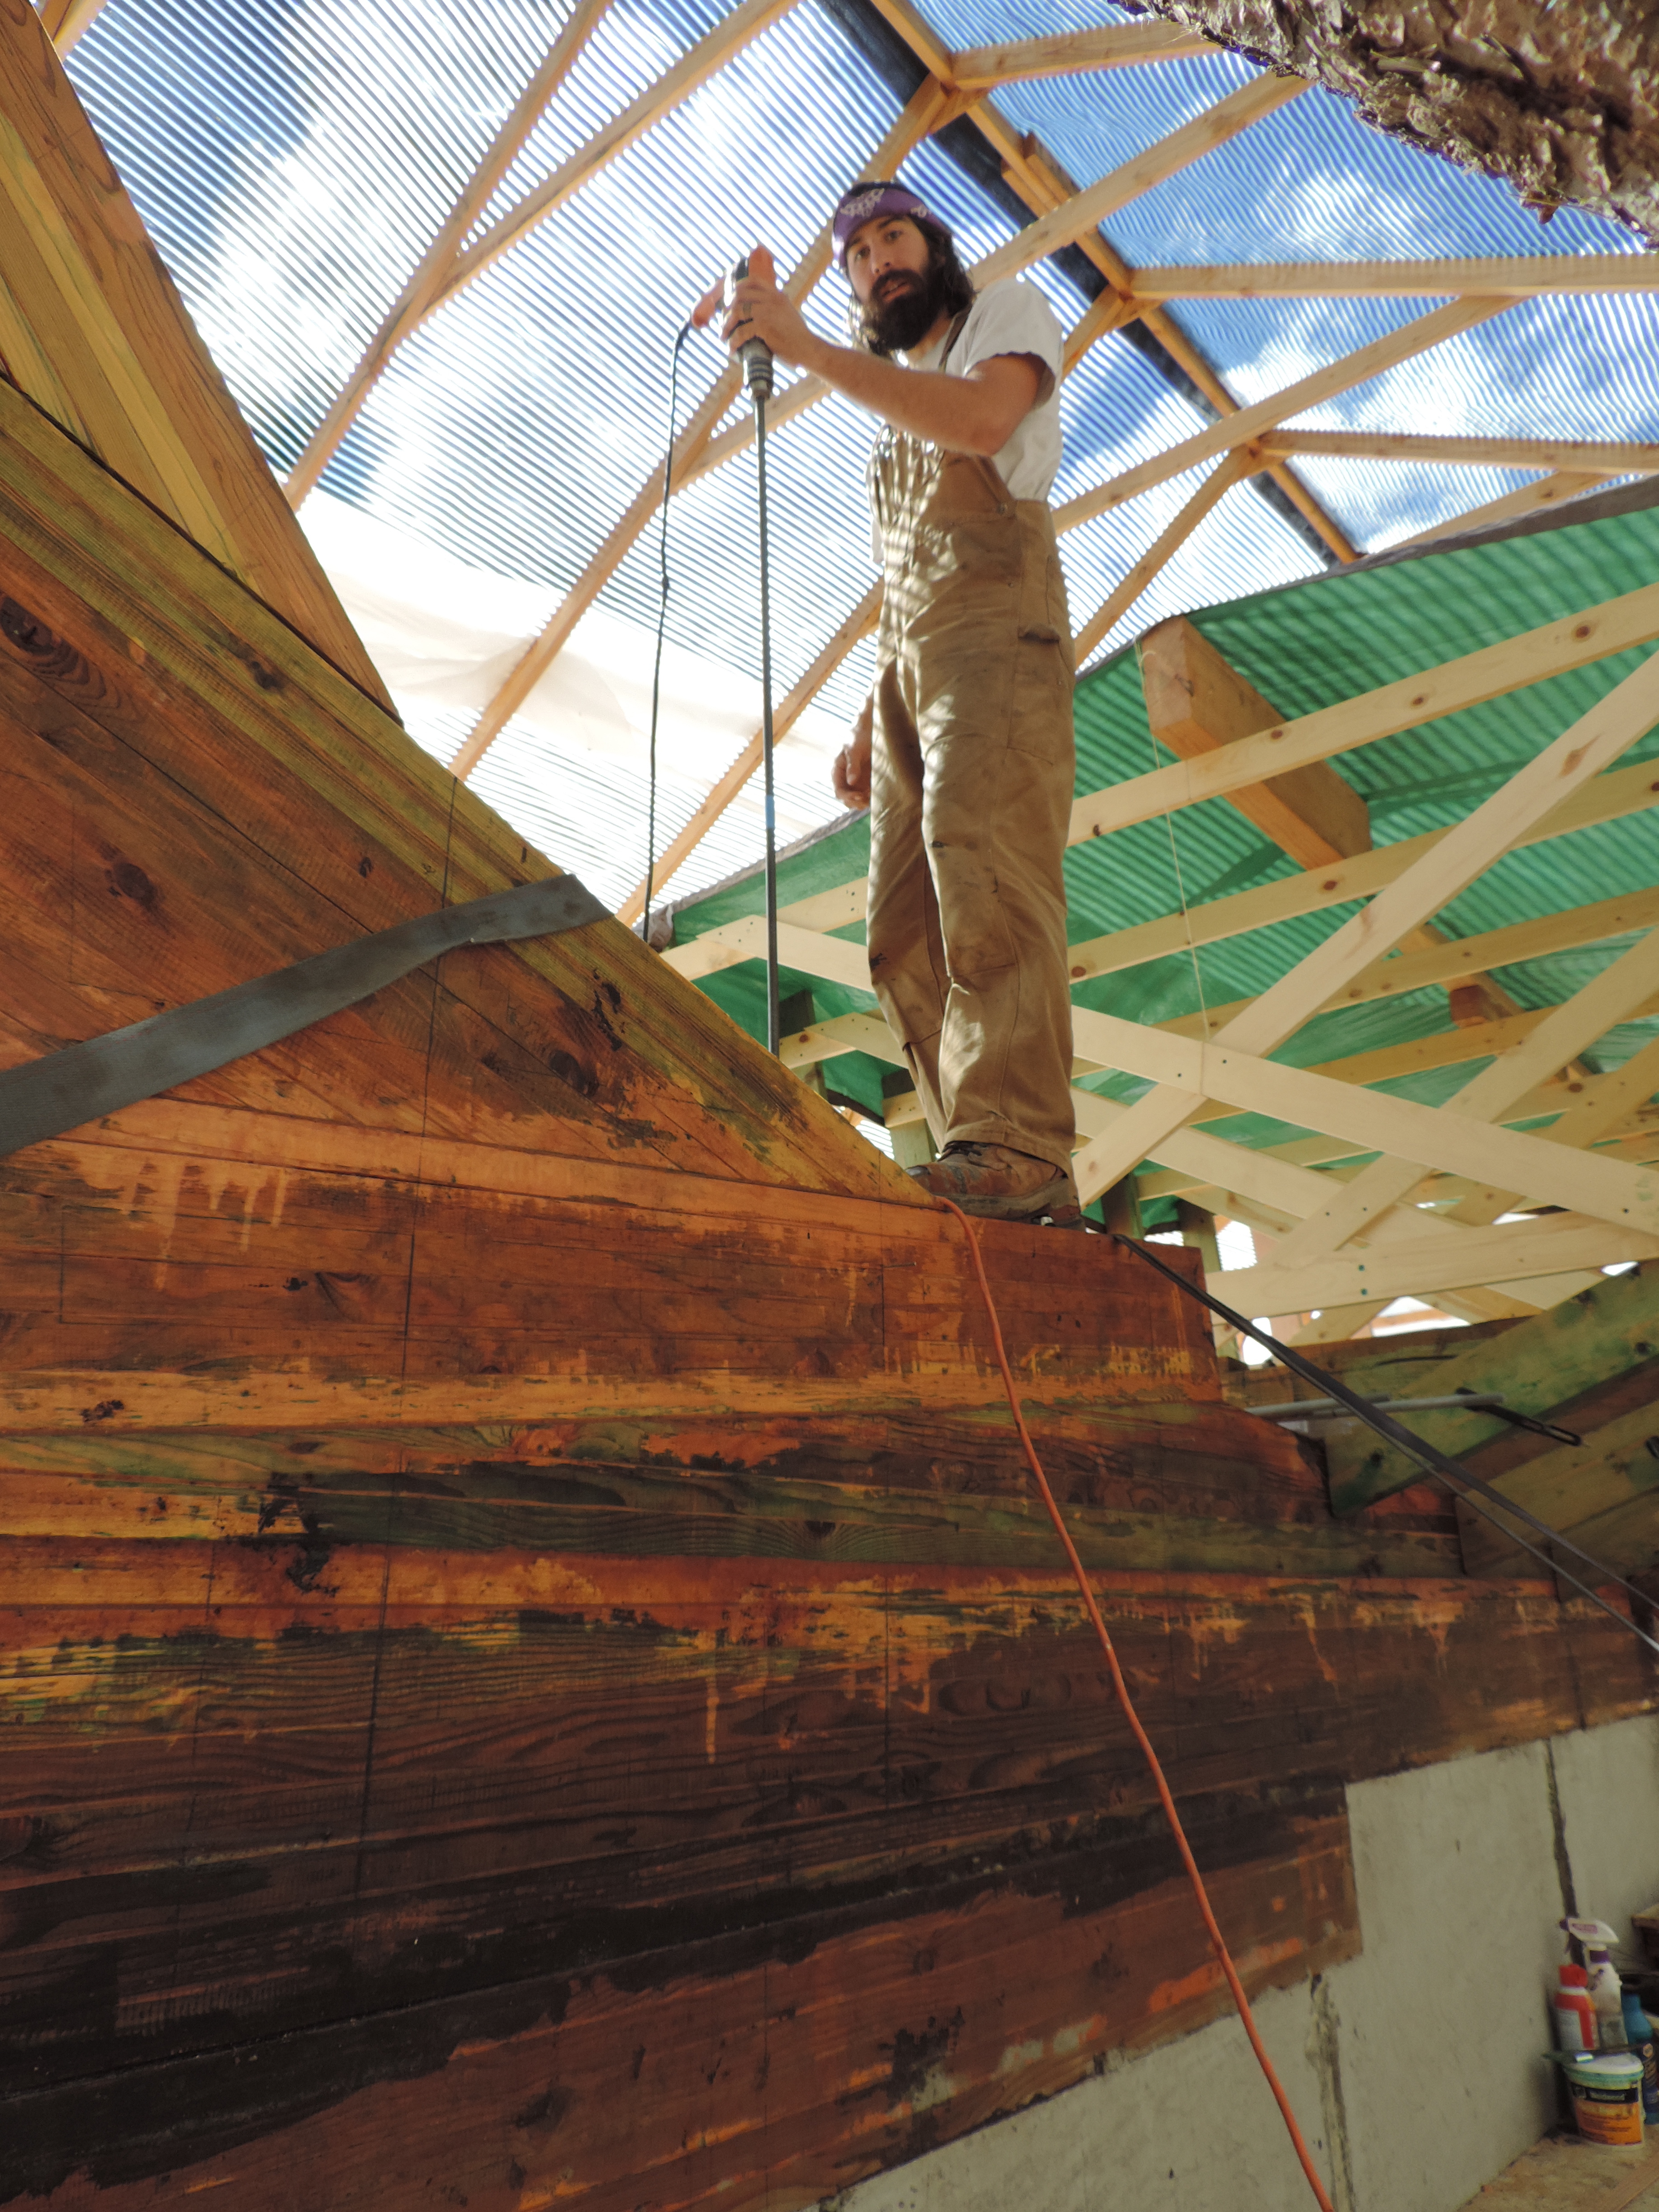
I have finally gotten back to physically working on the boat though which is a good thing…I think I’m going to try to knock out the chine, and just go strait to planking the topsides. I have realized I work much more efficiently when I can break up the monotony of projects. I have been working on framing and whatnot for what seems like forever, so hanging some planks will be a welcome change. Once that is finished I probably wont mind going back to the stringers, cheeks, and rabbet. It works for me…. But then again i’m kinda scatter brained…

DSCN5497 
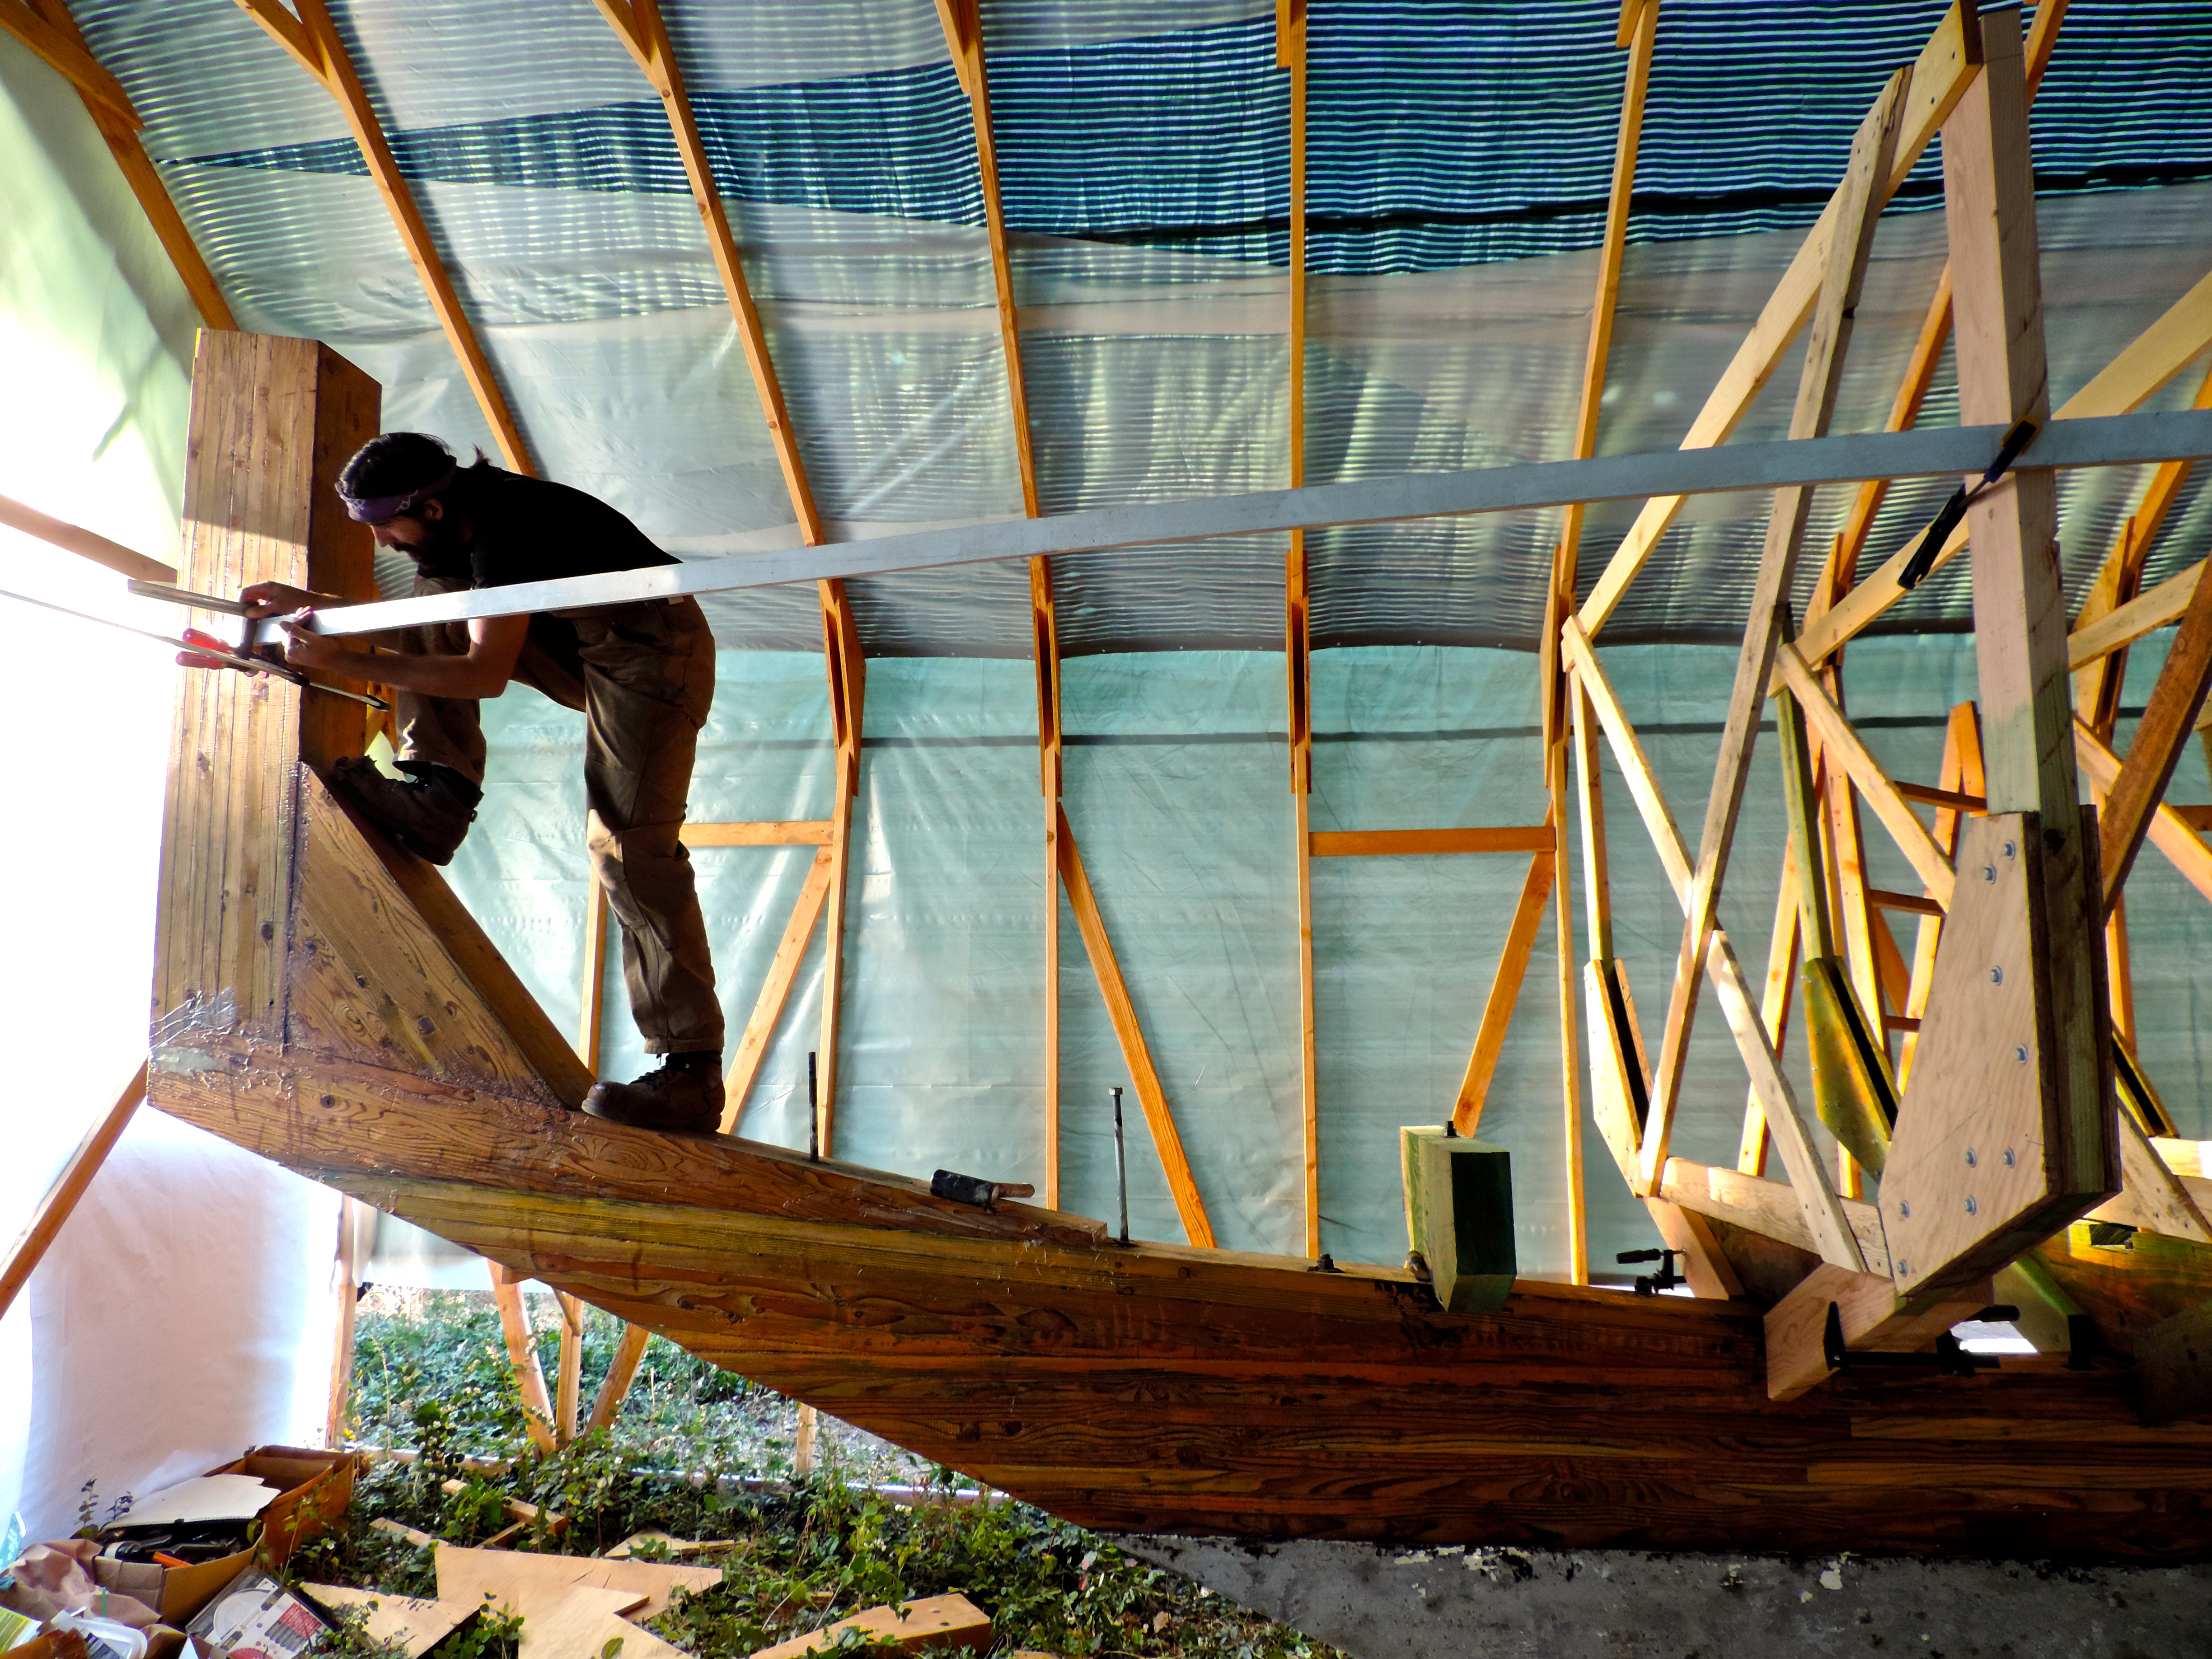
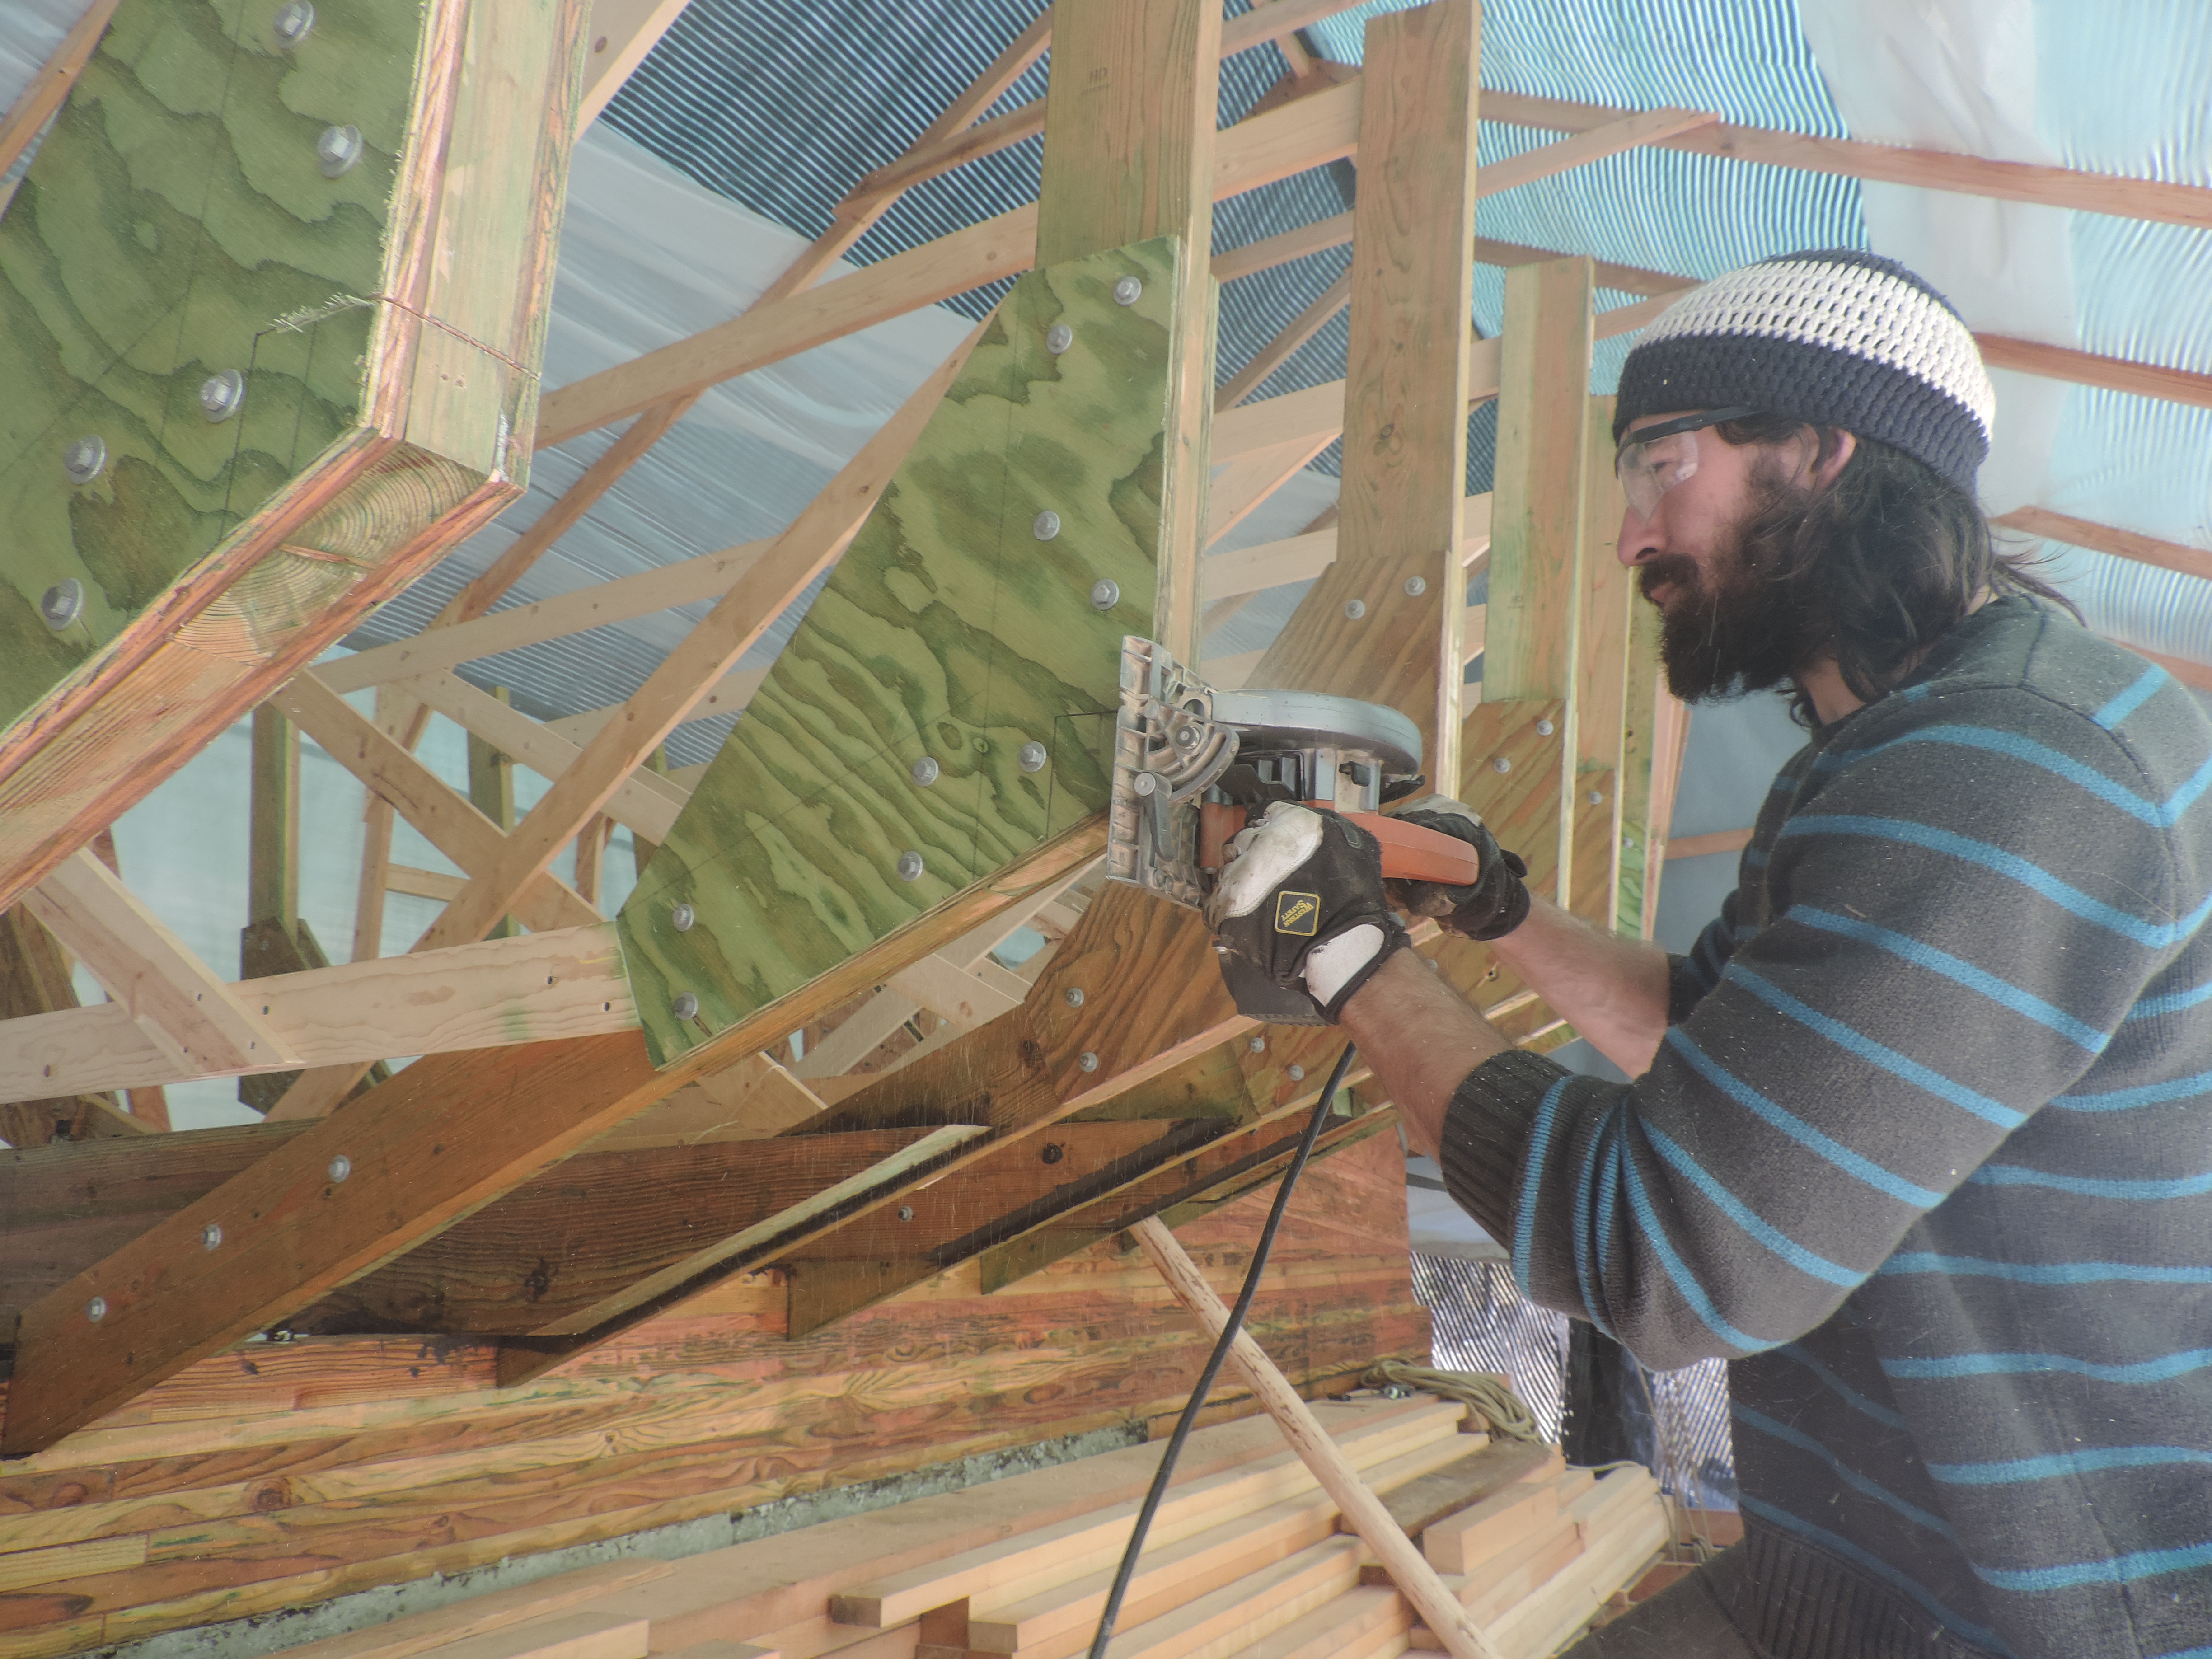
Skill saw makes quick work of the top cuts.

DSCN5503 Then the pull saw takes 5 minutes to do what the skill saw did in 5 seconds….

DSCN5501 
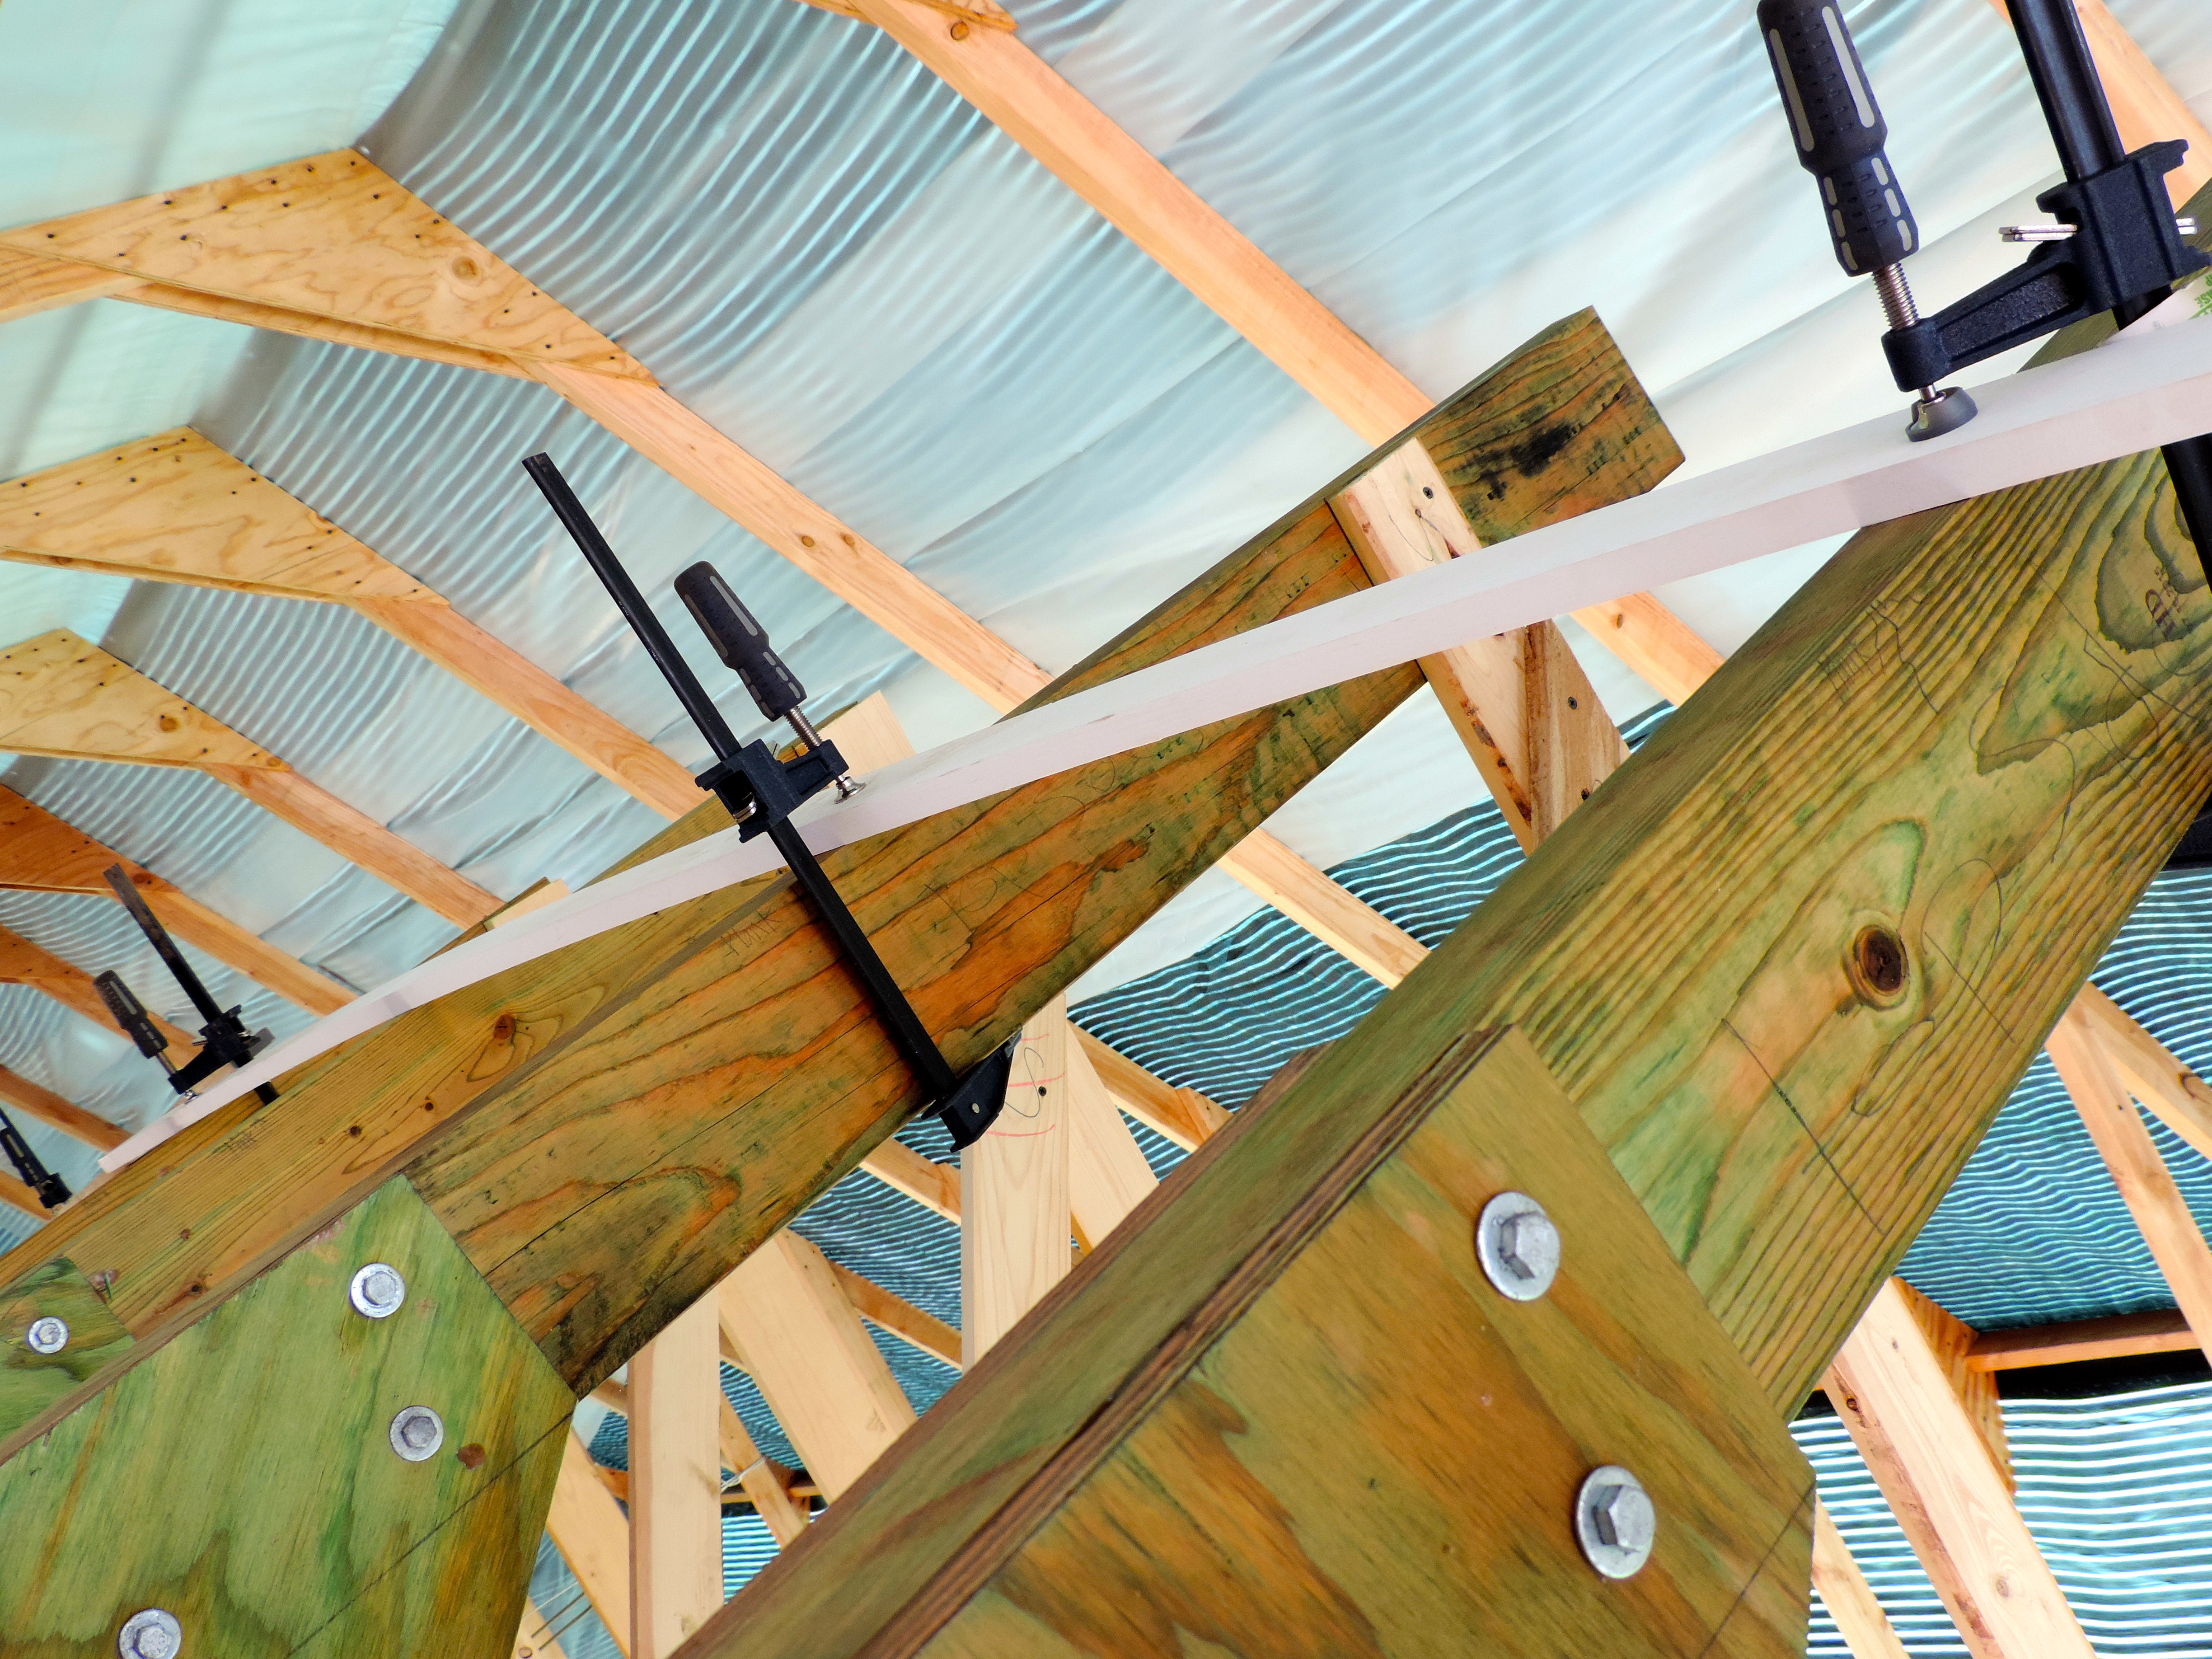
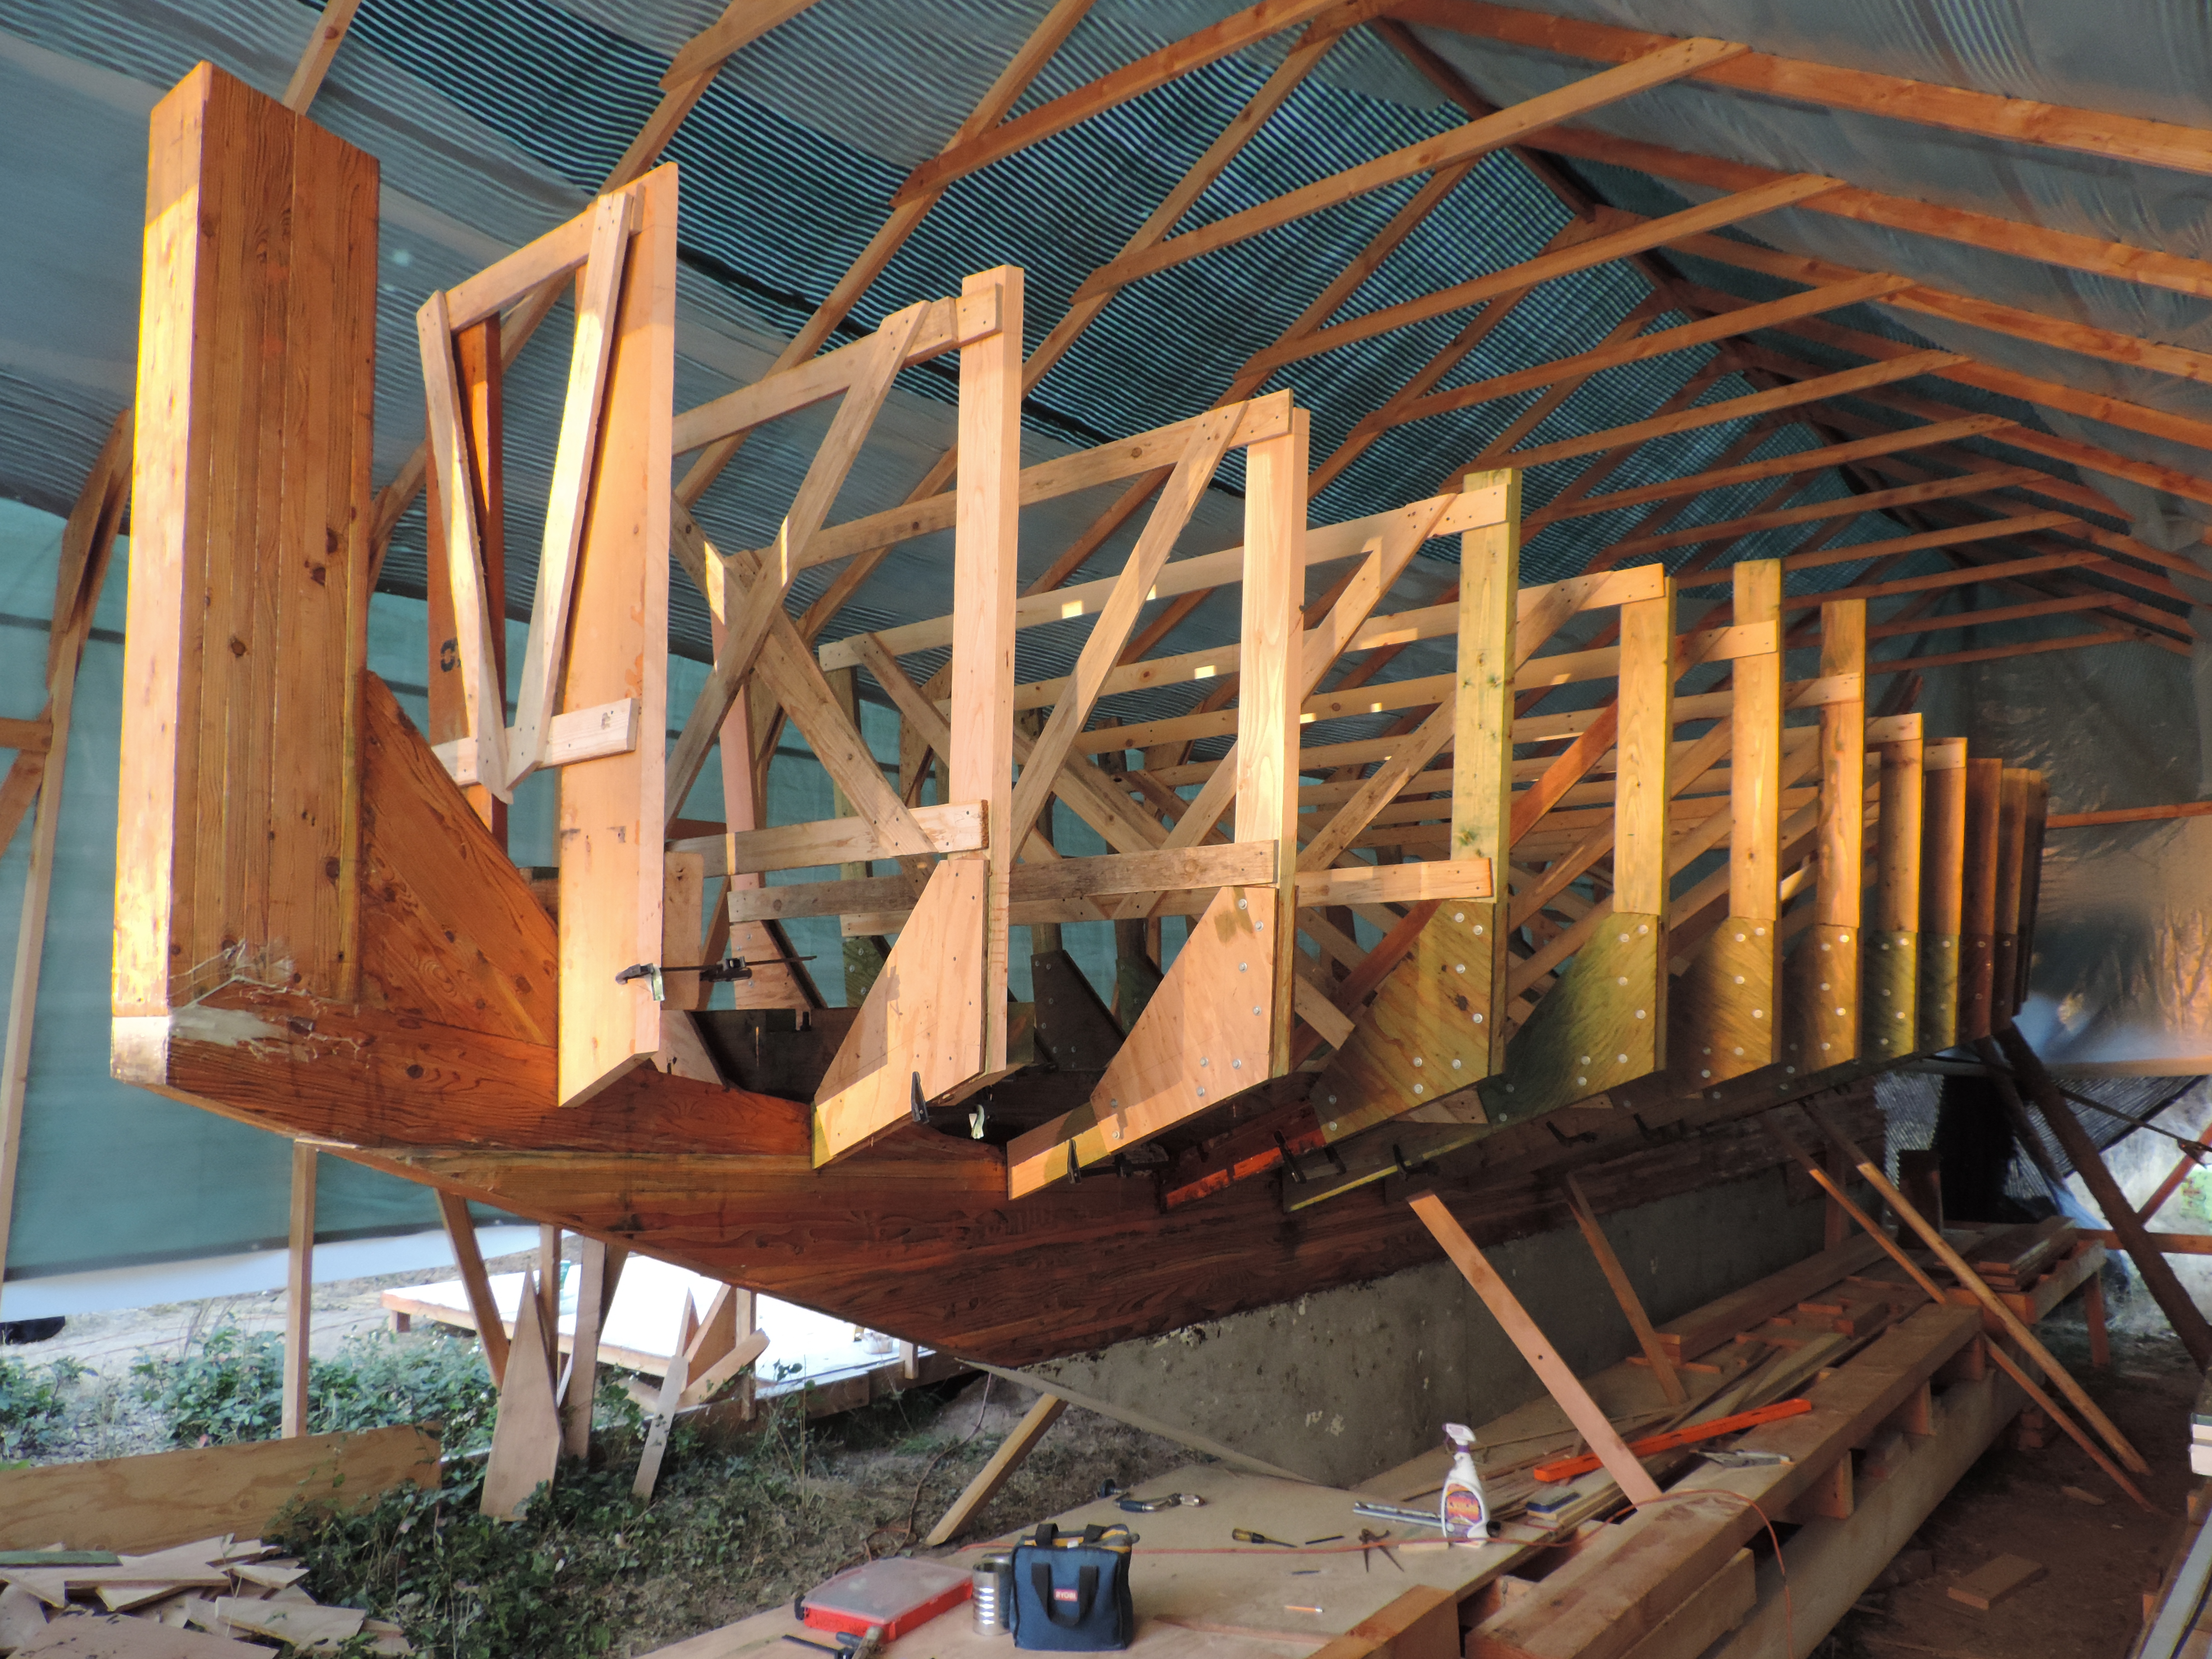
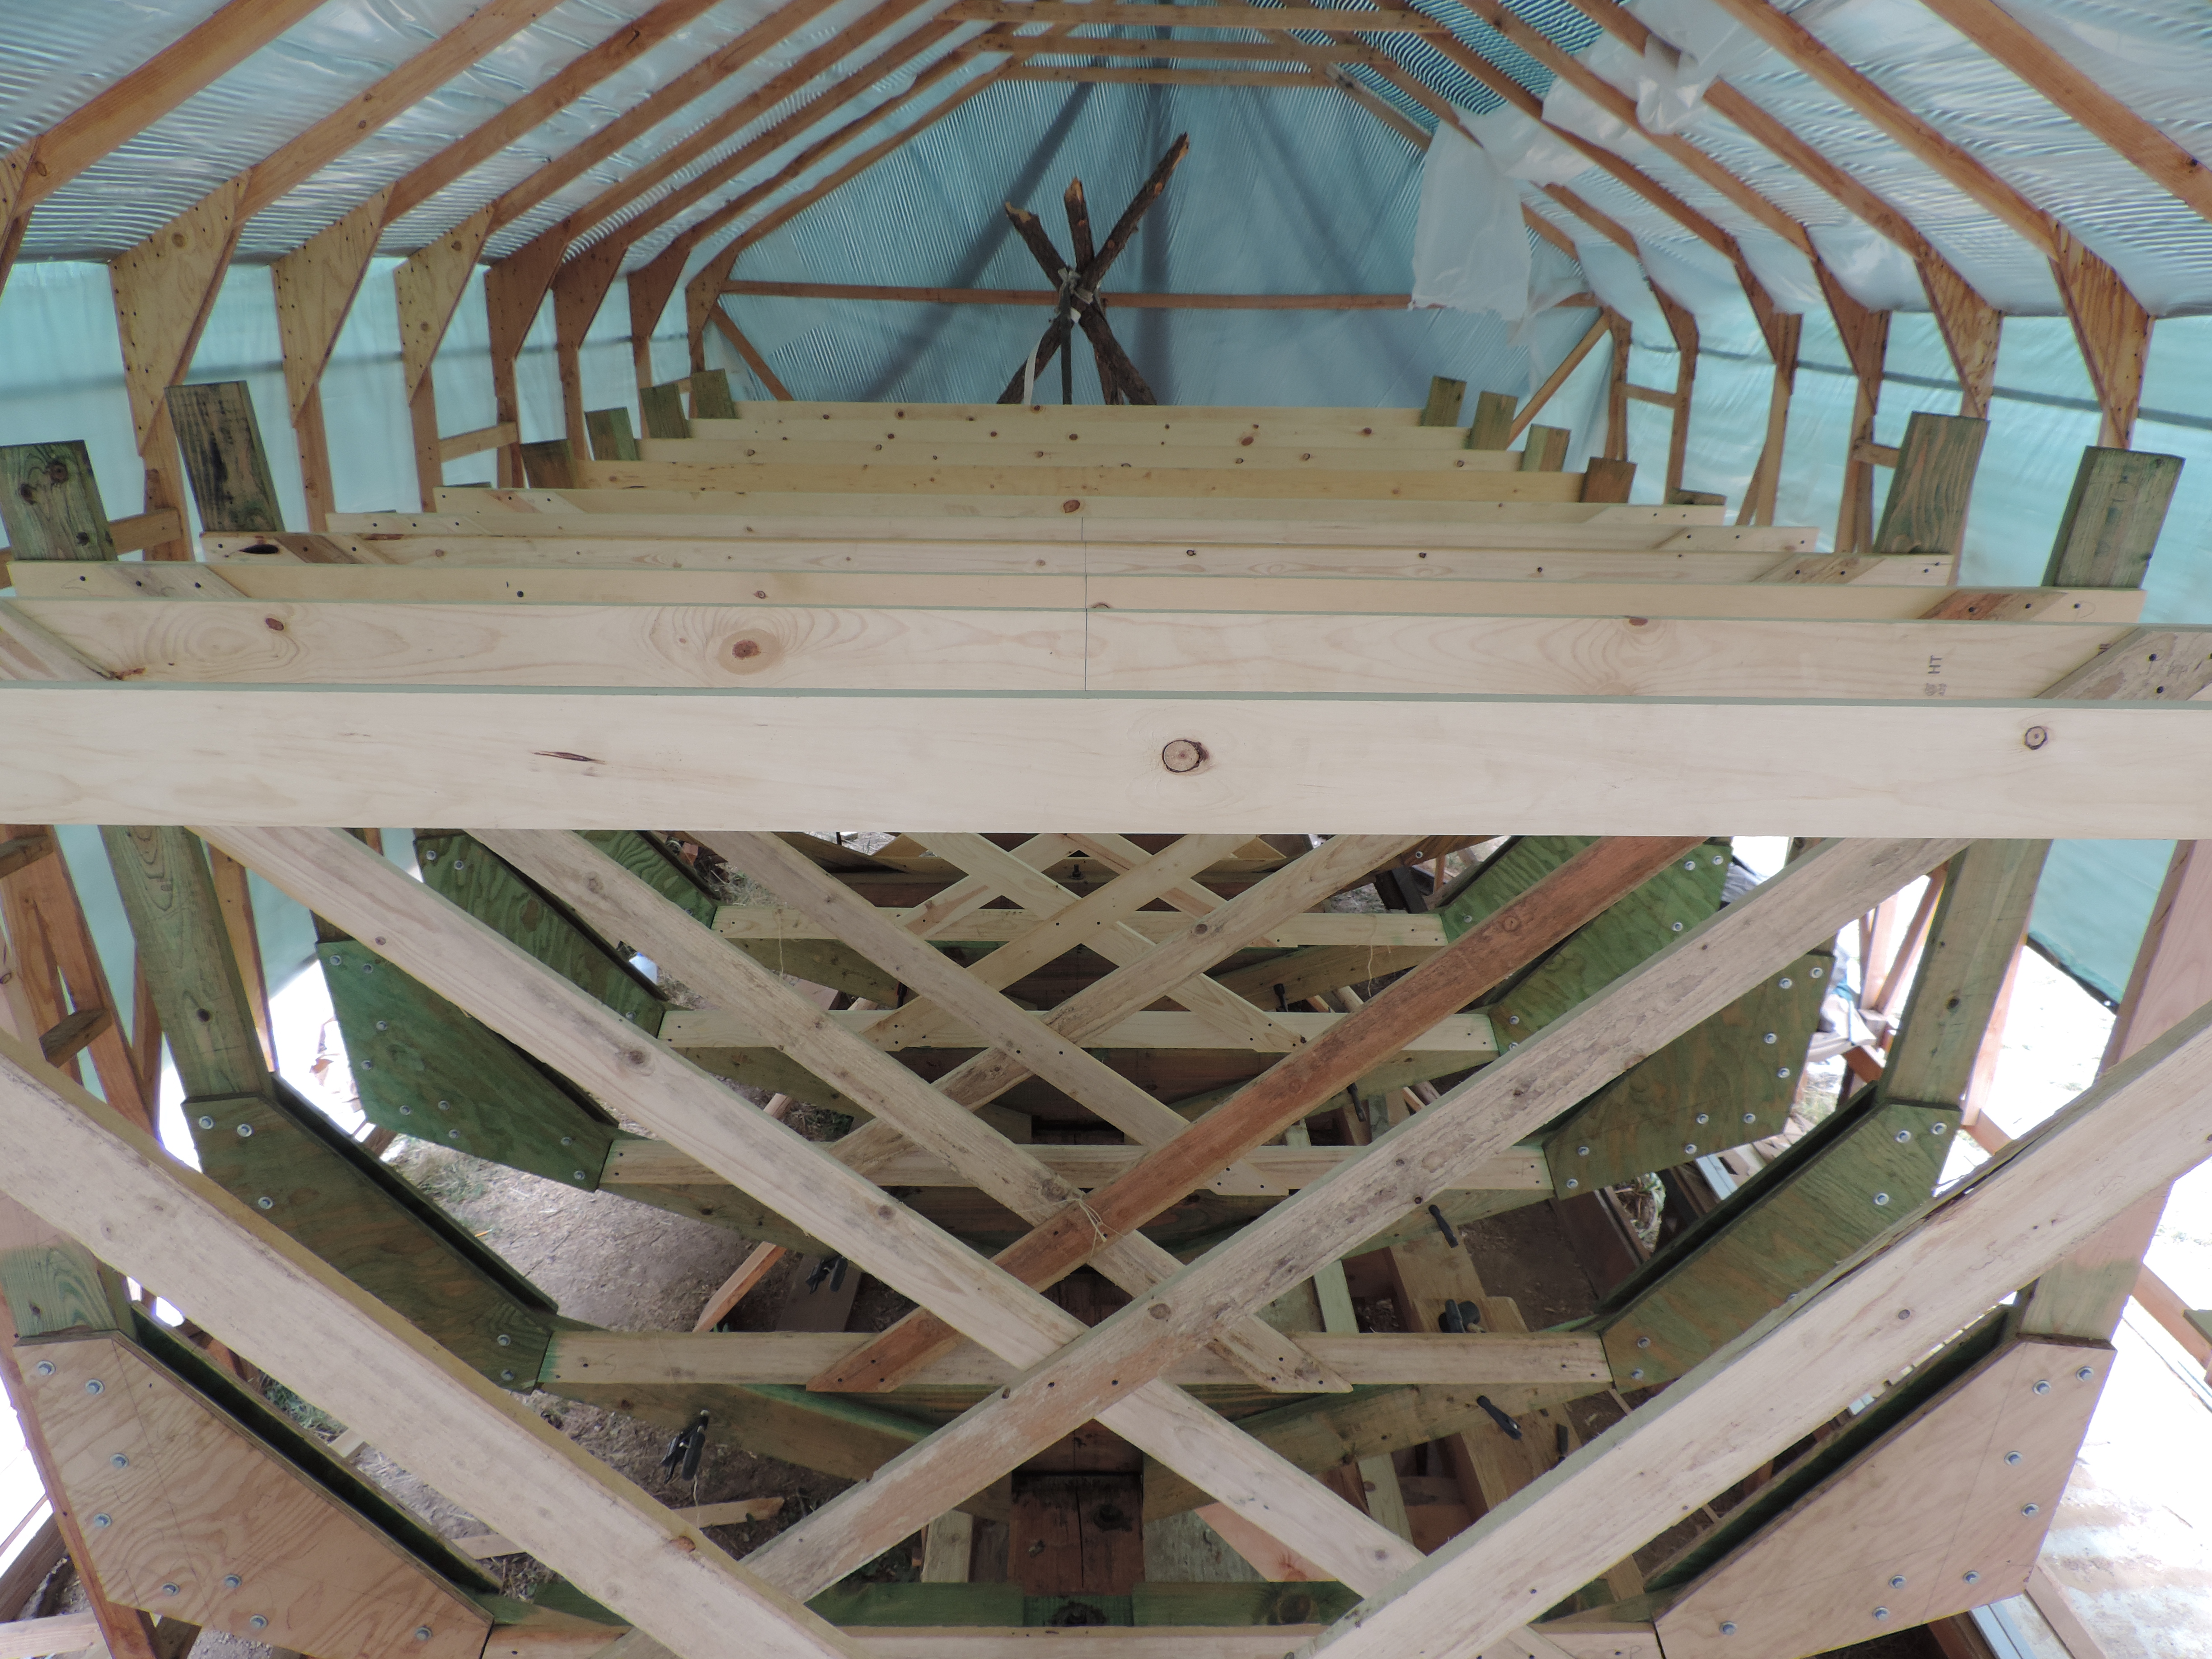
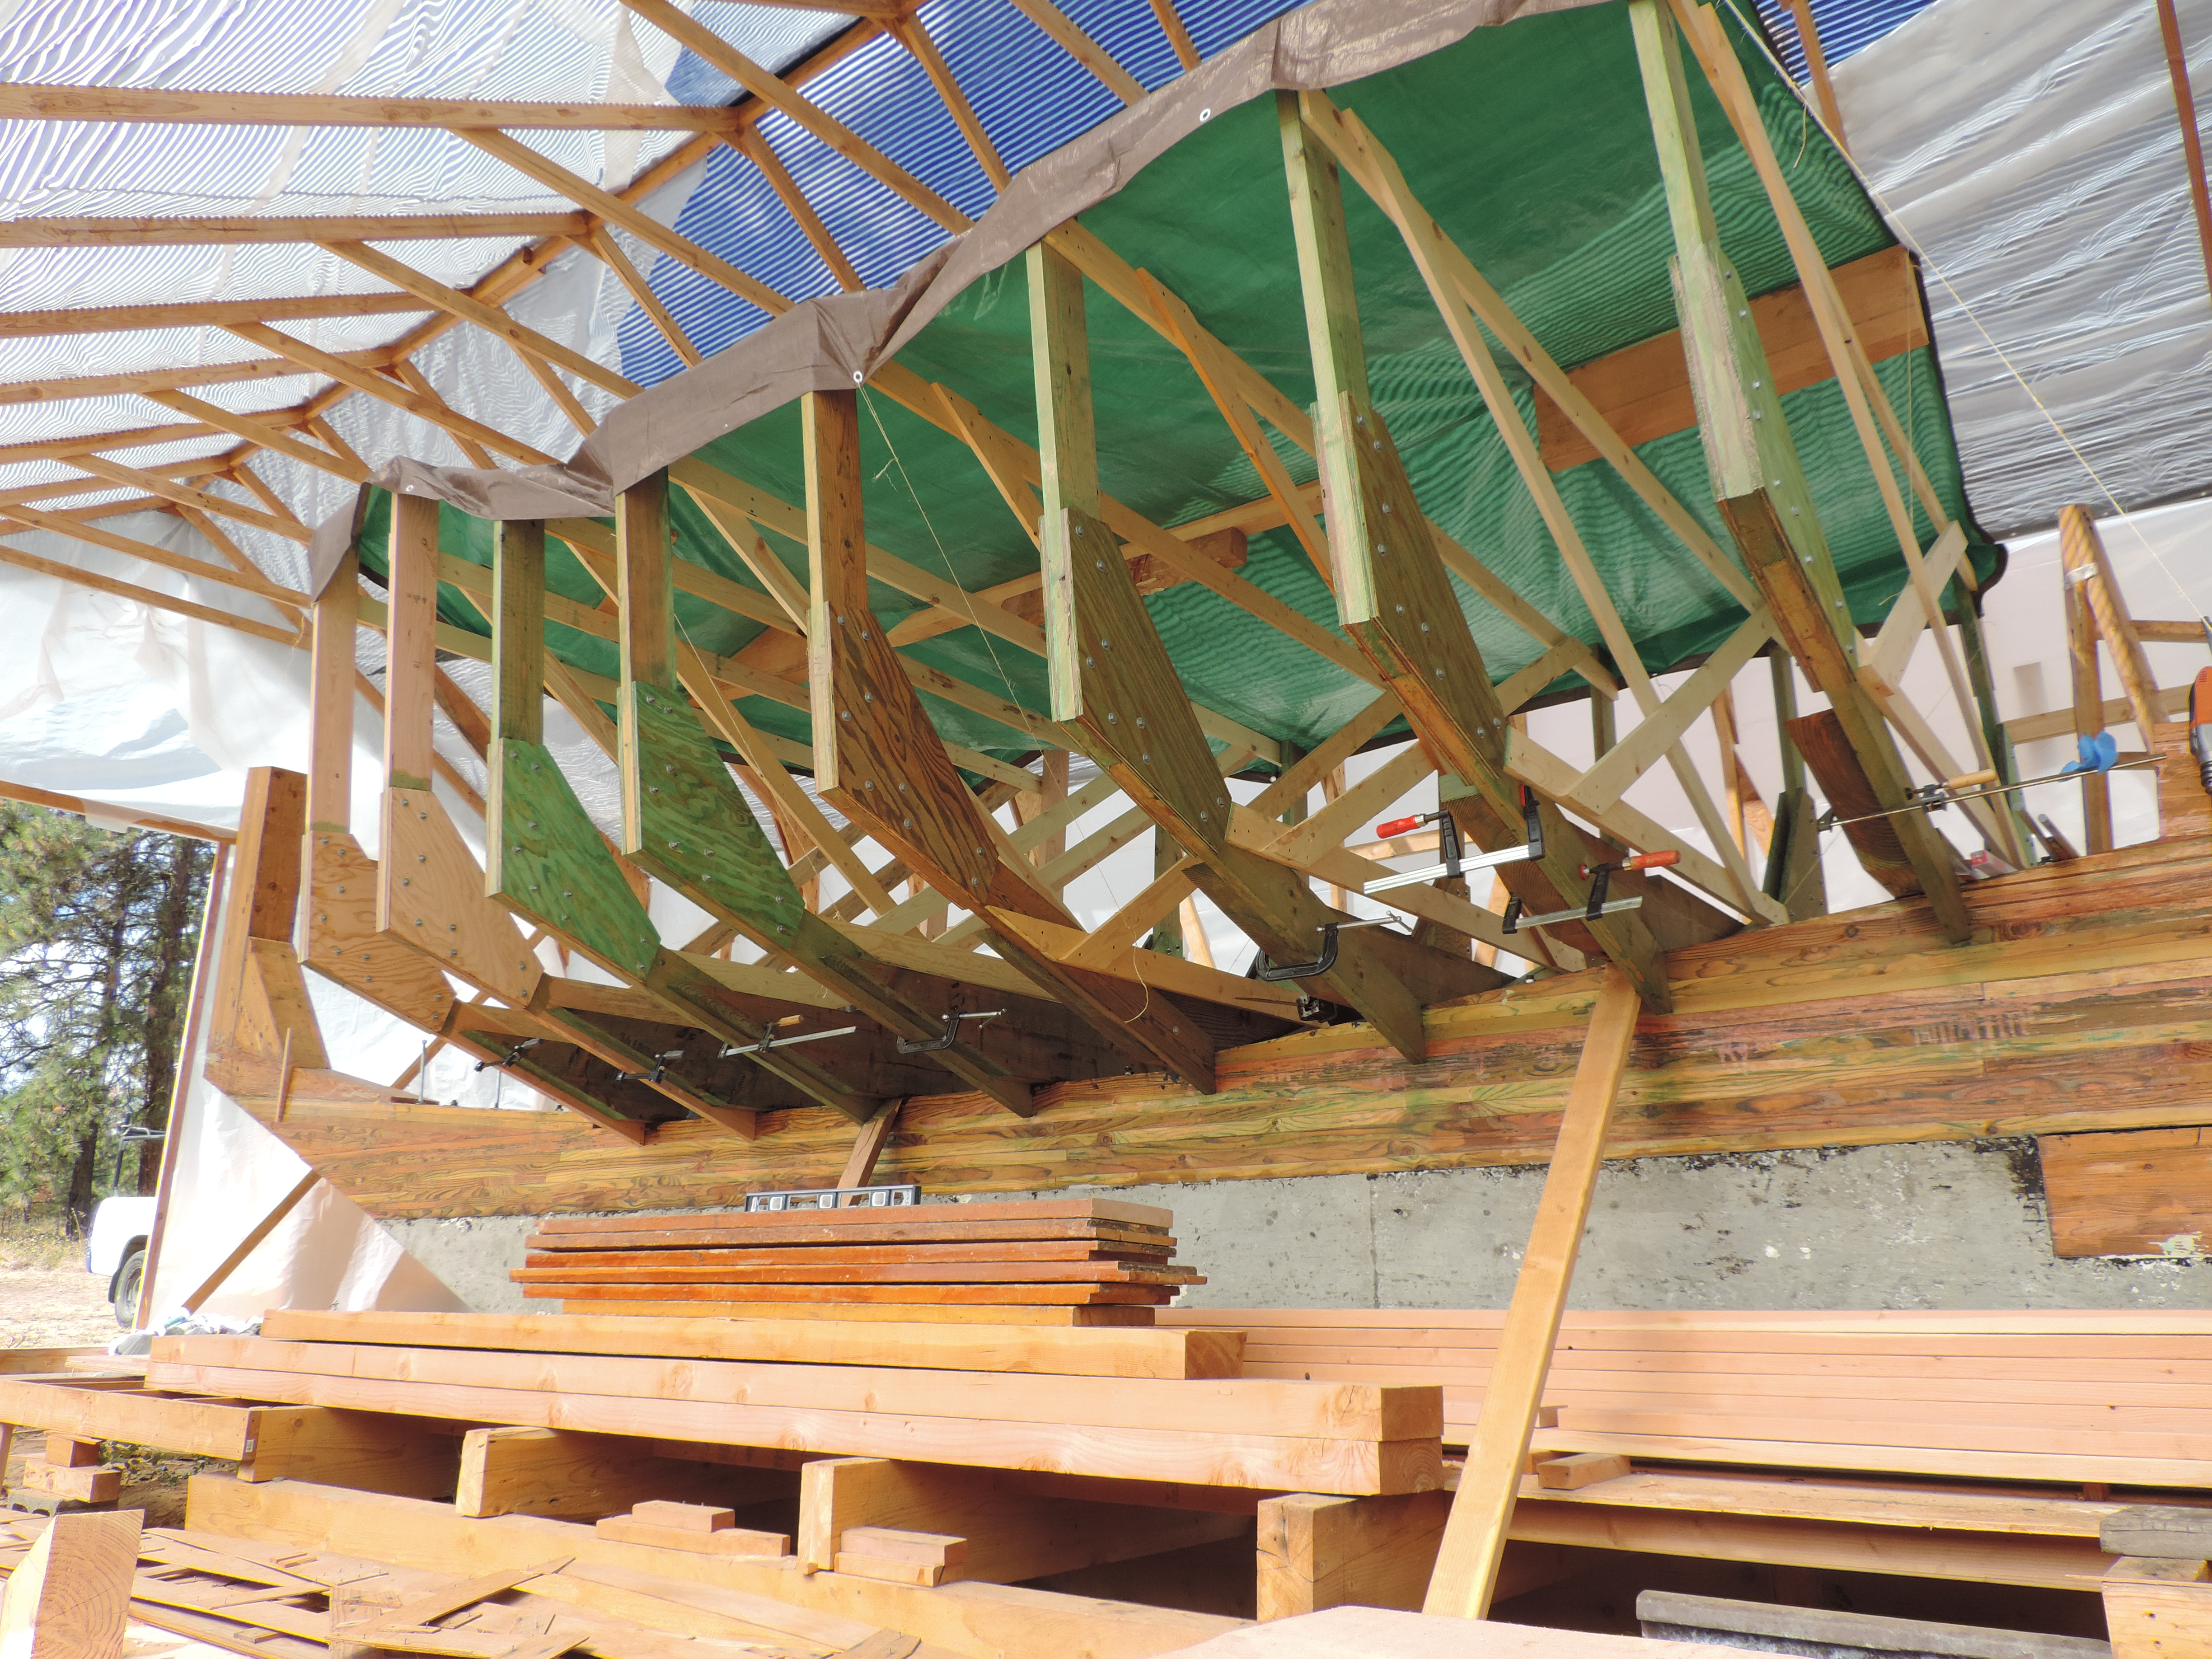
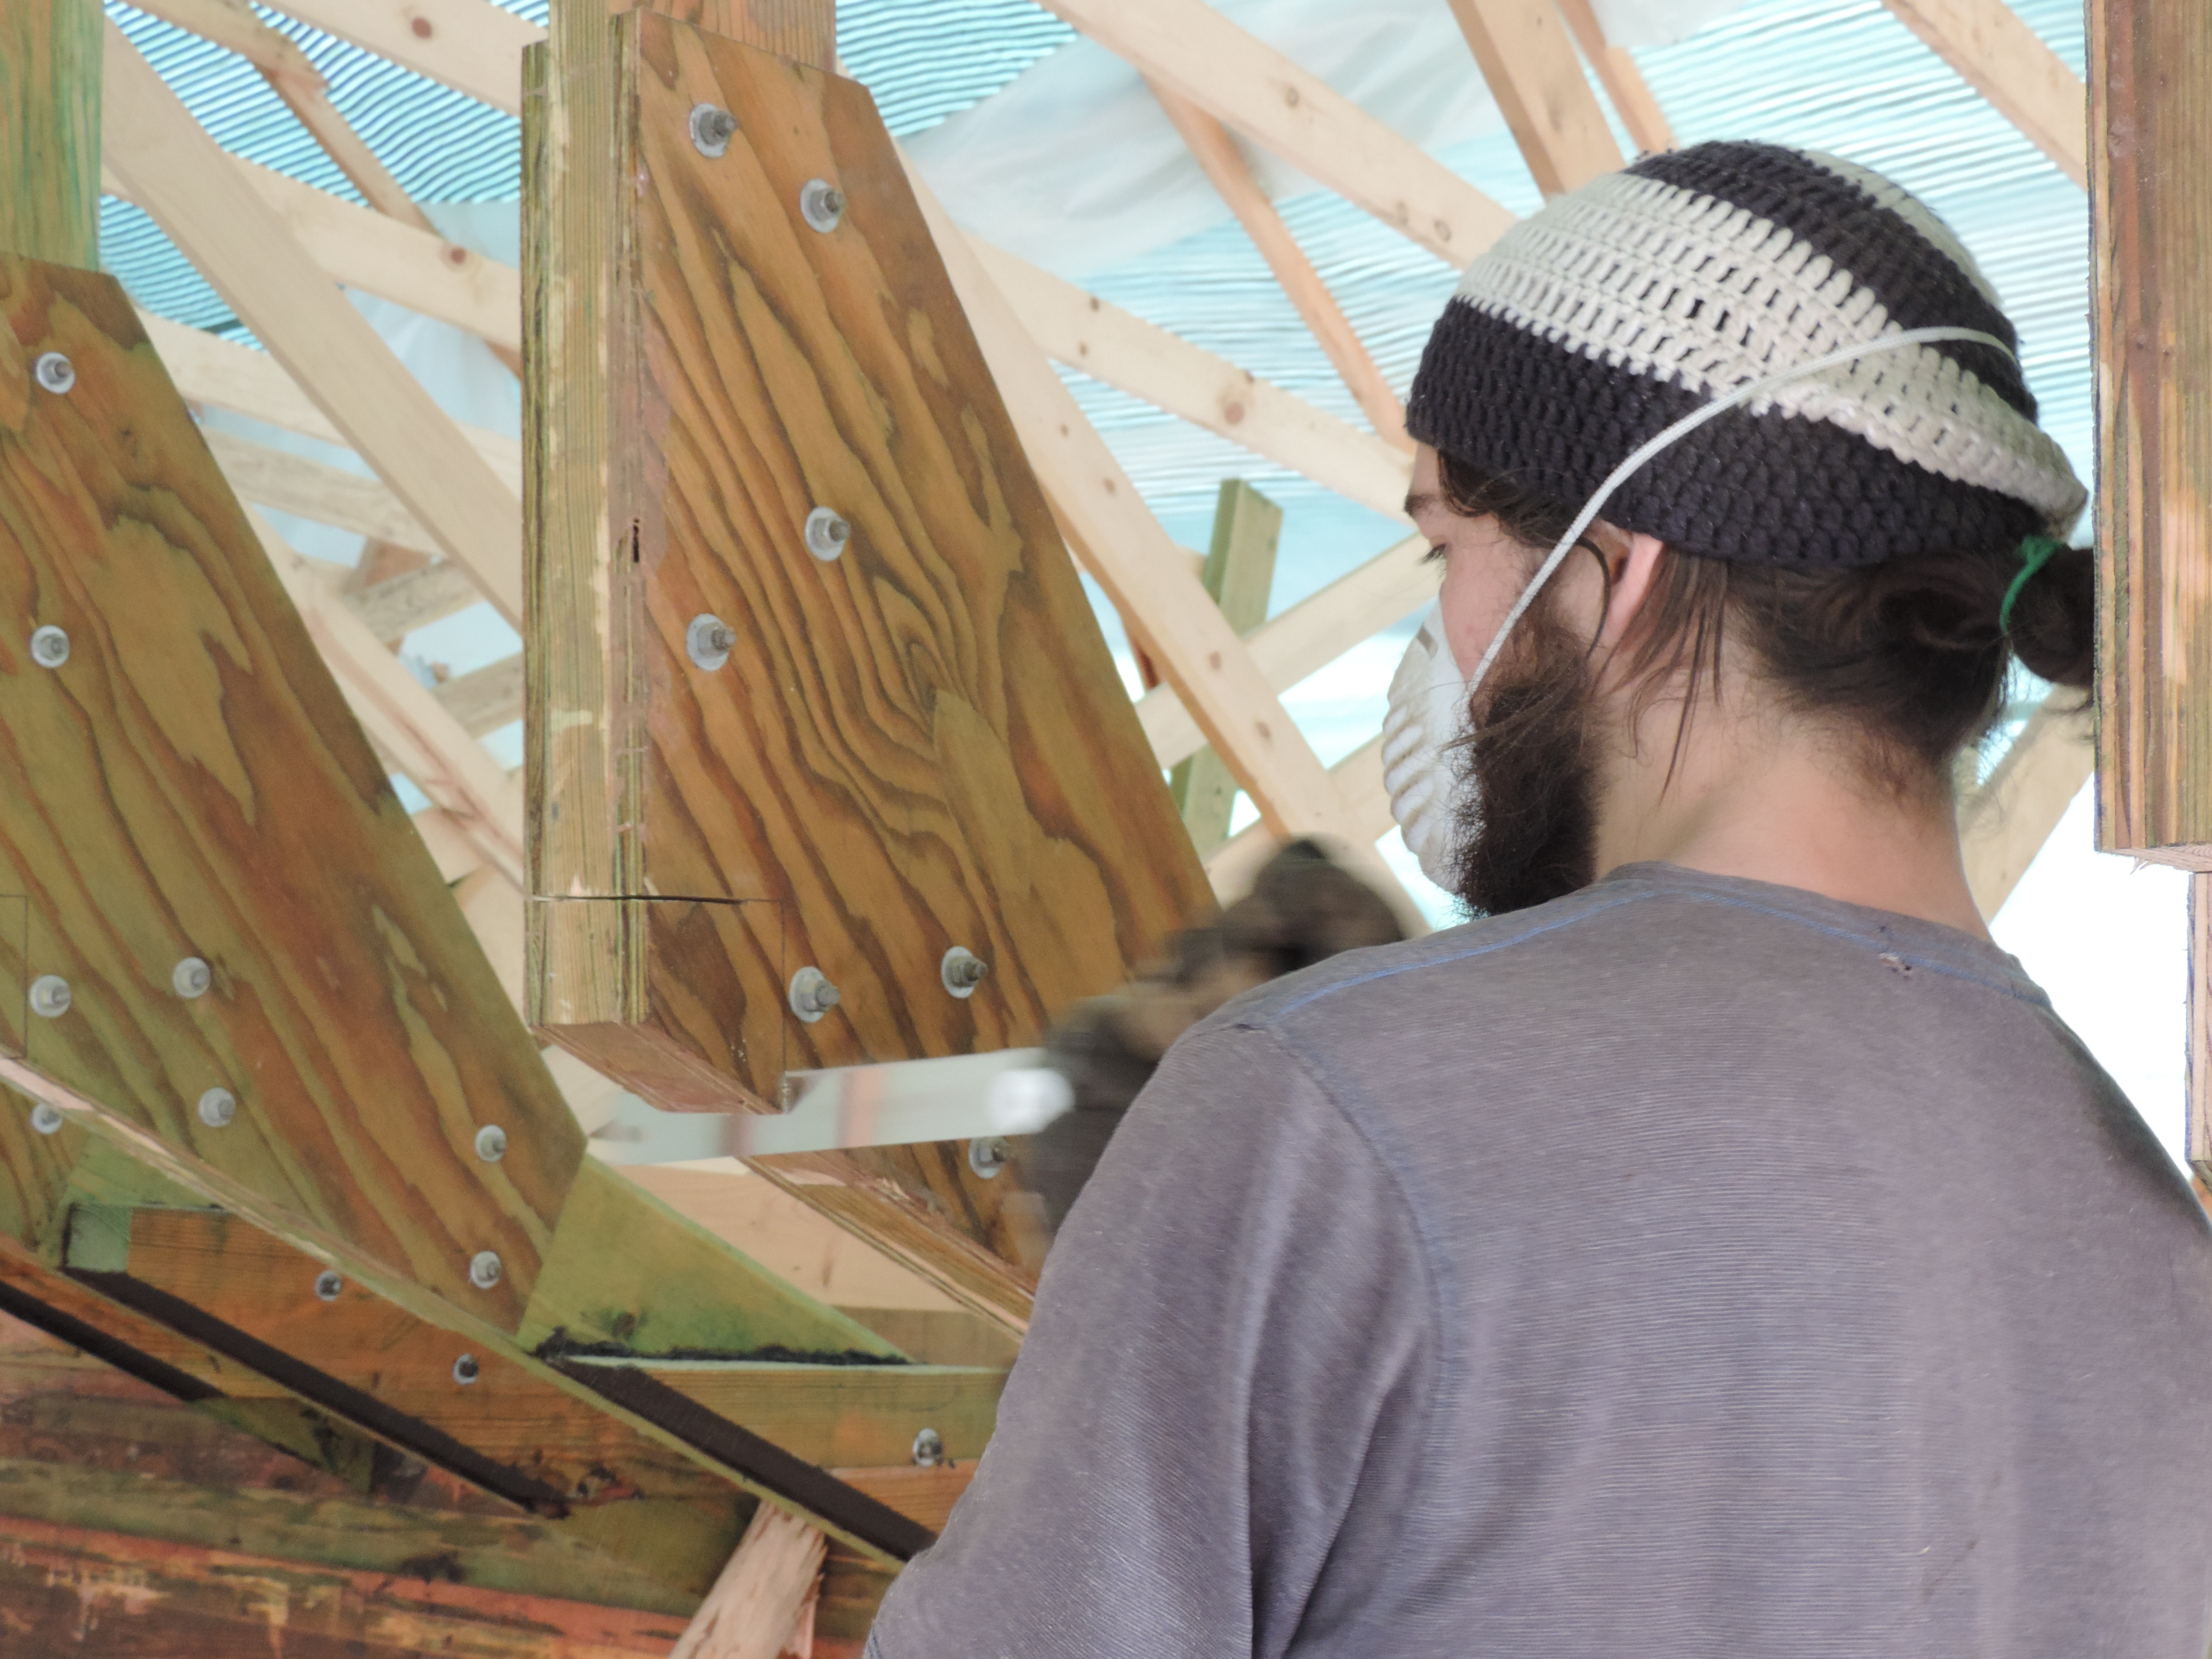
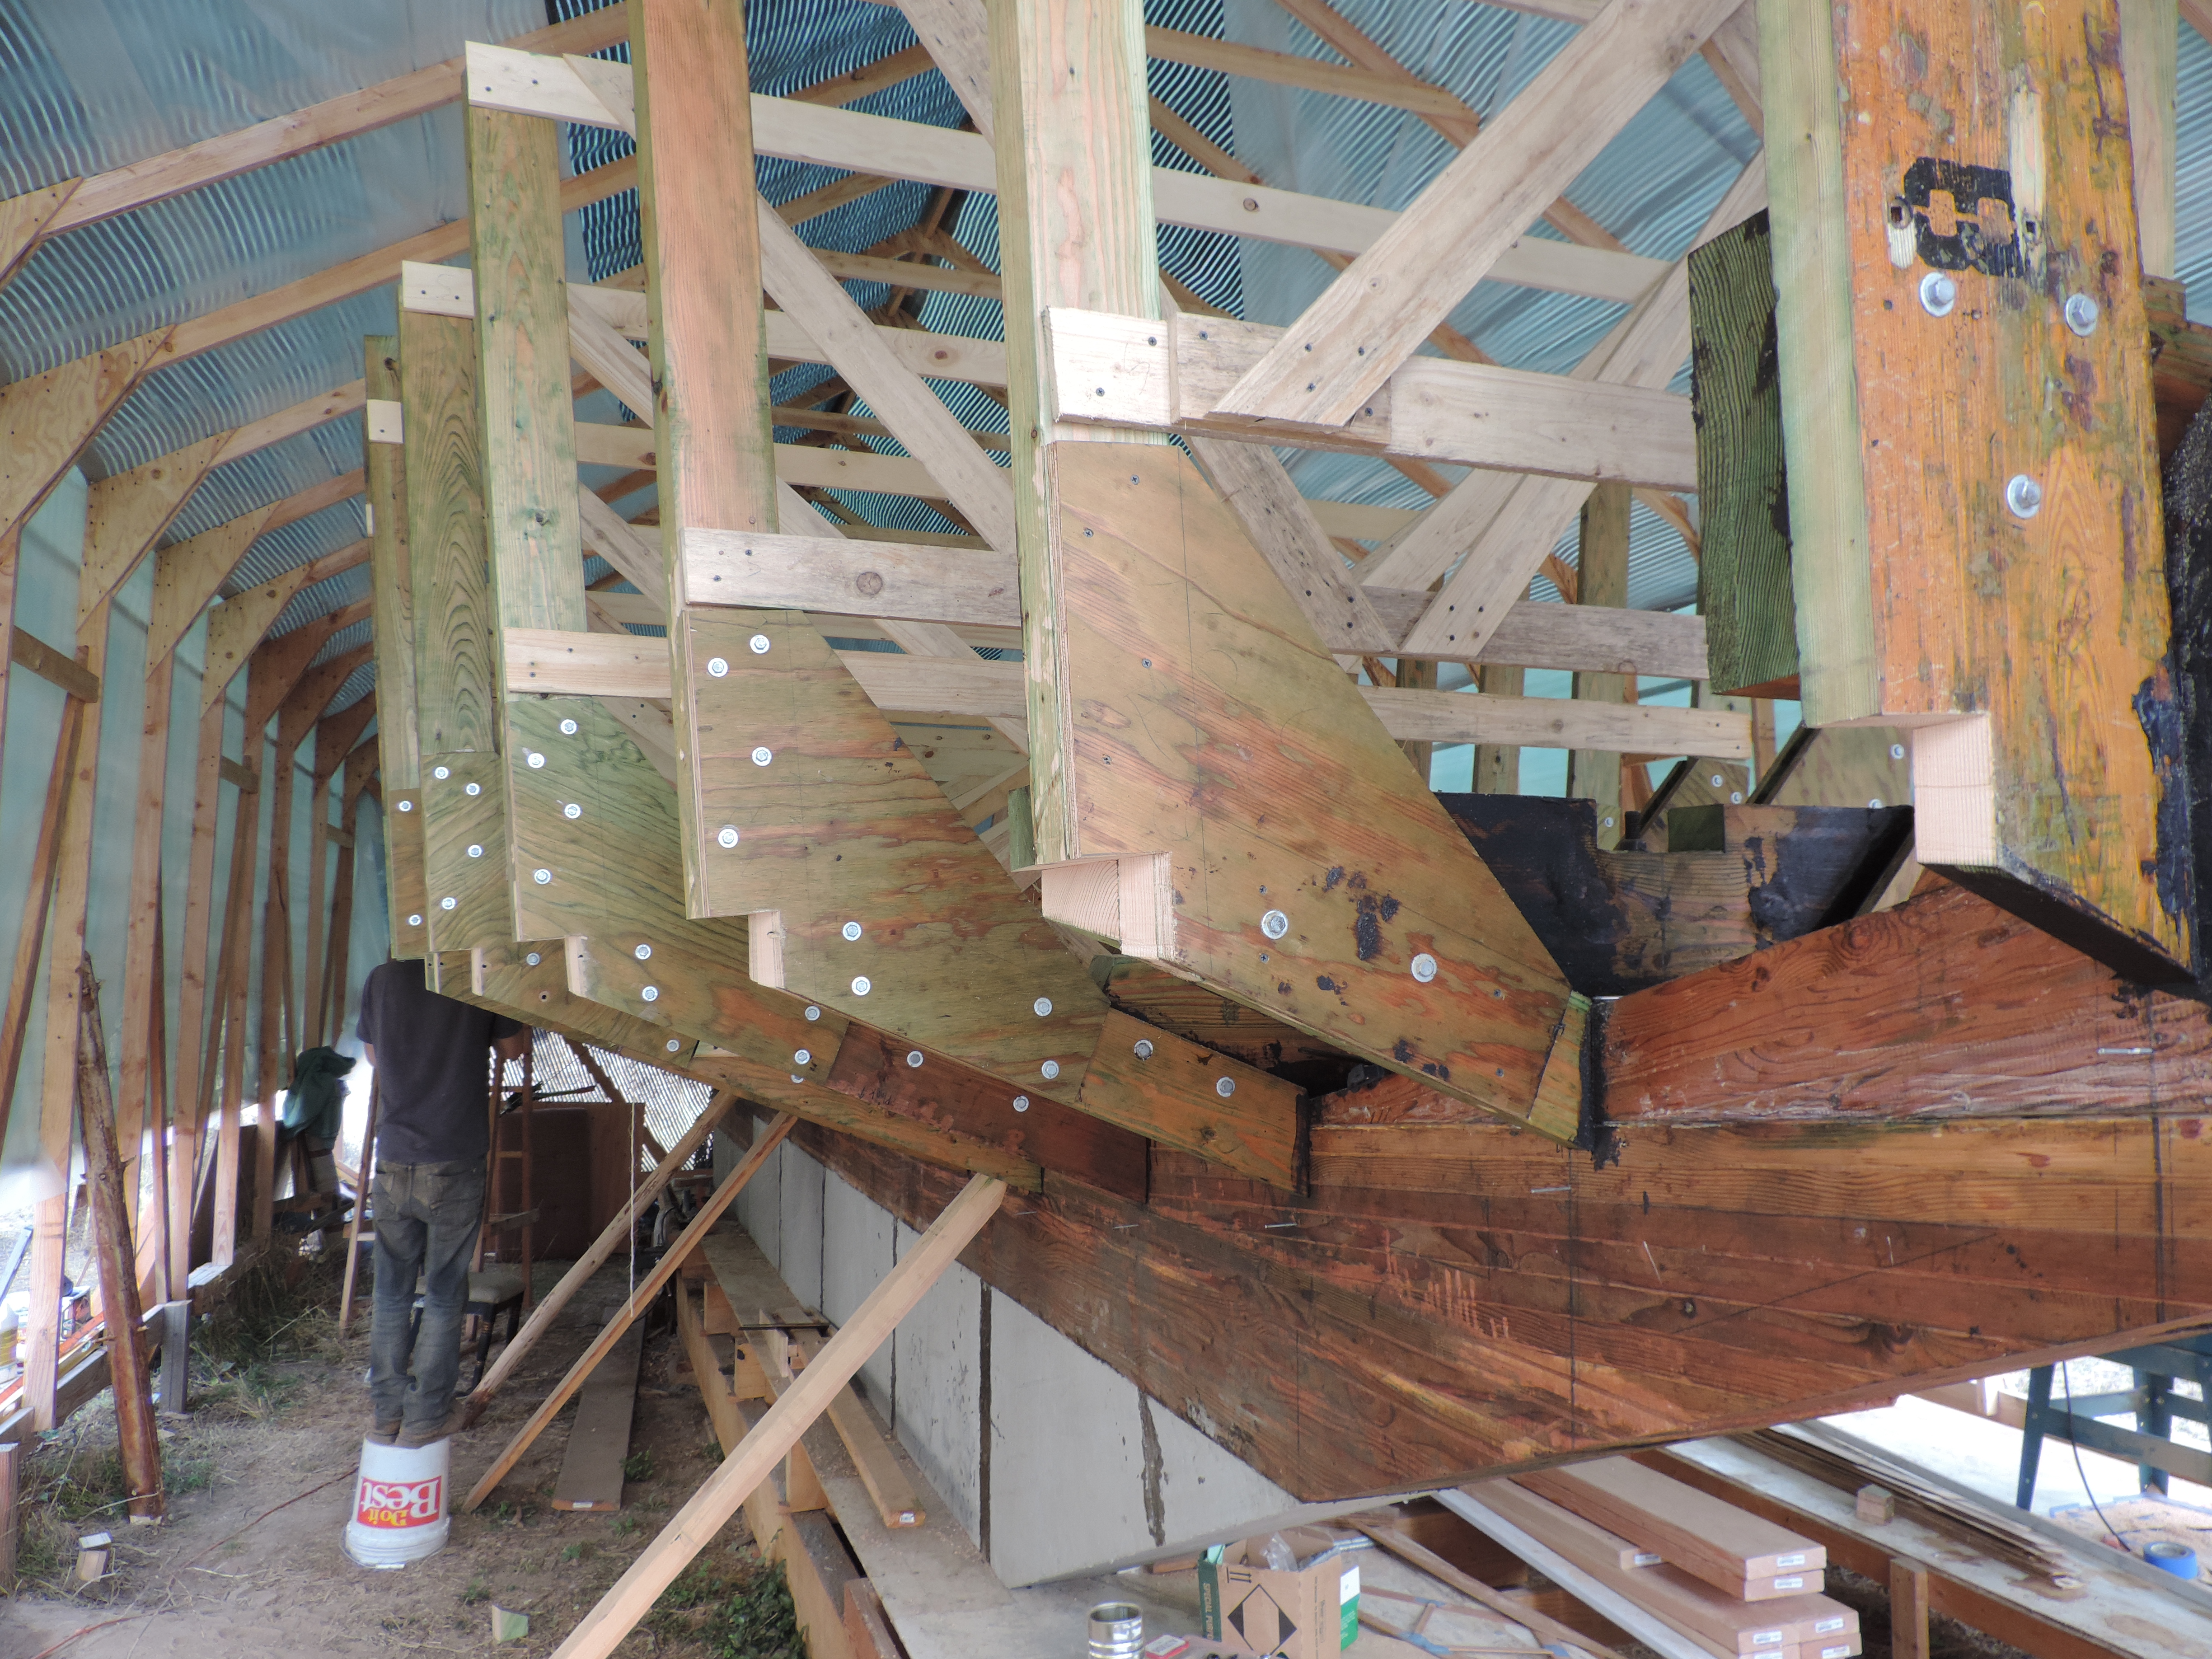
All the notches cut.

DSCN5502 
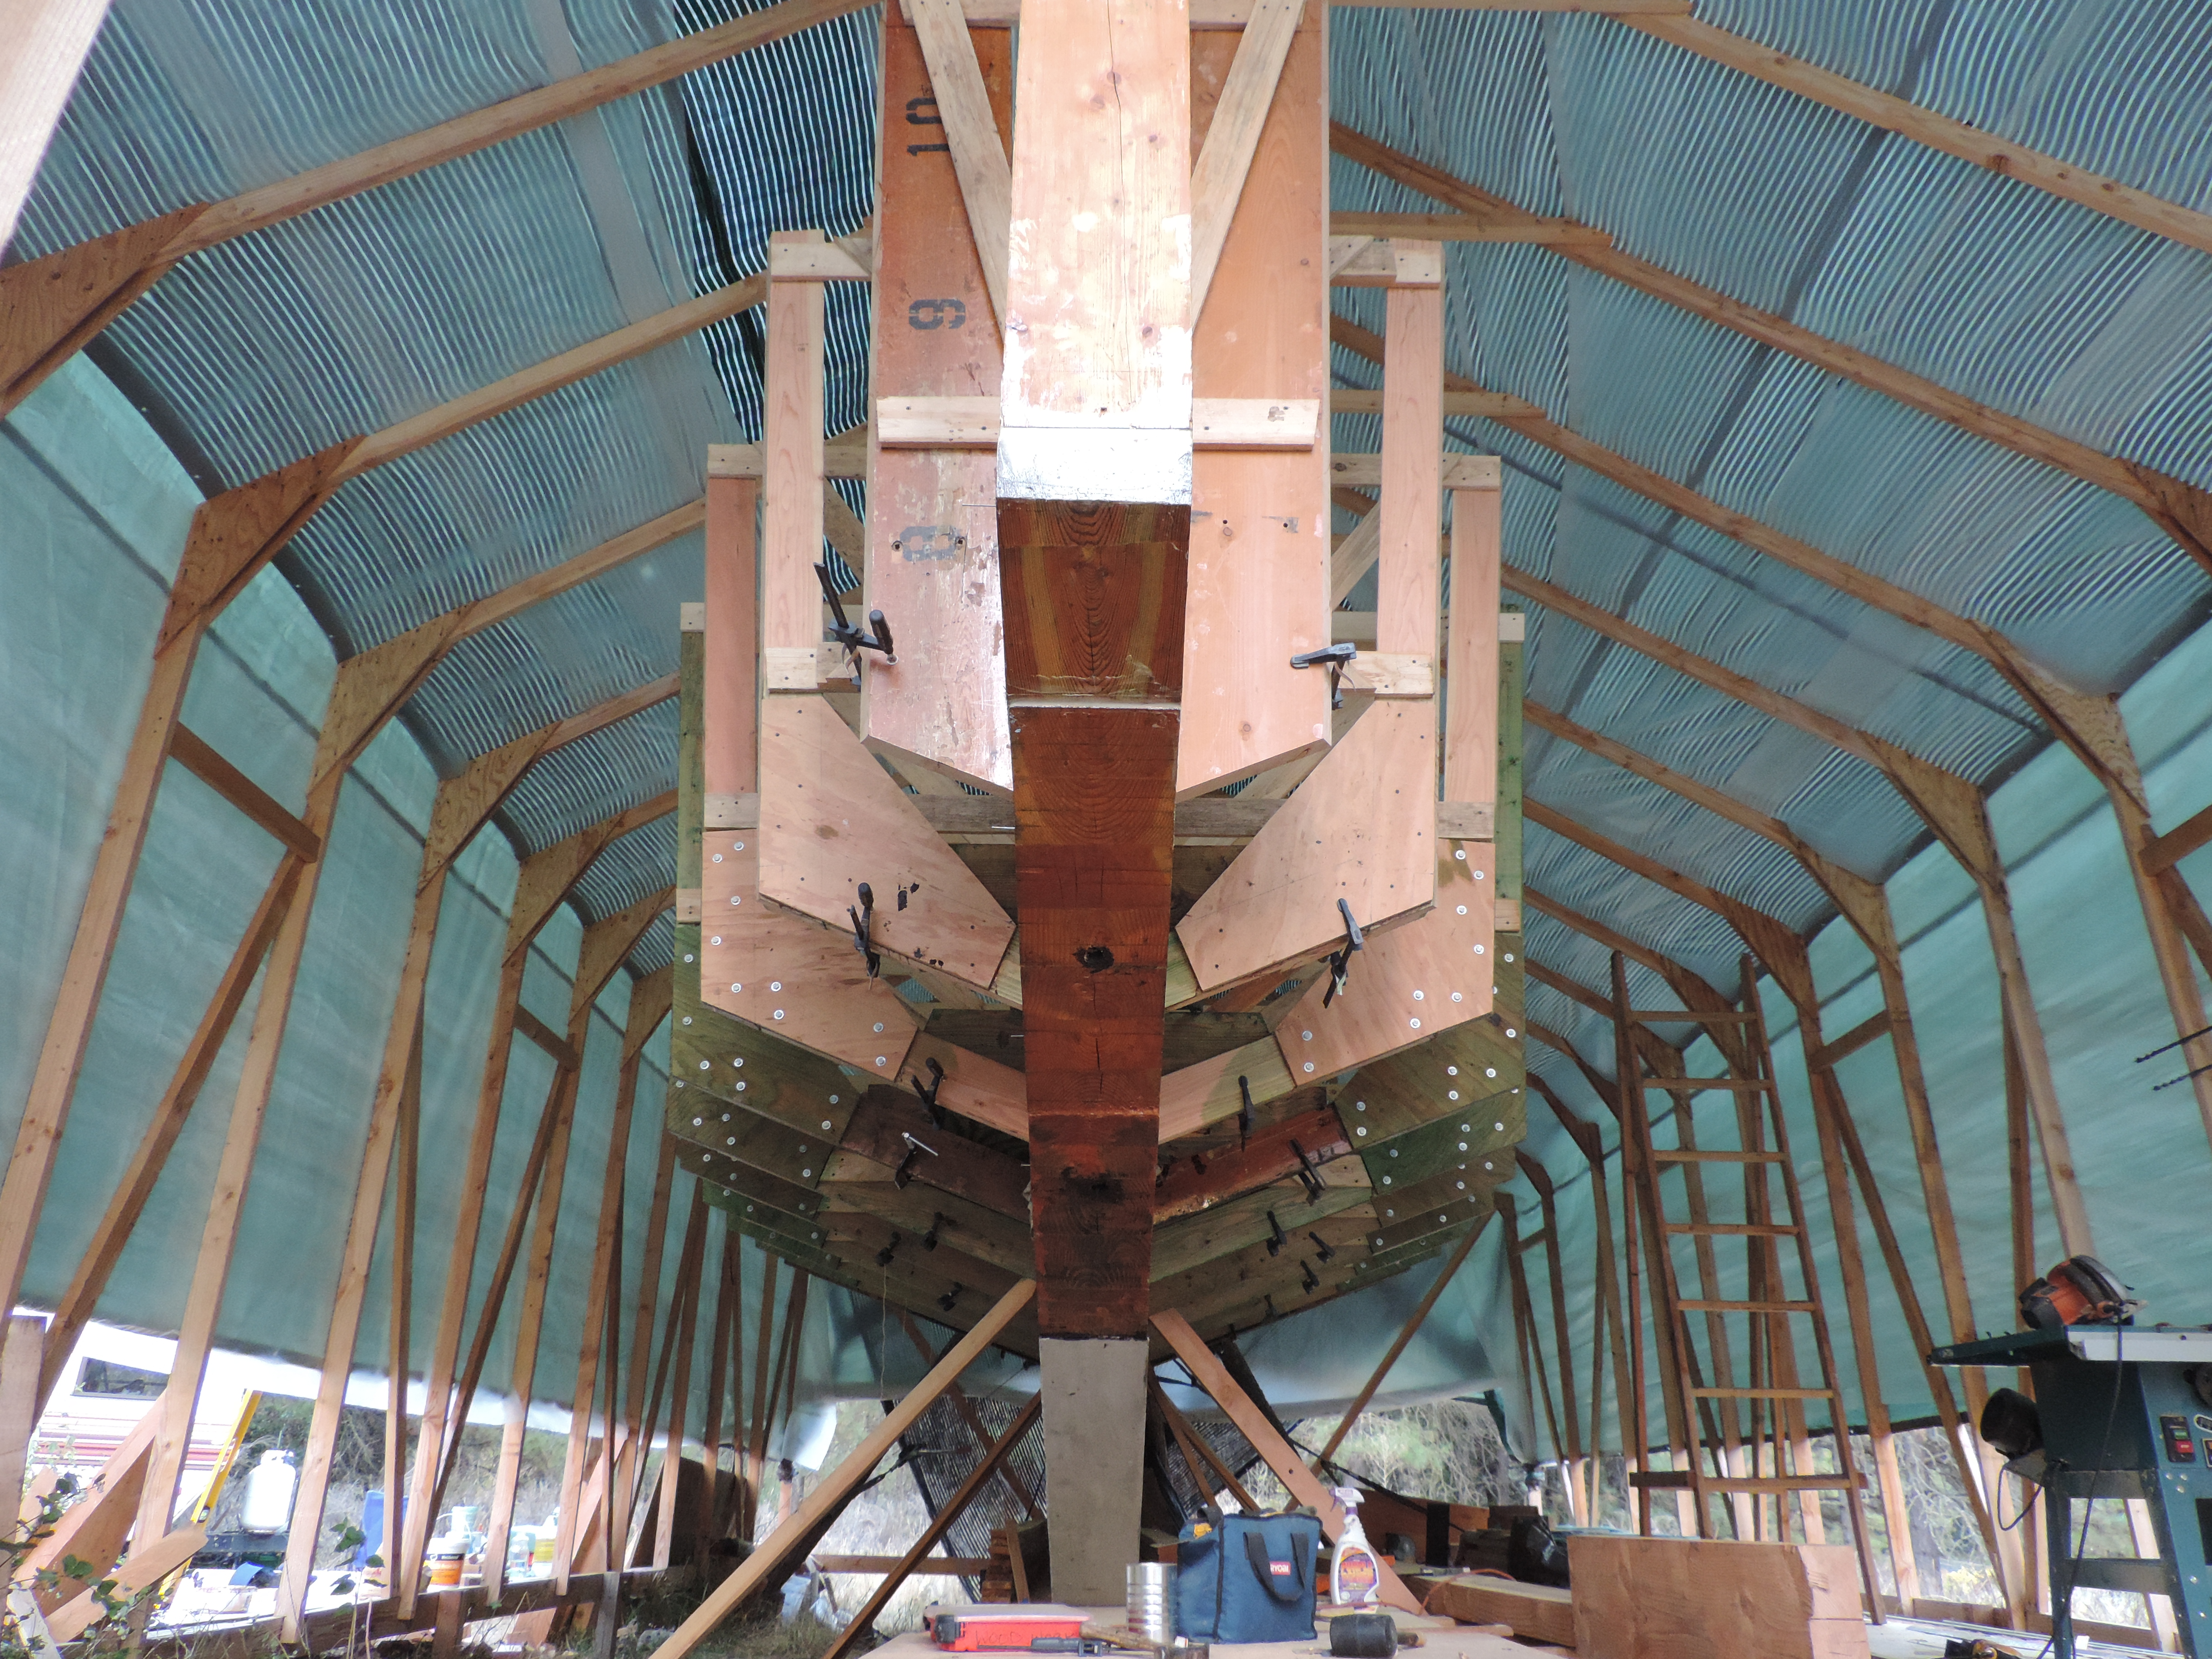
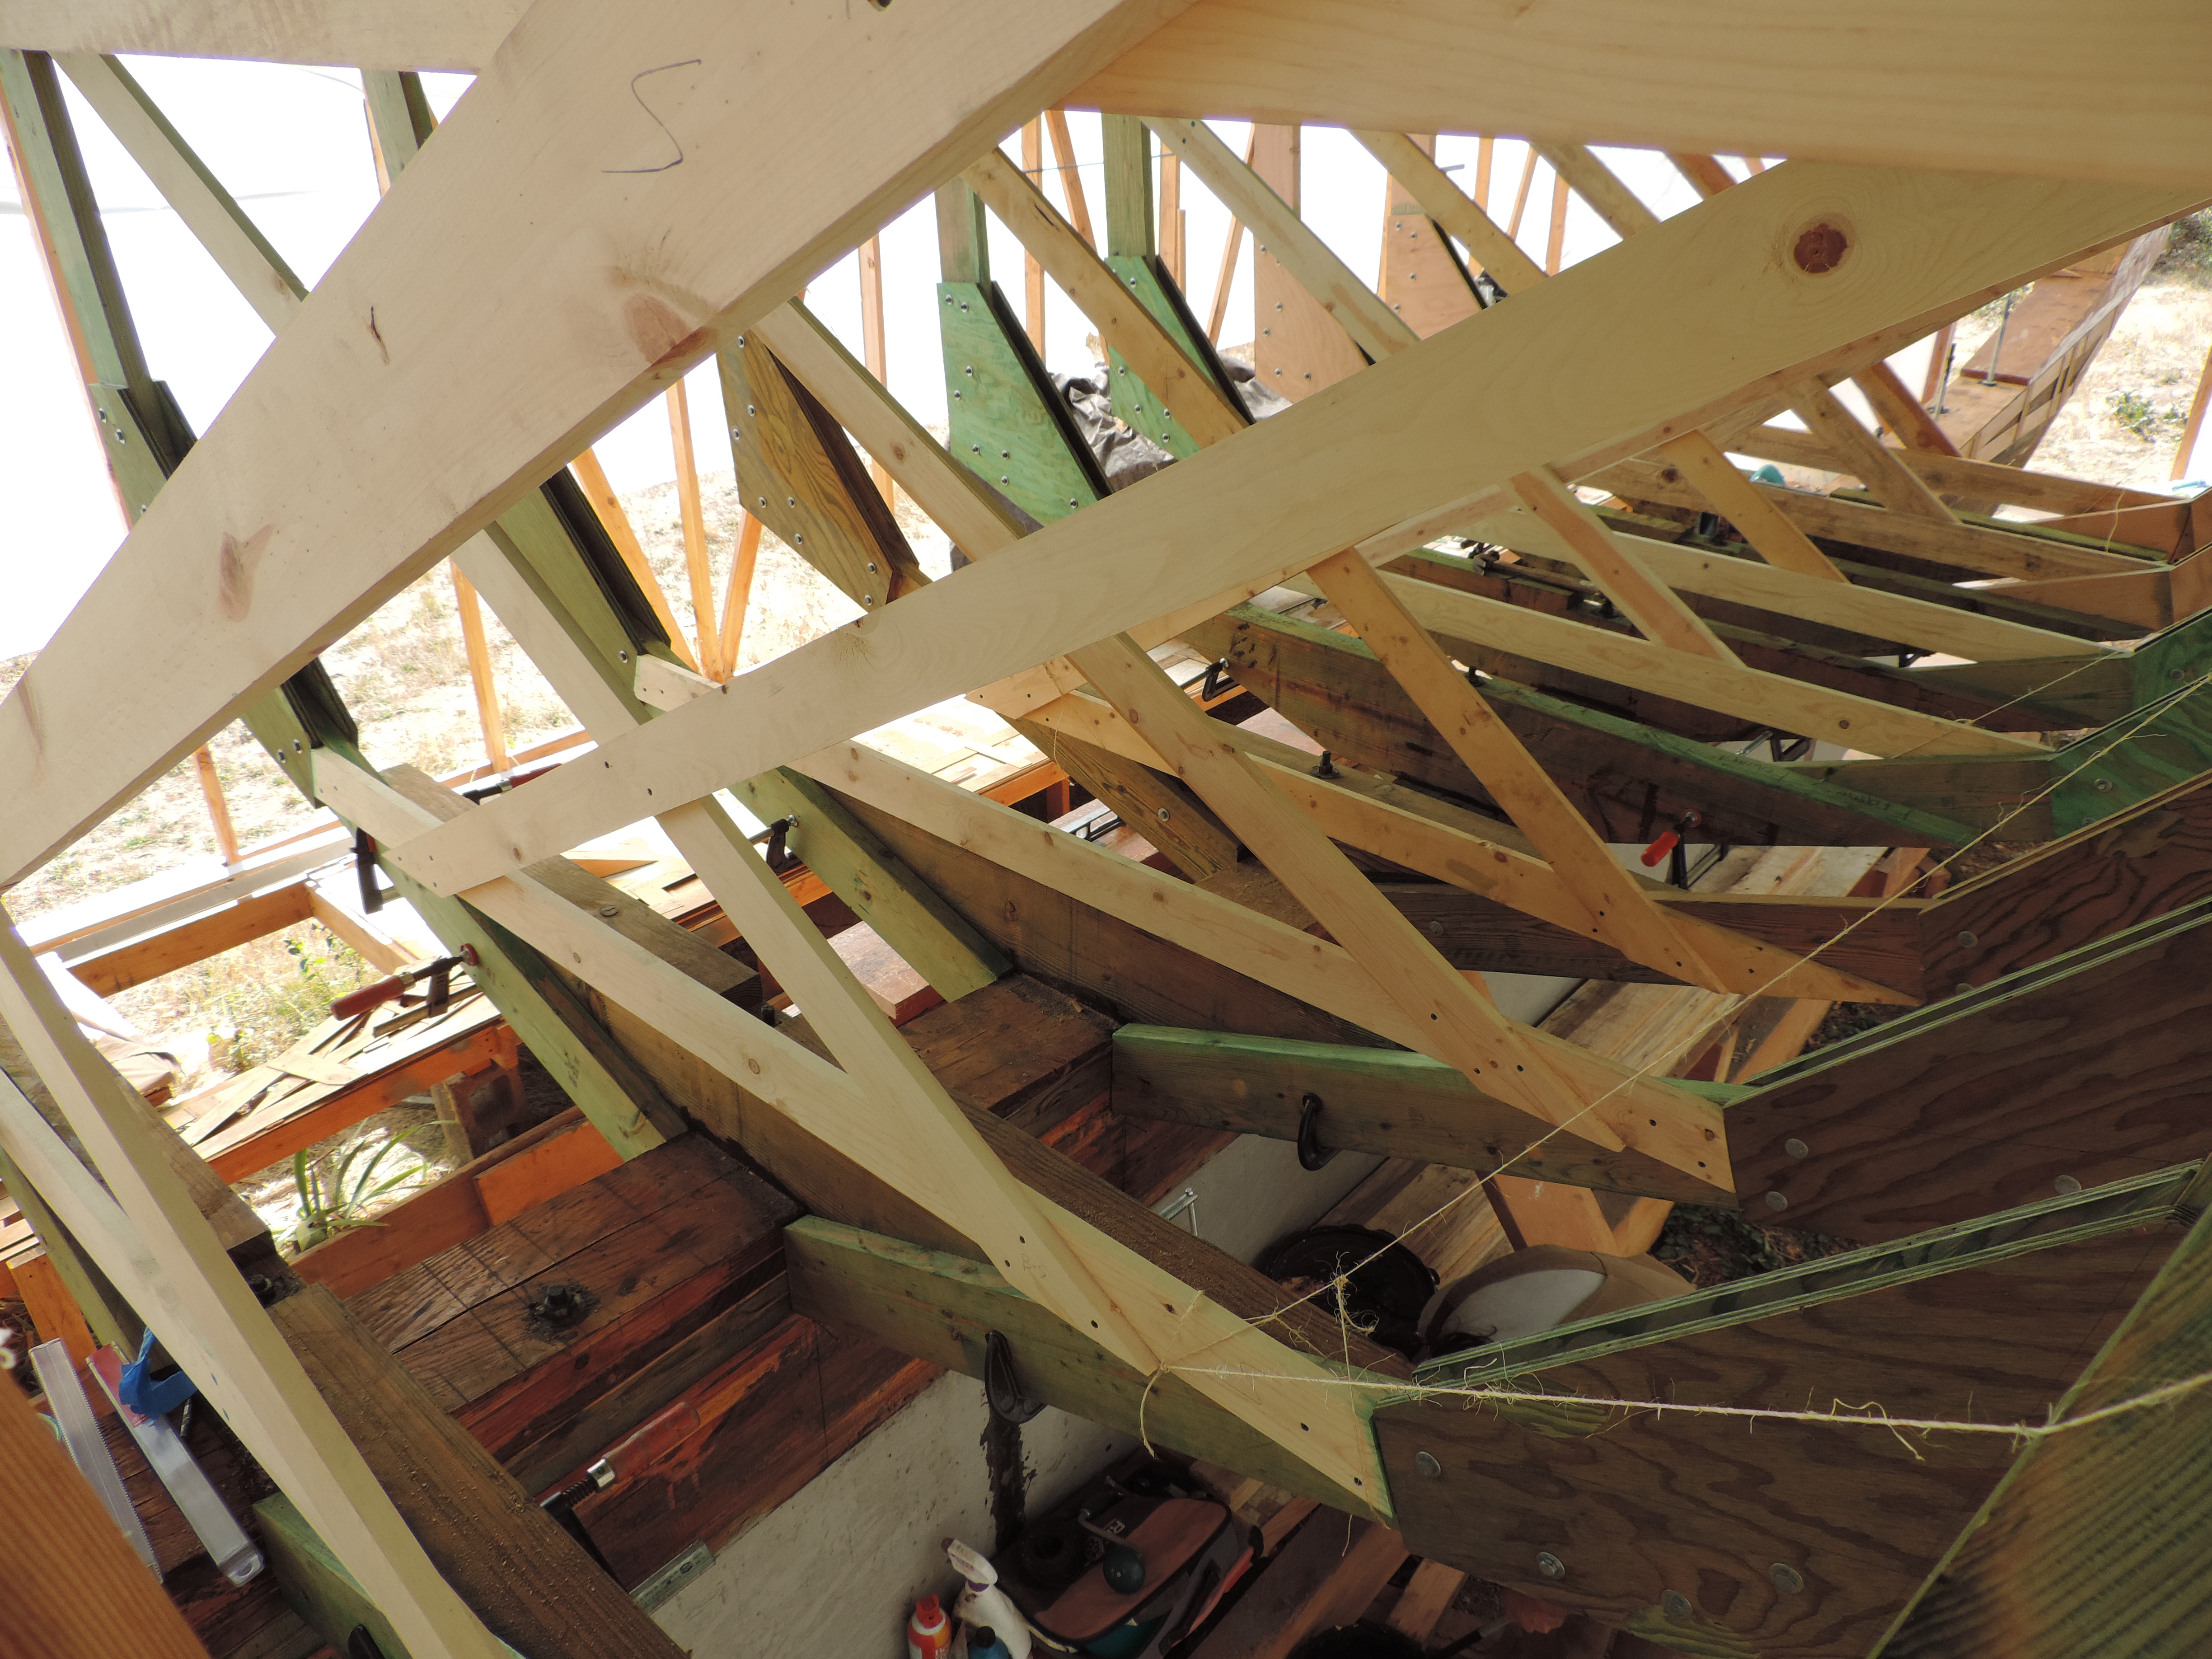
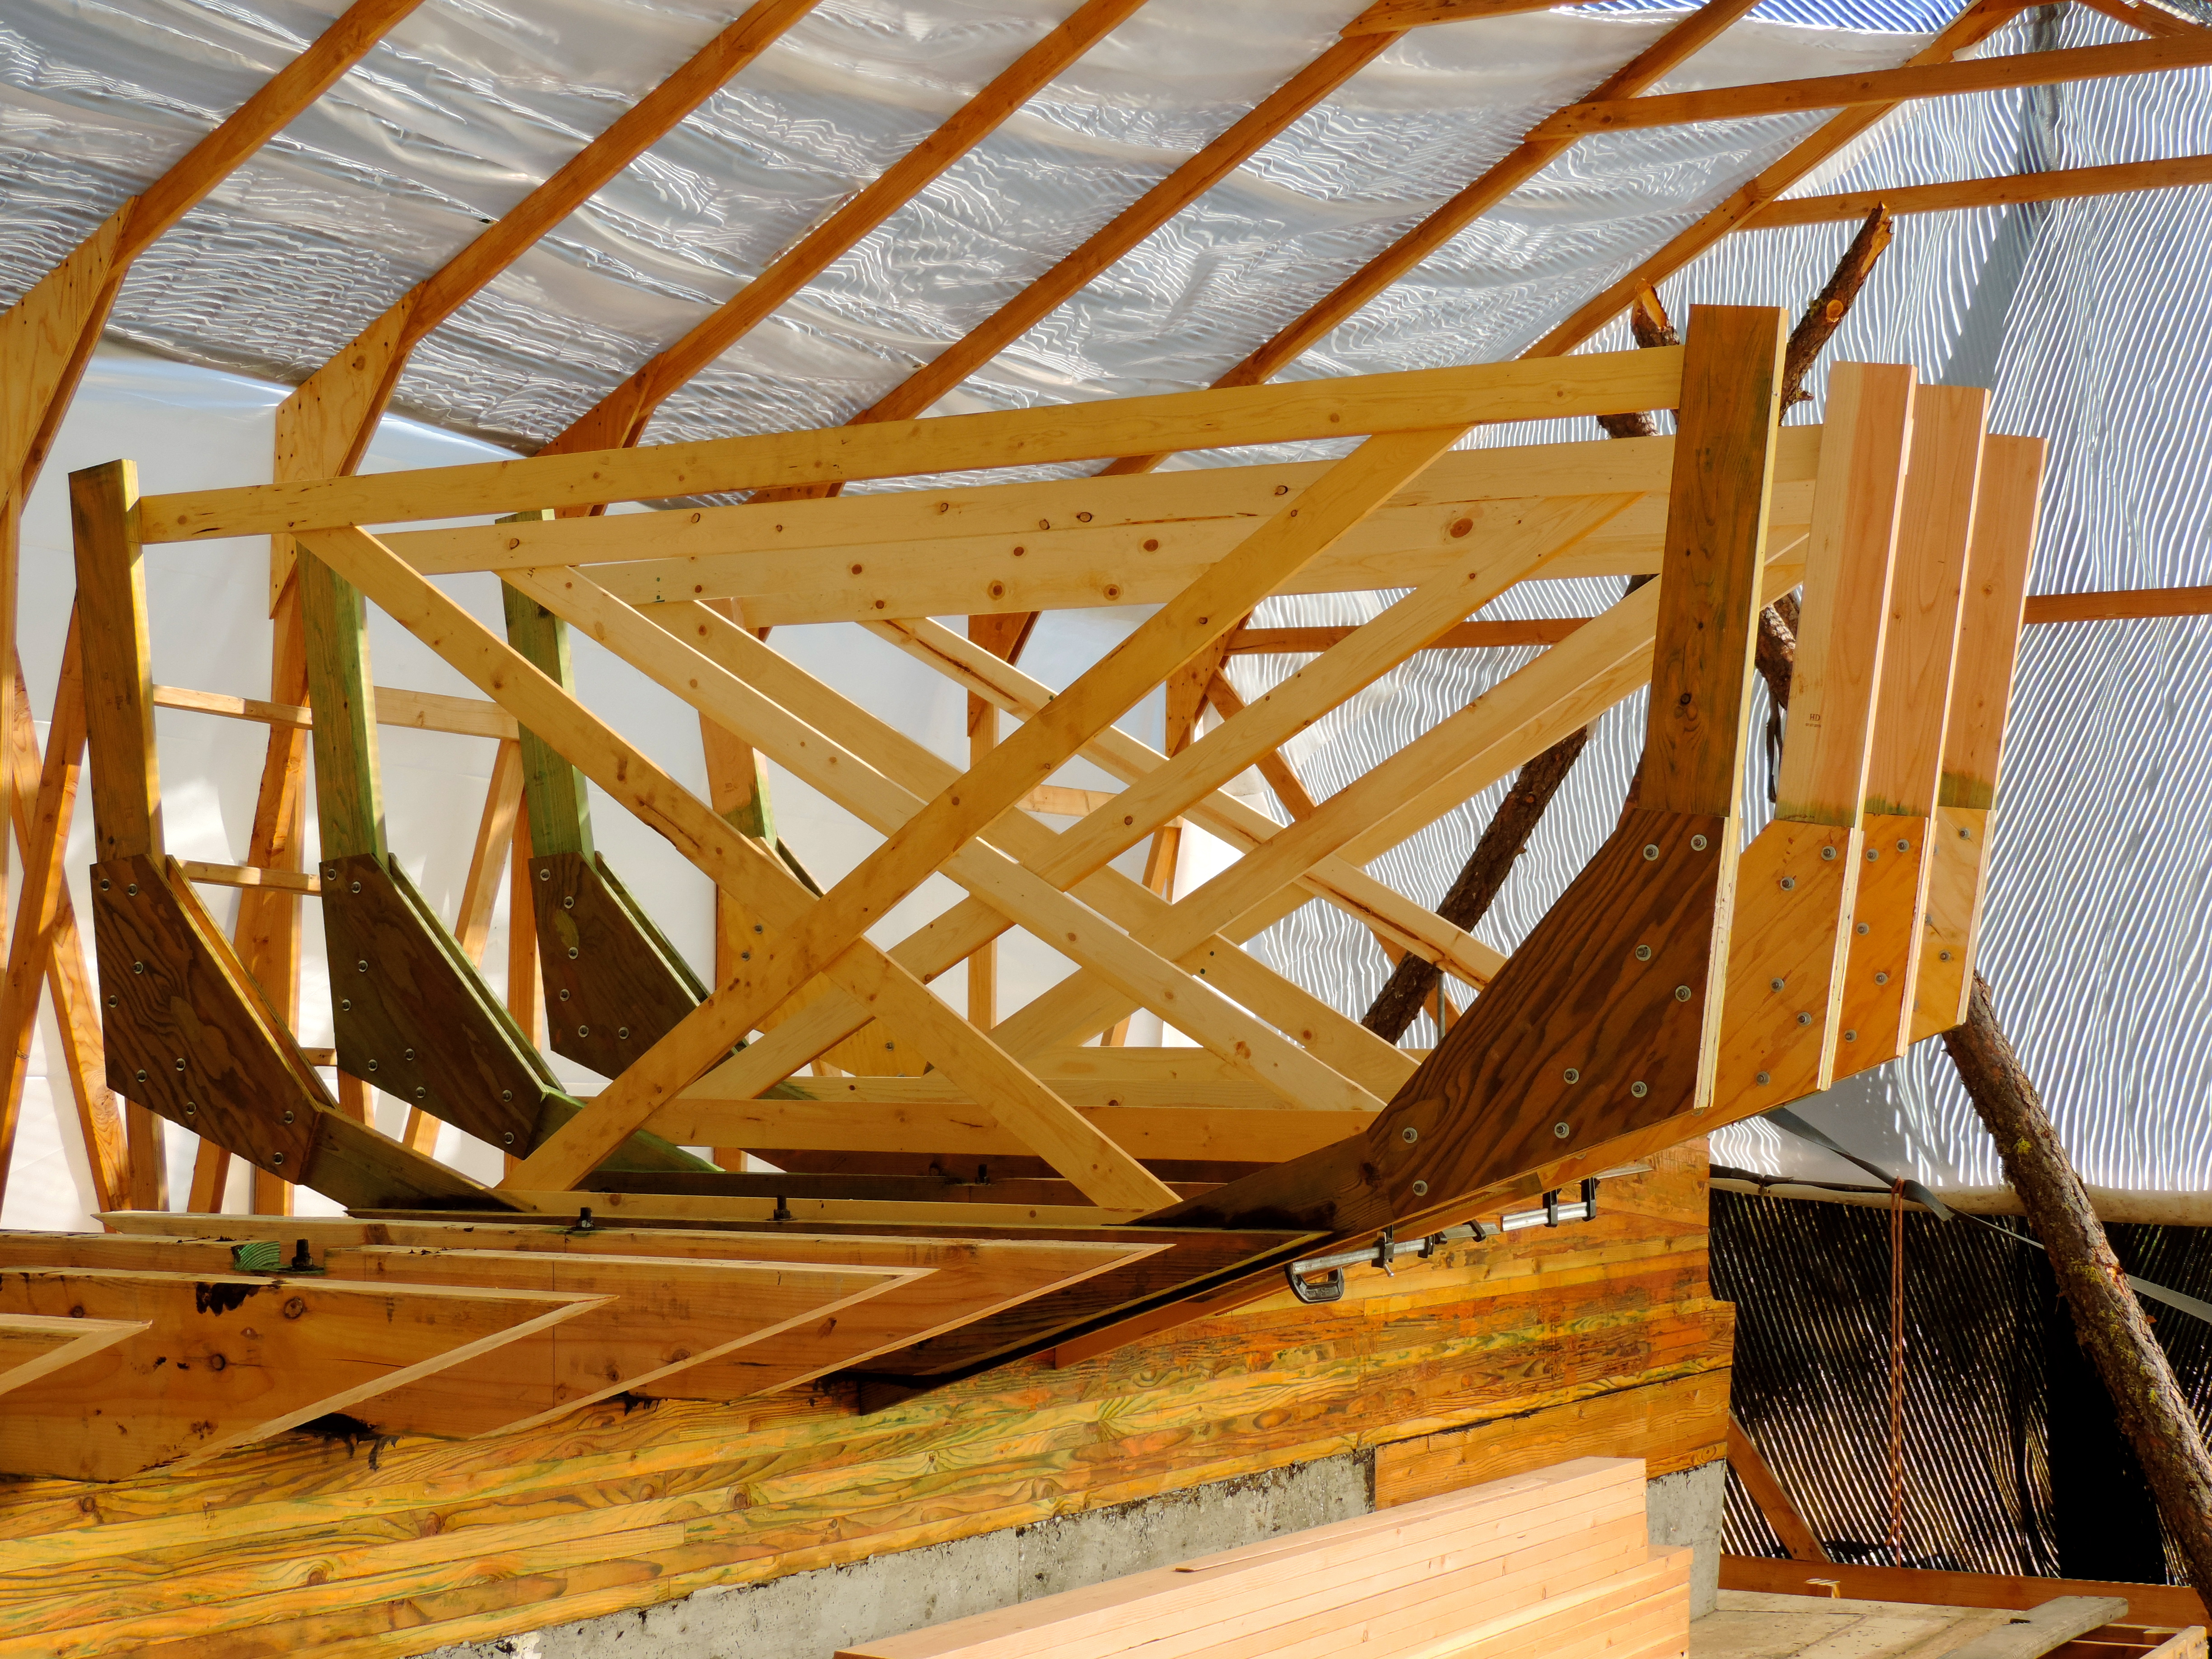
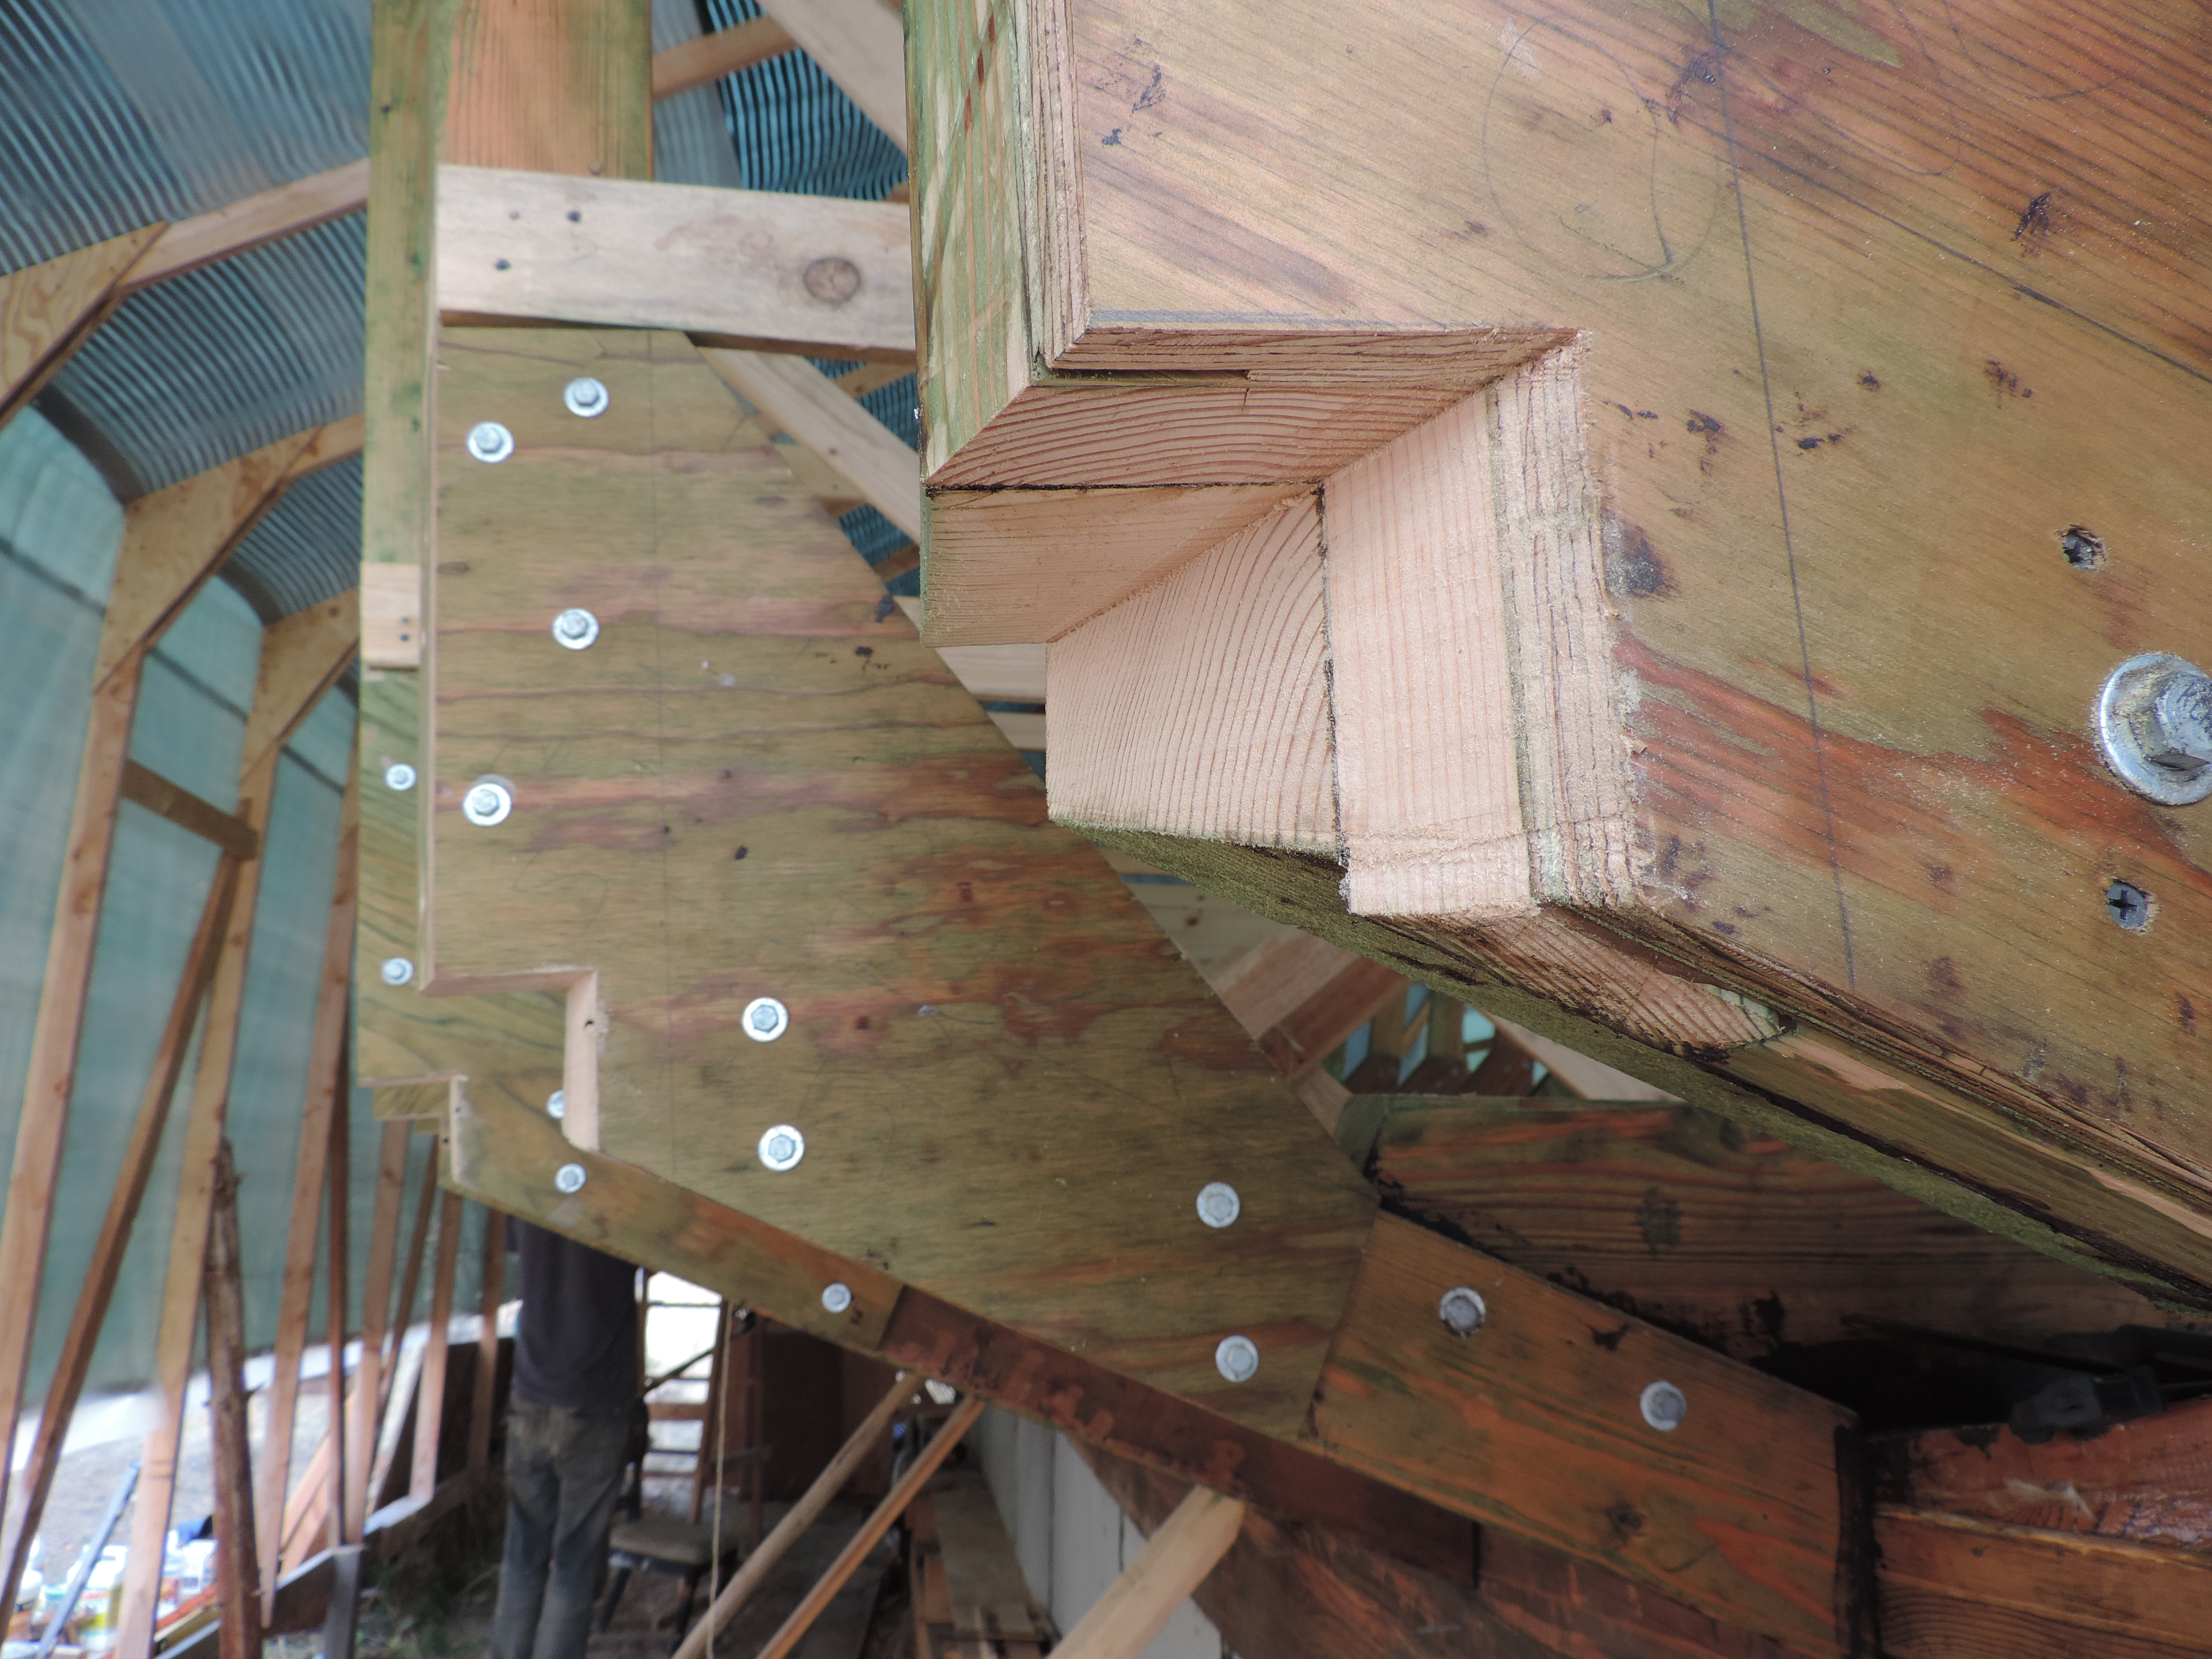
This one kinda sucked…

The Hunt for Clear Vertical Grain Douglas Fir Ended

Ruth:

Countless days were logged away as Garrett searched for CVG Fir. Found through Craigslist was a plentiful supply milled from 6ft diameter trees. This stuff is truly beautiful and exactly what we were looking for to complete our planking. A few loose ends with the frames are quickly wrapping up. Happy to soon be planking. I can’t wait to see her in her skin!

DSCN5464 DSCN5474               DSCN5469

Checking the bevels on the frames and then drilling for the bolts to hold it all together.

DSCN5446 DSCN5461 DSCN5485 DSCN5484

I attempted to fit the whole boat into one picture…. Not the best but still kind of neat. And Garrett caught a great picture from the stern looking forward!

DSCN5450

DSCN5453

DSCN5439

The hunt is never over for lumber and other materials so wish us luck!

Thank you everyone for the support!

Moving on!

We have finished the framing up to the bow,  and I must say she is looking rather sexy like!

DSCN5423      DSCN5424I definitely could have trimmed the forward frames down, but I find comfort in seeing those massive chunks of wood right up in the bow

DSCN5428 I wish I were a competent enough photographer to show the curves of the hull… She looks much less boxy in person!DSCN5425 DSCN5430 And here’s a couple more just because…

Home stretch!

Only three more frames to go in the bow! We can really start to see our salty lady’s shape with her sheer approaching the top of the shed, and all of her bodacious curves!

DSCN5347 Ruth posing at station 8 with the latest frame. Really gives an idea of how much room we will have up in the bow!

DSCN5352 You can see the climbing sheer that her deck will have.

DSCN5329 Wrapping a long batten around the hull to check the bevels, and position on the frames. So far everything is looking pretty good. Only 3 frames need minor adjustments.DSCN5318 Back to the table to start on the next frame!

Half way there!

We are officially half way through framing! It took us 9 days so hopefully she will be  all framed out in a little over a week. Thankfully summer is officially over, and it’s really starting to cool down. Which means much more productive days! Somehow we seem to be ahead of schedule despite all the setbacks from the crazy summer heat, and delays on materials. We still have no idea what winter will bring. The last two years were super mellow with no snow, but thats not the norm. Usually there is  quite a bit of snow,and temperatures dipping down into the teens. We will see I suppose!  Were trying not to get our hopes up, but if progress continues as it is I think we are looking at 6-8 months before she can be trucked to a boatyard to finish her off! Hard to believe… It’s a crazy thing to see something thats only existed in your mind as a dream for so long become a reality. It wouldn’t be possible without the generosity of everyone who has helped us along the way! Thank you!!

DSCN5297 DSCN5307 Her whole belly framed out! They will start to get smaller and smaller at both ends.

DSCN5287 Drilling for the last drifts through the keel with the giant auger our blacksmithing neighbor made for us! Thanks Jim!

DSCN5304 Ruth striking a cute pose with our salty lady.

\

Salt&Tar Episode 1!

We have put together the first of a series of videos to document the build starting from the beginning! Still figuring out how to work iMovie, but hopefully we will post new videos regularly!

Just click here to have your eyes gently caressed by the radical delight of movie picture wizardry!  

Back to work!

We are back to work building frames after a two week trip down to California. They are coming together pretty quick so far. Although We could probably get at least two done per day I have set a realistic goal of one frame per day to balance productivity with my laziness.

DSCN5217 DSCN5218

Believe it or not they are actually lining up reasonably well to! We have 5 done so far , so I think in roughly 2ish weeks she will be completely framed!

SAM_0406 Yup…

Frames and floors!

We have finally stared framing our yacht! So far we only have one frame, and four floor timbers. It only  took a day to do the first set, and Im pretty sure i’ll only get faster at it the more of them I do.  Hopefully we can knock them out quick!

DSCN5170 First frame done.

DSCN5168 Measuring for the floor timber. You can barley make out the outlines of the frames on the table. This is what we use to find the correct shape for all the frames.

DSCN5186 DSCN5184Getting the first set up, and making sure things are level.

DSCN5188All bolted in place! everything lined up nicely. The floor timber is the big cross beam at the bottom of the frames. This is what ties the frames to the keel. Which is why we left a bunch of bolts sticking up out of the keel. Once we get the floor all measured up we drill a big hole through the middle of it and slide it down onto one of the bolts, securely fastening it to the keel. then the frames are through bolted to the floors with six 3/8in. bolts.

The more she comes together the more I realize just how stout this design is. I think she will inspire confidence in any and all adventures to come!